Artichoke plants come from the Mediterranean and aren’t usually seen in home gardens. However, they are relatively easy to grow and are becoming more popular with gardeners as both an edible plant and an beautiful ornamental plant.
If you love the taste of tender artichoke hearts, maybe it’s time to try your hand at growing and harvesting them right from your garden!
This guide to artichoke plant care will help you plant and grow artichokes, even in colder climates.

This post includes affiliate links. If you make a purchase using one of these links, Together Time Family will receive a commission at no additional cost to you.
Table of Contents
Artichoke Growing Information
Artichokes, also called globe artichokes, (Cynara scolymus or C. cardunculus var. scolymus) are an edible member of the thistle family. They are not related to Jerusalem artichokes, which are related to sunflowers and daisies.
The artichoke heart is actually the tightly-packed center of the plant’s edible flower buds. Yes, artichoke hearts are the middle of thistle-like flowers!
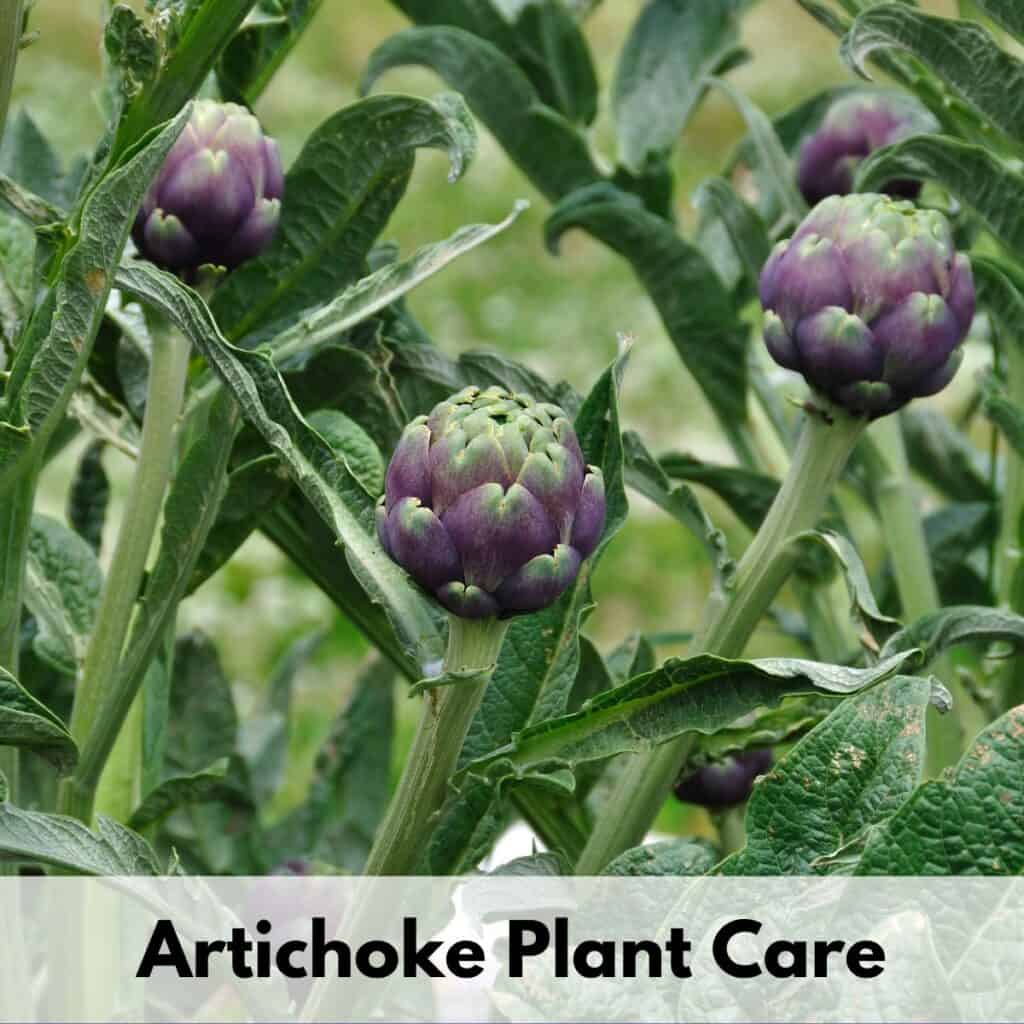
Artichoke plants have a silver-green culture and large purple blossoms on their flower stalks. They can become large plants and are eye-catching as ornamentals.
Though not difficult to grow, artichokes can be picky about weather conditions. In the U.S., they grow best in areas of central California, particularly along the coast, where there are mild winders and mild summers.
Of course, most gardeners don’t have these ideal growing conditions. Here’s ere’s a look at your options for bringing artichokes into your vegetable garden.
In USDA zones 7 and higher, artichokes can be grown as perennials. They may need some winter protection in zone 7.
In USDA zones 6 and below, they are best grown as an annual, which means you’ll need to choose a quick-maturing cultivar.
Artichoke plants should not be exposed to freezing temperatures, but they also struggle in the heat. Cold winters and/or hot summers may give you only one or two short harvest periods.
On the positive side, newer artichoke cultivars have been developed that allow gardeners in many regions to have success with this edible plant.

Top Artichoke Cultivar Choices
To give yourself a good foundation for learning how to plant and grow artichoke, start by choosing a cultivar that works for your growing region. Here are some top choices to consider:
- ‘Green Globe’– Standard variety that grows fairly well in both mild and cool regions.
- ‘Imperial Star’– Early-maturing cultivar that produces buds the first year from seed. Great option for gardeners with cooler temperatures.
- ‘Violetto’– Heirloom purple variety from Italy. Best when grown as a perennial.
- ‘Colorado Star’– Early-maturing purple cultivar. Can be grown as an annual.
- ‘Emerald’– Hybrid thornless variety suited to warmer regions.
Sourcing Artichoke: Seeds, Crowns, or Plants?
Artichoke can be grown from seeds, root crowns, or transplants. You’ll likely need to buy from an online nursery, since most local garden centers won’t carry artichokes.
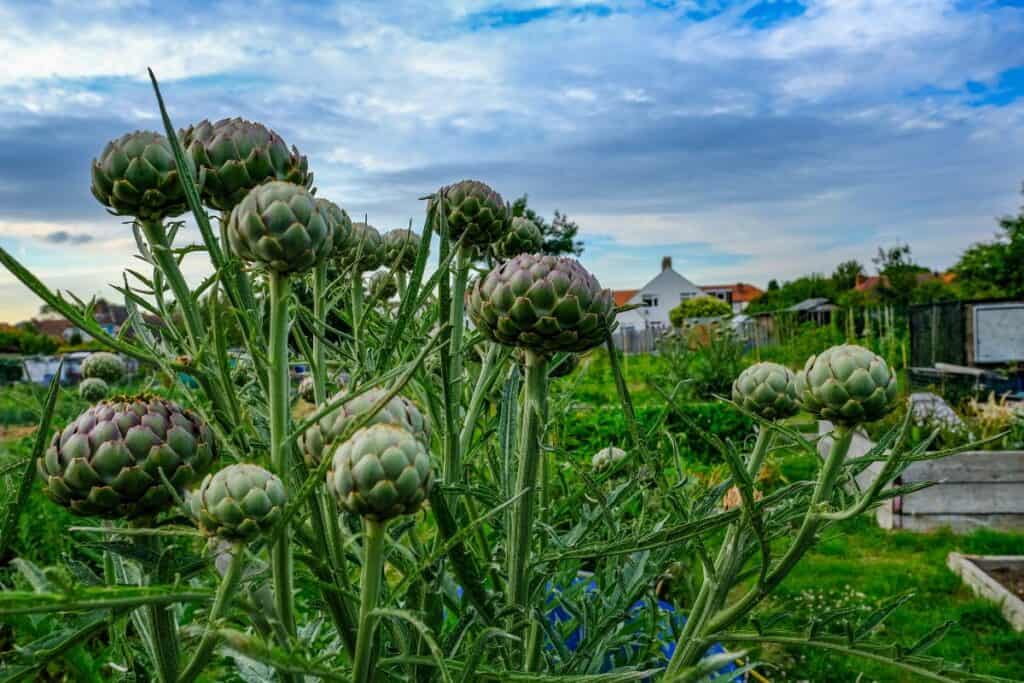
As you make your purchase, keep in mind that artichoke plants get 3-6’ tall and 4-5’ wide and produce multiple buds on each plant. You may only want 1-3 plants total unless you have a lot of growing space available.

Starting Artichoke from Seed
Artichokes can be started from seed indoors in late winter, about 10 weeks before your last spring frost date. However, most varieties of artichoke will not flower in their first year of growth. This means you won’t have anything to harvest until the second year.
There is one exception to this — the ‘Imperial Star’ cultivar, which buds the first year. Choose this specific variety if you want to start your plants from seed and grow them as an annual. This is necessary if you want a harvest in cold climates or very hot climates.
To start your seeds, soak them for a few hours before planting to aid germination. Use biodegradable pots for the best results and fill them with a soilless seed-starting mix. Sow the seeds about ¼” deep.
Artichoke seeds germinate best at warm temperatures of 70-80°F. Use a heating mat if needed. Move the artichoke seedlings under grow lights once they sprout.
Continue to provide water and good air circulation as they grow. I use this inexpensive clip on grow light for my seedlings and this rechargeable USB clip on fan.
Buying Crowns or Plants
For many gardeners, learning how to plant and grow artichoke is made easier by starting with root crowns or nursery seedlings rather than seeds.
Crowns are simply the bare roots of artichoke that have been divided from a mature plant. When planted in your garden, they will establish themselves and leaf out. These can be difficult to find unless you know someone already growing artichoke but are easy to plant.
A better solution for most gardeners is to buy artichoke plants that have already been started by an expert grower. You can find a good selection online with several different cultivars available.
How to Plant and Grow Artichoke
When and Where to Plant
Whether you started your own seeds or bought seedlings from a nursery, you plant your baby artichokes after the last frost date. if you live somewhere with frost-free, mild winters, plant dormant root crowns in the fall.
Before planting, make sure you give some thought to where to plant artichoke. An artichoke is a big plant and it will need plenty of space.
If you live in an area where artichokes are perennial, your plant will grow anywhere from 3-6’ tall and 4-5’ wide. Annual artichokes won’t get quite as large but still need a good amount of growing space.
Be sure that you choose a spot in full sun for your artichokes. They prefer sandy soils (a tribute to their Mediterranean heritage) but will grow well in most areas that have good drainage.
Artichoke plants need a chilling period in order to set buds.
If you ordered plants from a nursery, this may have already been done. Ask the sellers to make sure. If you started your own seeds, you’ll need to do this step yourself.
In order to chill your plants, they need to be exposed to temperatures of around 40-50°F for at least 10 days. It’s hard to get the weather to follow the exact schedule you would like, so just get as close to this as you can and be sure you do not leave plants out in freezing weather.
After this chilling period, plant your artichokes at least 4’ apart in the garden and water them in well.
Artichokes are heavy feeders and need fertile soil. Mix in a good amount of compost or well-rotted manure before you plant.
If you live somewhere with very hot weather, consider planting in partial shade or erect shade cloth to protect your plants during the heat of the day.
Globe Artichoke Plant Care
Artichokes need more water than most other Mediterranean plants. Artichoke grows best when you water deeply 1-3 times a week during dry periods. This ensures healthy bud formation.
Apply a thick layer of mulch around your plants in late spring to help conserve water and keep the soil cool. Try to keep the mulch from directly touching the base of the plant, as much as possible.
Weed regularly and apply a balanced organic fertilizer once a month during the growing season. I prefer organic fertilizers like Neptune’s Harvest.
Once you see buds start to form on your plants, remove the mulch and apply a layer of compost around the plants. This will keep your plant fed and help ensure you have large artichokes to harvest. Living compost also contains beneficial
Artichokes grow best in regions with cool summers, so expect your plants to go dormant if your summer weather gets hot. Look for them to come to life again in the fall, potentially giving you a second harvest period.
Artichoke Plant Care in Winter
If you are gardening in USDA zone 8 or higher, reapply the mulch you took off when buds formed.
In zones 6 and 7, you can likely get your plants through the winter with some extra protection.
- After your last harvest, cut the plants back until they are only 6-12” tall. Cover the crowns with a thick layer of organic mulch (leaves, straw, etc.) up to a foot or two deep.
- You may want to add additional frost blankets in a cold snap.
- You can also try my favorite hack: an aquarium heater in a bucket of water. Make sure to watch the video below!
In colder zones, some gardeners have had success mulching their plants, putting a basket over them, mulching again, and enclosing everything in a waterproof tarp. You can try this yourself or simply plant artichoke again in the spring.
You can also try using cold frames to protect your plants in cool temperatures.
Be sure to remove all mulch and coverings as soon as the weather permits so that you don’t suffocate your plants.
Common Pests and Problems
Artichokes rarely suffer severe pest damage, although slugs can be a problem in the spring and aphids in the summer.
To prevent fungal diseases and downy mildew, be sure you space your artichokes properly and plant in well-drained soil.
EM-1, a beneficial microbe-based biological fertilizer, can also help protect plants from mildews by encouraging complete lipid synthesis. EM-1 is a little pricey to start with, but you can use your purchased liquid as a starter to cultivate more. The company even gives instructions on their own website.
Extreme hot or cold weather can be your biggest “enemy” when growing artichokes. Provide lots of protection if freezing weather threatens and expect them to go dormant when the heat hits. Gardeners in warm climates may want to invest in some shade cloth to protect crops during the heat of summer.
How to Harvest & Store Artichokes
Now that you know the “secrets” of how to plant and grow artichoke, get ready to harvest when you see flower buds start to form.
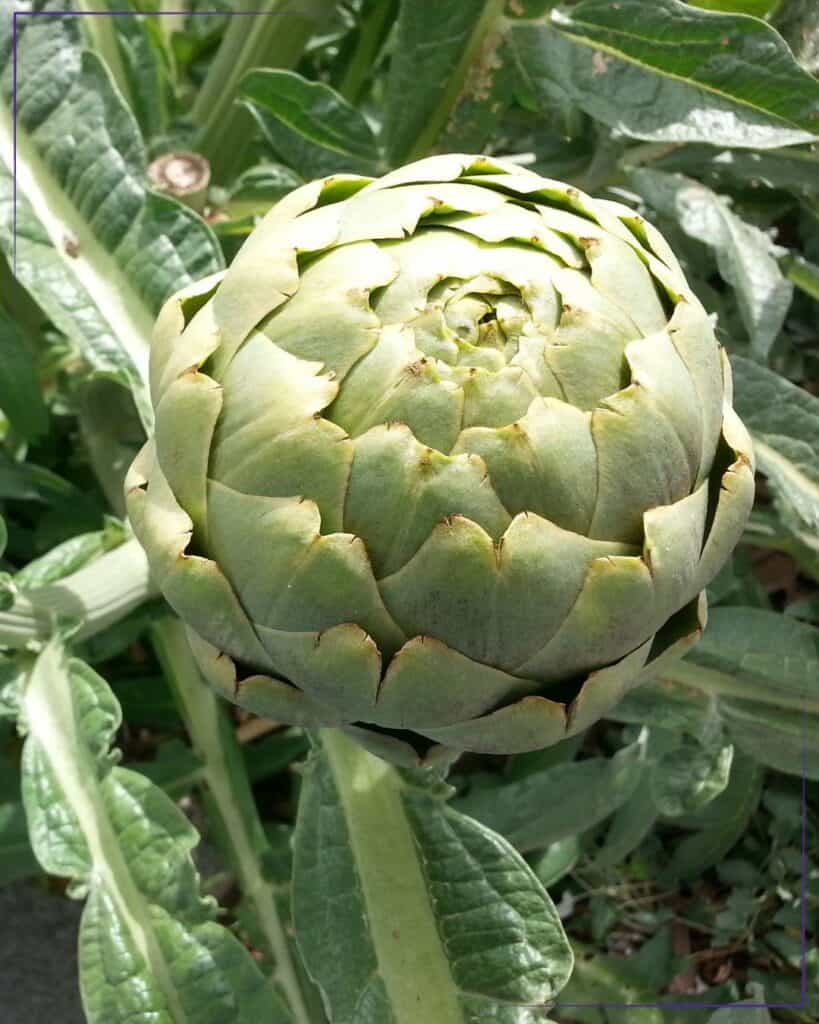
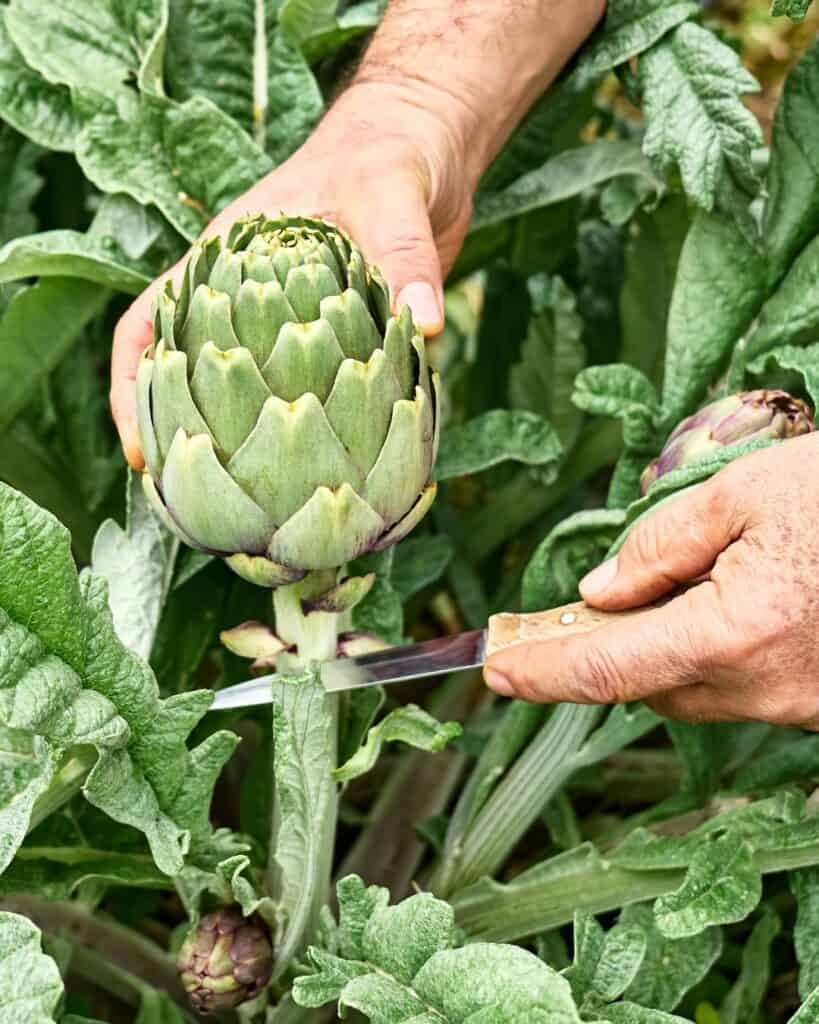
The ideal time to harvest artichoke buds is when the buds have swelled to about 3” across but are still tightly closed. If you see any about to open, pick them right away no matter what size they are because they will be inedible (but beautiful) when in bloom.
To harvest your own artichokes, cut each bud off with 1-2” of stem attached. Cut each flower stalk back to the ground when all the buds are gone.

If you don’t plan to eat your artichokes right away, sprinkle them with some cold water and store them in a plastic bag in your refrigerator. For longer storage, blanch and freeze either whole artichoke buds or just the hearts.
After you’ve enjoyed several freshly harvested artichokes, allow a few buds to flower to draw in pollinators for the benefit of your entire garden!
Natasha Garcia-Lopez is an avoid home-gardener and proud owner of 88 acres of land in rural West Virginia. She was a member of the Association for Living History Farms and Agricultural Museums for many years and is currently enrolled in the Oregon State University Master Gardner Short Course program so she can better assist you with your gardening questions.She holds a certificate in natural skincare from the School of Natural Skincare.


Leave a Reply