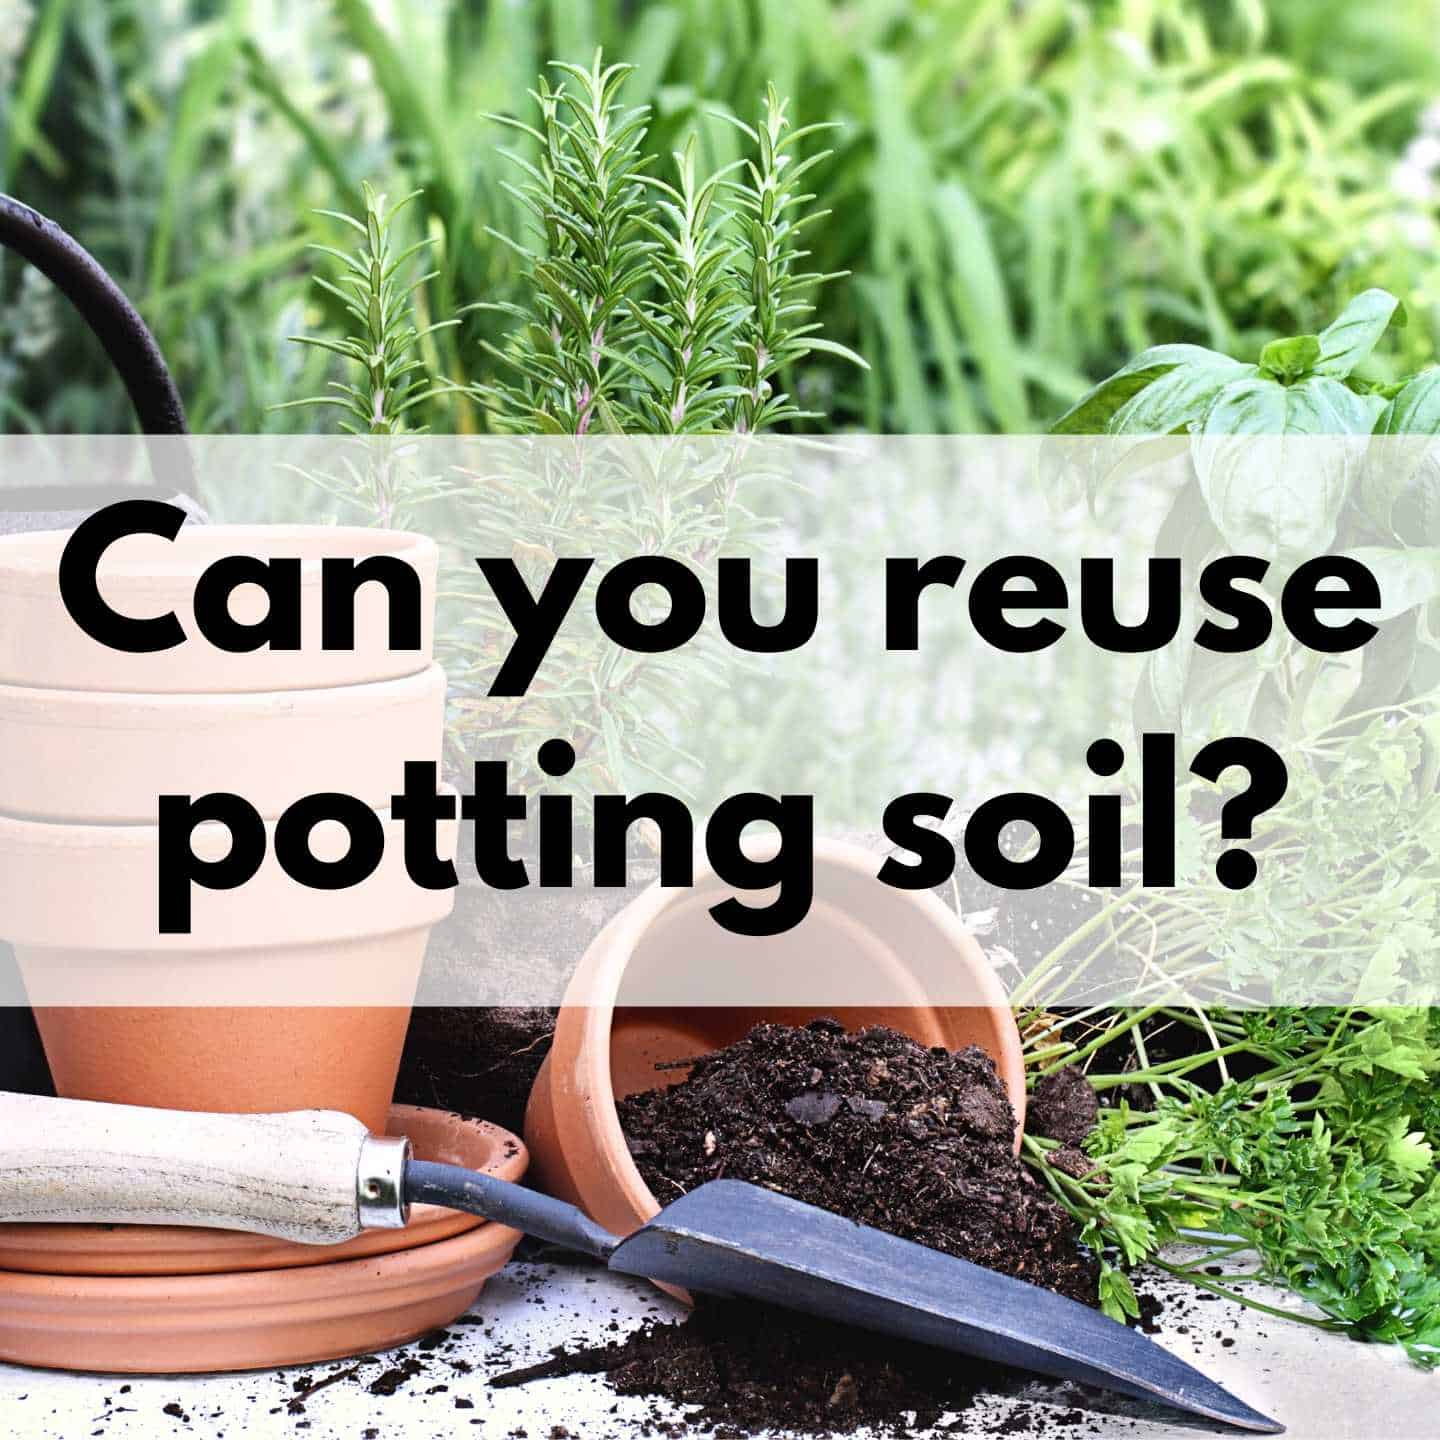
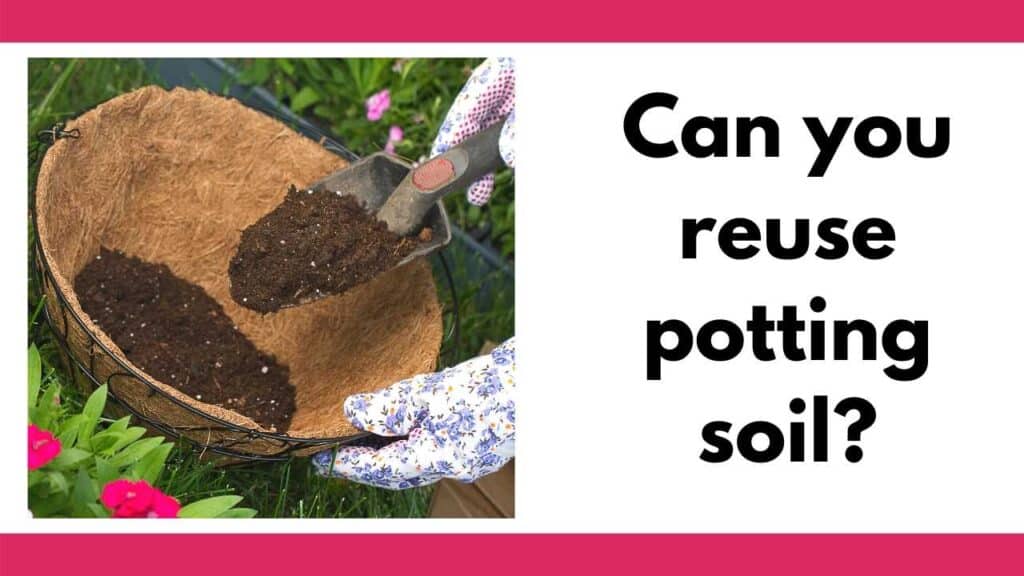
Can you Reuse Potting Soil? (Step-by-step process for recharging your potting soil)
When it’s time to transplant or repot your plants, you may wonder if it’s okay to reuse potting soil. Potting soil can be expensive – do you have to throw your used potting soil away? Or can you safely reuse potting soil?
Discover this guide to reusing your potting soil safely, tips for how to recharge potting soil, and ways to reuse potting soil.
Is it okay to reuse potting soil?
This post includes affiliate links, which means I may earn a commission on purchases made at no additional cost to you.
Yes, it’s okay to reuse potting soil...as long as you are careful and take steps to correctly store your potting soil and replenish it for next season. If this sounds like a lot of work, check out the section below on ways to reuse old potting soil that don’t require rejuvenation.
There are 3 main concerns when reusing potting soil:
- Depleted nutrients
- Compacted, compressed soil
- Potential for disease
Depleted potting soil
Plants pull nutrients from the soil as they grow. Plants use varying amounts of nutrients and are frequently referred to as either “heavy feeders” or “light feeders.” (There are also medium feeders that fall somewhere in between.)
As the name implies, heavy feeders pull more nutrients from the soil than light feeders. There are also soil building plants like peas, soybeans, and clover.
Heavy feeders include popular vegetables like tomatoes, spinach, peppers, and zucchini. If you’ve grown these popular container vegetables, your potting soil is probably depleted. Light feeders include most herbs, carrots, kale, and radish.
It’s best to practice soil rotation and plant heavy feeders in fresh soil, medium feeders in soil the next year, and, finally, light feeders. Store potting soil from heavy feeders and tomatoes in separate, labeled containers when you pack it up for the winter.
If you want to reuse potting soil, it’s important to replenish it with nutrients. Please see the section below for more information on how to recharge your potting soil.
Compacted potting soil
Is the soil level in your pots several inches lower at the end of the season?
Potting soil frequently becomes compacted instead of light and airy. This is partially due to the rapid decomposition of peat moss, a common component of most potting soils in the United States. Pine bark, another common potting mix component, also decomposes quickly.
When potting soil becomes compacted, plants cannot develop healthy roots and water may pool on top and drain poorly. This is because compacted soil lacks pore space. Pore space makes up about 50% of healthy soil. It allows water and air to move around your plants’ roots and allows roots go from freely.
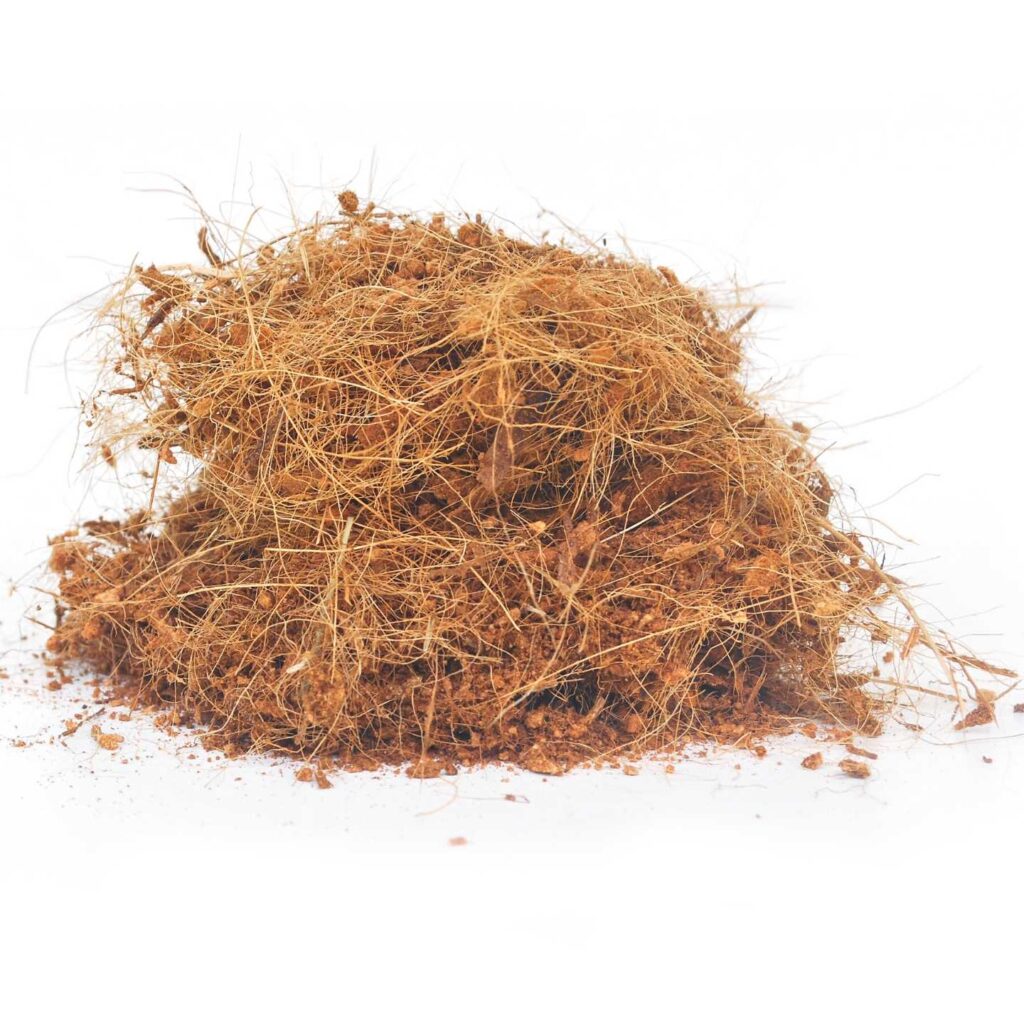
You can, and should, manually fluff up use potting soil. If the peat moss is degraded, this won’t be enough to restore your soil. Adding coconut coir (which is what I recommend instead of peat moss) will improve your soil’s structure and water rendition abilities.
Diseased potting soil
If your plants suffered from disease, it is important to dispose of your potting soil and not attempt to reuse it.
There are a wide variety of plant pathogens and many of them can survive in soil for several years. This is one reason it is important to practice crop rotation.
Tomatoes are prone to an incredible number of diseases and disorders. Some of these diseases can cross over and also infect pepper plants.
The bracissa family (crops like broccoli and cabbage) are also susceptible to diseases that can remain in the soil for years. Alternaria leaf spot, for example, can transmit through soil and plant debris.
Do not compost diseased soil. Instead, get rid of it completely. The one exception is if you have a worm compost bin. Cornell researchers found that vermicompost can suppress plant diseases in soil.
There are ways to pasteurize and solarize soil to kill nematodes, weed seeds, and other pathogens. However, solarization works best on clay and heavier soils. You can bake soil to kill most pathogens, but this is impractical on a large scale for most people. That is why I recommend simply tossing diseased soil.
How to rejuvenate potting soil
I have a step-by-step process to help you recharge your potting soil. Before we take a look, it’s important to understand why I recommend coconut coir instead of peat moss.
Is peat moss bad?
Peat moss is incredibly popular with gardeners and commercial growers in the United States.
Peat moss is sphagnum moss that has been compressed, submerged under water for many years, and partially decomposed. It forms at a rate of one inch every 15-25 years, which makes it seem like a handy renewable resource.
Unfortunately, peat moss degrades quickly. In just one or two years, it decomposes and your potting looses looses its light airiness and becomes compact and challenging for plants to grow in.
In order to harvest peat moss, new moss must be scraped away from the bog’s surface. Mining peat moss disrupts the bog’s ecosystem and has the potential to disrupt history, too. Peat bogs have a low-oxygen environment that’s perfect for preserving artifacts and mummies. (Read more about peat bogs in the Smithsonian Magazine.)
Peat bogs store about a third of the world’s soil carbon. Amazingly, peatlands store 100x more carbon that tropical forests! Harvesting peat moss releases carbon dioxide. These emissions are magnified if the harvested peatlands catch fire. According to the United Nations, peatland fires account for 5% of global anthropogenic carbon immersions.
Instead of adding peat moss, or purchasing new potting soil that uses peat moss, use coconut coir to rejuvenate your potting soil.
Coconut coir is a renewable product and it last longer than peat moss in your potting soil. Coconut coir is a byproduct of the coconut industry and is comprised of coconut husk dust and short fibers. Approximately 12 million pounds are produced a year.
Coconut coir is a more sustainable choice than peat moss and it last longer, which means you’ll have less work to do next year when you recharge your potting soil.
We’ll discuss how to to use coconut coir to restore your potting soil in the steps below.
Step by step guide to rejuvenating potting soil
This process needs to be done at least two weeks prior to planting season.
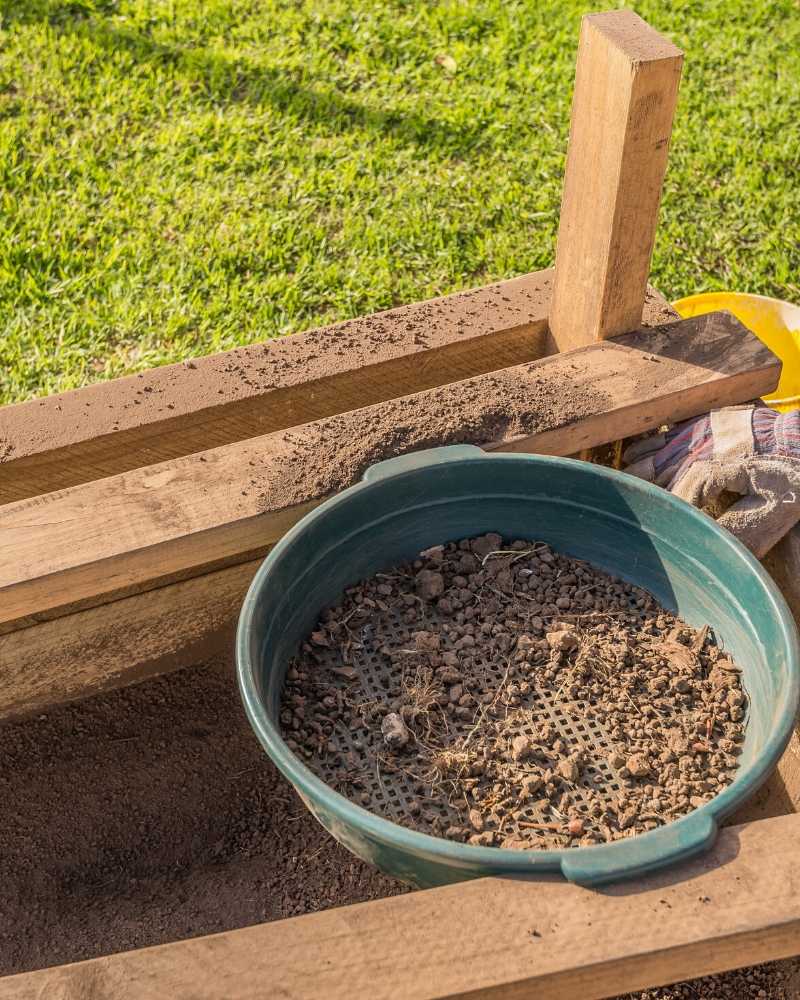
Ideally you should sift through your soil and remove debris before storing it for the winter, but if you didn’t do that already do it before washing your soil and making pH adjustments. I’ve included removing debris from the soil as the first step, but you can skip to step #2 if you’ve already removed all the debris from your old potting soil.
Materials needed for soil rejuvenation
- A large tarp or piece of plastic sheet
- A soil sieve – optional but recommended
- A rake or hand cultivator
- A large bucket or bin with holes in the bottom
- Slow release fertilizer
- Coconut coir
- Perlite – optional (makes the soil lighter)
- Soil pH tester – optional but recommended
- Gypsum, lime, or other soil amendments as needed to adjust soil pH
- Compost and worm castings, optional but helpful
- A large compost bin or container for holding your soil
- Gloves and mask – optional but recommended. Discover the best cut resistant garden gloves here.


How to rejuvenate your potting soil
Whenever you’re working with soil and soil amendments, it’s a good idea to wear gloves and a protective mask.
1. Spread your soil out on your tarp or plastic sheet. Remove and dispose of any old roots, plant stems, or other debris. You can rake through it with a full sized rake or a hand fork. I personally prefer a hand cultivator and a garden kneeler or knee pads.
You may also want to sieve your soil, if you have a garden sifter or sieve set. This is best, but many beginning or small scale gardeners do not have a garden sieve. If you’er on a budget and don’t have one, that’s okay. Just rake the soil by hand as best you can.

- Size: φ8.26 x H 2.55 in (φ210mm x 65mm) | Sieve mesh sizes: 0.04 in (1mm) 0.11 in (3mm) 0.19 in (5mm) | Weight: 8.6oz (245g) | Material: Frame -...
- 【Made in Japan】Real Japanese item made by the artisans of Sanjo in Niigata Prefecture
- 【Interchangeable lids】1 frame, 3 different interchangeable mesh screens. To change screens, put the bowl upside down and tap the mesh off so it...
2. Next you’re going to flush the salts from your soil. A lot of people don’t do this because they don’t realize how important it is. Mineral salt build up in soil, especially if you don’t wanter potted plants until water runs freely out of the bottom. Brown leaf tips, yellowing leaves, wilting, and poor growth are all signs of possible excess mineral salt accumulation in your potting soil. If you’ve encountered these problems before, now is the time to start washing your soil!
Transfer the soil to a large bin or bucket with holes in the bottom. You can use a drill to drill out holes in any large plastic container.
Fill the container with water and saturate the soil until water flows freely out of the bottom. Allow the soil to drain fully, then flush it a second time. After the water has drained out again, transfer your soil back to your tarp or plastic sheet.
After the soil has dried, break up any clumps with your rake and flush it a second time.
4. Add compost and worm castings, if using. Sieve your compost if you have a sieve. Mixing a 1:1 ratio of compost to soil will give you nice, rich potting soil to grow in. Worm castings are typically used at about 10-12 ounces per 5 gallons of soil.

- 100% Pure Castings: Each bag of WIGGLE WORM Worm Castings is OMRI listed organic, nutrient-rich, and mineral-dense pure castings, not vermicompost or...
- Improves Soil Structure: WIGGLE WORM Pure Worm Castings are tiny, football-shaped particles which help improve soil aeration, while also creating...
- High Quality Fertilizer: Pure Worm Castings add nutrients and boost microorganisms in the soil around your plant to grow better, healthier roots for...
3. Add soaked coconut coir and/or perlite. You can use up to 40% coconut coir and 10-20% perlite. For best results, use warm water and a very large container when you soak your coconut coir.


5. Test and adjust soil pH. Many people don’t bother with this extra step, but it is worthwhile. Different plants prefer different acidities, but many vegetables do best with slightly acidic soil with a pH of 5.8-6.5. Many vegetable gardeners aim for a pH of 6.5. If your soil pH is below 5.5 or above 7.5, you will want to adjust it to make sure you plants can access nutrients in the oil.
You don’t have to do any complicated science experiments to test your soil pH. Get an electronic pH soil tester and it will do the testing for you!
Potting soil frequently becomes more acidic over time. Lyme and wood ash are two popular soil amendments to raise soil pH. There are different forms of lyme and application rates vary, so make sure to read up on how to make your soil less acidic if that’s something you need to do. For acid-loving plants like blueberries, you may need to make your soil more acidic with aluminum sulfate or sulfur.


6. Add 1 teaspoon of slow release fertilizer per gallon of soil. Not sure how much soil you have? Check the size of your bucket or bin to see how many gallons it contains.
7. Add enough water to *lightly* moisten the soil and store it in a large bin or compost container for at least two weeks to allow everything to incorporate into the soil.
Enjoy your awesome rejuvenated potting soil!
Ways to reuse old potting soil
If storing and recharging soil seems like a hassle, here are a few ideas for ways to reuse your old potting soil:
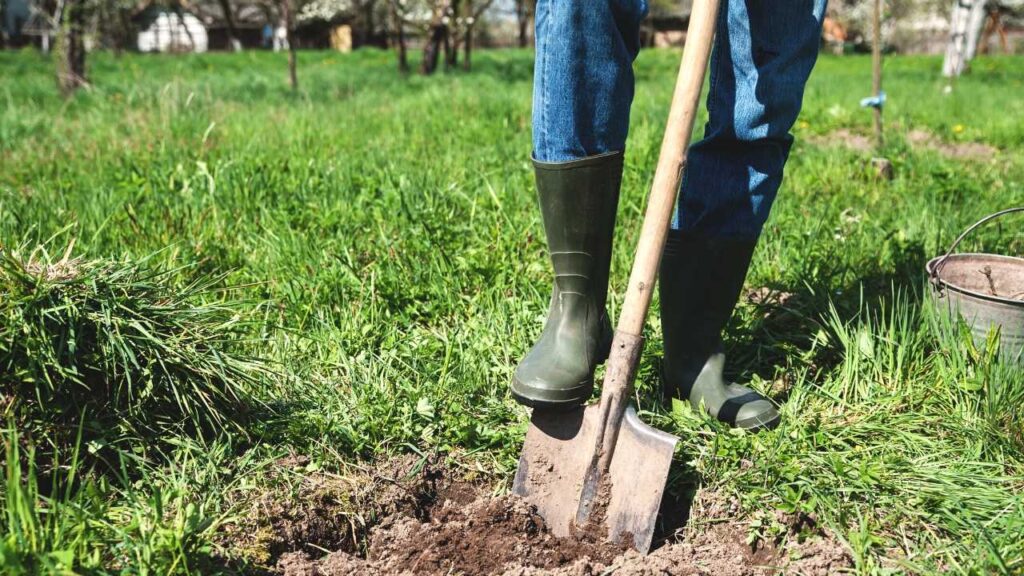
- Use it to fill in holes in your yard. This is my personal favorite and something I have done many times. Fill it ruts, wash outs, dog holes, spots where your toddler has been digging, etc.
- Add it to your compost pile. Make sure to to avoid adding plants and dirt from any plants that suffered from disease. Many pant pathogens can remain in soil for years, even if you have a hot compost pile. New to composting? Learn more from an authoritative, free source like an agricultural extension. For specific advice, find and contact your local state extension office.
- Bury it in a compost hole.
- Work it into your flower beds.
- Use it to fill the bottom half of raised beds, then add fresh soil to fill. (Do NOT do this with diseased soil!)
Frequently asked questions
Q: Can I reuse potting soil from tomatoes?
A: Do not reuse potting soil from tomatoes to grow tomatoes again for at least 3 years. They are heavy feeders that pull lots of nutrients from the soil. Additionally, tomatoes are disease prone. These diseases can stay in the soil for several years. Some of them also affect pepper plants, so don’t reuse tomato soil for peppers, either.
B: What can I do with old tomato soil?
A: You can recharge tomato soil and use it for a different family of plants. Soil replenishing plants like beans and peas work well, as do light feeders like most herbs, radishes, and kale.
Q: Can you put old soil in the compost bin?
A: Yes, as long as the plants in it weren’t diseased. Do not put diseased soil in your compost pile.
I hope this guide to reusing potting soil helps you! Happy Gardening.