How to Plant and Grow Endive from Seed
Endive has long been enjoyed in European countries and is now growing in popularity in other areas of the world, particularly North America. It has a distinct bitter flavor that largely disappears with cooking and shines equally in soups and salads.
To make things confusing, there are two main types of endive: the leafy variety and Belgian endive, which is grown for its pale, tightly packed heads. Both are reminiscent of lettuce but with their own unique characteristics.
If you want to enjoy this vegetable in its freshest form, here’s how to plant and grow endive (both types) in your garden at home.
What is Endive? + Growing Information
Endive is a vegetable closely related to common chicory, an herb in the dandelion family grown for its roots that make one of the best coffee substitutes. There are two main varieties of endive and each has very different growing requirements.
One variety, Cichorium endivia, is grown for its leaves that can be used as a salad green or cooked in soups, stews, etc. There are also two subspecies of leafy endive: C. endivia var. crispum, also known as frisee, and C. endivia var. latifolia, also known as escarole.
Endive, frisee, and escarole are all grown much like lettuce. They do best in cool weather, but are otherwise easy to grow as both a spring and fall crop.
Belgian endive (Cichorium intybus var. foliosum) is a very distinctive vegetable. It’s grown for tightly packed, cylindrical heads that are a pale creamy yellow color. You may also hear it called witlof or chicon.
In the garden, Belgian endive has very unique growing requirements. It has to be grown for a period of 95-150 days outdoors during which time the roots develop and the plants put out leaves. Then, the tops of the plants are cut off, the roots dug up, and a second “growing” period takes place indoors, which is when the pale heads form.
If you have your heart set on growing Belgian endive, it’s quite a challenge but can be done if you follow the right steps.
How to Plant and Grow Endive (Leafy Type)
To grow the leafy type of endive, look for seeds that are listed as Cichorium endivia. There are several good varieties to choose from, like ‘Curlesi’, ‘Batavian’ (escarole), and ‘Rhodos’ (frisee).
When and Where to Plant
Endive is a cool season crop and grows best when temperatures are consistently 60-70°F. This means it’s best planted as a spring crop or in late summer for a fall harvest. In areas with mild weather year-round, it can also be grown over the winter.
A full sun spot is best for endive, although it will tolerate some shade and may even appreciate a little afternoon protection when the weather warms in summer. Plant in well-drained soil with some compost added. Raised beds work particularly well.
If you want to grow endive in containers, choose ones that are at least 12-18” deep, since the plants develop deeper roots than most salad greens.
Growing Endive from Seed
Endive is very easy to start from seed. You can directly sow the seeds in your garden about 3 weeks before your last spring frost date or start them early indoors about 3-4 weeks before you plan to plant them outside.
For a fall crop, start seeds 8-10 weeks before your first frost date in the autumn.
To directly sow seeds, make a shallow furrow (about ¼” deep) and drop in seeds an inch apart. You can also sow the seeds on top of the soil and cover them lightly with a layer of loose soil or potting soil.
Keep the bed damp until germination occurs. When your seedlings are a few inches tall, thin them to a spacing of 8-12” apart.
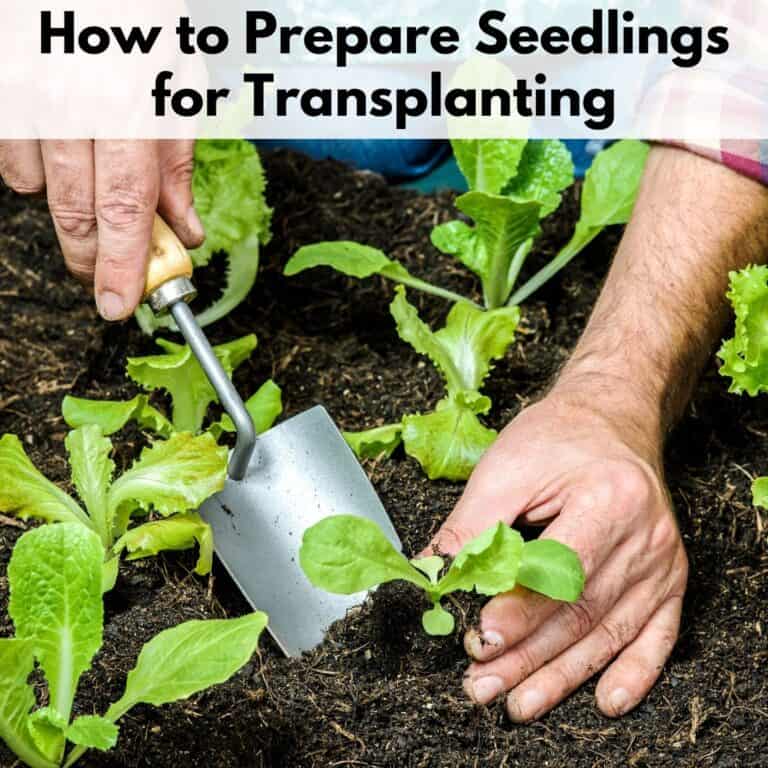
If you have seedlings that were started indoors, transplant them a week or two before your last spring frost date, spacing them 8-12” apart. Make sure to harden them off before transplanting. Learn how to prepare seedlings for transplanting here.
Plant Care & Pest Management
The good news is that maintenance is not a big part of how to plant and grow endive successfully.
Your biggest care task as your plants grow is to supply them with water if the weather is dry. Endive likes consistently moist soil, and the leaves may become overly bitter if the plants don’t get enough water.
Keep the soil moist (not soggy), and put down a natural mulch around your plants to help with water retention and weed suppression.
The most likely pests to go after endive are aphids, slugs, and snails as well as deer, rabbits, and other larger critters. Use fencing to keep the larger pests out and place crushed eggshells around your plants to deter slugs and snails. Aphids can be hosed off the leaves.
Harvesting
Leafy endive can be harvested as a cut-and-come-again plant, or you can wait until the heads are fully mature and harvest the whole plant at one time.
For individual leaves, you can start picking baby greens when they get about 2” long and continue harvesting as long as the plants produce. Break off outer leaves where they meet the stem to harvest them, and leave the inner ones to keep growing.
Smaller endive heads can be harvested about 40-50 days after planting, while full-size heads may take 60-80 days to be ready. Collect them by using a sharp, clean knife to slice off the heads just above soil level. Leave the roots in the ground and they may reprout.
For milder, paler heads, blanch the plants by placing a pot over them or covering them with fabric to block out sunlight for 2 weeks before harvest.
How to Plant and Grow Endive (Belgian)
Belgian endive is also best started from seed, but it has a very different growing season than the leafy type. You’ll need to give most varieties over 100 growing days, although they can go through a few light frosts in the fall.
When and Where to Plant
The best way to plant Belgian endive is to directly sow the seeds in a prepared garden bed. Mid to late spring is the best time to sow, after the danger of frost has passed and the weather is more settled.
Choose a spot that gets full sun in cooler regions or one that gets a bit of afternoon shade in areas with hot summers. Well-drained, loose soil is ideal to allow the taproots of Belgian endive to reach deep. If your soil is heavy clay or compacted, use raised beds.
You can add compost to your soil before planting to improve the texture and nutrient content, but avoid manure, since it may add too much nitrogen to the soil.
Planting Belgine Endive Seeds
Once your garden bed is prepared, lightly rake the top of it so that the soil is loose. Then, sow your seeds about an inch apart and ¼-½” deep in rows that are spaced 16-24” apart. Water the bed well, and be sure to mark where your seeds are so you don’t plant over them.
Keep the bed moist while the seeds are germinating, which can take 1-3 weeks, depending on soil temperature and other factors.
When your seedlings are up and have grown a few inches, thin them to a spacing of 4-6”.
Belgian Endive Plant Care & Pest Management
While your seedlings are growing, keep them well watered if the weather is dry. Belgian endive puts down deep taproots, so water deeply and infrequently rather than shallowly and often. Always water the soil around your plants and not the leaves.
Pull out weeds while they are still small and mulch around your plants if necessary to suppress weeds and help with moisture retention.
Do not harvest any of the leaves from your plants while they are growing. You want all the energy to be going from the leaves to the roots so that you can get a good harvest later.
Belgian endive can attract some common pests like aphids and slugs, but as long as you don’t get a severe infestation, your plants will be fine. (You’ll be chopping off the leaves later anyways.)
Bigger pests like rabbits and deer can be more of a problem, and fencing is the best solution. Voles can go after the roots of Belgian endive, so use a repellant if they become a problem.
Harvesting Belgian Endive + Forcing the Heads
Dig up your plants in mid to late fall or after they have gone through a light frost. Treat them like carrots or another root crop, digging down deep and loosening the soil around them to keep the taproots intact.
Once your plants are out of the ground, trim off all the leaves about an inch above the roots. You can also trim off any thin roots that are less than an inch in diameter, but keep the thicker ones.
Store your Belgian endive roots in a dark area that stays between 32-36°F for 6-10 weeks. When you are ready to force the heads, take the roots to a completely dark space that is consistently 55-70°F.
Heads should form in 3-4 weeks and can be cut off the root and eaten.
Storing & Enjoying Endive
Now that you know how to plant and grow endive, it’s time to enjoy the fruit of your labor.
Neither type of endive stores very well after being harvested, so be sure to eat them as soon as possible. You can, however, blanch and freeze endive leaves (much like spinach) if you want some on hand later for soups and stews.
Otherwise, experiment with using endive both cooked and raw to discover how you most enjoy its unique, bitter flavor!