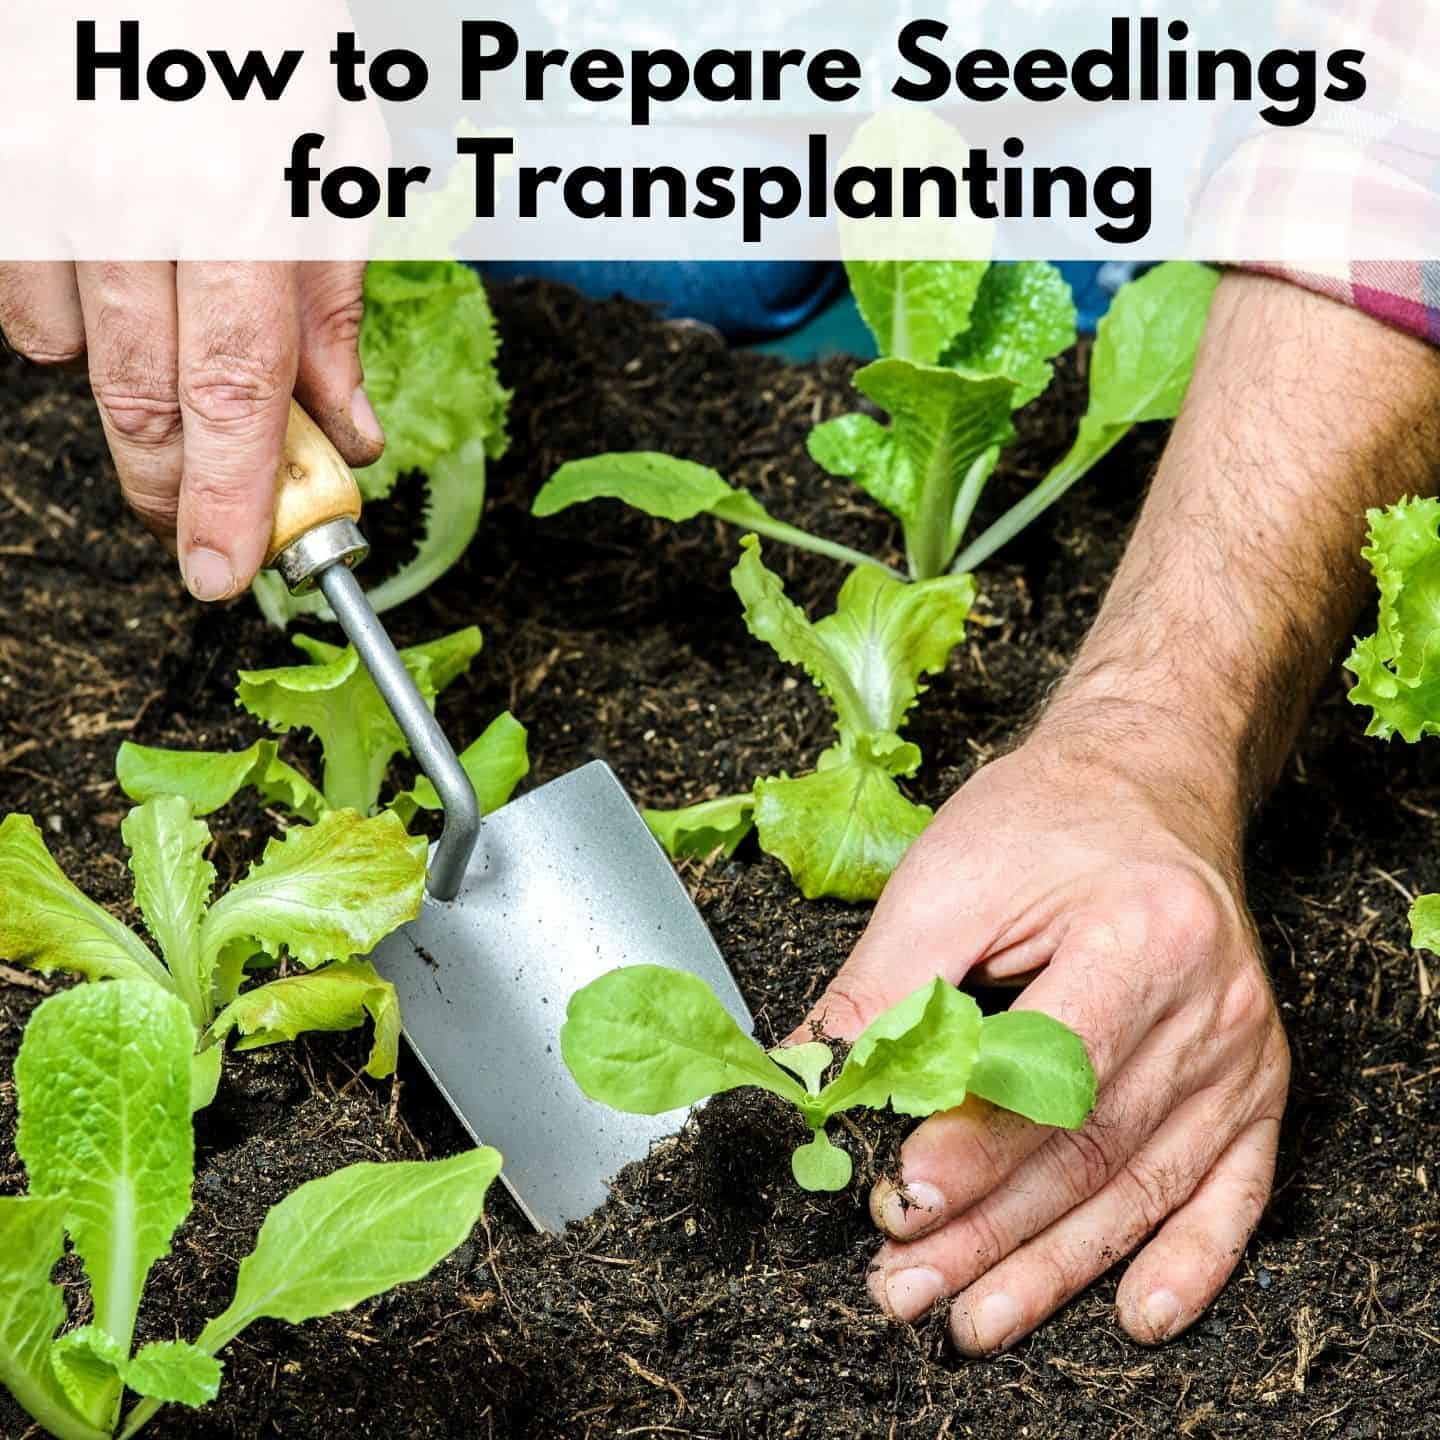
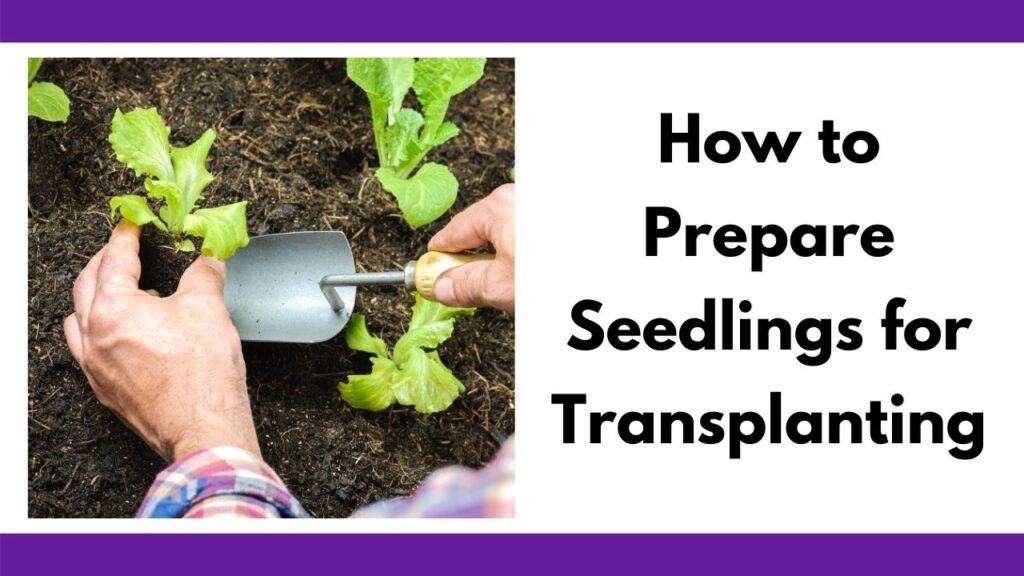
How to Prepare Seedlings for Transplanting
Are you confused about what “hardening off” your seedlings means? Are you eager to get your garden started and want to plant those seedlings you bought this morning? Or maybe you’re wondering why your healthy looking seedlings suddenly wilted when you transplanted them last year.
Whether you started your own seedlings indoors from seed or purchased seedlings at the store, it may be tempting to just stick them in the ground as soon as possible. However, your baby plants need a little preparation before making the big move to your garden.
Getting your seedlings ready to be planted is an important step. Vegetables, flowers, fruits, annuals, perennials – they all need to go through the same process before you plant them.
So how do you prepare seedlings for transplanting? Here’s a detailed guide that will show you the steps and give you some tips for a successful transplanting process.
This post includes affiliate links, which means I may earn a commission on purchases made at no additional cost to you.
Related: The 7 easiest vegetables to grow
Why Prepare Seedlings for Transplanting?
Understanding why you need to prepare your seedlings for transplanting will help you later on when you’re actually going through the process.
The main reason is that seedlings spend most of their time growing in sheltered conditions. Whether you started them in your home or they were started somewhere like a greenhouse, the seedlings have enjoyed regular temperatures, light, watering, etc.
Planting seedlings straight from a warm, comfy place directly into your garden can cause them to go into shock. This shock to their system may be enough to kill them or to severely harm their growth.
By gradually getting your plants used to outdoor conditions, the transplanting process will go smoother, and your plants will have a much better chance at success.
You need to prepare your seedlings for transplanting even if you live in a mild climate and your seedlings won’t be exposed to a dramatic temperature change when they move outside.
Your plants aren’t just getting used to a different temperature. They also need to acclimate to direct sunlight, rain, and wind.
To make the process a little easier, and keep your seedlings healthy and strong, consider using a small fan to blow air on them while they’re growing inside. This helps your seedlings have strong stems and assists with respiration. I personally use this clip on or pedestal 6″ fan and this rechargeable USB oscillating fan for my indoor seedlings.


Do I Really Need to Harden Off my Seedlings?
All seedlings that are being grown indoors need to go through a preparation period before being planted if you want a successful, healthy garden. This includes any you may have bought at an indoor section of a nursery, greenhouse, or garden center.
However, some nurseries have already done part or all of the process for you. If you buy plants that are sitting outside in the elements, there’s a good chance they’ve already been acclimated to outdoor weather.
If you’re unsure, ask someone at the place you’re buying the seedlings whether they’ve been hardened off.
Although it sounds intimidating, starting your own plants from seed is more economical and is more likely to lead to a successful garden than purchasing transplant seedlings. The book Starting Seeds has all the information you need to learn how to grow your own plants from seed so you never have to rely on whatever the local store decides to stock again.

- Ellis, Barbara W. (Author)
- English (Publication Language)
- 128 Pages - 01/15/2013 (Publication Date) - Storey Publishing, LLC (Publisher)
When to Start Preparing Seedlings for Transplanting
When to transplant seedlings depends on three main factors: the seedling’s size, the type of plant, and the weather.
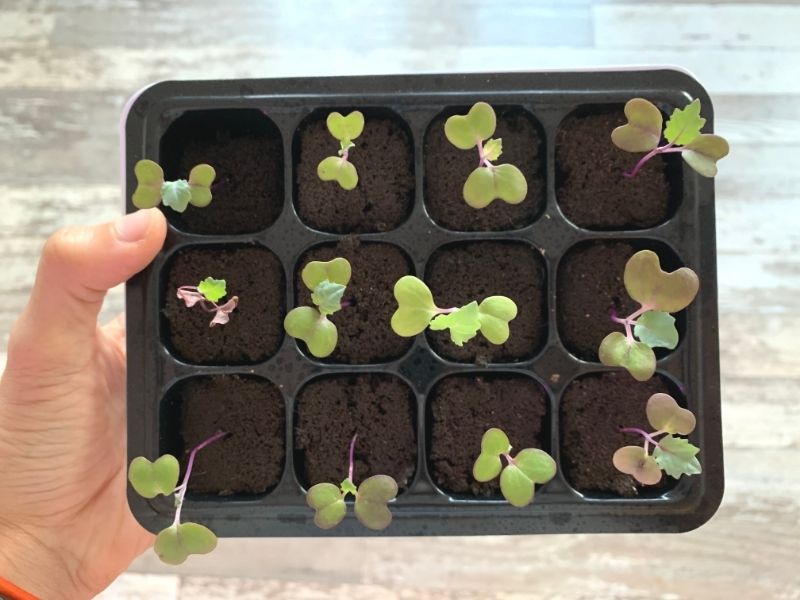
Most seedlings are ready to transplant when they have their second set of “true” leaves. At this stage, they’re big enough to survive outside, once prepared, but small enough to avoid being too severely shocked by transplanting.
In the image below, you can see seedlings that mostly have one set of seed leaves and one “true” leaf.’ The difference between the two types of leaves is very obvious, so you won’t be confused and wondering whether or not your plants have true leaves yet.
Most seedlings will be ready for transplanting after the danger of frost has passed in the spring. Some can go out earlier and some need to wait for warmer temperatures, so make sure you check the planting time for your specific seedlings.
Tomatoes are very sensitive to cold, so don’t rush them outside the day after your theoretical last frost date. Tomatoes are one of the few plants that can benefit from being transplanted. If you’re seedlings are getting large, transplant your tomatoes into a larger container and keep them indoors until you’re reasonably certain it won’t get cold again.
Don’t rely on your guess about how sturdy you think a plant looks – read up on your specific plant varieties. A tomato seedling can look very robust, but dies quickly in the cold. A lettuce seedling looks delicate and like there’s no way it can thrive outdoors, but lettuce can be surprisingly cold tolerant.

And, of course, when to transplant your seedlings will depend on your particular climate zone and this year’s weather. Always pay careful attention to the weather, not just average last frost dates and temperatures.
Whenever you determine your seedlings’ planting time, plan to start preparing them a week or two in advance.
Hardy plants that like cold weather will most likely do fine with just a week of preparation time. Other plants are more tender and sensitive to the cold. Give them a full two weeks to adjust before planting them in your garden.
Related: How to attract earthworms to your garden for healthy plants
How Do You Prepare Seedlings for Transplanting?
Hardening Off
In gardening language, preparing your seedlings for transplanting is called ‘hardening off’. It basically means that you need to toughen them up before planting.
You do this by gradually exposing them to more and more outdoor weather until they are able to stay outside all the time. Remember, if you’re planting in the spring, the temperature of the air and the ground will be much different than the temperature in your home.
You will keep your seedlings in the pots or trays they are growing in right now and simply transport them in and out as needed. It can be helpful to have a bin or large tray to make carrying them easier.
It sounds like a hassle to carry your plants outside and in each day, but it actually saves you time and money in the long run. It’s a lot more time-consuming to start your garden over from scratch, or be stuck with whatever seedlings the nursery has leftover late in the season, if your plants die because they weren’t properly prepared.
How to Harden Off Seedlings
The first step of the hardening off process is to take your seedlings outside on a relatively nice day. Carry them out after temperatures have had a chance to warm up a bit.
Place them somewhere that gets indirect sunlight or is shaded. You can even put them under your porch! The goal is to keep them out of direct light at first. Real sunlight is much brighter and more intense than grow lights or light coming through a window and can burn your plants if you put them in a lot of it right away.
Allow your plants to be outside for about one hour, then bring them in.
Keep up this routine, adding an hour or two outside each day.
Bring your seedlings back in for the night before temperatures start getting too chilly. It can be helpful to set an alarm or reminder on your phone so you don’t forget.
Ideally, you would continue this process for about a week. Each day you can put your plants in a little more sunlight and leave them out a little longer. Make sure you are watering them regularly, since they will dry out more quickly outside (unless it rains).
After a week, you can start leaving your plants out all night unless extreme weather is in the forecast. Keep them in a relatively sheltered spot and cover them with a plant frost cover if borderline temperatures are called for.
By the end of the second week, your plants should be ready for the garden and can go in the ground when it’s time!
Important Plant Transplanting Tips
If this is your first time hardening off seedlings, you may feel a bit nervous. Here are a few tips to follow to make sure your plants survive and thrive:
The first few days you have your seedlings outside, try to provide them shelter from wind and heavy rain as well as sunlight. They will gradually be able to take more of the elements, but it’s a good idea to baby them their first few times out.
Always keep an eye on the weather forecast for an unexpected frost or extreme wind, rain, hail, etc. If something extreme is coming, wait to take your seedlings outside until a more normal day.
Don’t forget about hungry critters! Deer, rabbits, and slugs all love tender seedlings. They likely won’t attack during the day, but make sure your plants are out of reach during the nights you leave them outside. Lettuces are especially susceptible to slug damage.
Know your plants. Some seedlings (like kale and cabbage) can take temperatures below freezing, while others (like peppers and basil) don’t even like 40°F weather. Know which ones are which before taking them outside.
Relax – but don’t forget to water. Your plants are meant for the outdoors and are tough, even though they are tiny. They’ve got this!
Just make sure seedlings stay well-watered, since the new outdoor conditions can dry the soil out more quickly. Bottom water seedling trays or, if watering from above, make sure to use a watering wand. A watering wand provides a gentle flow so it is less likely to damage your plants. Discover the best garden watering wands in this post.
Transplanting Seedlings
You now know exactly how you prepare seedlings for transplanting. Once you’ve taken them through the process, it’s finally time to plant them in your garden!
Remember to weed and clear out debris before you plant. Dig holes that are just as big as the roots of your seedlings, and loosen the roots if plants are rootbound.
Transplant on an overcast day, if possible. Even hardened off seedlings benefit from overcast weather instead of direct sun when they’re being transplanted.
Many people use peat pots for their seedlings. These pots bill themselves as being degradable. In my experience, they do not break down well and can significantly impede root development. I recommend removing your seedlings from peat pots before planting. Before I stopped planting in peat pots, I’d frequently find fragments of pots still in the ground a year later!
Set each seedling so the seed leaves are just above the soil’s surface, fill in around it with soil, and firm the top with your hands.
Keep your seedlings watered and weeded, and they’ll thrive in no time. Seedlings may need watering every day for the first week or two, so make sure to keep a close eye on them. All your hard work will soon pay off with a beautiful garden!
Popular summer vegetables and herbs
Discover how to grow popular vegetables and herbs in your backyard garden or container garden with these in-depth vegetable growing guides.
7 Easiest Vegetables to Grow for an Abundant Harvest (and 5 to avoid!)
Discover the easiest vegetables to grow for beginners so you can have a healthy, successful garden.
Discover these must-know tips for planting yellow squash and common squash growing mistakes and problems.
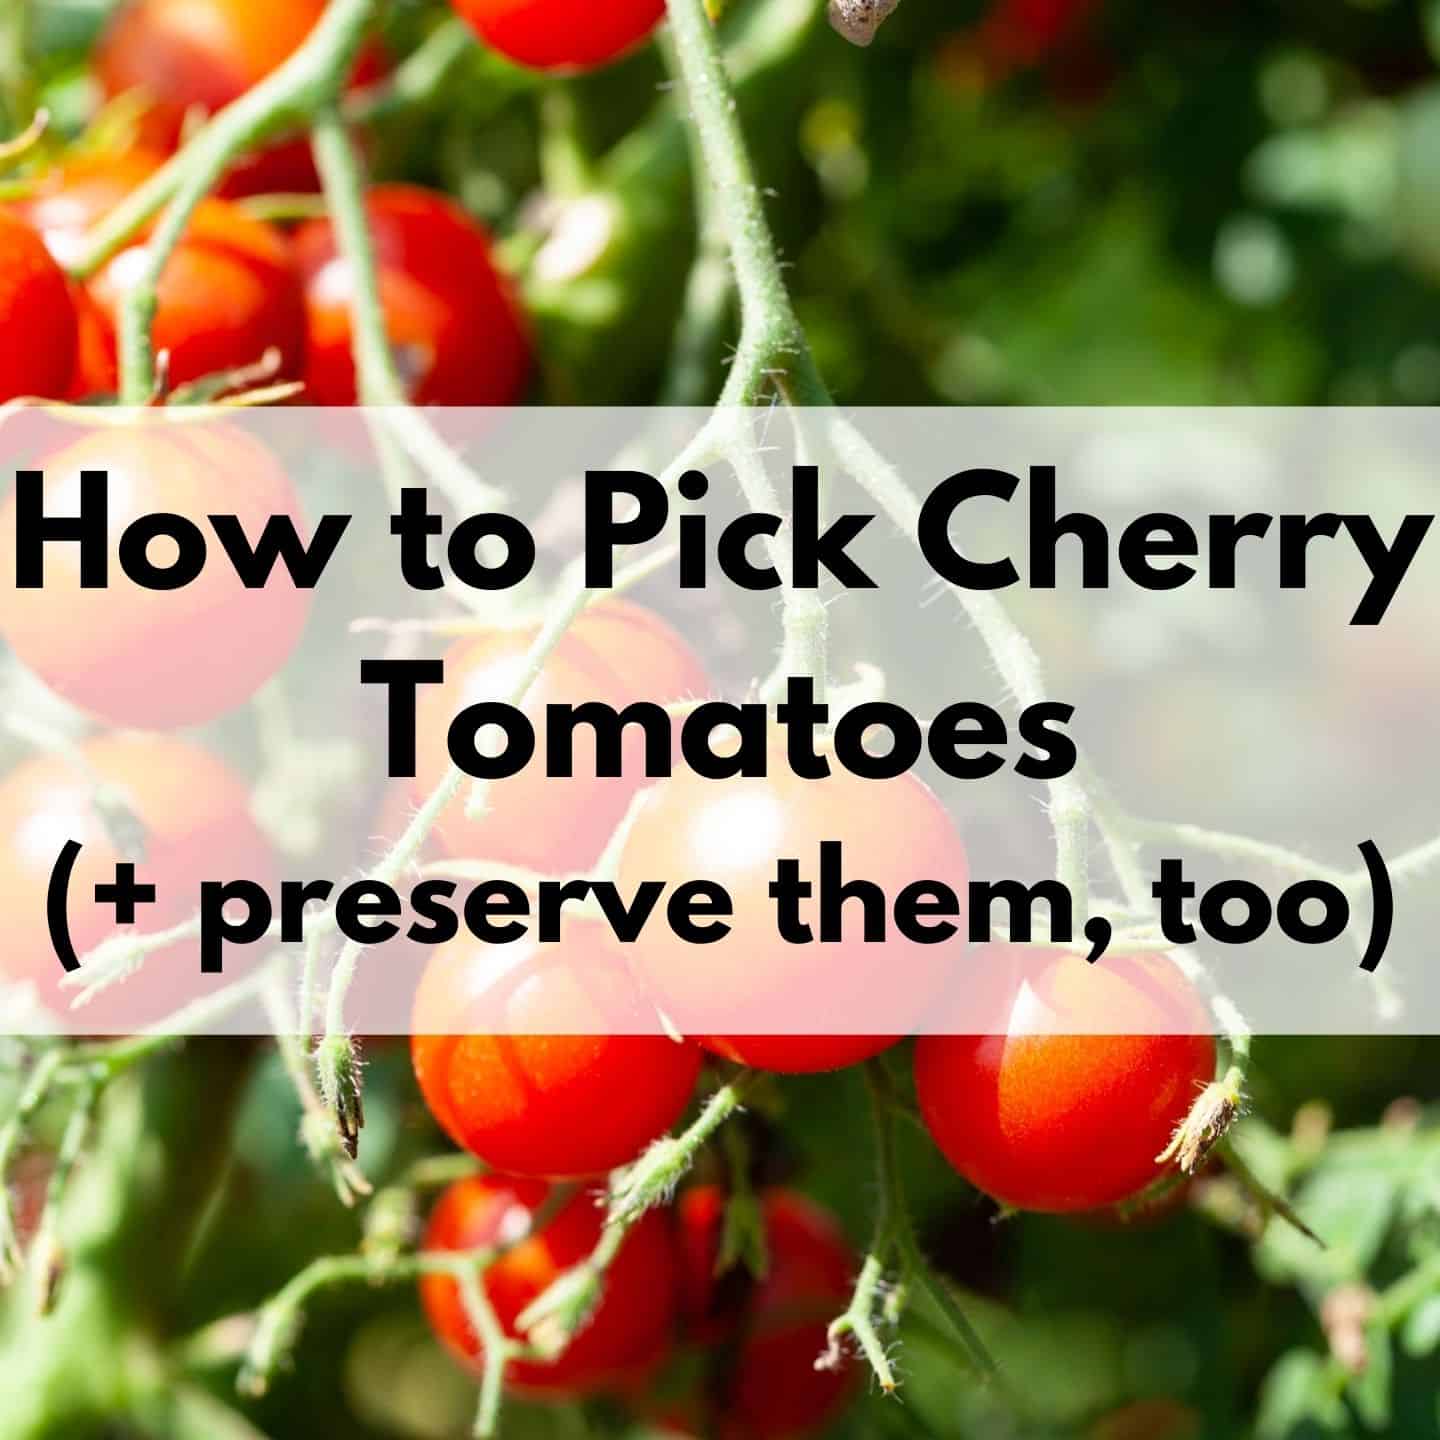
How to Pick and Preserve Cherry Tomatoes (plus drool-worthy cherry tomato varieties to try)
Discover how to pick and preserve delicious cherry tomatoes.
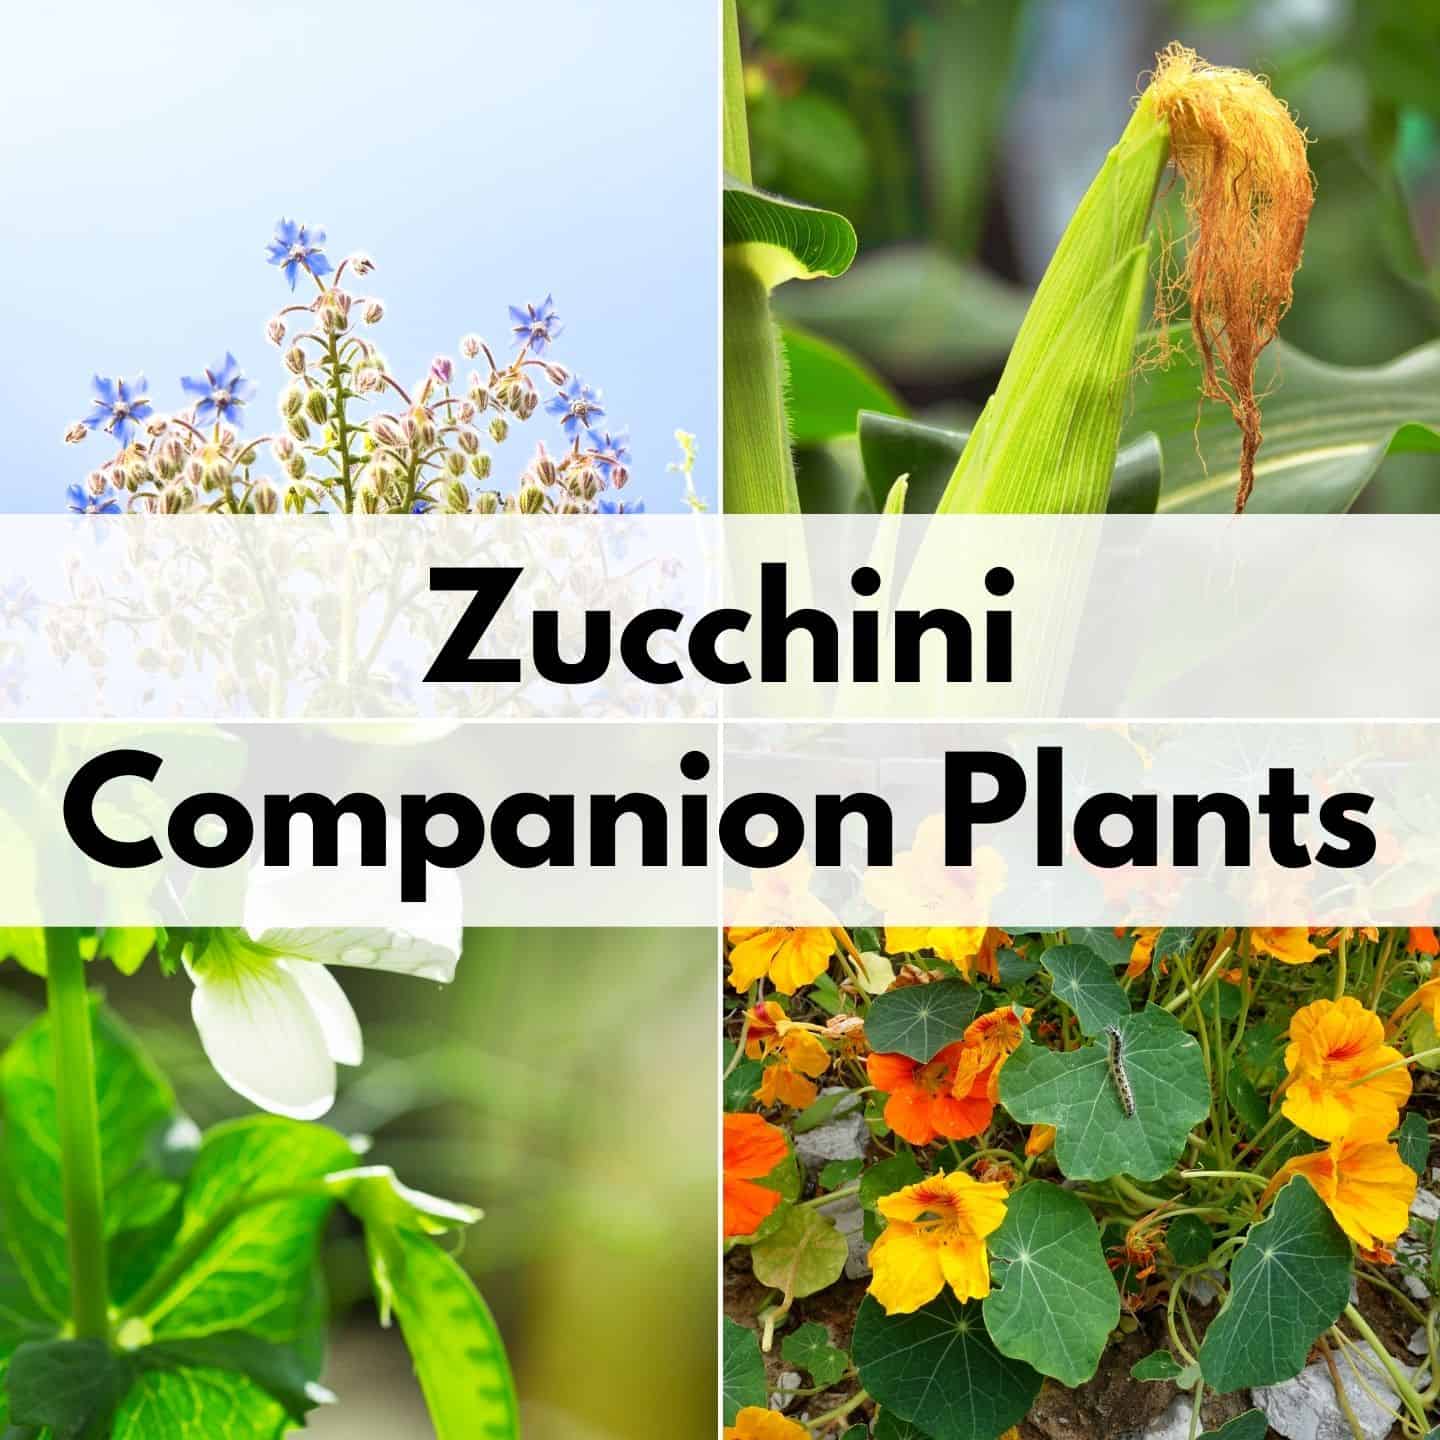
Must-Know Zucchini Companion Plants (and 5 plants to avoid)
Zucchini are a summer garden must-have. Learn how to companion plant them for a healthier, more productive garden.

How to Harvest Basil (Must-know tip for an abundant harvest!)
One basil plant can provide you enough for fresh eating and drying for homegrown basil all winter long when you discover how to harvest basil the correct way.
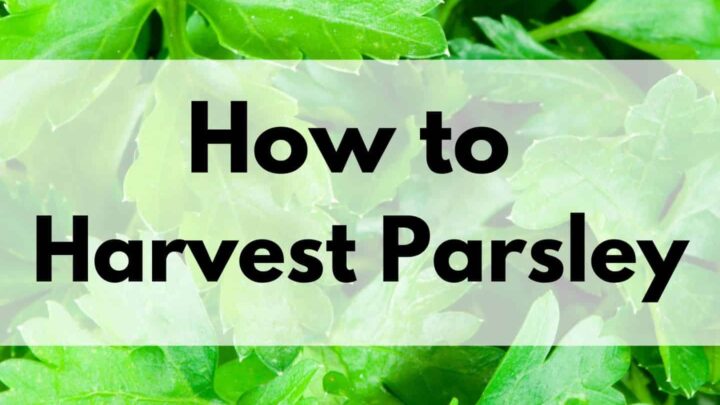
How to Harvest Parsley (without killing the plant)
One parsley plant can provide you with an ample harvest all season long...if you know how to pick it the correct way. Discover how to harvest parsley with this comprehensive guide and video!

Harvesting Tomatoes - How and When to Pick your Tomatoes
Discover how to harvest tomatoes and how to tell when they're ready to pick - even heirloom varieties with different colors.