Brussels sprouts are one of the most interesting vegetables you can grow. The plants end up looking almost like small trees, and the sprouts themselves have been dubbed “mini cabbages” both for their appearance and how they taste.
If you’re growing these cabbage family members at home, you may be wondering how to harvest them, since they don’t look like any other common garden vegetable.
Here’s a full guide on when and how to harvest Brussels sprouts from your garden, plus some storage and overwintering tips. This post focuses on harvesting Brussels sprouts. Be sure to see this post for a complete Brussels sprouts growing guide.
This post includes affiliate links, which means I may earn a commission on purchases made at no additional cost to you.
Table of Contents
How Brussels Sprouts Grow + Pruning Tips
If you’ve only ever bought Brussels sprouts from the store, you may be a little surprised at how they grow in the garden.
When your plants first start growing, they’ll look pretty similar to any other brassica, like cabbage, collards, or kale:
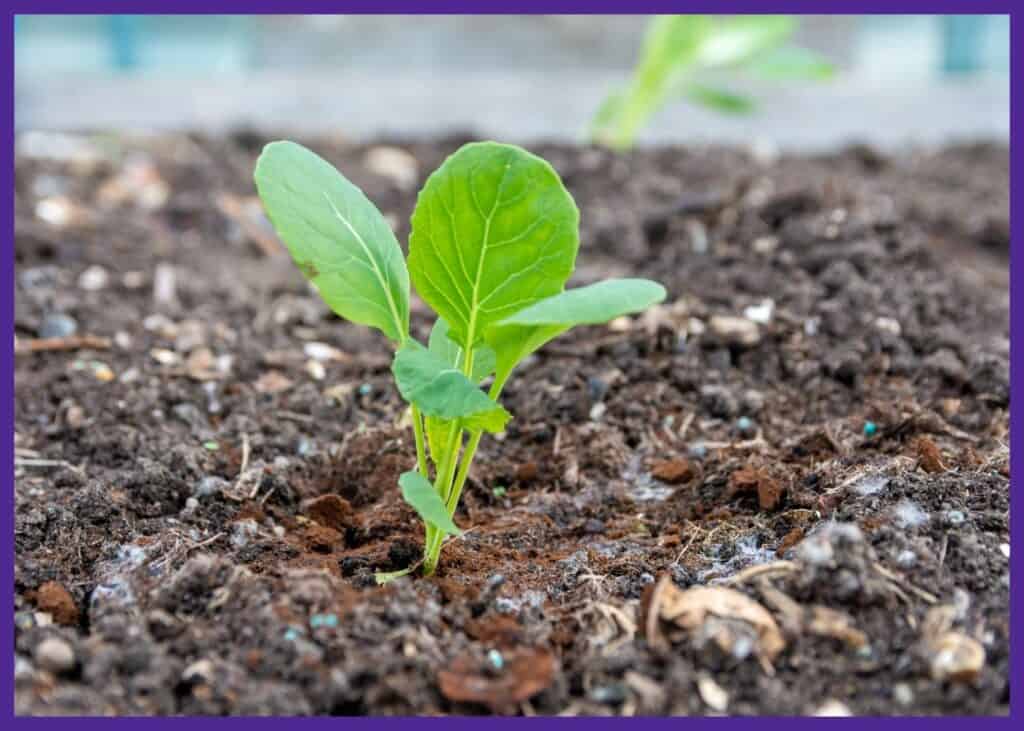
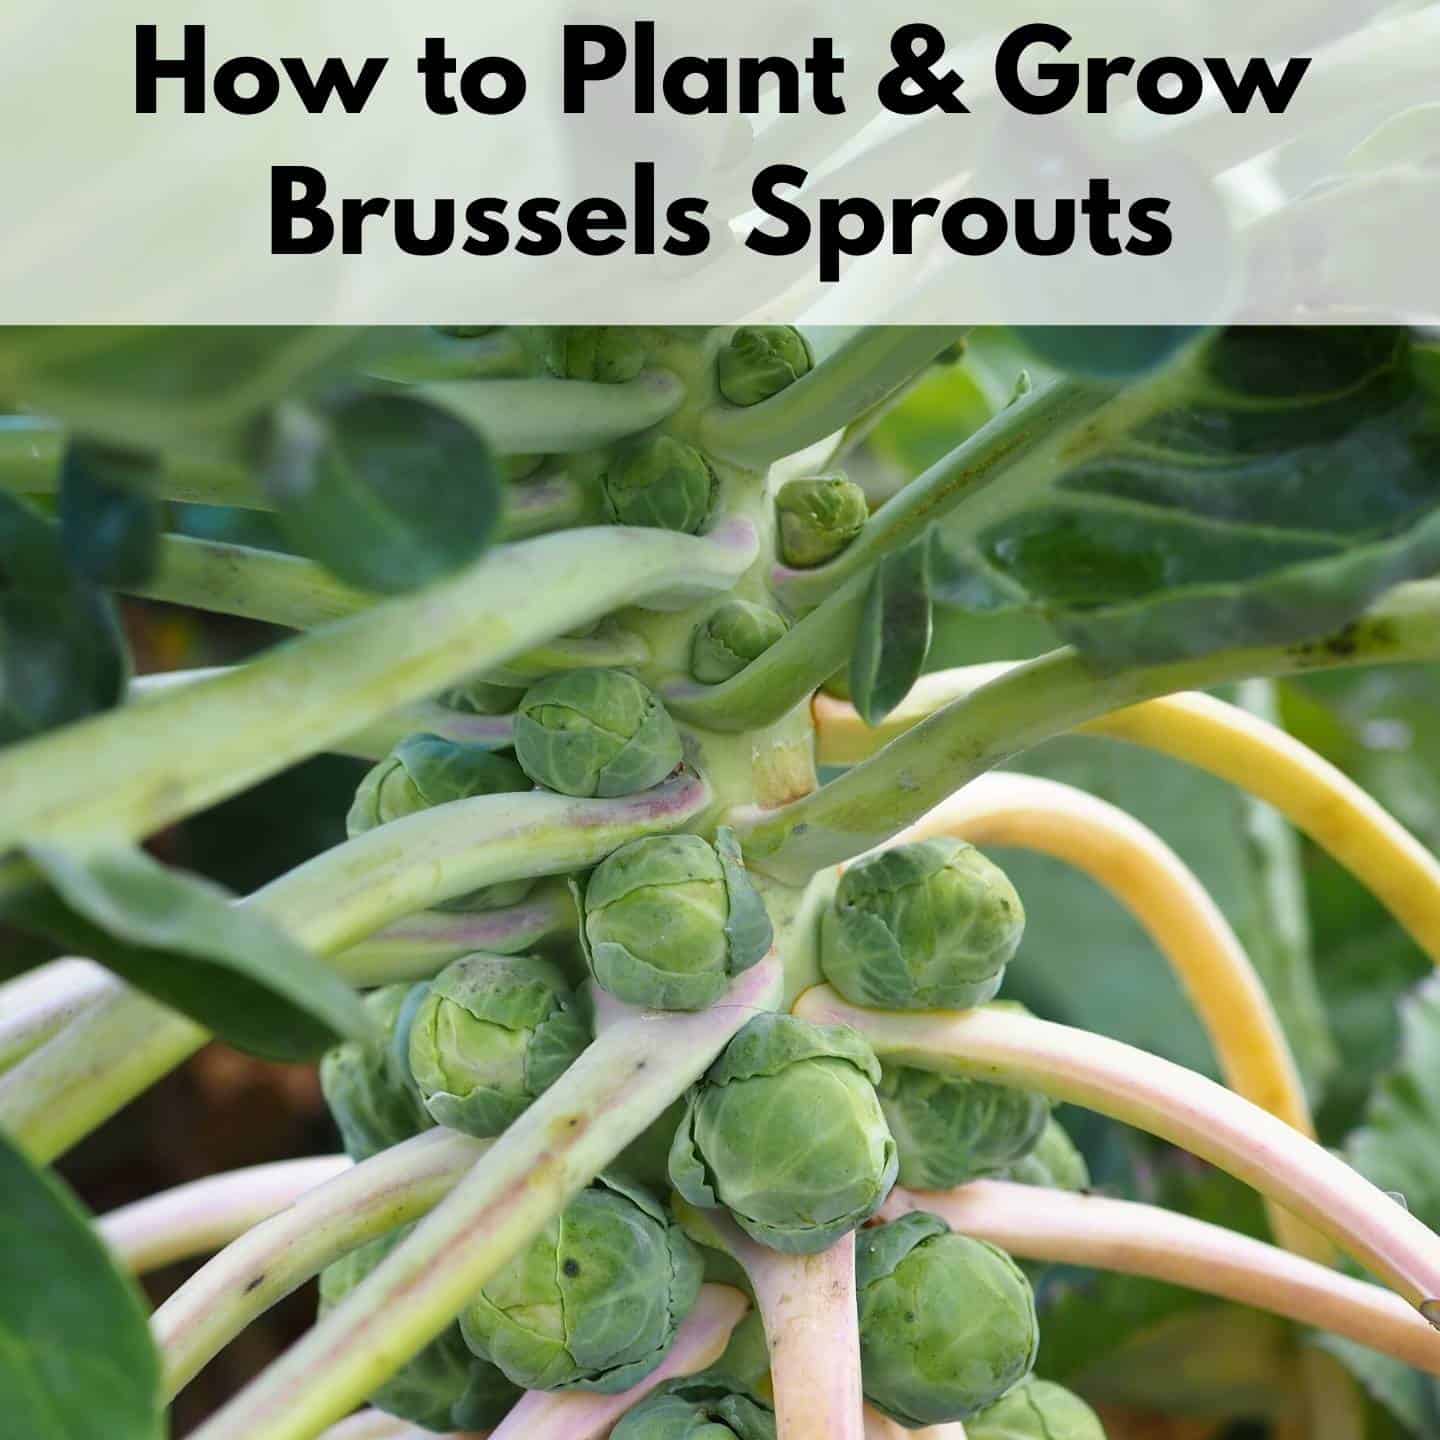
As they grow, your Brussels sprouts will become tall and develop large cabbage-like leaves on the sides and on top. You might be tempted to think nothing is happening with your plants, but eventually you’ll see small round sprouts form in between the leaf stems and the main plant stem.
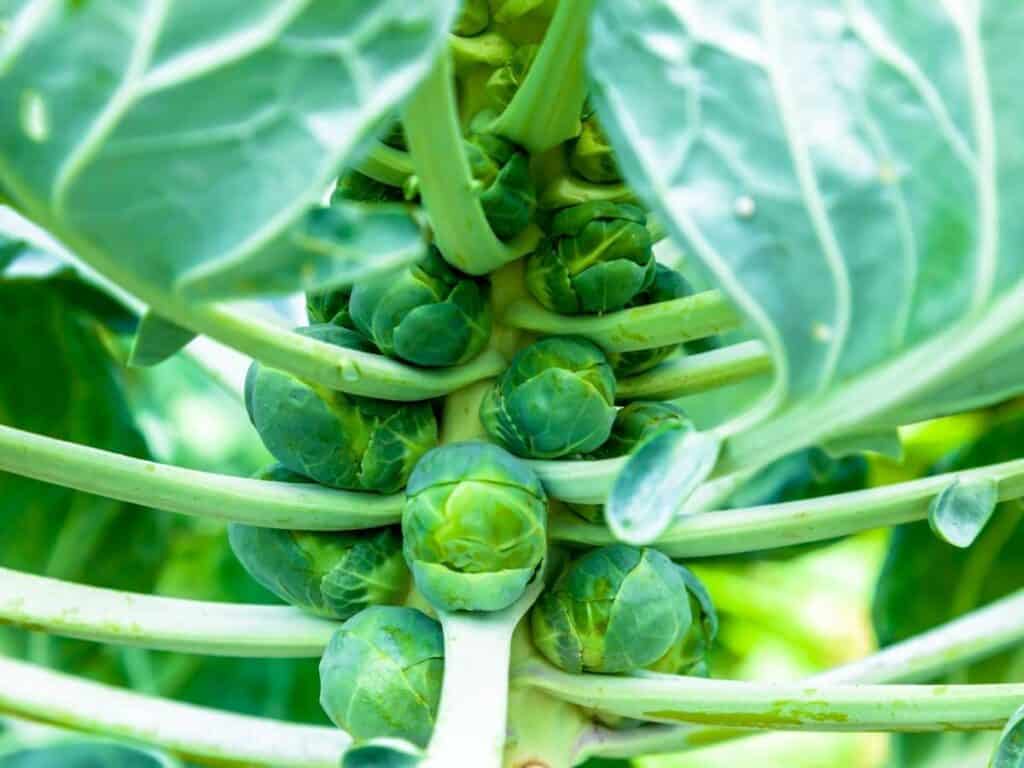
These sprouts will keep growing larger and firmer until they’re big enough to harvest. Depending on the variety, you may need to provide as support stake for your plants. Smaller, more compact varieties rarely need staking, but larger plants may.
One way to help yourself have a better harvest even before harvest-time is to do a little maintenance pruning throughout the growing season.
As the season goes on, you’ll probably notice that the lower leaves on your plants start turning yellow. Whenever this happens, you can prune the leaves off by cutting them back to the main stem. Continue to do this, and don’t worry if your plants end up resembling palm trees with only a big section of leaves at the top. They can look seriously goofy.
Honestly, you don’t usually need to pull out the pruners when you want to pull off yellowed leaves. It’s typically easy to break the yellowed leaf off. If it’s old and yellow, it will separate easily from the main stem. The pictures below shows a broccoli plant, but your Brussels sprouts will look very similar before the sprouts develop fully. Grasp the yellowed leaf near where it meets the main stem:
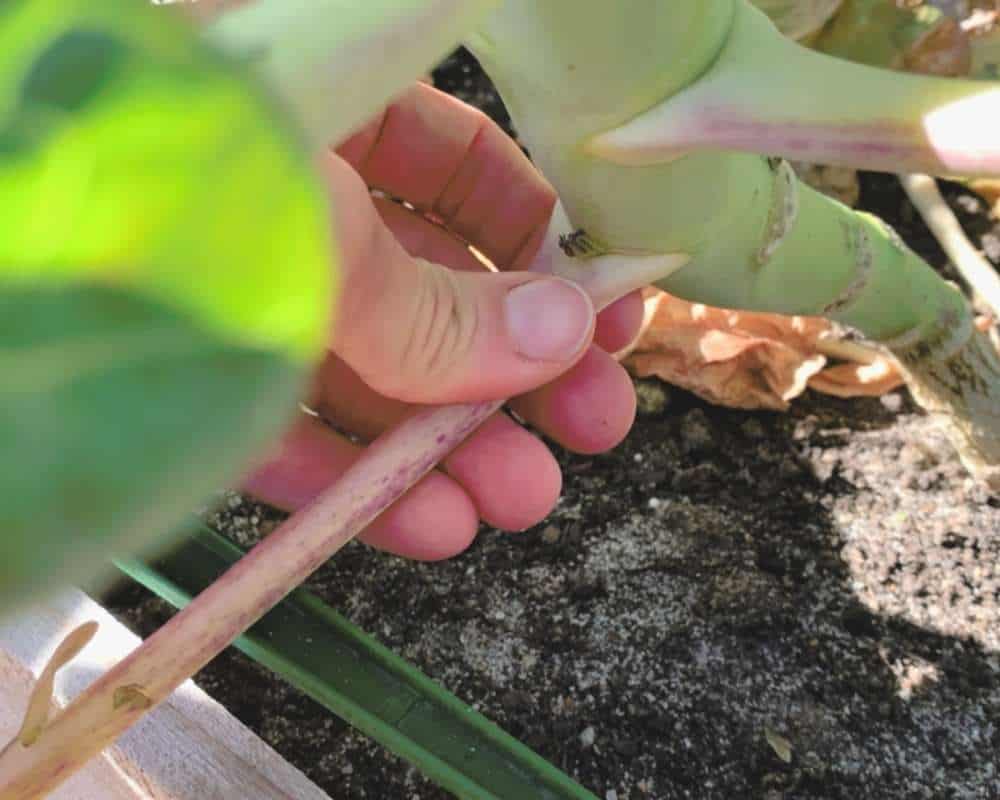
Then push down. If the leaf is ready, it will separate cleanly and easily:
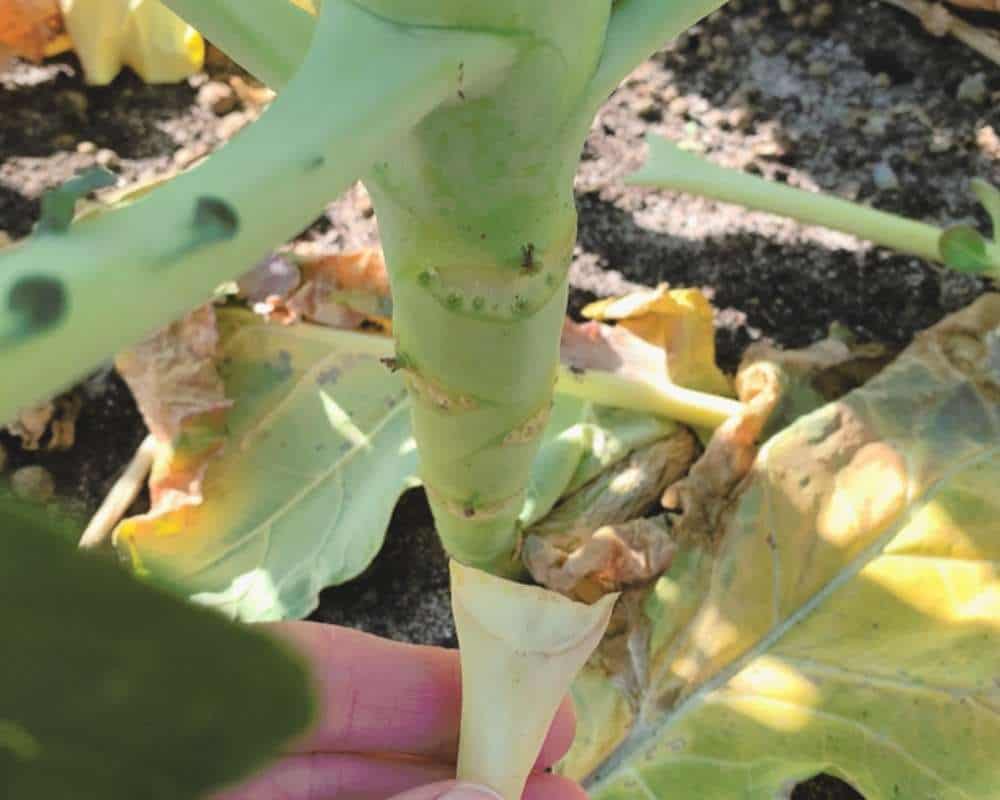
About three to four weeks before harvesting, you can also do something known as topping. Topping is a pruning technique that takes off the growing tips of the plants. This prevents them from growing any more leaves and focuses all the energy on the sprouts.
To do this, cut just under where you can see new leaves forming at the top of your plants, which should be well above all the sprouts. You will need a sturdy, sharp pair of garden shears for this task. Tired of your old, dull pruners? Be sure to check out this post about the best garden shears. The short version is that Fiskars are a solid budget pick, but Felco shears are better and last way longer.
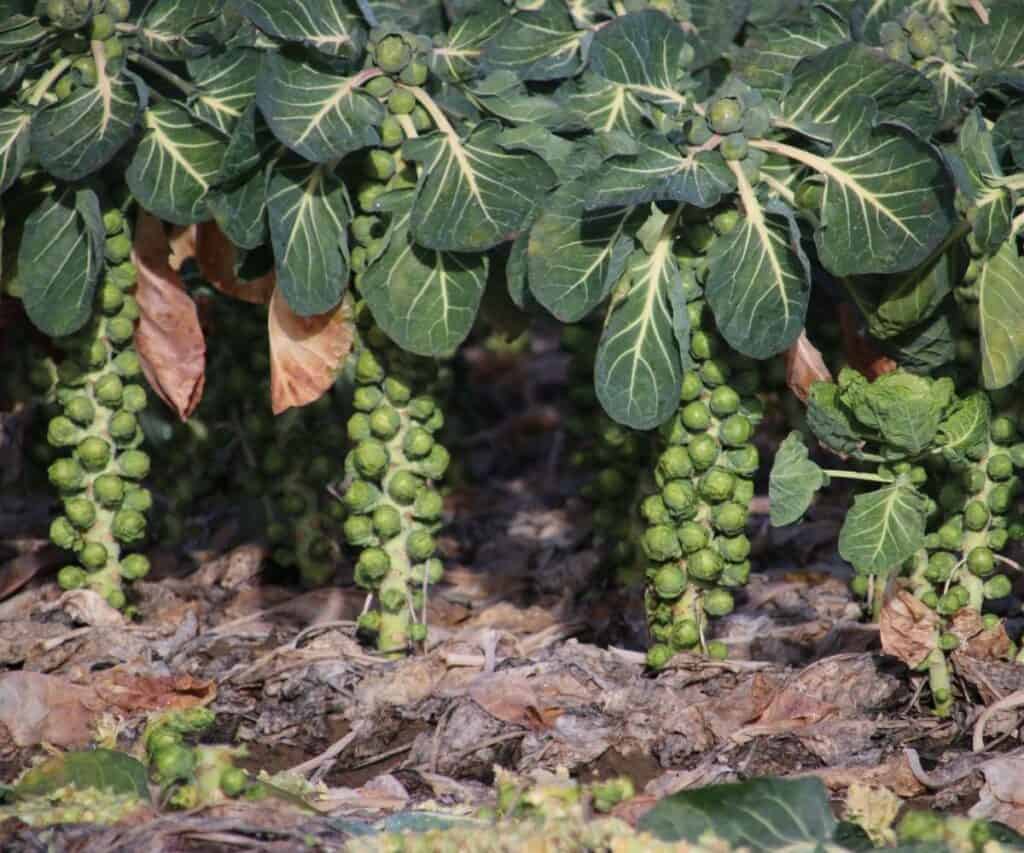
Table could not be displayed.Your Brussels sprouts plants will look pretty wacky as they near maturity! I think they look kind of prehistoric.
When to Harvest Brussels Sprouts
Brussels sprouts take a long time to mature. Most varieties won’t be ready to harvest until at least 90-100 days after being planted, which translates to 3+ months.
Your sprouts will always mature from the bottom up, so check at the base of your plants for mature sprouts first.
You’ll be able to tell they are ready to harvest when they are about 1-2” in diameter and feel firm and tightly packed. Basically, they should look and feel like a small, ripe cabbage! They should still be a bright green color, which is good because you want to pick them before they start to turn yellow.
For a sweeter flavor, allow your Brussels sprouts to go through a frost or two in the fall, but only if they aren’t turning yellow and in danger of becoming over-mature. All Brussels sprouts varieties tolerate freezes, but the kill temperature varies somewhere between 20ºF and around 12ºF, depending on the the variety (source).
How to Harvest Brussels Sprouts
When your first Brussels sprouts are ready, harvest them by slicing each one off with a sharp knife where it meets the stem or by using your hands to twist them up and off the plant.
You’ll be able to continue harvesting from your plants for at least a few weeks, working your way up the stem as new sprouts mature. In mild climates, you can even harvest Brussels sprouts all throughout the winter.
You can harvest the entire plant at once, but you’ll lose potential since the top sprouts won’t be as large or ripe.
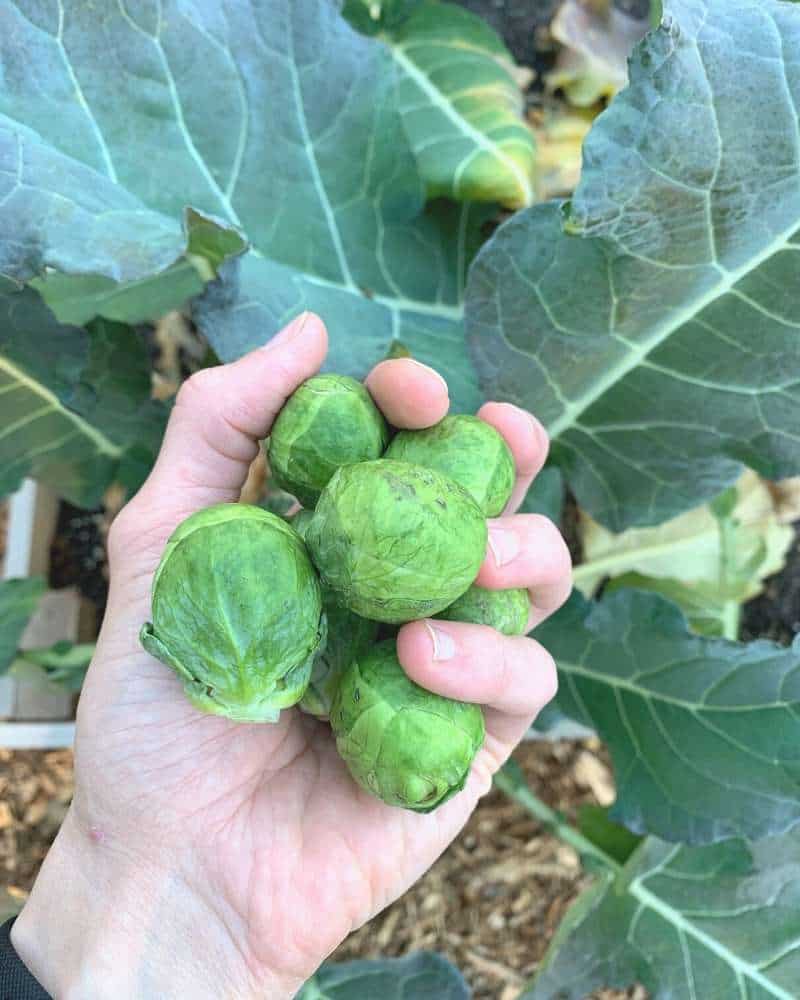
By harvesting sprouts exactly when they mature, you’ll end up with a much more flavorful vegetable than what you buy at the store, since most store-bought sprouts are harvested early so they don’t go bad on the shelf.
As mentioned, a frost or two will only improve the flavor of your sprouts, but a hard, sustained freeze will cause growth to stop and eventually damage your plants. Unless you plan to overwinter them, harvest any remaining Brussels sprouts if temperatures will be below 20ºF.
Brussels Sprouts Storage Tips
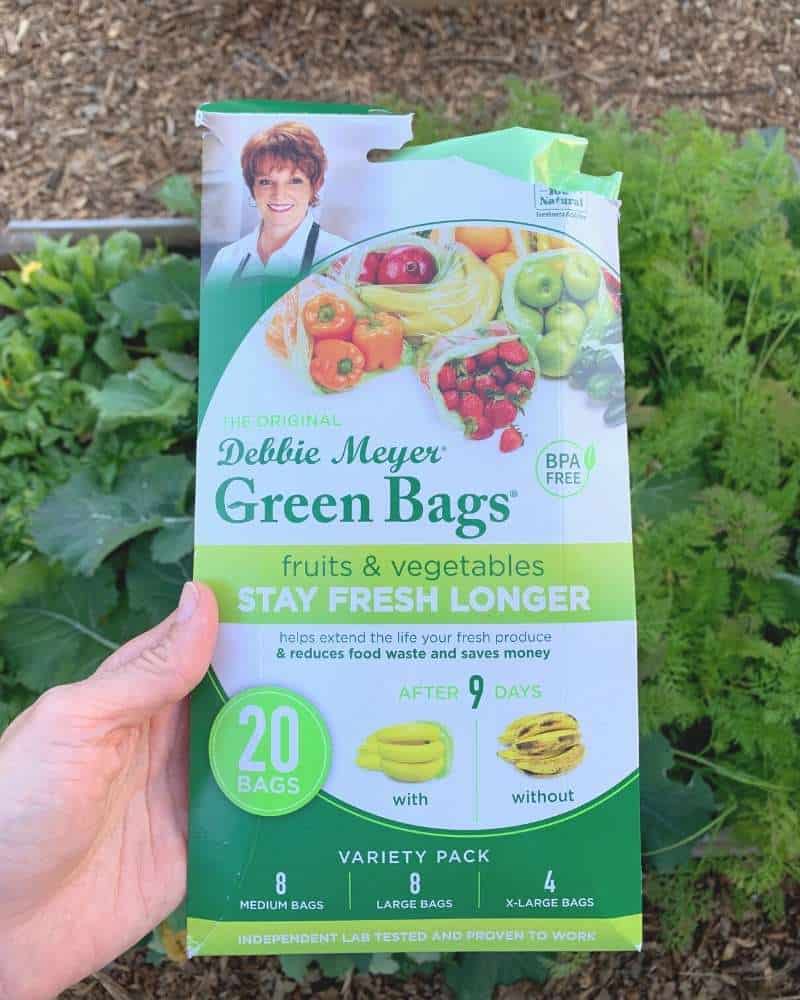
Brussels sprouts have the best flavor when used within a few days of harvesting them, but they will keep a few weeks in the refrigerator. Leave them unwashed and store them in a perforated plastic bag in the crisper drawer of your fridge. I’ve also had luck with these Debbie Meyer produce bags maintaining freshness.
If you have the space, and the right climate, there’s another way to store your sprouts for even longer.
When most of the sprouts on a single plant are mature, you can pull up the entire stalk (roots and all) and hang it upside down in your garage, root cellar or a cool basement space. The sprouts will typically stay good for a month or more this way, and you can pull them off as needed. Sorry, fellow warmer climate growers, this trick may not work for you in zones 8 and above! Warm temperatures can strike at any time in our current zone 8a location, so I don’t personally use this tip at this time. (We also own property in 6b. This method does work there.)
Overwintering Brussels Sprouts
Now that you know how to harvest Brussels sprouts, what happens if you can’t get to all your plants before winter comes?
If you live in a mild climate, you don’t have to worry. Brussels sprouts are cold hardy and will make it through the winter just fine, and you can harvest whenever you have the time. Zones 8a and warmer rarely get cold enough to kill Brussels sprouts. Zone 8b might or might not, depending on your exact location and weather.
If you live somewhere that does get cold winters with temperatures well below freezing, there’s another way to get your plants through the rough weather.
Right before a hard freeze is supposed to come through, mulch your plants heavily around their base. Then, pile up leaves, hay (loose, not bailed!), or straw in a mound around your plants until they are completely covered. Straw has a hollow stem and provides better insulation. Be careful with your hay or straw if you plan to add it to your compost. Accidentally introducing hay/straw sprayed with herbicides into your garden or compost could have disastrous consequences. For more on this topic, and how to easily make your own compost, be sure to read David Goodman’s guide Compost Everything.
But I digress. I’ve lost too many tomatoes to stray herbicides so this is a sore point for me.
Mulching your plants should keep your Brussels sprouts going through most winters, and a layer of deep snow on top of your protective measures will insulate them even more. If you don’t get your plants covered before a snow, try not to freak out. They will probably be fine unless the temperatures drop into the teens.
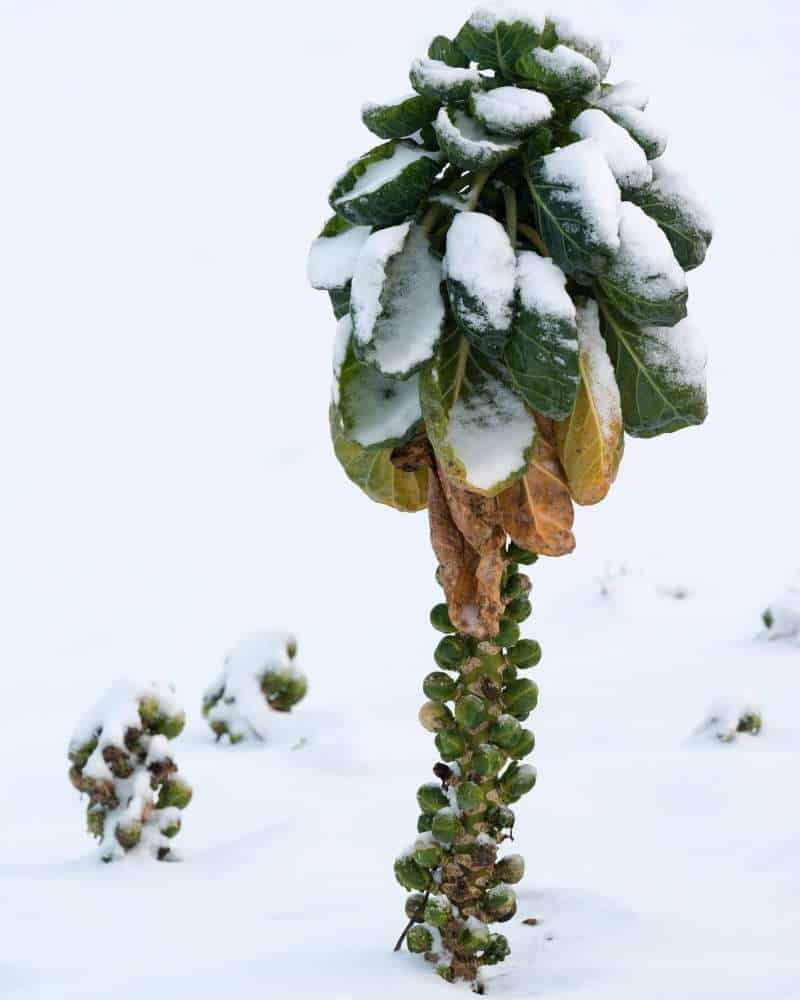
Your plants won’t keep growing, but on mild days you can dig through to your plants and harvest a few sprouts, enjoying them until spring!
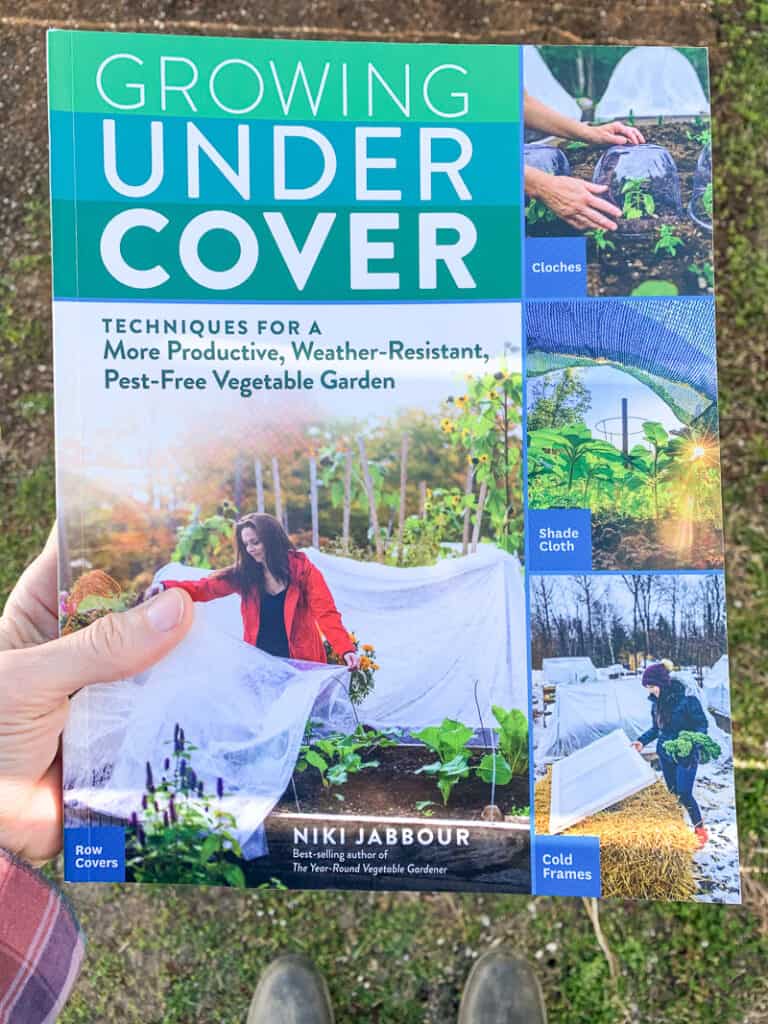
Want to know more about accessible, affordable ways to extend your growing season? Be sure to read Niki Jabbour’s book Growing Under Cover. She’s a busy mom who grows year-round in Canada. If she can do it, so can you!
I hope you enjoy your homegrown Brussels sprouts! Like everything else, your own Brussels sprouts will taste infinitely better than what you can buy at the store. After they’ve sweetened up in a freeze, your family members will be asking for more. Be sure to check out these additional cool weather crop growing guides while you’re here on Together Time Family:
Cool Weather Crops to Grow
Spring, fall, and even winter can be a fantastic time for gardening. Discover these delicious cool weather crops for your year-round vegetable garden!
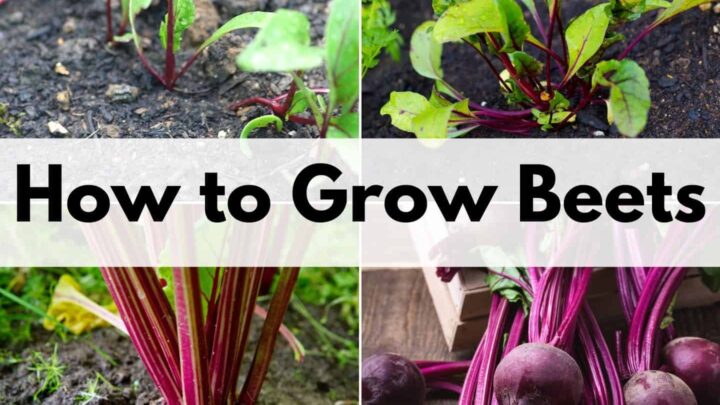
How to Plant & Grow Beets for a Successful Harvest
Beets are easy to grow and love cooler weather. The roots and tops are edible and they taste even better after a frost.
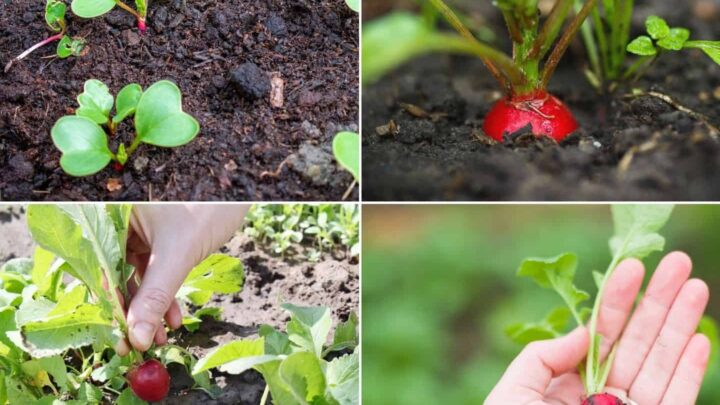
How to Plant and Grow Radish from Seed
Radishes are one of the fastest-growing vegetables. Both the greens and roots are edible and can be ready to harvest in just 3-4 weeks.
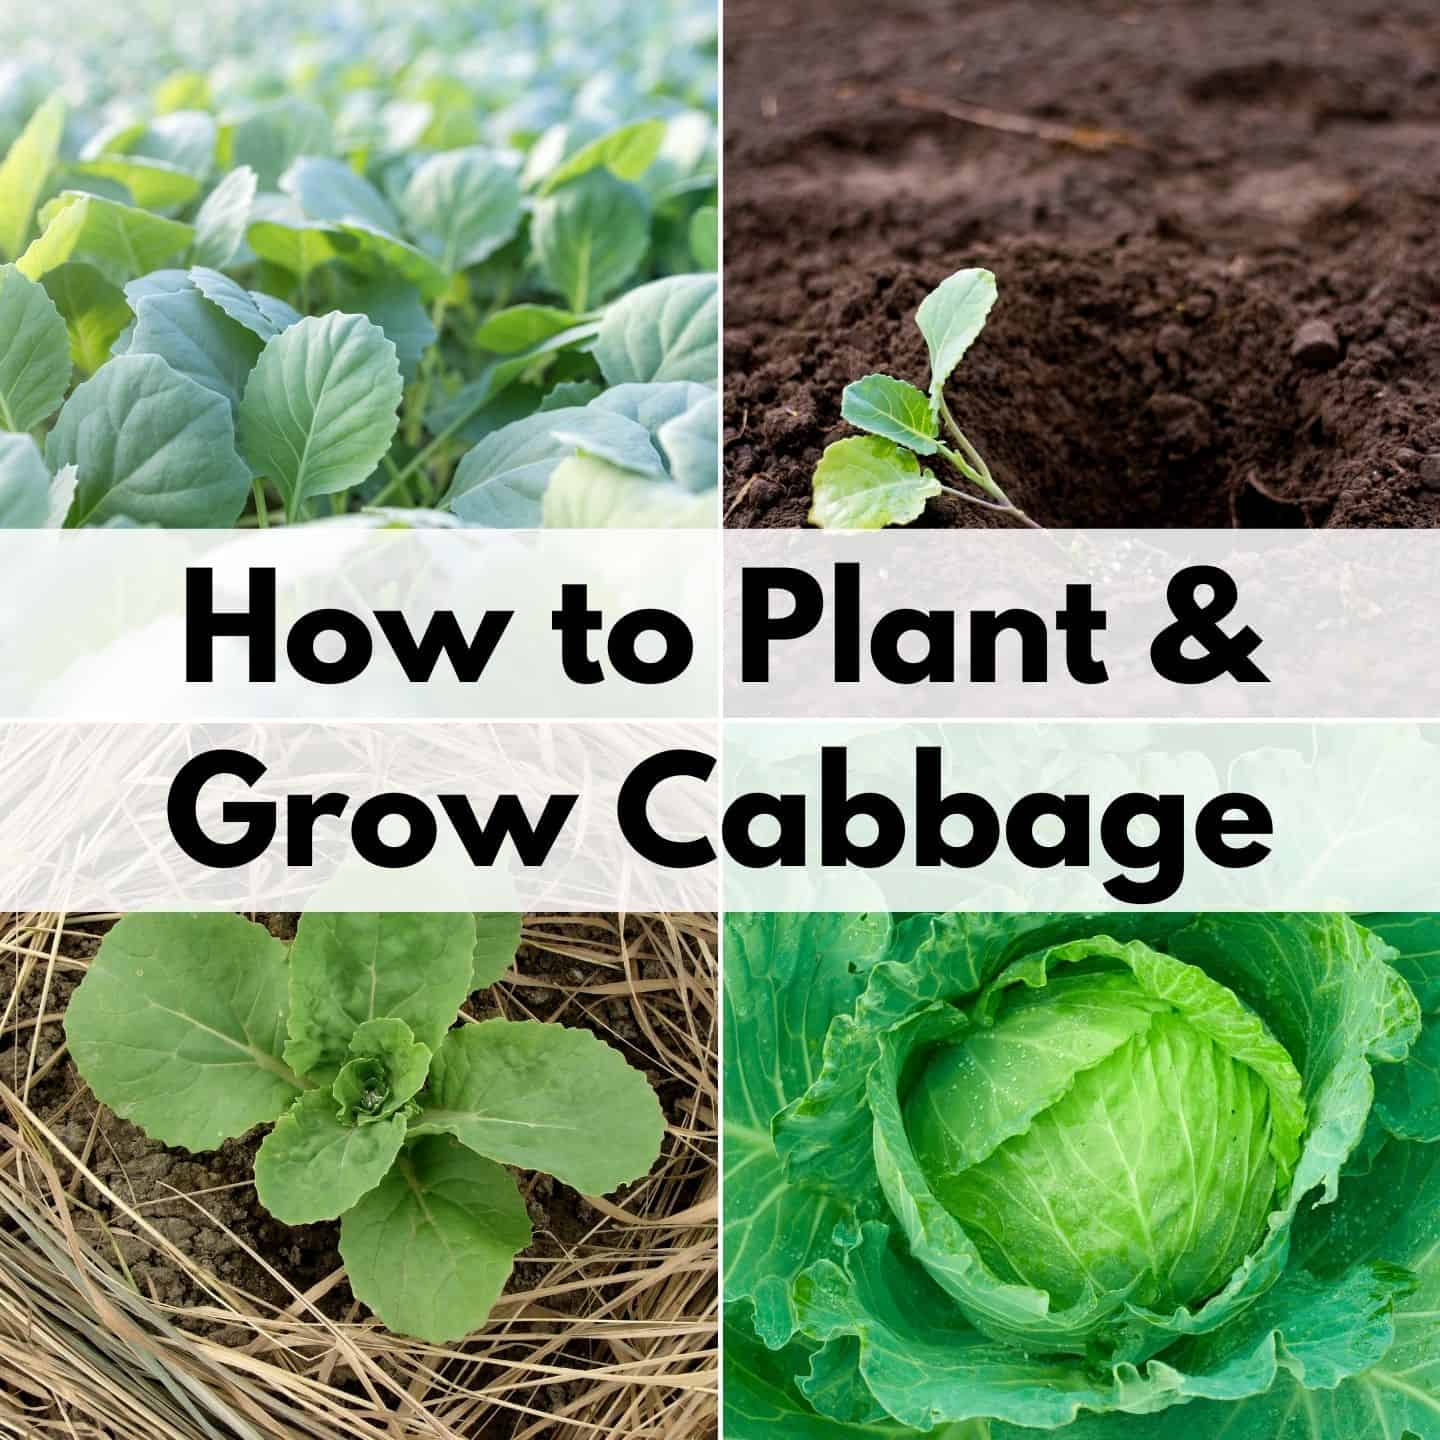
How to Plant and Grow Cabbage
Cabbage is a little more challenging to grow, but homegrown cabbage is so delicious that it's worth the effort. Discover how to plant and grow cabbage (plus how to combat annoying cabbage pests).
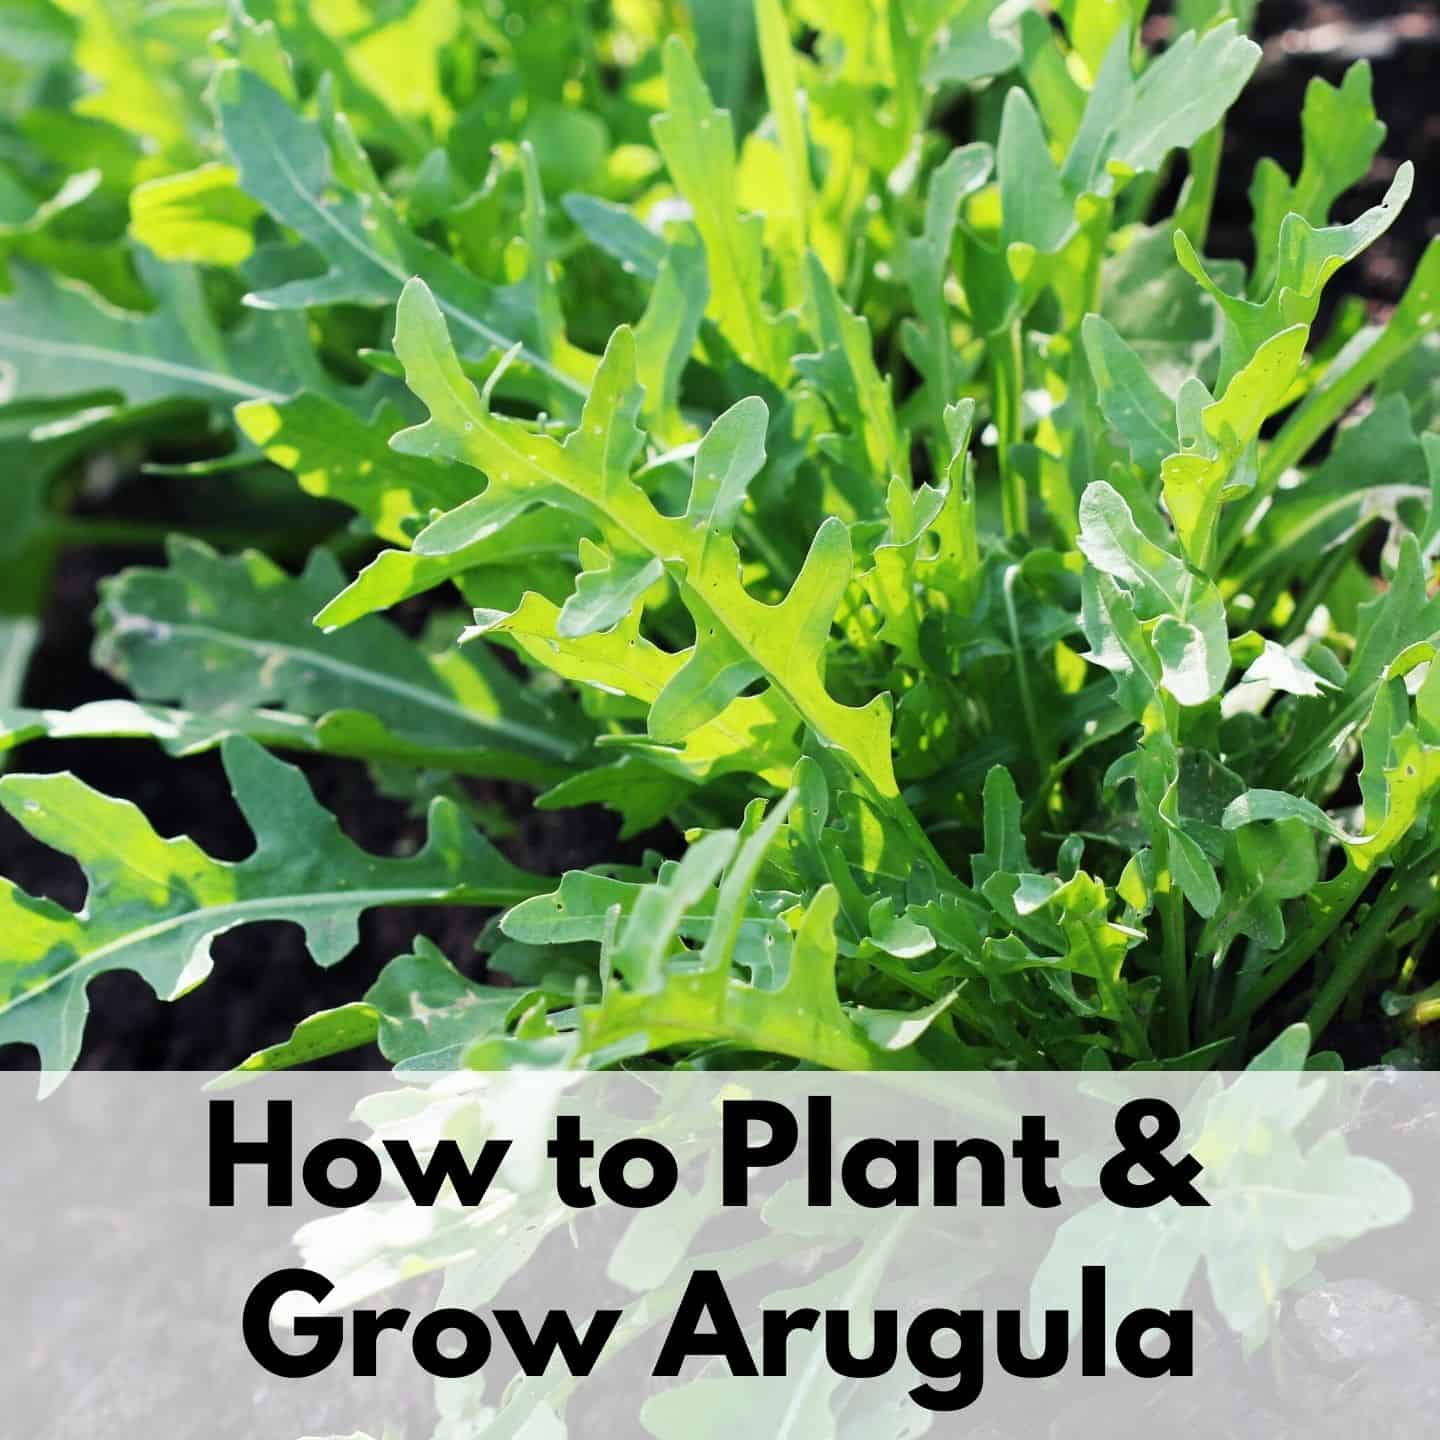
How to Plant and Grow Arugula
Arugula is quick and easy to grow. Discover how to plant and grow this salad favorite!
Growing Fennel - How to Plant and Grow Fennel from Seed
Discover how to plant and grow fennel from seed in your cool weather garden.
Natasha Garcia-Lopez is an avoid home-gardener and proud owner of 88 acres of land in rural West Virginia. She was a member of the Association for Living History Farms and Agricultural Museums for many years and is currently enrolled in the Oregon State University Master Gardner Short Course program so she can better assist you with your gardening questions.She holds a certificate in natural skincare from the School of Natural Skincare.


Leave a Reply