Beets are a nutrient-rich veggie with a deep, earthy flavor. If you enjoy beets, you’re in luck because planting and growing your own beets is incredibly easy.
If you’re in camp “I hate beets,” I encourage you to try planting just a few in your garden. Homegrown, fresh beets are nothing like that canned mess you get at the store.
You can easily harvest several crops of beets in one growing season. They are a fast-growing vegetable, which is rewarding for both beginner and experienced gardeners.
If this is your first time trying this root crop, or if you’ve had some struggles in the past, here’s a full guide on how to grow beets and some tips for problem solving.
This post includes affiliate links, which means I may earn a commission on purchases made at no additional cost to you.
Table of Contents
Everything you need to know about beets
Beets (Beta vulgaris) are technically a biennial crop, which means they mature and produce seed in two years, but they are almost always grown in the garden as an annual. Carrots and parsley are other common biennials grown as annuals.
Mostly grown for the rounded roots, beet greens are also edible and nutritious. The roots are very hardy and grow the best in cool temperatures. They can take some frost but will struggle in hot temperatures.
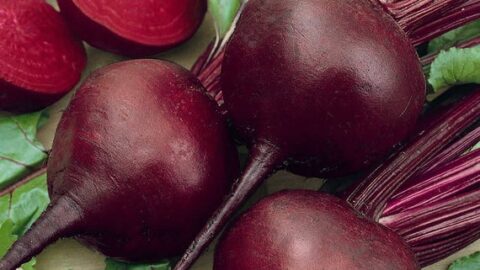
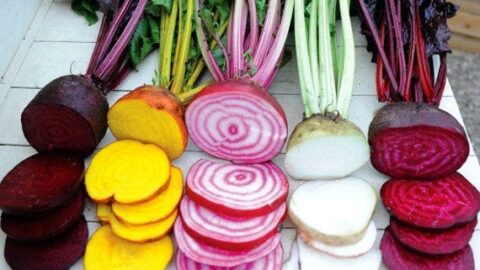
You’re probably most familiar with the deep red-purple beets that are the most commonly grown type, but you can branch out and try yellow, white, or candy-striped varieties.
There are even beets that don’t “bleed” bright red, which can be a plus if you’ve had problems with beets staining your clothes before.
Ideal Growing Conditions for Beets
Here are the conditions beets grow in best:
- Full sun – Beets need full sun, which means 6-8 hours of sunlight a day. However, they can take some shade in hotter climates. Make sure your other tall vegetables don’t shade your beet roots out.
- Good soil drainage – Most root crops do best in well-drained soil and struggle in heavy clay. Add compost or sand to your soil to improve drainage.
- Loose soil – Since you want your beets to form nice, rounded roots, loose soil is preferred. It should be free of rocks (as much as possible) to give roots room to fully develop. Compost, sand, and other organic materials will help loosen heavy soil. You can also attract earthworms to your garden to help improve soil structure.
- Cool temps – As mentioned, beets are a cool season crop, growing best in a range around 60°F. Plant them in sync with the cool part of the growing season wherever you live.
Beet varieties to plant
Interesting beet varieties
There’s lots you can do with your beets after harvesting them: pickling, roasting, fermenting, boiling, baking, and garnishing. If you want to try some that are outside of the box, here are a few unique varieties to grow and cook with:
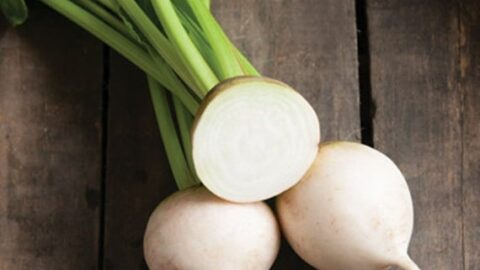
Avalanche white beets
Trick your friends and family with this pure white variety of beet. It has a rich, sweet flavor without much of the earthiness that many people dislike.

Red Mammoth Mangel Beet Seeds
The Red Mammoth Mangel beet is a rarity. It takes 100 days to maturity and can grow to be up to 40 pounds!
This is an old beet variety that was traditionally grown for livestock feed. The roots and greens are also good for human consumption. It's also the subject of a centuries old game in the UK called Mangold Hurling in which participants throw, or, more accurately, "pitch," the beet. There's even an official Mangold Hurling association with rules and regulations.
Detroit Dark Red Beet Seeds
Detroit dark red is a classic beet and matures quickly.
Rainbow Beet Collection five fancy heirlooms
Can't decide what beets to plant? Grab this pack with 5 different stunning heirloom beet varieties and grow the rainbow!
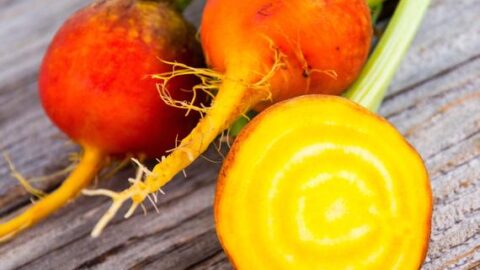
Golden Detroit Beet Seed
Golden Detroit beets have a very good sweet flavor and color keeps when cooked. In general, golden beets have a milder, sweeter flavor than their red counterparts.
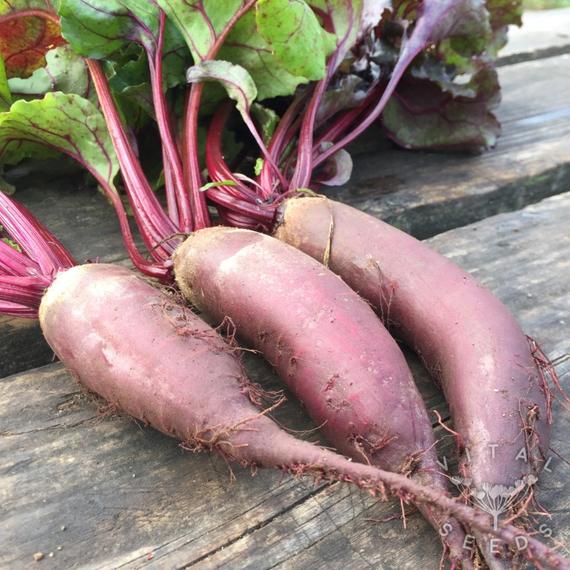
Cylindra beet Seeds
Who said beets have to be round? This variety is deep red and grows long and cylindrical, which makes it great for slicing.
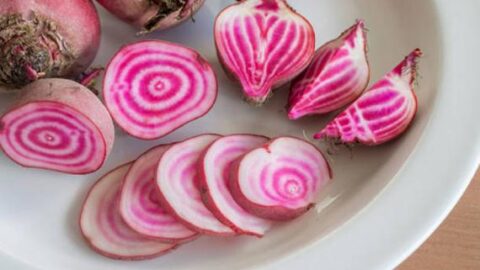
Chioggia Beet Seeds
Chioggia beets have red skin with red and white swirls inside. They're a whimsical and fun variety that your kids will enjoy, too. Because of their appearance, chioggia beets are also called candy striped beets.
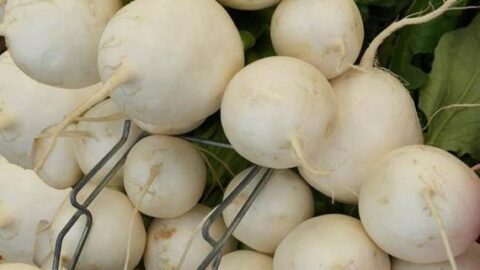
White Albina Beet Seeds
White beets taste like a "normal" beet but they don't bleed and stain red!
How to plant beet seeds
Beets are very easy to grow from seed sown directly in your garden. They can be grown indoors and transplanted, but most gardeners opt to plant the seeds outdoors.
The two biggest parts of how to grow beets successfully are timing and soil preparation.
When to plant beets
When to plant your beet seeds will depend on the climate where you live. Here are the main planting times:
Planting beets in spring for a summer harvest
If you live in a northern region with cold winters, early spring is one of the best times to plant your beets. You can put seeds in the ground as soon as the soil is workable, which is usually 2-3 weeks before your last average frost date. If you really love beets, sow seeds every 2 weeks until about mid-summer.
Planting beets in summer for a fall harvest
Another option if your climate has hot summers and cold winters is to sow seeds late in summer so that plants can grow through the cooler weather of fall. You can start putting seeds out mid-summer and continue until 4-6 weeks before the first average frost in fall.
Planting beets in fall for a winter harvest
Growing beets into the winter is the best option if you live in a warm climate with mild winters. Start sowing seeds in early fall and continue into late fall if you want more than one crop.
Beets can be overwintered in cooler climates. You won’t see much growth during December, January, and February, but then you’ll get very early fresh vegetables in the spring.
Winter harvest beets are the most delicious. Many vegetables, including beets, are even sweeter after cold temperatures. This is called chill sweetening or cold sweetening. The plant converts starch into sugar to help protect itself from freezing. This process is one of the reasons you don’t want to store potatoes in the fridge – it makes them sweet!
If gardening in the winter sounds intimidating, you need to read The Year-Round Vegetable Gardener. It’s a modern book with affordable ideas (no fancy greenhouse needed) on how to grow your own food all year. The author lives in Canada so if she can grow food in winter, you can, too.
How to Prepare your Soil for Growing Beets
Before you put your seeds in the ground, it’s a good idea to give your planting area a little bit of attention.
If you have good soil, raking the top inch or two of soil to loosen it and getting rid of any weeds is all you need to do. If your soil is heavy or tends to be soggy, now is the time to amend it with compost, sand, etc.
You’ll also want to get rid of rocks and other debris that might stop the roots from growing.
Beets aren’t very picky about soil pH unless it gets down below 6.0. If you have very acidic soil, amend with lime to raise your pH before planting.
Table could not be displayed.How to plant beet seeds
The wrinkly beet “seeds” you see in the packet are actually seed clusters made up of 2-4 individual seeds. This cluster has a hard casing that water needs to get through in order for the seeds to germinate.
This is why beets seeds look a bit like GrapeNuts cereal:
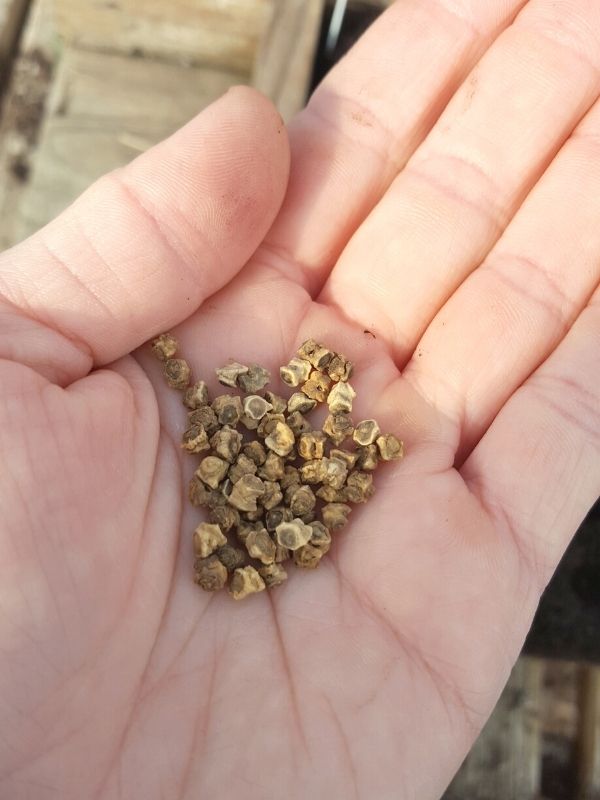
If you’ve experienced poor germination for beets in the past, it’s likely due to this hard seed case. For better results, soak the seeds in water for 12-24 hours before planting.
Sow the seeds about ½” deep in rows that are spaced several inches apart. Cover your seeds with soil once you’re done and water them well.
It’s important to keep the soil where your seeds are moist until they germinate. Your seeds should start germinating in about a week, although if temperatures are below 50°F, it might take them 2-3 weeks.
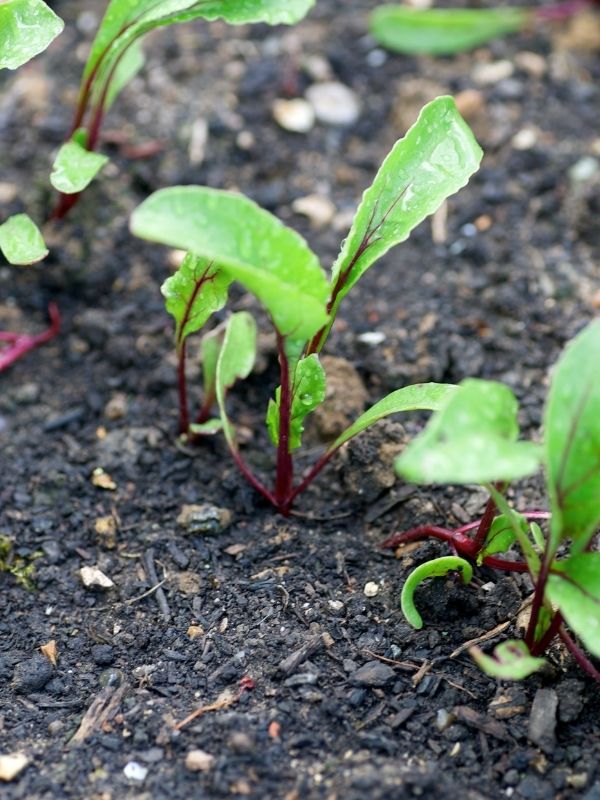
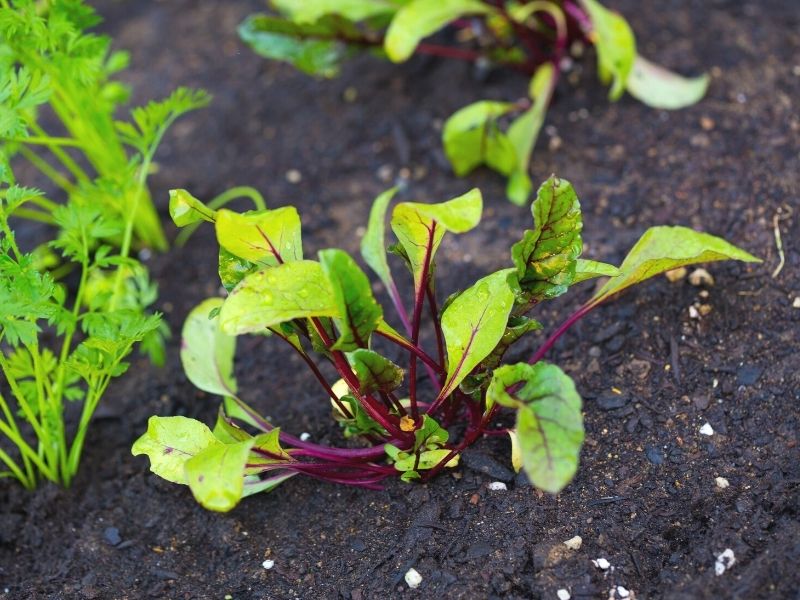
Once your little sprouts are 3-4” tall, thin them to a spacing of 3-4” by snipping extra ones off at the ground. Because of the nature of beet seeds, your seedlings will come up in clumps and need to be thinned.
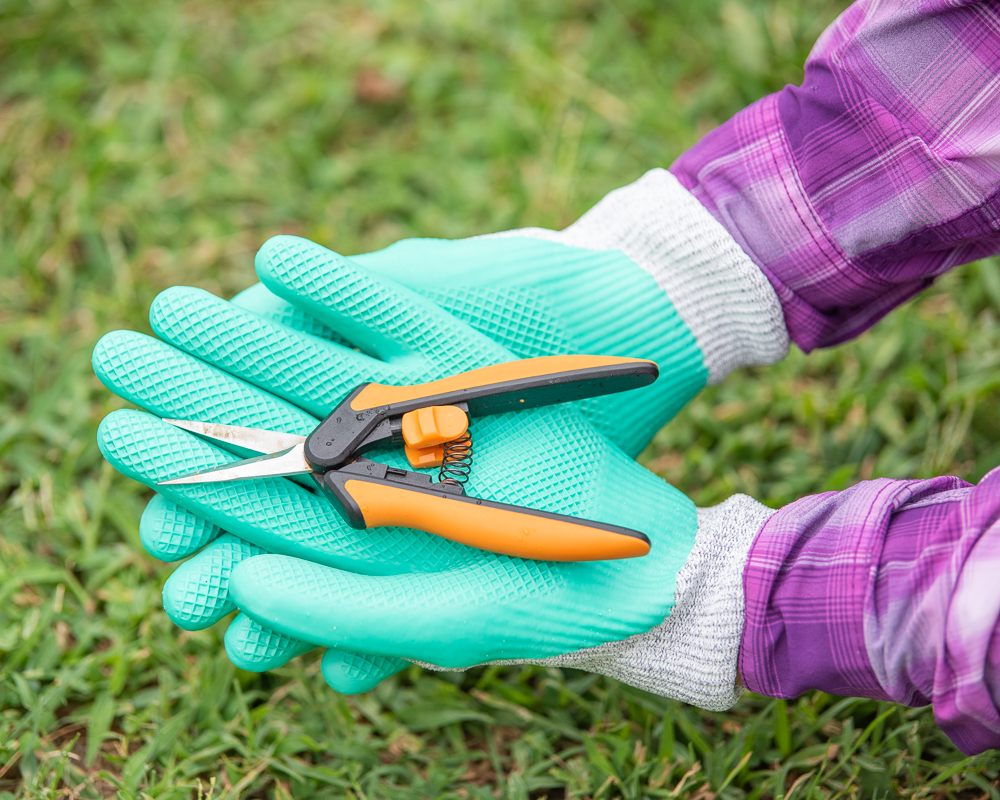
I use small, sharp snips like these ones to thin seedlings. It’s important to snip your beet seedlings, not pull them out, because the plants are closely spaced. Pulling the seedlings could disrupt the roots of nearby plants you want to keep. Use these thinned beet sprouts as microgreens! (Also pictured, my favorite pair of cut resistant gardening gloves.)
How to grow beets
After you’ve thinned them, beets are a pretty care-free crop to grow.
Once the weather starts to get dry, you can put a light mulch like straw down around your beet roots to keep moisture in the soil. Beets do best with about 1” of water per week. If they don’t get this through rain, water the soil around them deeply once per week.
Not sure how much water you’re actually giving your plants? Check out this post on the best garden hose wands. It includes a formula to calculate the rate of flow for your watering wand and how many minutes you need to water per week.
Your main task for taking care of your beets is weeding. Weeds compete for nutrients and water, which will ultimately harm your crop. Weed gently around your beets, especially when they are small, to give them plenty of room to develop.
If your garden is consistently plagued by weeds, read up on the no-till gardening method (also called no-dig gardening). Charles Dowding is considered an expert on the no-dig method. His popular Instagram account is inspirational and has several books on the topic such as Organic Gardening the Natural No-Dig Way.
If you added compost before planting, that should give your beets enough nutrients to get through the season. Otherwise, you can fertilize them about halfway through.
Avoid fertilizers heavy on nitrogen, since this will cause the greens to grow large and the roots to stay small. Neptune’s Harvest fish and kelp fertilizers are popular with many organic gardeners. Warning – they do smell like fish and seaweed.
Growing beets problems
Beets grow quickly and will often get through the season without any serious pest or disease problems.
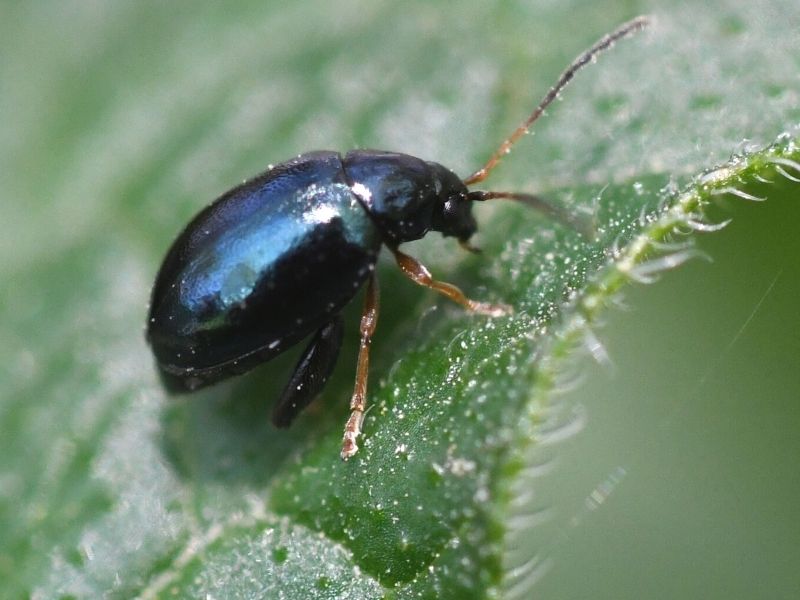
The most common beet pest is the flea beetle that will put tiny holes in the leaves. In small numbers, they won’t do enough damage to harm your crop. Practice crop rotation to avoid pests and diseases building up in your soil. Flea beetles are most common in spring, so you can help avoid these pests on your beets by planting late summer or fall beets, if your climate allows.
According to the University of Minnesota Extension, you don’t need to worry about flea beetle damage unless 10-30% of leaves on seedlings or transplants have fallen off. Young plants are most vulnerable, so consider protecting your seedlings with floating row covers if you have a pest problem.
There are different types of flea beetles that look slightly different, but here is a flea beetle photo for reference:
If flea beetles become a problem or really bother you, you can use neem oil spray on them. Neem oil is safe, natural, and pretty effective. Apply neem oil mixture with a pump sprayer in the morning or in the evening. Ensure the leaves will have plenty of time to dry before they receive sunlight so the leaves don’t burn.
Neem oil is safe to use up to and including the day of harvest. Just make sure to wash it off really well because it doesn’t taste good!
Bigger pests like deer and rabbits are more likely to be a problem and munch on your beet greens.
Saying deer love beets is an understatement. Deer love beets so much that beets are frequently used in deer food plots.
Deer are also notoriously spectacular jumpers and can jump over 6′ high. Instead of stringing 6 lines of electric fence around your garden, consider hanging deer-proof netting from a simple PVC pipe frame that you place over your garden beds:
Growing beets in containers
People frequently want to know if you can grow beets in containers. The answer is…yes!
Beets can be grown in containers as long as the container is large enough.
Beets are root vegetables so they have deep roots. This means they need deep, large containers in order to thrive. These 30 gallon grow bags are about as small as I’d go for planting beets. Something larger, like these 50 gallon grow bags, are a safer bet.
If you’e growing your beets just for the beet greens, they can be grown in smaller containers as long as they’re at least 12″ deep.
Make sure to use potting soil in your containers, not random dirt you dig up in your yard. Beets need loose soil with good nutrients that’s free of sticks and rocks. After several poor experiences with potting soils purchased from my local big box store, I started purchasing Happy Frog. It costs more, but it is so much better.
Multiple bags of potting soil I purchased from different brands, including Miracle-Gro’s organic line, were basically low quality mulch with bits of plastic and incomplete compost. They were virtually unusable for root crops and a major disappointment.
The basic requirements for beets grow in containers remain the same. They need 6-8 hour of sunlight a day. Beets grown with less light will develop plenty of leaves, but no roots.
You can grow beets indoors, but you’ll need grow lights. Because grow bulbs are different from natural sunlight, you typically need to run your lights for 12 hours a day for vegetables to receive enough light.
If you really want beets and don’t have space for large containers or grow lights, that’s okay! Consider growing beet microgreens, instead. Microgreens don’t require as much light and are quick and easy to grow. Remarkably, microgreens are also far more nutritious than their full-grown counterparts.
The folks at Burpee have an informative video on growing beets in containers if you want to learn more:
Harvesting and storing beets
Now that you know how to grow beets with success, it’s time to enjoy them!
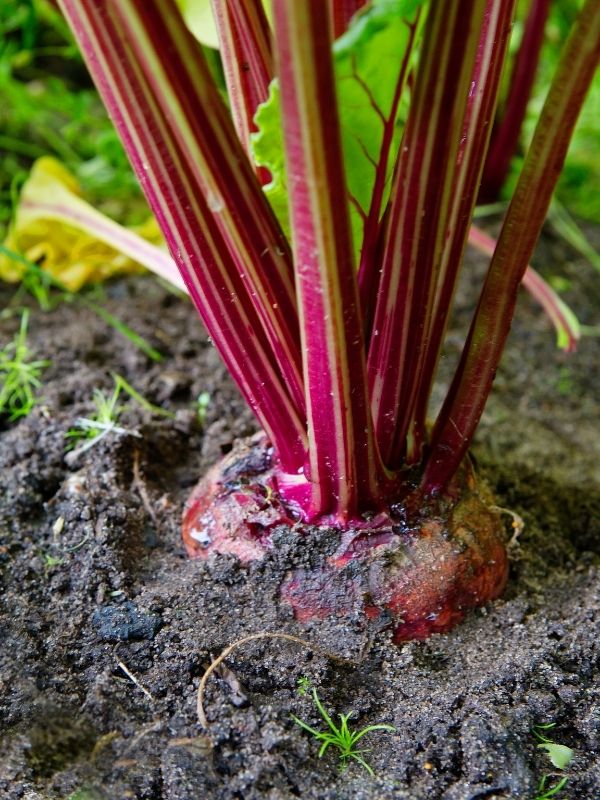
Baby beets can be harvested when roots are about 1-2” in diameter. For larger beets, harvest when they are 4-5” across. If they get much larger than this, the roots will become tough and woody.
After pulling up your beets, clip or twist off the leaves and stems. You can store the greens and roots separately in your fridge for about a week.
For longer storage, pack large beets into sand or sawdust and store them somewhere cool like a basement or root cellar. They can keep for a few months this way.
For a more detailed look at harvesting and storing your beets, please see this complete post on how to harvest beets and beet greens.
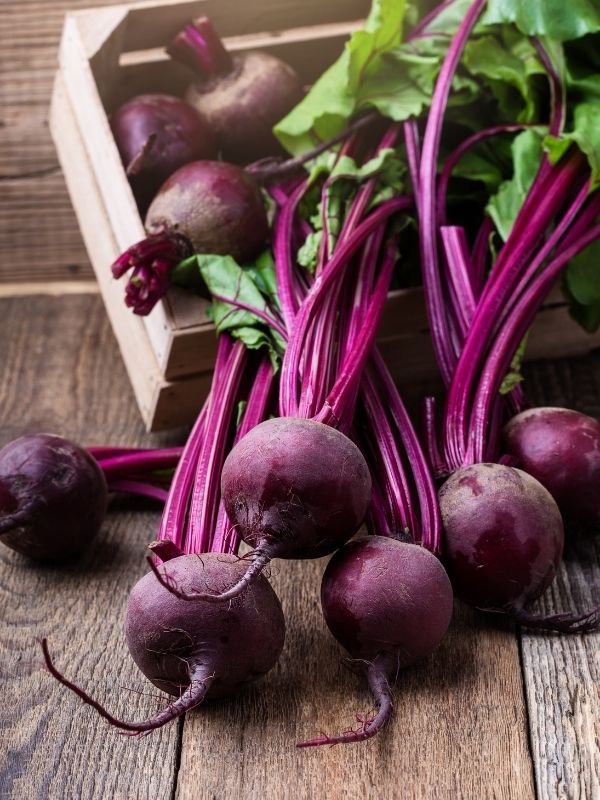
Whether you want to grow the classic red beet or venture off the deep end, learning how to grow your own beets will give you an endless supply through the growing season and into winter.
Don’t miss out on this nutritious, pretty, and easy-to-grow crop!
Popular summer vegetables and herbs
Discover how to grow popular vegetables and herbs in your backyard garden or container garden with these in-depth vegetable growing guides.
7 Easiest Vegetables to Grow for an Abundant Harvest (and 5 to avoid!)
Discover the easiest vegetables to grow for beginners so you can have a healthy, successful garden.
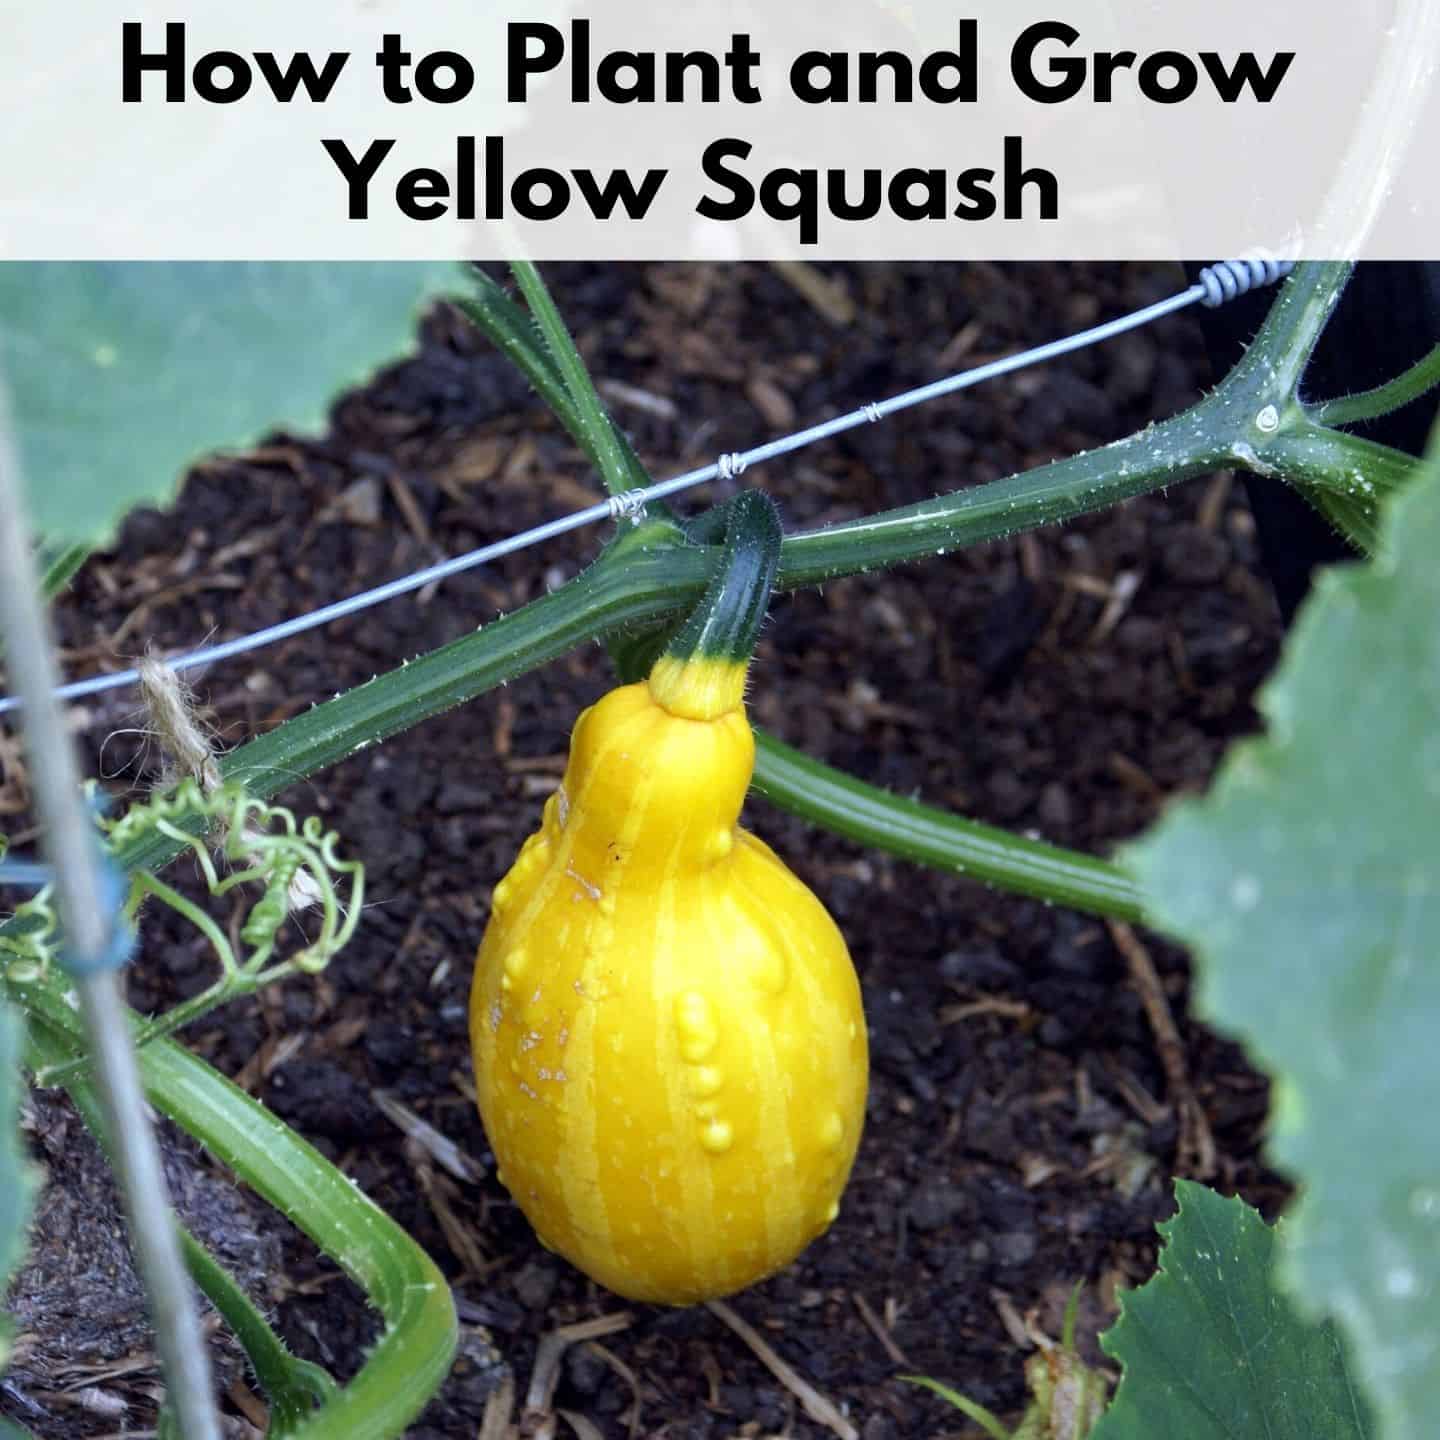
Discover these must-know tips for planting yellow squash and common squash growing mistakes and problems.
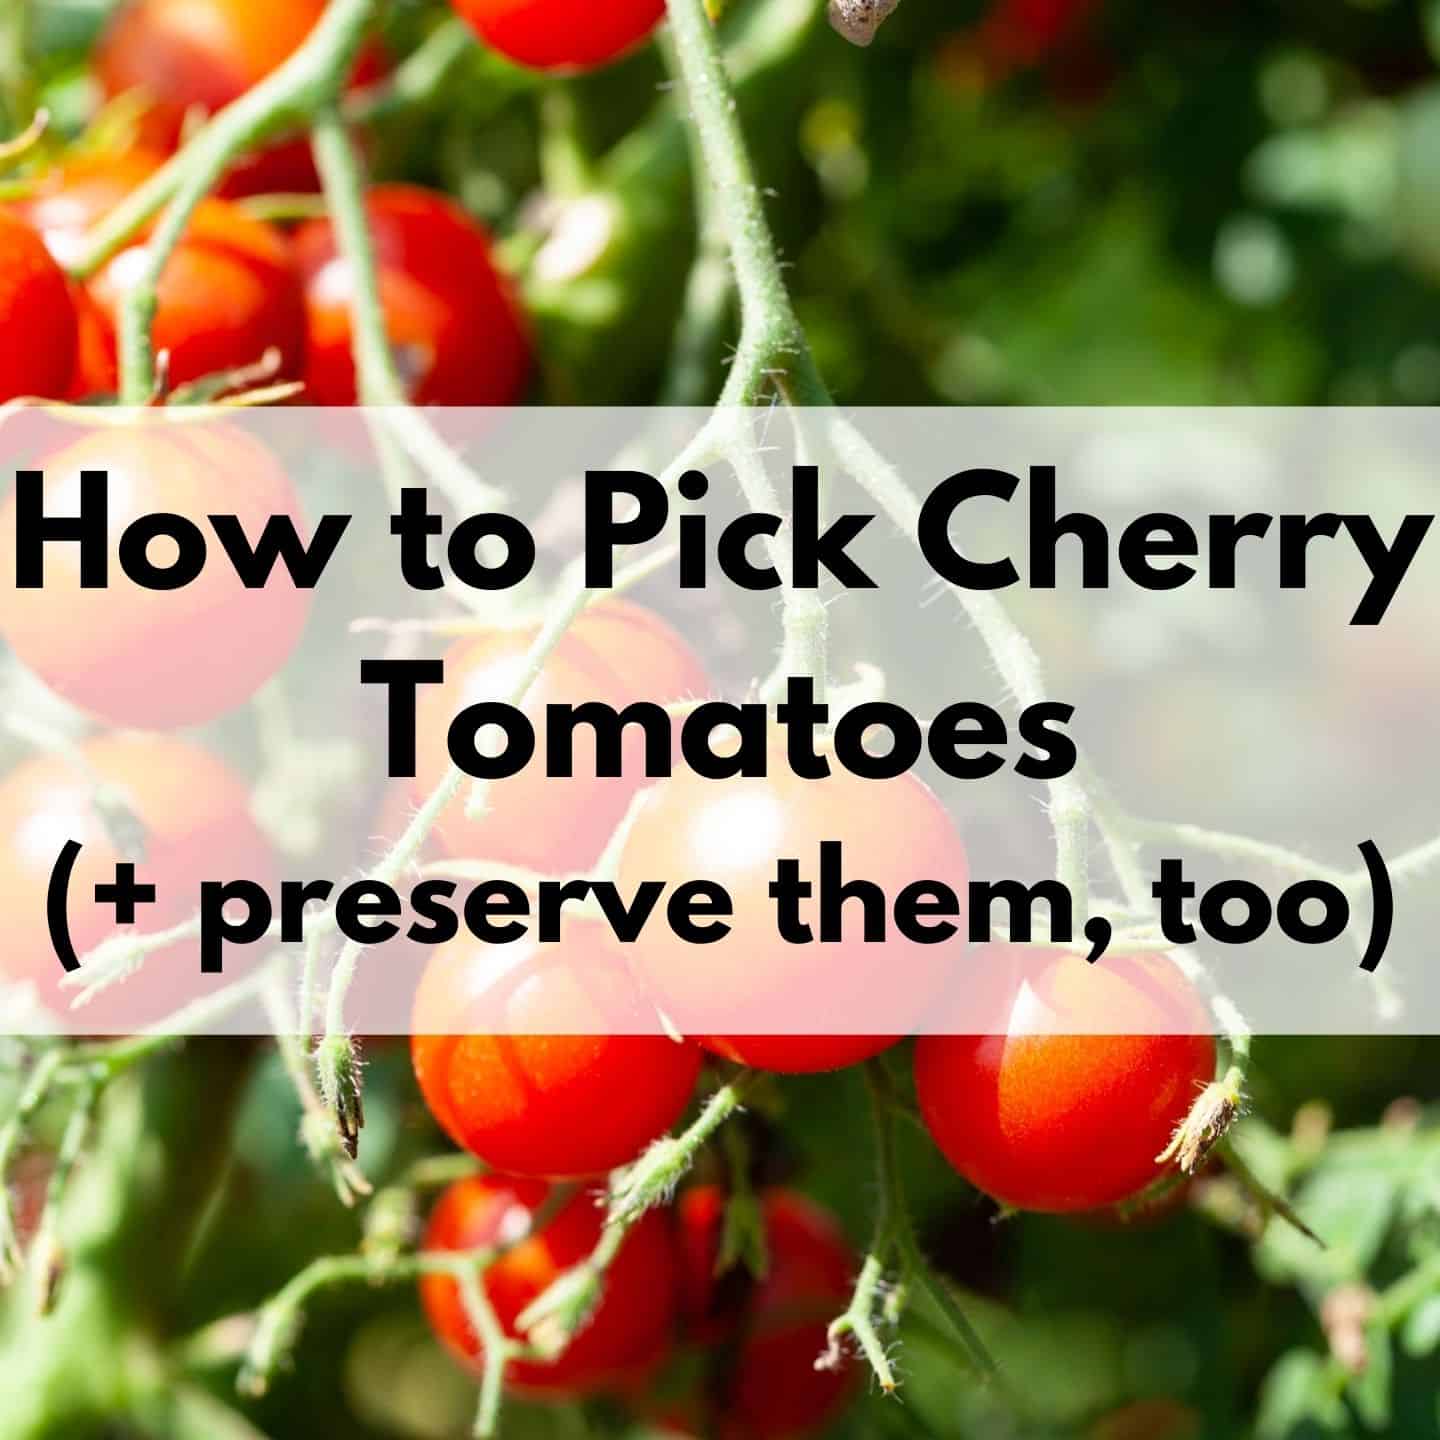
How to Pick and Preserve Cherry Tomatoes (plus drool-worthy cherry tomato varieties to try)
Discover how to pick and preserve delicious cherry tomatoes.
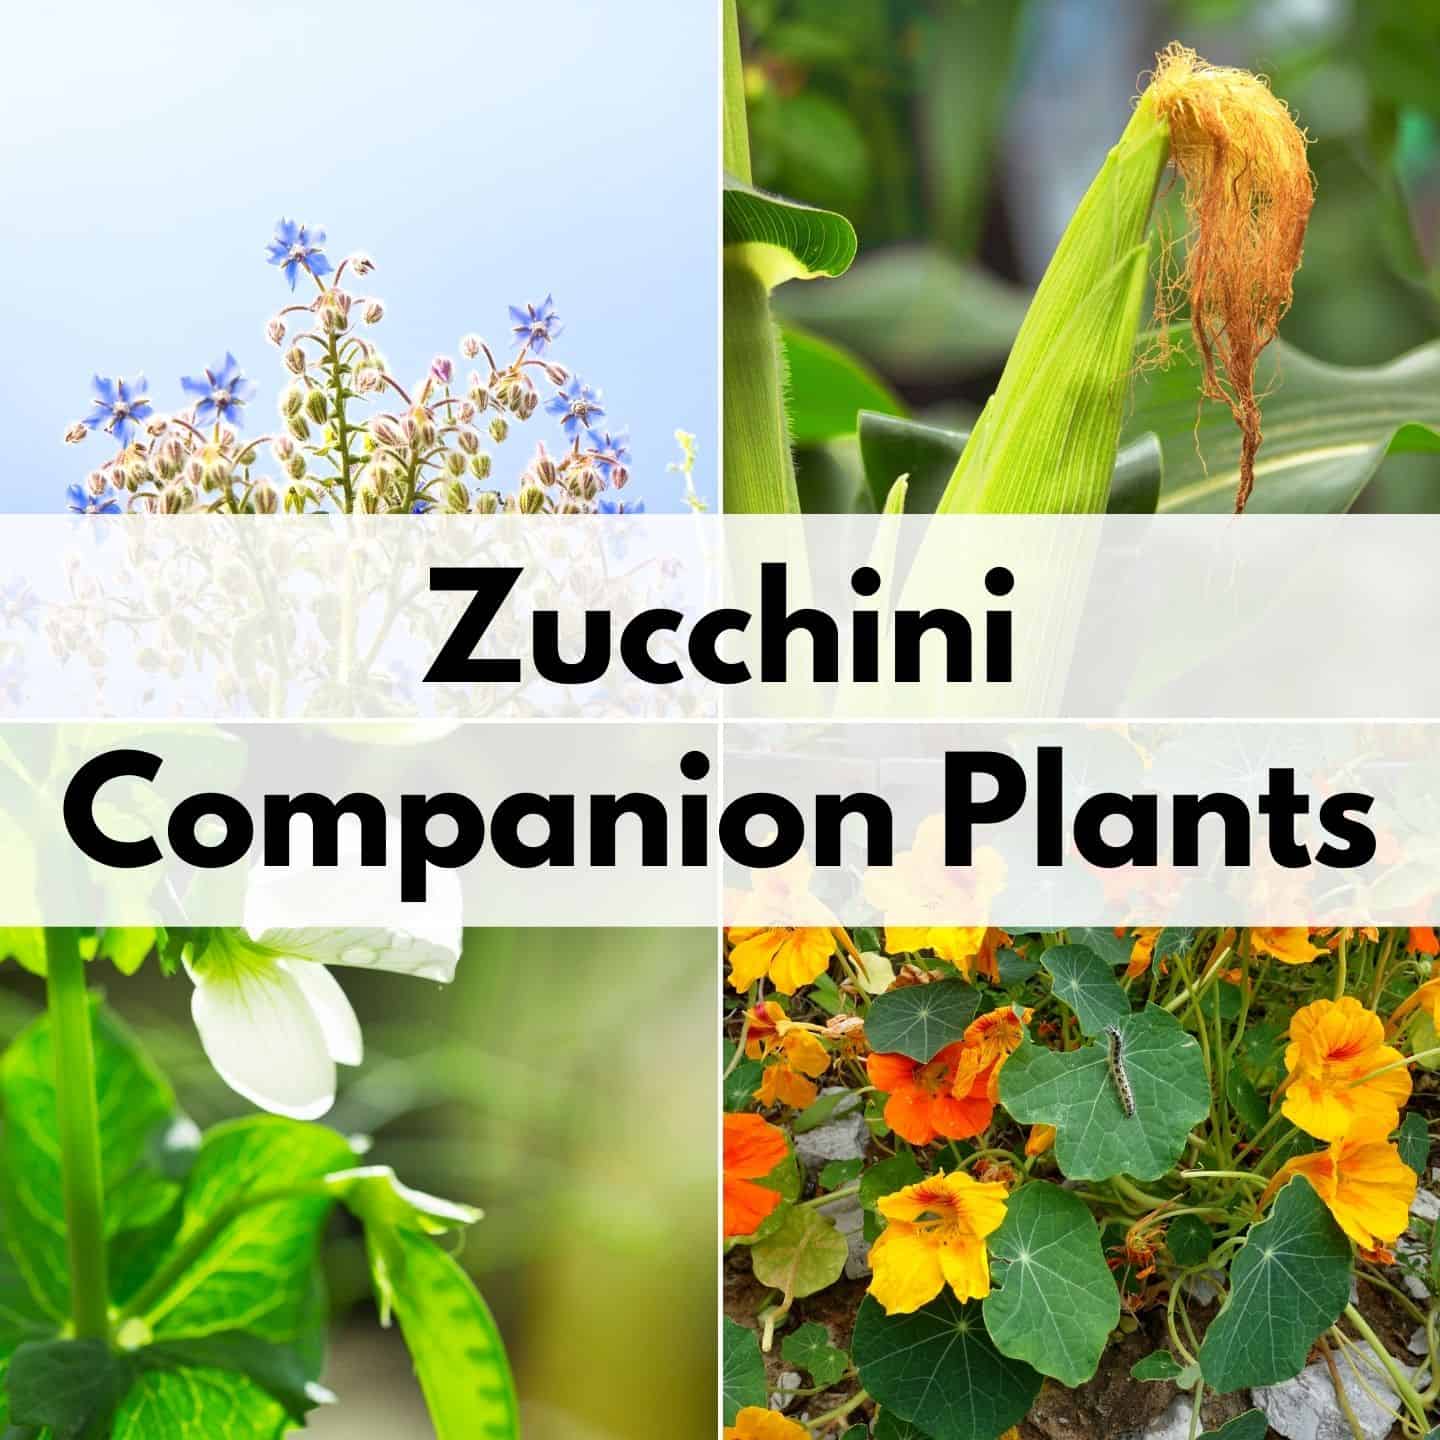
Must-Know Zucchini Companion Plants (and 5 plants to avoid)
Zucchini are a summer garden must-have. Learn how to companion plant them for a healthier, more productive garden.
How to Harvest Basil (Must-know tip for an abundant harvest!)
One basil plant can provide you enough for fresh eating and drying for homegrown basil all winter long when you discover how to harvest basil the correct way.
How to Harvest Parsley (without killing the plant)
One parsley plant can provide you with an ample harvest all season long...if you know how to pick it the correct way. Discover how to harvest parsley with this comprehensive guide and video!
Harvesting Tomatoes - How and When to Pick your Tomatoes
Discover how to harvest tomatoes and how to tell when they're ready to pick - even heirloom varieties with different colors.
Natasha Garcia-Lopez is an avoid home-gardener and proud owner of 88 acres of land in rural West Virginia. She was a member of the Association for Living History Farms and Agricultural Museums for many years and is currently enrolled in the Oregon State University Master Gardner Short Course program so she can better assist you with your gardening questions.She holds a certificate in natural skincare from the School of Natural Skincare.


Leave a Reply