Brussels sprouts are not your everyday vegetable crop. They take some planning, a long growing season, and a little extra care to grow successfully. That’s why many people don’t feel comfortable growing Brussels sprouts, or have tried but failed to grow them in the past.
By learning what Brussels sprouts need and having a little patience, you can grow your own “mini cabbages” and enjoy a super fresh harvest straight from your backyard.
Here’s everything you need to know about how to grow Brussels sprouts, including tips for avoiding common pitfalls.
This post includes affiliate links, which means I may earn a commission on purchases made at no additional cost to you.
Table of Contents
About Brussels Sprouts + Quick Growing Tips
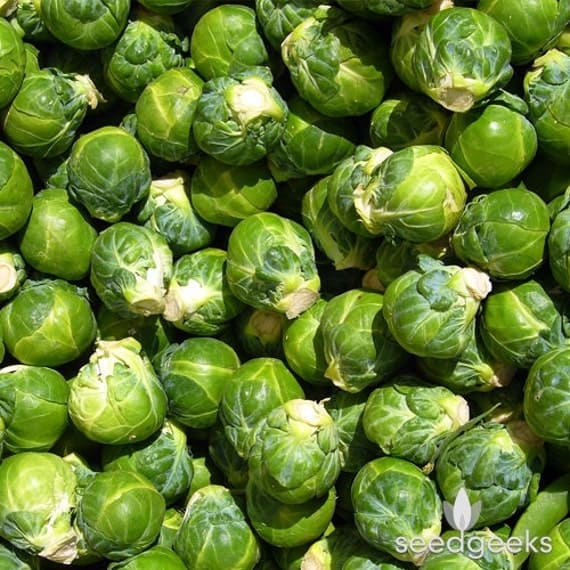
Brussels sprouts (Brassica oleracea var. gemmifera) aren’t actually tiny cabbages, but the description isn’t far off because they are a cultivar of wild cabbage. This makes them closely related to other Brassicas like kale, collard greens, broccoli, and kohlrabi.
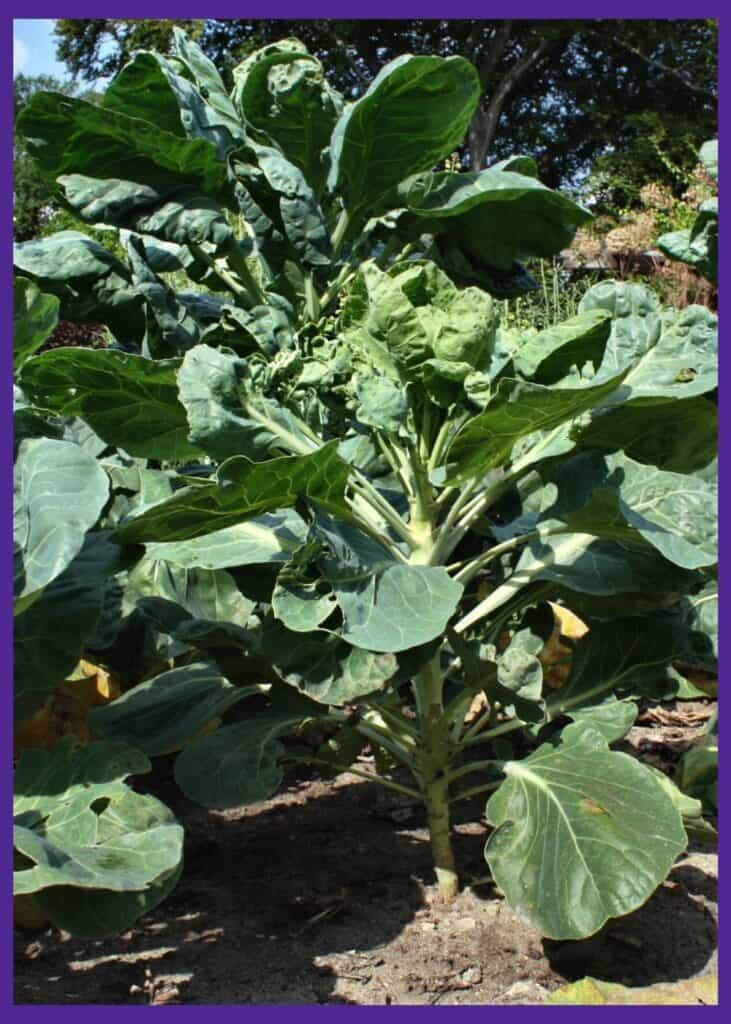
Named for the city of Brussels in Belgium, this humble vegetable has one of the most interesting growth habits: tiny cabbage-like buds or sprouts that form in clusters on a tall, upright stalk. It also has large, spreading leaves that take a lot of space in your garden.
Like its other relatives, Brussels sprouts prefer cool weather to grow in and will become bitter or develop loose heads in too much heat. Plants grow 2-3 feet tall and have edible leaves to go along with the sprouts.
You can grow Brussels sprouts as an annual vegetable in USDA hardiness zones 2-9.
One of the keys to being successful with this crop is knowing that the sprouts need a long season to fully form: about 80-100 days. This, combined with the fact that they grow best in cool weather, means that timing is critical if you want to have healthy plants.
When to Plant Brussels Sprouts
As mentioned, planting time is key for learning how to grow Brussels sprouts successfully. While they can be planted in early spring like other Brassicas, a much better plan for most gardeners is planting in summer for a fall harvest.
Planting in spring is only a good idea if you get consistently cool temperatures all summer. Otherwise, your plants will do much better if allowed to do most of their growing into the cooler weather of fall. As a bonus, Brussels sprouts taste better after a light frost.
To calculate the exact planting date, count four months backwards from your average first fall frost date. For many, this works out to be early or mid-summer.
If you live somewhere with hot summers but rarely see freezing temperatures during the winter, you can wait a little longer and start your seeds in late summer for a mid or late winter harvest. If you live in zone 8 or warmer, you can probably safely start your Brussels sprouts a bit later.
How to Grow Brussels Sprouts from Seed
Not many garden centers sell Brussels sprout seedlings, so the best option is to start your plants from seed. You may want to check with local farmers and farmers market. You can frequently find more diverse seedlings from individual growers than from big box stores. You can also occasionally find Brussels sprouts seedlings online. At the original time of writing, Etsy Seller Emily’s Grow Garden was offering live Brussels sprouts plants.
Ideally, you want to start them indoors because the seedlings will grow better away from the heat of summer (and pests). However, if you don’t have room inside or seed starting supplies, outdoors can work with a few extra steps.
Brussels Sprouts Varieties to Grow
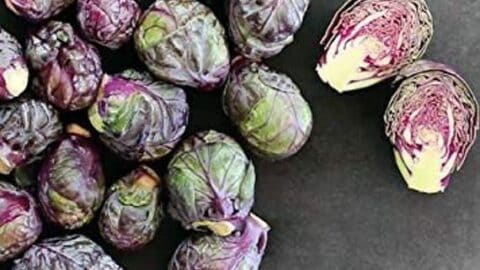
There are well-known varieties, such as Long Island Improved, and other lesson common varieties, like purple Brussels sprouts. Purple varieties grow the same way as green ones, but have added nutritional benefits. Learn more in this post about purple vegetables for your superfood garden.
Brussels Sprouts Seeds
Don't rely on your local big box store to have fresh, heirloom seeds. Order them directly from small growers!
Brussels Sprouts - Long Island Improved
Long Island Improved sprouts will grow almost anywhere in the US. Each plant can produce 50-100 sprouts. It's called a "semi-dwarf" plant, which means the stem is a little shorter (and more sturdy) than taller cultivars.
This particular seller, Southern Seed Exchange, is one of my personal go-to sellers for seeds. They always ship promptly and I've had great germination rates from the many seeds of theirs I've planted.
RED RUBINE Brussels Sprouts Seeds
These colorful sprouts add a splash of excitement to your winter garden. They are packed with antioxidants and mature in about 90 days.
Catskill Brussels Sprout Heirloom Seeds
Catskill Brussels sprouts are an heirloom variety known for their larger sprouts and sturdy stalk.
Starting Brussels sprouts indoors
Start your seeds indoors about four months before you need to harvest Brussels sprouts (or 3-4 weeks before your last spring frost date if you are planting in springtime).
Use a seed starting tray filled with damp soil mix, and sow your seeds ¼-½” deep. Make sure they are all covered with soil and water them well. You can cover your tray with a plastic dome or something similar to keep the moisture in while the seeds germinate. I personally prefer to keep the soil moist with a spray bottle or bottom watering instead of a dome.
Your seeds should germinate in 7-10 days, and you can remove the cover from your tray if you had one on. Place your new seedlings under grow lights or by a sunny window. Most people don’t have a window with adequate life for healthy seedlings. Your idea of adequate light is probably not the same as a plant’s! Plants need lots of light. An inexpensive clip on grow light can help.
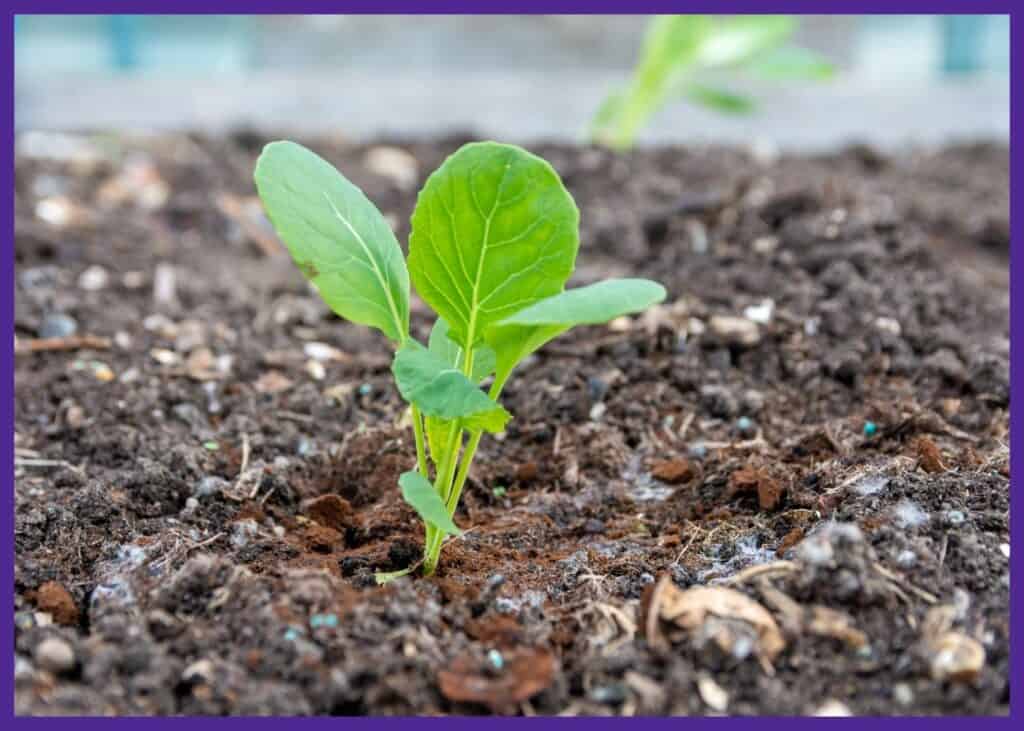
Brussels sprouts are usually ready for planting about 4 weeks after being started from seed. Make sure you gradually get them used to outdoor life before planting them in your garden. Hardening off is important and can have a major impact on your plants. Discover more about how to prepare seedlings for transplant.
Depending on your weather and schedule, you may want to transfer seedings to larger containers (such as 3″ or 4″ pots) before planting them outdoors. This does add extra work, but gives your seedlings space to grow if you need to keep them indoors for a little longer.
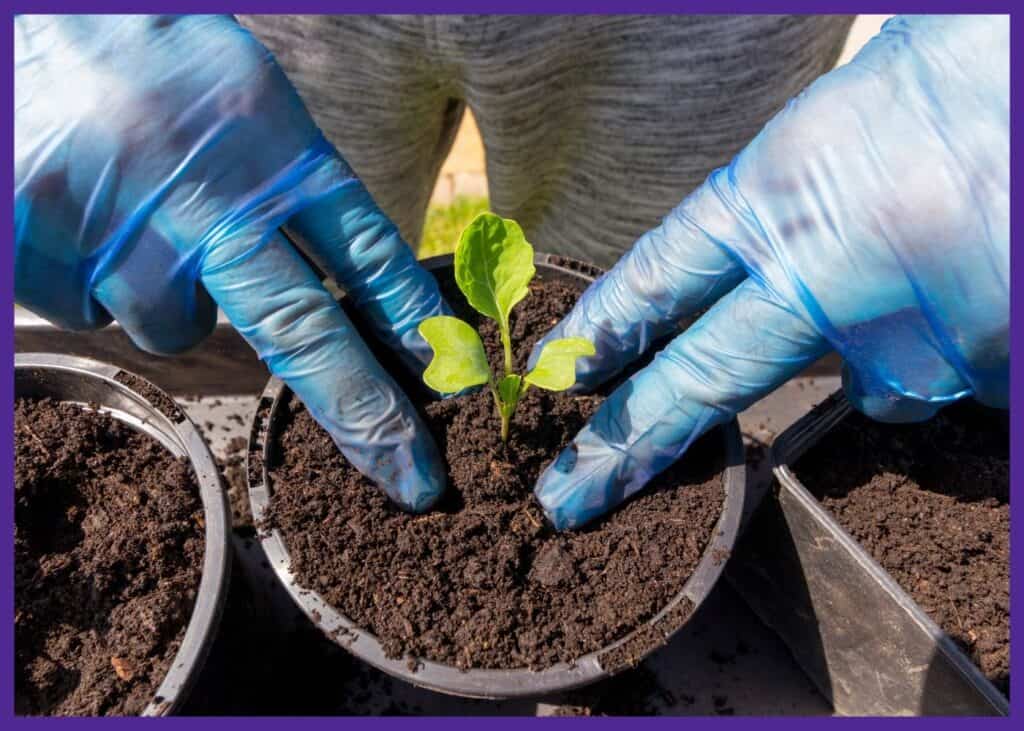
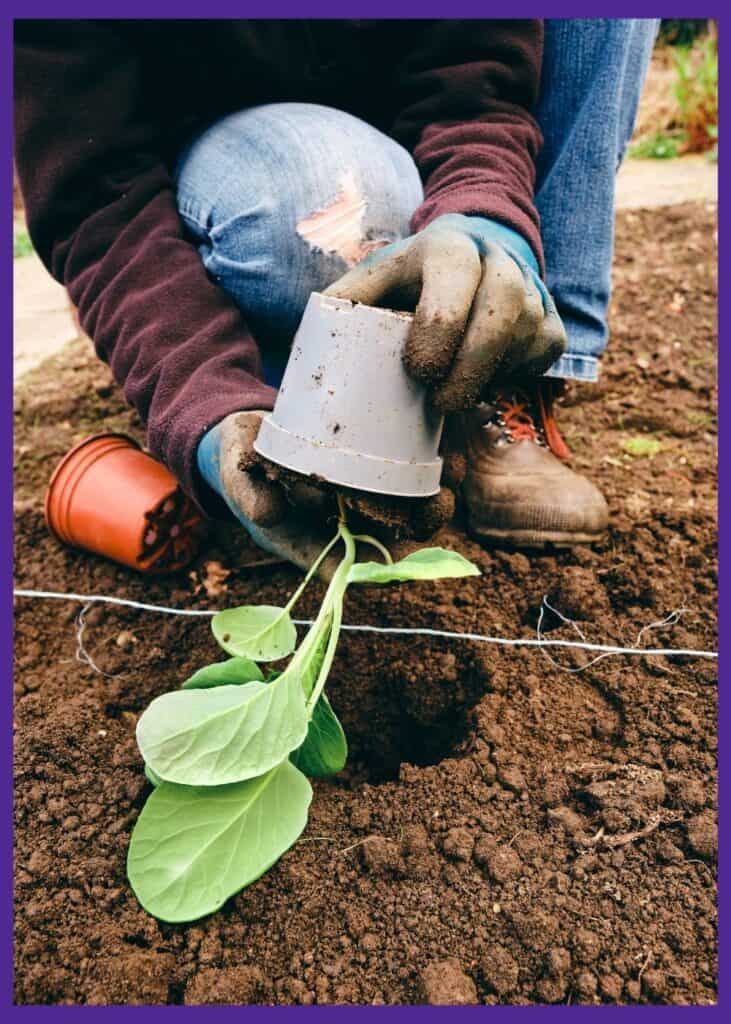
Transplant Brussels sprouts when they’re about 4-6″ tall and have at least 2-3 sets of true leaves. Use your hands to firm up the soil around your transplants and water them in well. Transplant early in the morning or in late afternoon of an overcast day to help your plants get adjusted instead of fried by the sun.
Planting Brussels sprouts seeds outdoors
If you are planting in summertime, seeds sown directly outdoors may take longer to germinate and mature more slowly than ones started indoors. Brussels sprouts prefer cool weather, not hot summer weather. There are a few things you can do to help the process if you want to plant Brussels sprouts outdoors.
Start by sowing your seeds ½” deep and watering them well. Then, cover them with a light layer of natural mulch (like pine needles or straw) or put some shade cloth over the area where your seeds are. Remember that shade cloth does not rest directly on the plants or ground – it needs to be suspended above the soil to allow for air flow.
This will help to keep the soil damper and cooler, which will help your seeds to germinate. (Just be sure to remove the mulch or shade cloth when your seedlings sprout.)
Once your seedlings get a few inches tall, thin them to a spacing of 18-24”. For Square Foot Gardening, place your plant in the convergence of four squares. Make sure you water them consistently, and put mulch down around them when they get a little bigger to help cool the soil.
Tips for Planting Brussels Sprouts
Brussels sprouts need a spot in your garden that gets full sun and has well-drained soil. They do take up a bit of space, so make sure the area you want to plant them in is large enough.
Before planting seedlings or seeds, add some compost to your soil to add fertility. Many people recommend mixing compost in, but you don’t have to. Spreading it on top is fine – it will work its way into the soil. A top-dressing of worm castings can provide natural slow-release nutrients, too. Brussels sprouts aren’t very picky about soil type but they do use a lot of nutrients during their long growing season.
Many people recommend using aged manure in your garden, but it can be risky. Unless you know and trust the farmer and the hay they feed, compost can be an easy way to introduce toxins to your garden. Popular plants like tomatoes and beans are very sensitive to common herbicides that can contaminate manure through the animal’s hay. Read more about this, and how to easily make your own compost, in David the Good’s guide Compost Everything.
Seedlings should be spaced 18-24” apart. If you have several rows of Brussels sprouts, space them at least 3’ apart.
Caring for Your Brussels Sprouts
The next important part of how to grow Brussels sprouts is caring for your plants.
A good starting place is to put mulch down around your plants as soon as they are tall enough to not be covered by it. This is especially important when temperatures are hot. Do not use black plastic as mulch – this will make the soil warmer. Use a natural material like leaves, pine straw, or wood chips. Keep the mulch from touching the plant’s stem to help avoid slugs and rot.
Your plants also need consistent watering in order for the sprouts to develop as desired. Try to set a schedule of deep watering (you want the water to go down in the soil several inches) a few times a week unless you get a good rain.
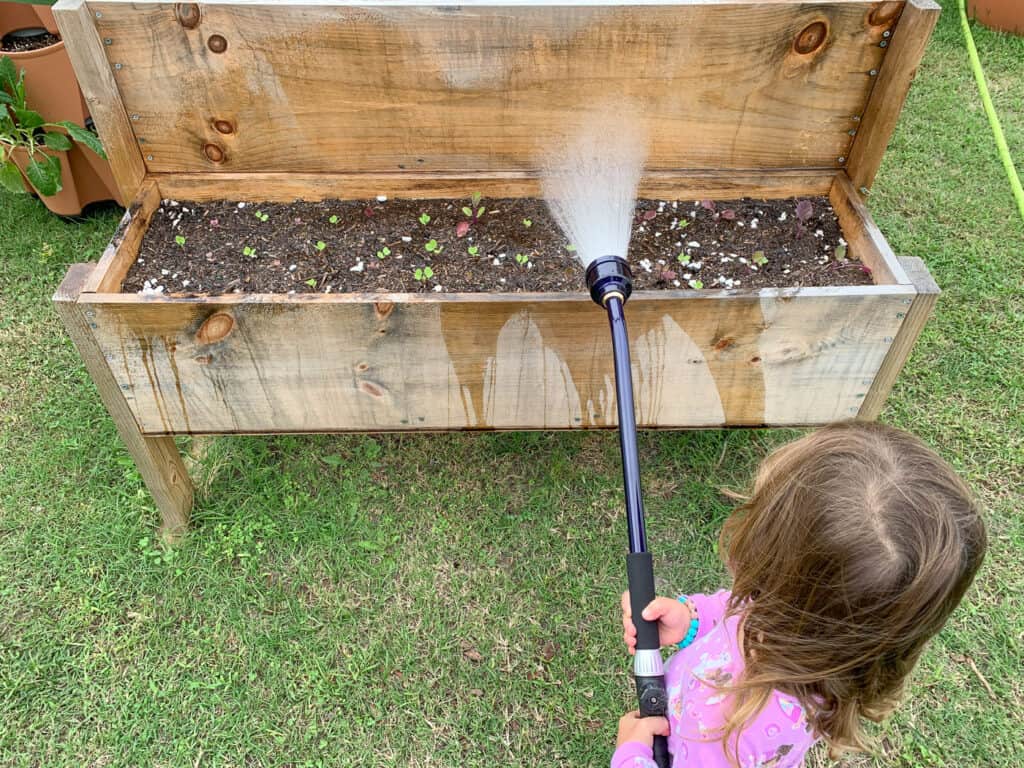
I prefer to use a watering wand, especially for seedlings, because it provides a relatively delicate shower. The extra reach also helps you water widely-spaced Brussels sprouts without trampling all over your beds. Watering wands are easy on your hands, too, because they tend to have long levers. Below you can see our daughter, three at the time, using our watering wand for tiny kohlrabi seedlings. Discover everything you need to know about watering wands in this guide.
Weeding is also important, but go gently around your plants because they have shallow root systems. Mulch can help with this.
Fertilizing is optional but using a nitrogen-rich fertilizer (like fish emulsion) on your plants every 3-4 weeks can help their growth.
Occasionally, Brussels sprouts will grow tall enough that they need to be staked. Tie them to a sturdy support if you notice them leaning to make sure they don’t fall over. A fiberglass rod, wood stake, or bamboo pole can all work. I recommend soft coated wire for “tying” your sprouts to your stake. It’s less likely to damage your plants than twine or the twist-tie like material.
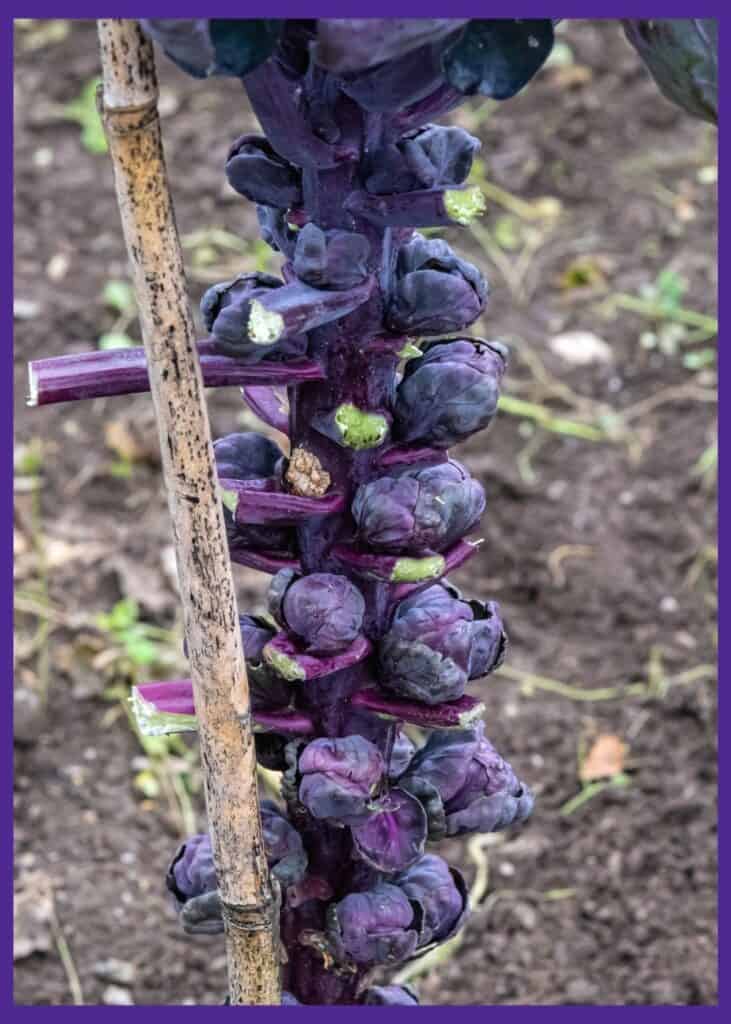
Throughout the season, you can remove any leaves that start turning yellow at the bottom of the plants. About 3-4 weeks before harvesting, you can cut the top leafy section off of your plants to encourage the sprouts to mature at a similar time, or leave it on for a more continuous harvest.
Brussels Sprouts Pest & Problems
Unfortunately, Brussels sprouts are prone to the same pests as the rest of the cabbage family, and they can be a pain. Keep an eye out for cabbage loopers, cabbage worms, flea beetles, aphids, and cabbage root maggots. In my experience, caterpillars are the greatest, most common issue for the entire cabbage family.
Cabbage-eating caterpillars are more common in spring in some areas, but a huge pest during fall in others. In 8a, I’ve usually had more trouble with them in the fall. In our West Virginia home, we have cabbage worms in teh summer.
As added protection, put floating row covers over your Brussels sprouts as soon as you plant them, and only remove them when plants get too big. The row covers will exclude the moths that hatch many of the pests mentioned and give your plants a good headstart. I use this mesh netting on my seedlings:
You can kill cabbage-loving caterpillars with BT, a naturally occurring bacterium that targets cabbage loopers, gypsy moth caterpillars, and similar caterpillars but is not harmful to humans or other insects. There are two important things to remember with BT:
- Some BT products also contain other ingredients. If you don’t want additional insecticides, check the label carefully.
- Caterpillars have to ingest the BT. It does not work on contact. Controlling caterpillars with BT can take a few days.
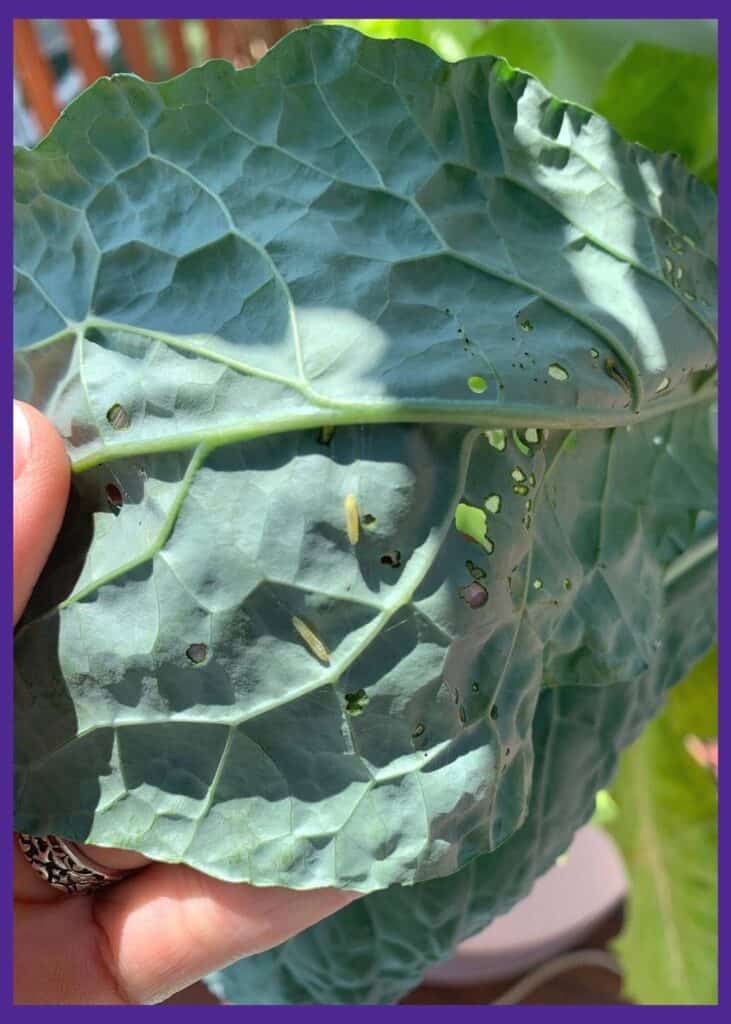
If you have a cabbage worm problem (pretty much everywhere does at some point during the year), check on your plants daily. If you see small holes appear, flip the leaf and search for signs of caterpillars. They are very difficult to spot during the first day or two of life, but grow quickly. Remove and squish them or, better yet, feed them to your chickens. (Don’t have chickens? They’re amazing garden helpers who generate fertilizer, compost, and food.)
The cabbage “worms” in the photo below are only two or three days old, but you can see the damage they’ve already caused on a kale leaf. There are at least three in the photo. Can you spot them?
The best way to avoid diseases that can affect Brussels sprouts (mildew, black rot, clubroot) is to practice crop rotation and proper spacing.
Harvesting Brussels Sprouts
Now that you have a good idea of how to grow Brussels sprouts, hopefully a successful harvest is on the way!
As you approach the 3-4 month mark after planting your seeds, start checking your plants regularly for sprouts that may be ready to pick. And don’t panic if you don’t see the sprouts appear for a while – your plants will grow tall first before developing the buds.
When sprouts do form, they will start maturing from the bottom up. You can pick them when they are 1-2” in diameter and still look tightly packed and green. Some varieties, such as Long Island Improved, tend to be around 1.5″ when mature. Some larger varieties are closer to 2″. Make sure to look at your seed packet to determine what is typical for your variety.
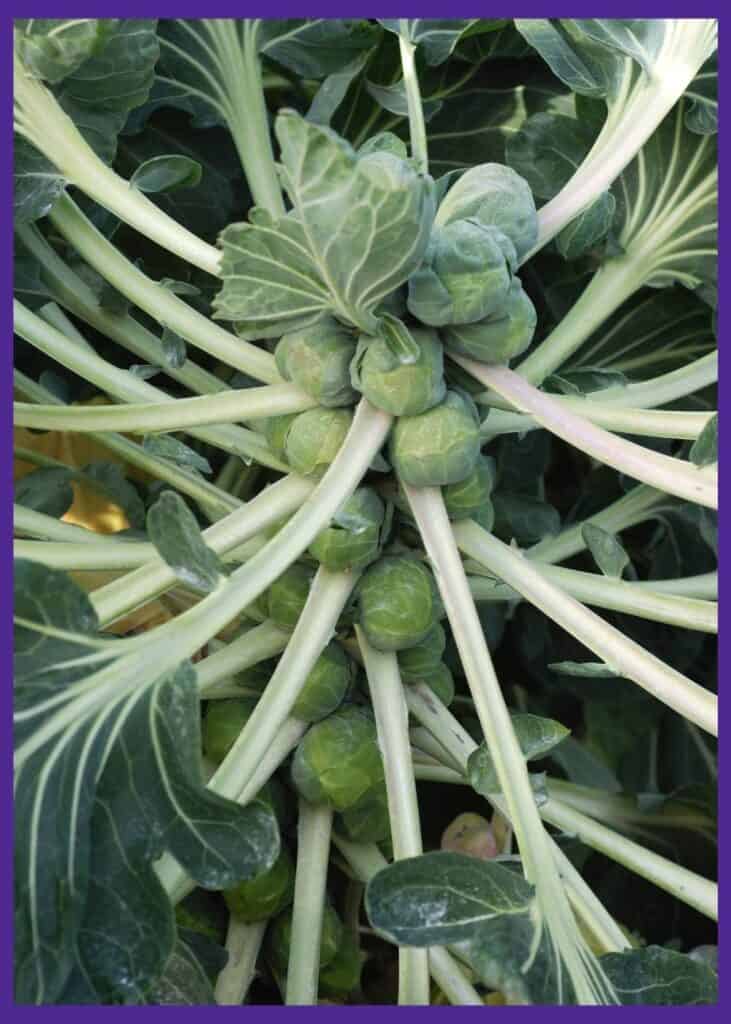
Harvest each sprout by gently twisting them up and away from the plant, holding onto the stalk with your other hand. You can also cut each one off with a sharp knife instead.
If a frost is approaching, leave the sprouts on the plant through the frost (unless it’s a severe freeze). This improves their flavor and won’t hurt them.
Storing Brussels Sprouts
If you aren’t going to cook with them right away, leave your Brussels sprouts unwashed and store them in a plastic bag in the refrigerator. They are best eaten within a few days but can be stored for about a week.
For a longer storage option, wait until most of the sprouts on one plant are ready. Then, pull up the stalk, cut off the leaves and roots, and hang it upside down in a cool basement or garage. You can take sprouts off as needed, and they will last for up to a month.
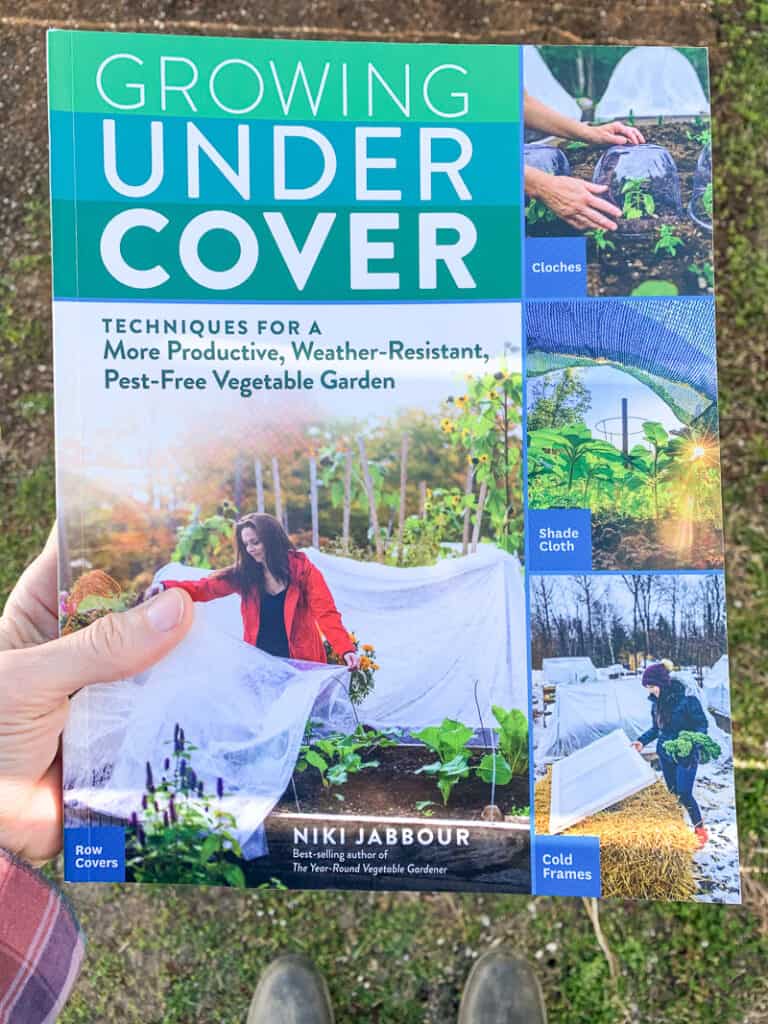
Some gardeners also have success with mulching their plants in hay or leaves all the way to their tops and continuing to harvest throughout the winter. For great information about extending your harvest season for a wide range of plants, make sure to read Niki Jabbour’s Growing Under Cover. She covers a variety of ways to use covers during the entire year for a healthier, more productive garden.
If you come to the point where you need storage ideas, you’ve definitely had success with growing Brussels sprouts and will hopefully be looking forward to doing it again next year!
Cool Weather Crops to Grow
Spring, fall, and even winter can be a fantastic time for gardening. Discover these delicious cool weather crops for your year-round vegetable garden!
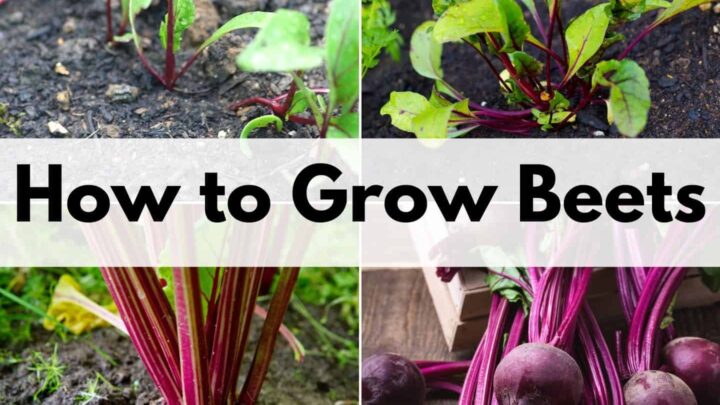
How to Plant & Grow Beets for a Successful Harvest
Beets are easy to grow and love cooler weather. The roots and tops are edible and they taste even better after a frost.
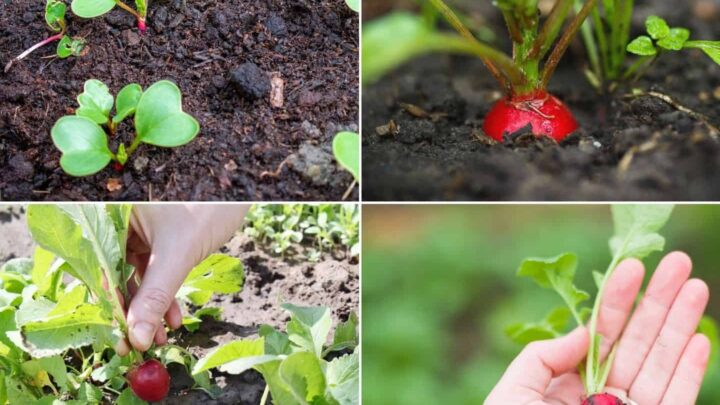
How to Plant and Grow Radish from Seed
Radishes are one of the fastest-growing vegetables. Both the greens and roots are edible and can be ready to harvest in just 3-4 weeks.
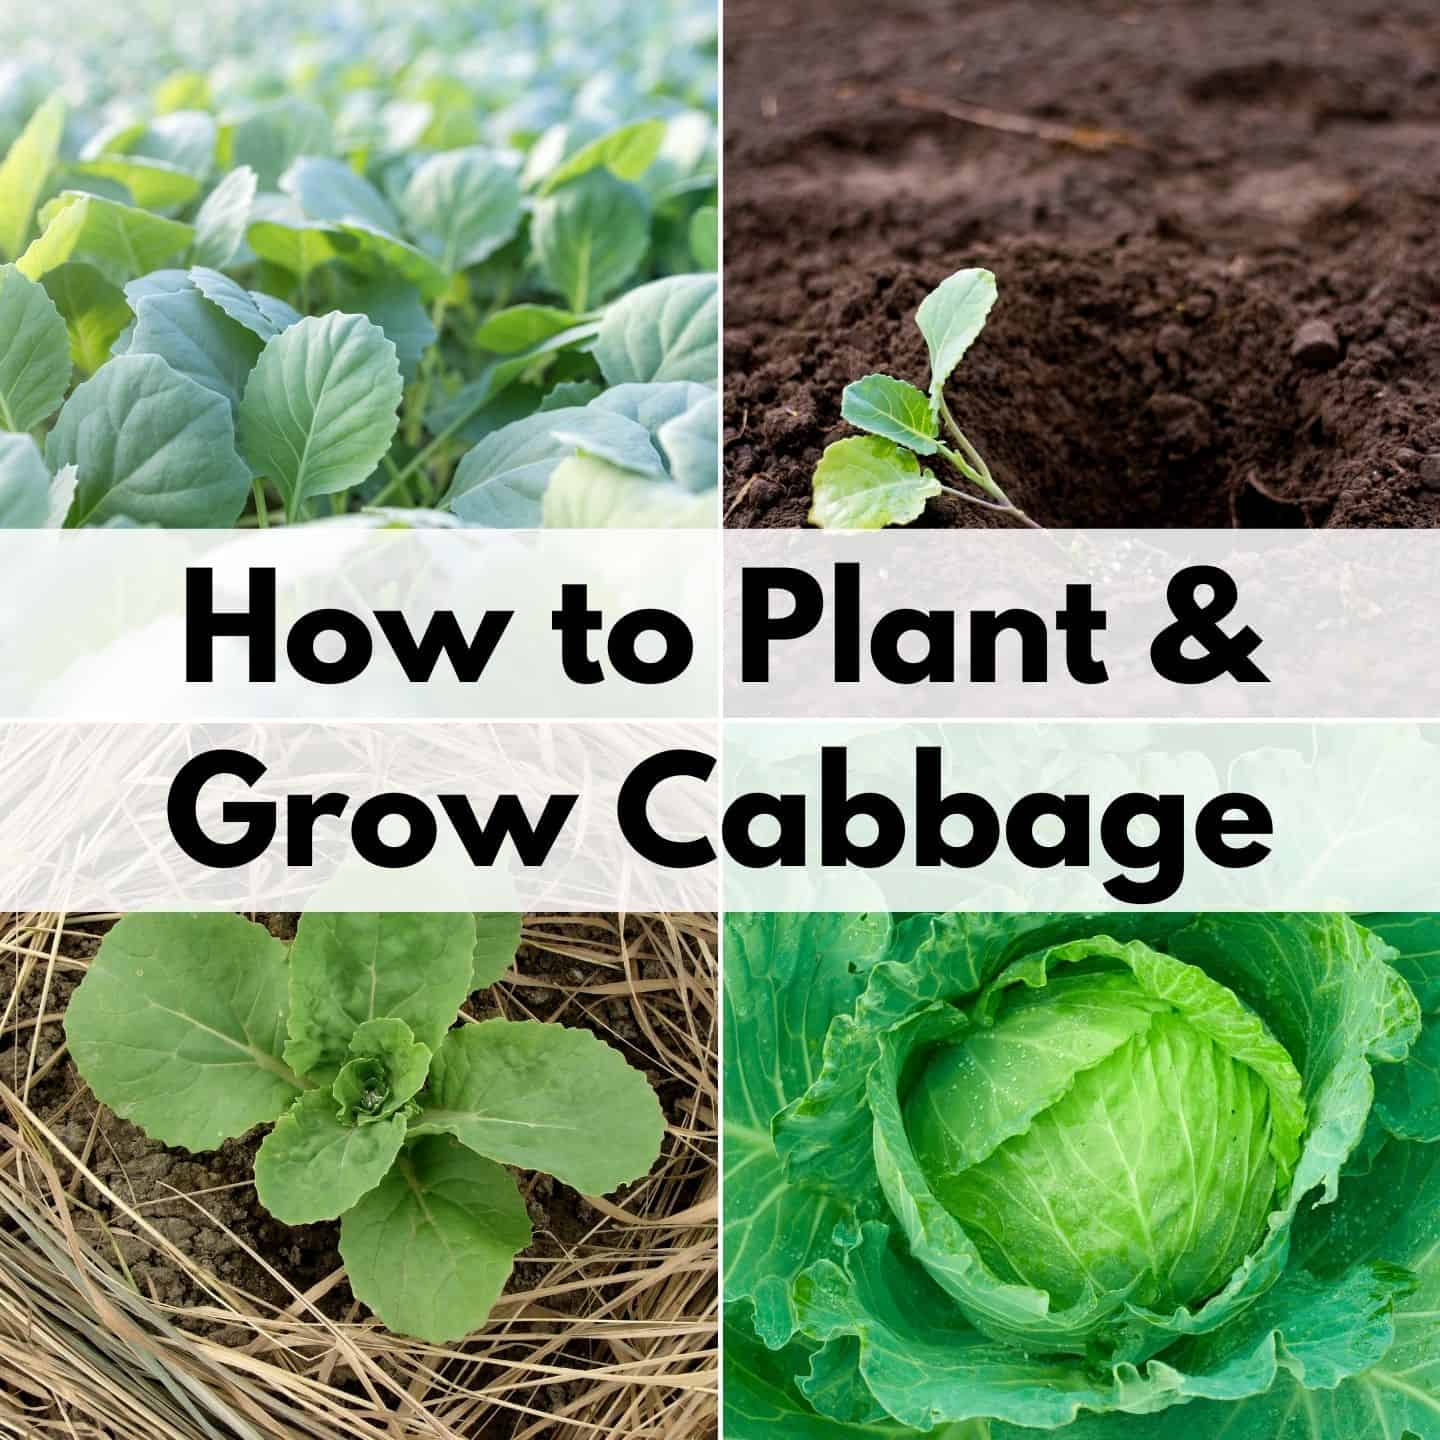
How to Plant and Grow Cabbage
Cabbage is a little more challenging to grow, but homegrown cabbage is so delicious that it's worth the effort. Discover how to plant and grow cabbage (plus how to combat annoying cabbage pests).
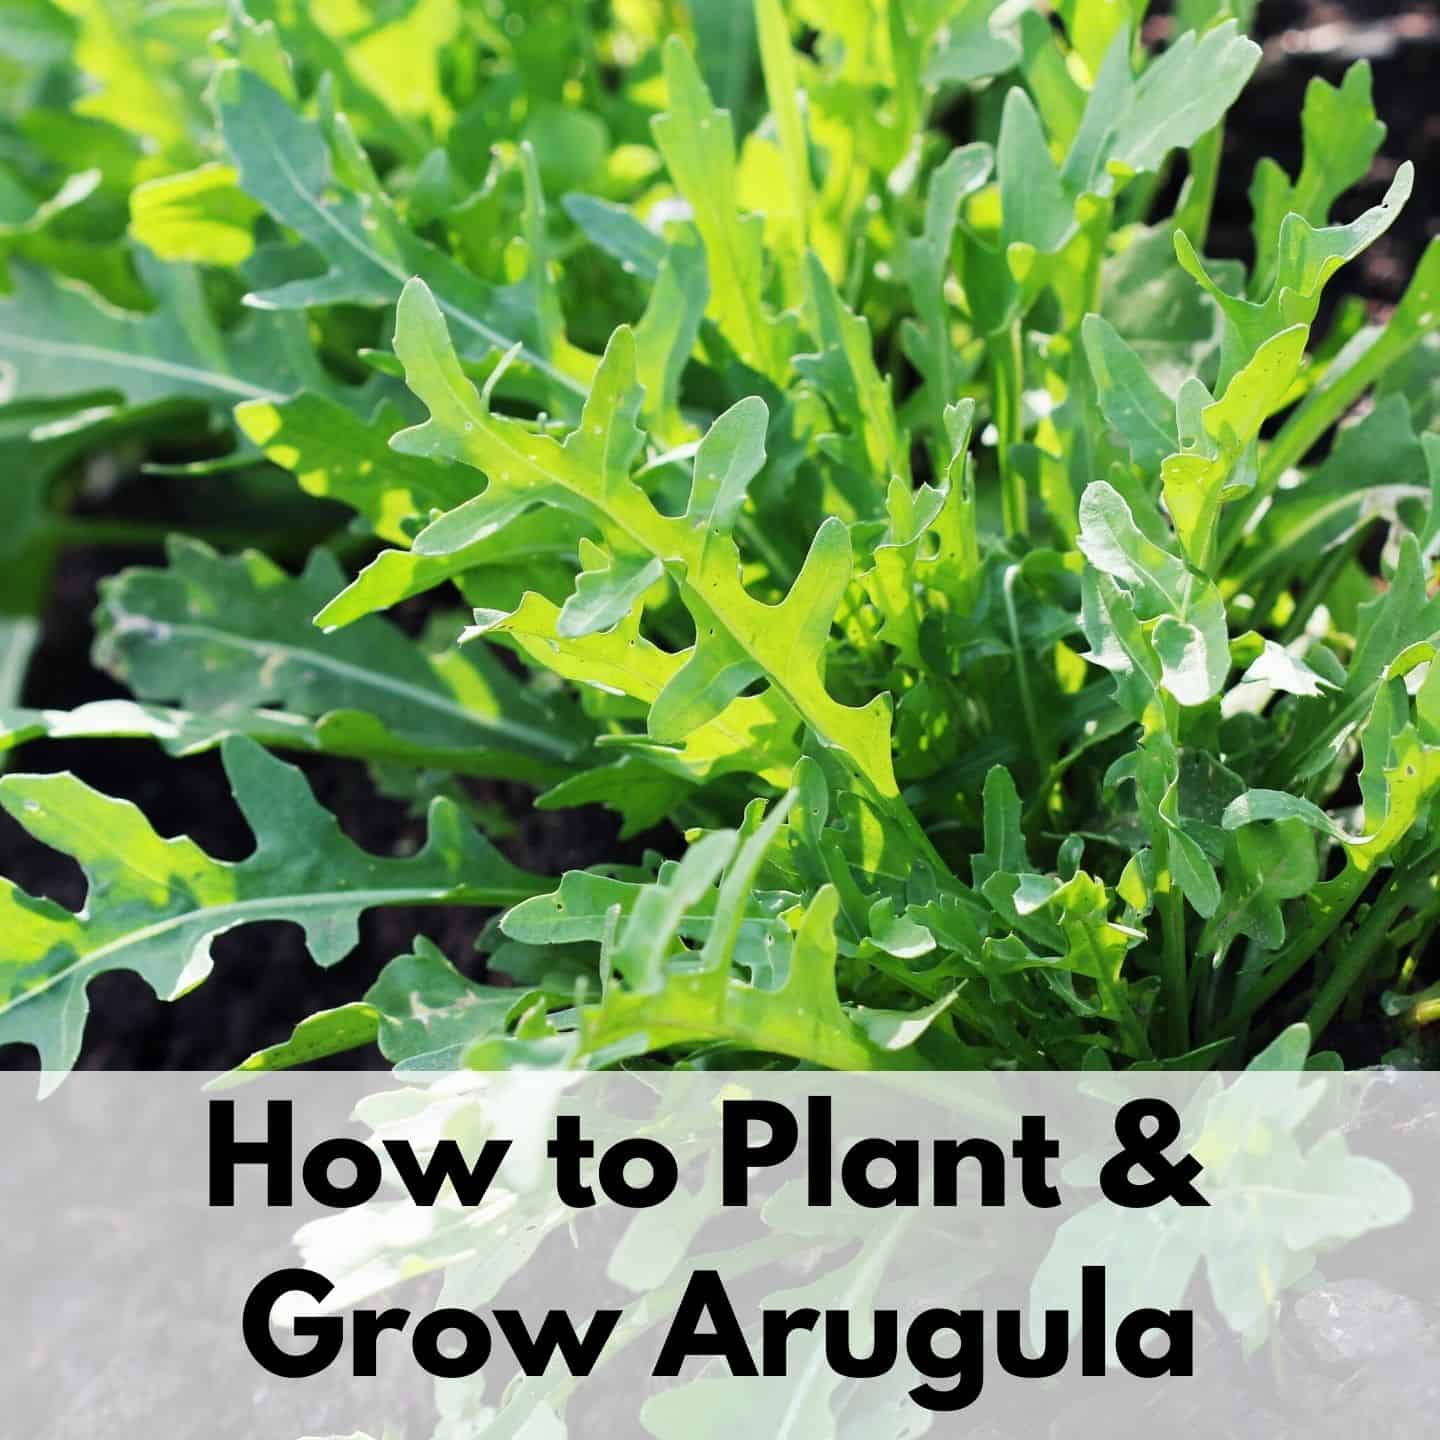
How to Plant and Grow Arugula
Arugula is quick and easy to grow. Discover how to plant and grow this salad favorite!
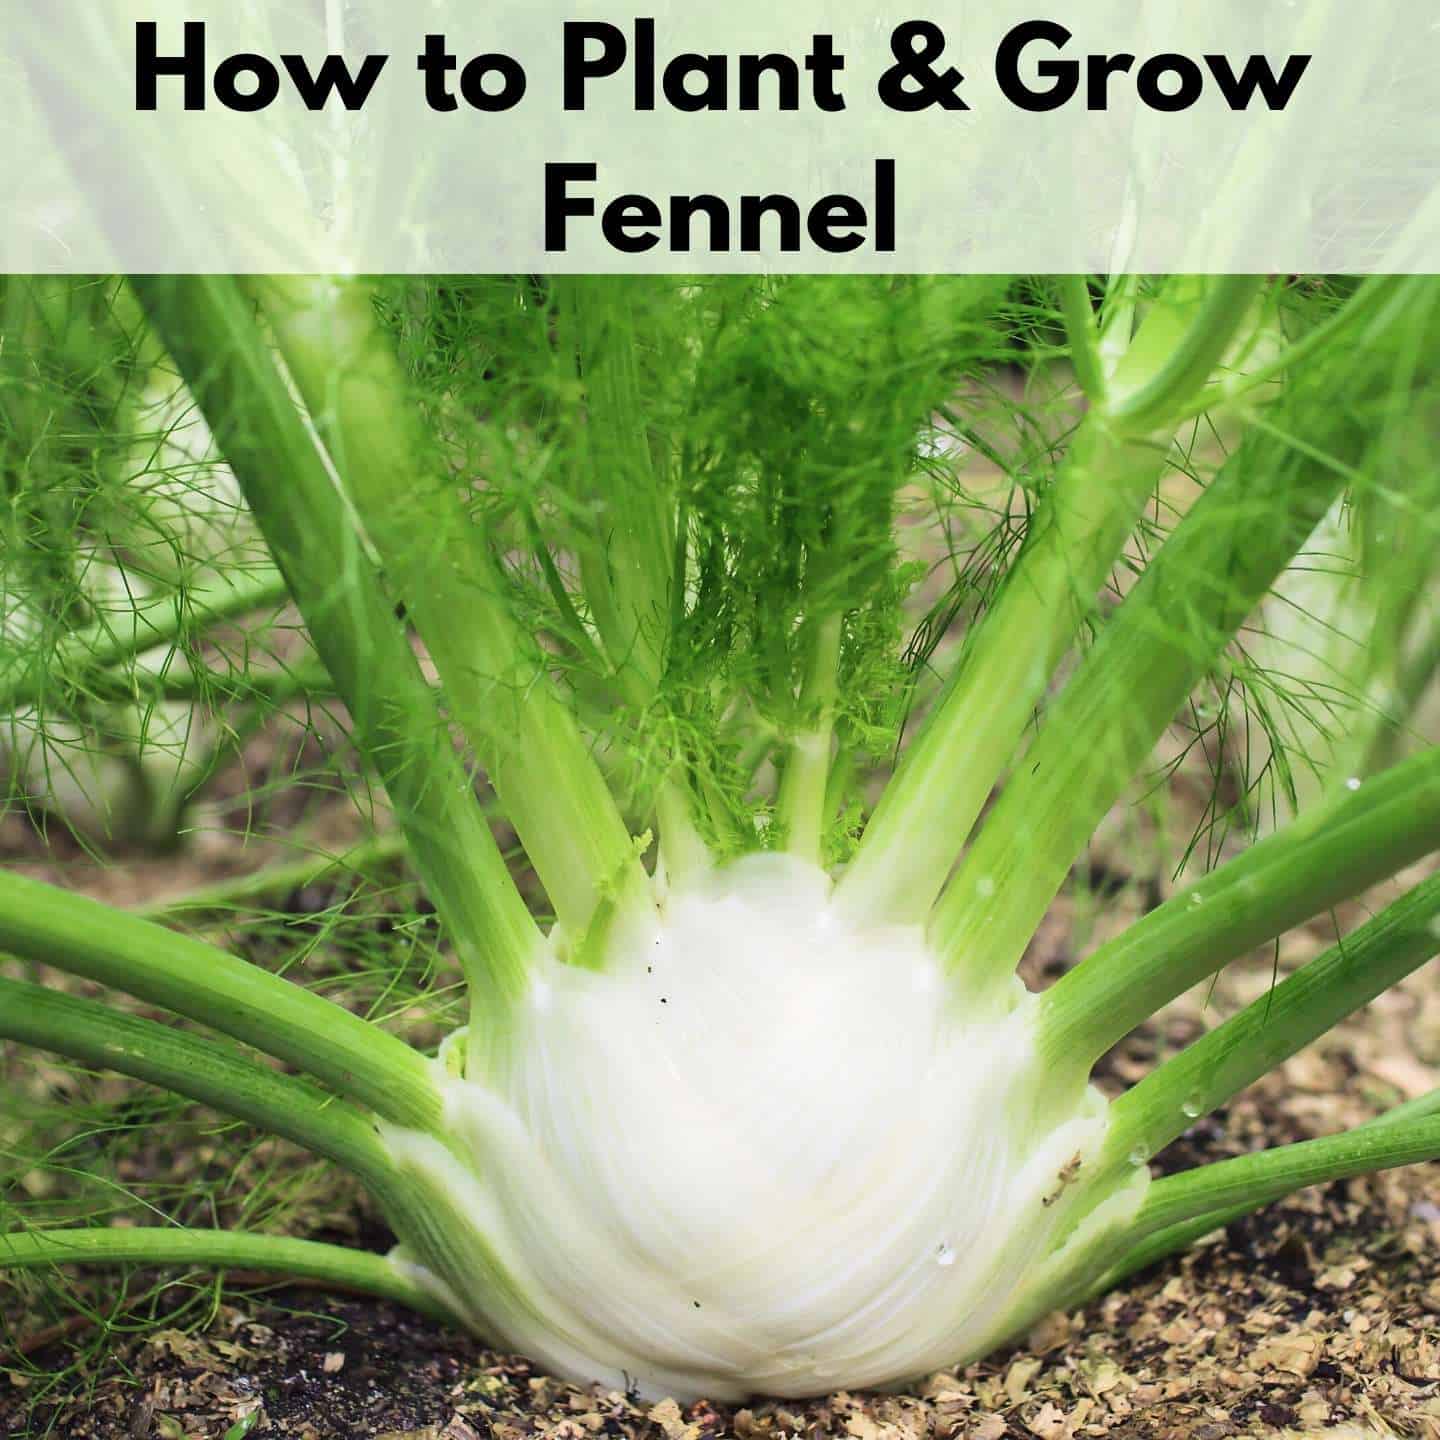
Growing Fennel - How to Plant and Grow Fennel from Seed
Discover how to plant and grow fennel from seed in your cool weather garden.
Natasha Garcia-Lopez is an avoid home-gardener and proud owner of 88 acres of land in rural West Virginia. She was a member of the Association for Living History Farms and Agricultural Museums for many years and is currently enrolled in the Oregon State University Master Gardner Short Course program so she can better assist you with your gardening questions.She holds a certificate in natural skincare from the School of Natural Skincare.


Leave a Reply