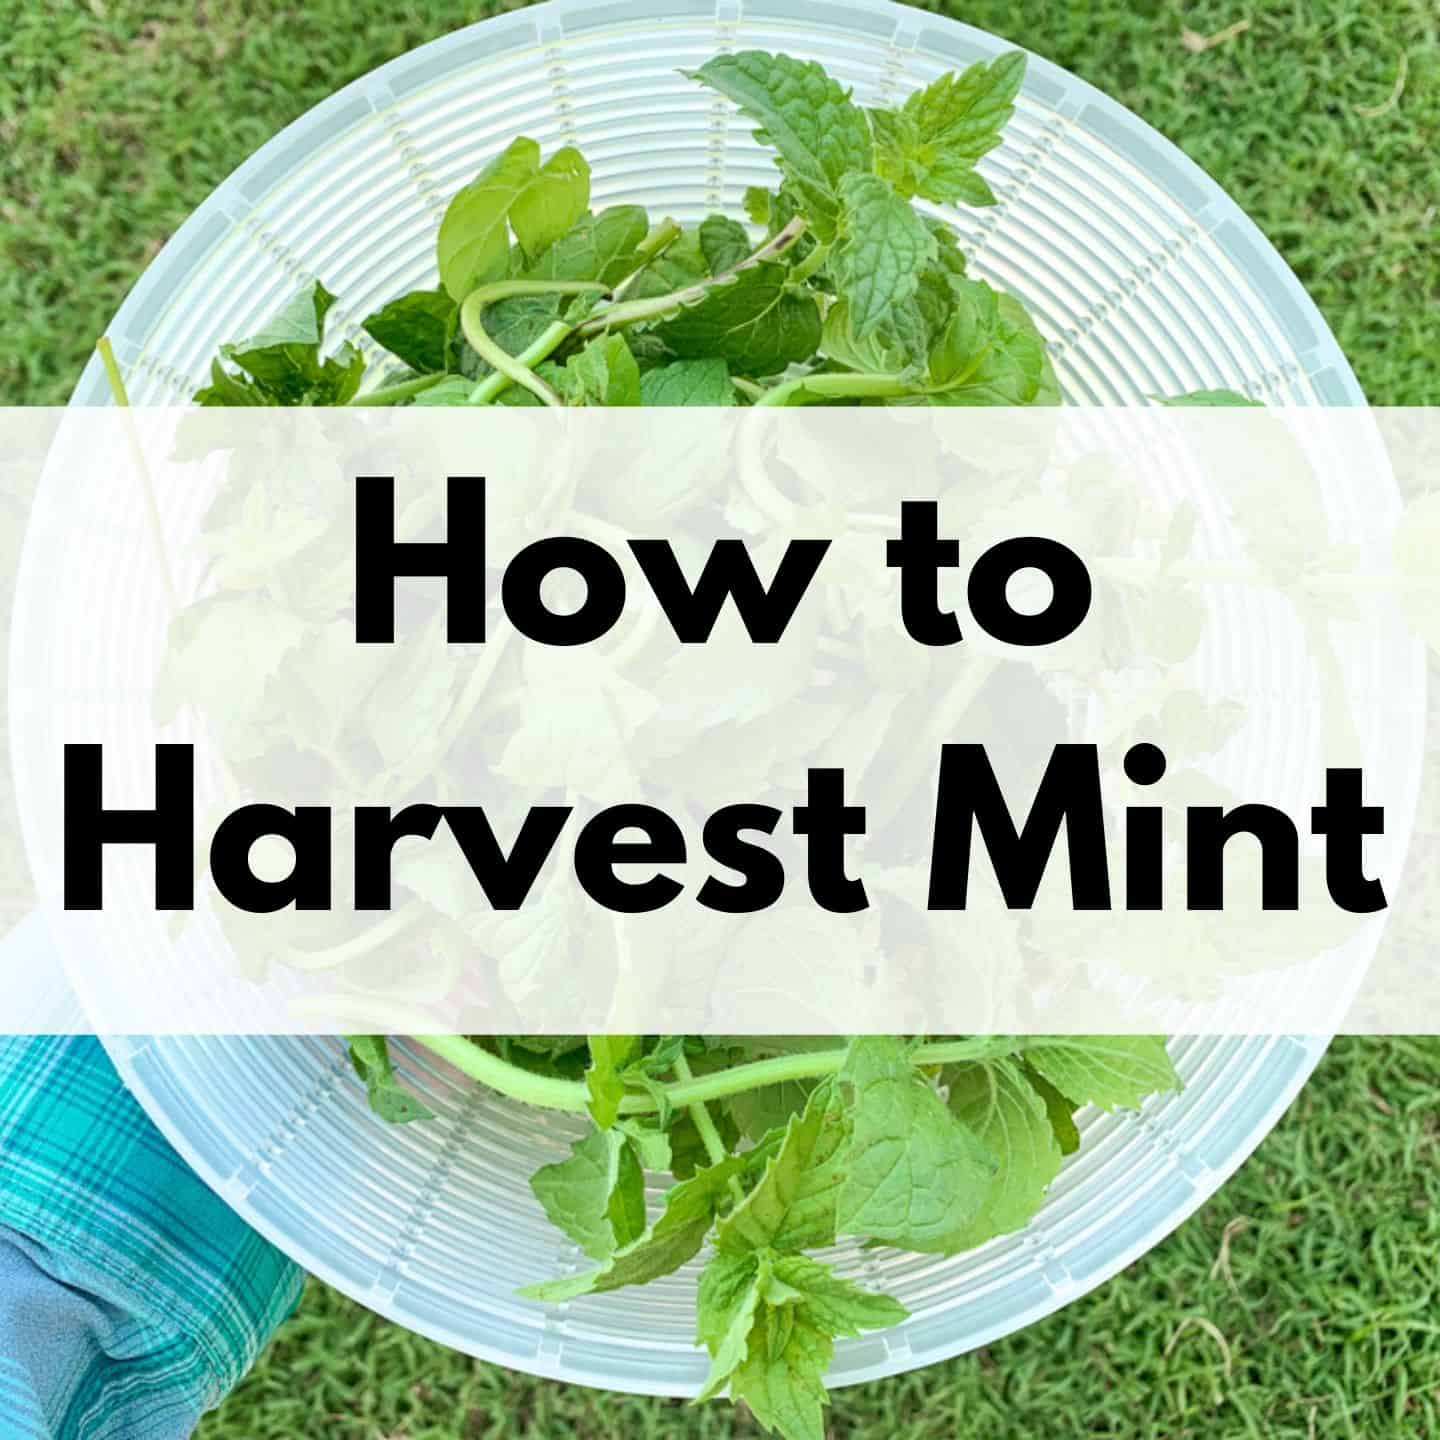
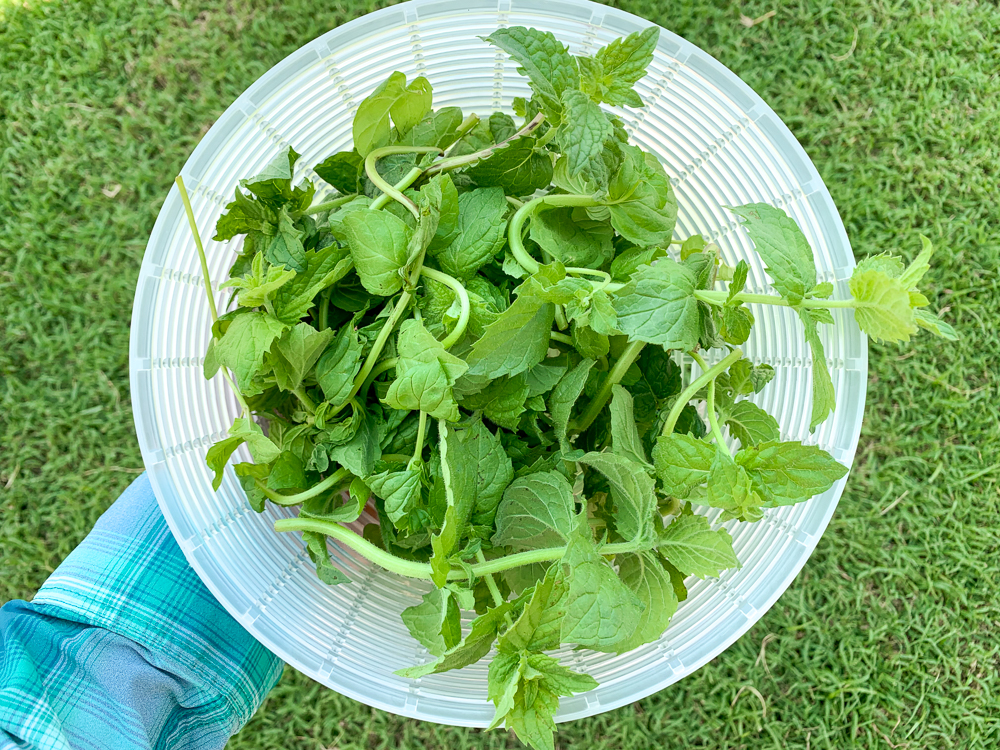
How to Harvest Mint (and what to do with lots of mint)
Discover how to harvest mint without killing the plant, tips for keeping mint under control, and ways to preserve your mint harvest so you can enjoy your delicious homegrown mint all year long.
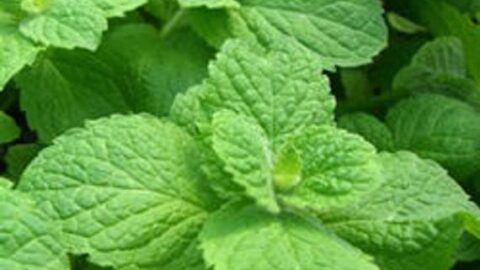
Ah, mint. It’s a classic and somewhat infamous garden herb that’s easy to grow and sometimes difficult to stop growing.
A perennial herb, mint will cheerfully return year after year to your garden. Its fresh flavor is wonderful in cold and hot teas, and chances are good you’ll get a bountiful crop from just a few plants.
If you’re growing (or planning to grow) this herb in your garden, here are some tips for keeping it under control, plus how to harvest mint and store it for later.
Keeping Mint Under Control
This post includes affiliate links, which means I may earn a commission on purchases made at no additional cost to you.
There’s rarely a problem of not having enough mint to harvest since it grows vigorously in a wide range of soil types. You’re much more likely to be overrun by it.
With that in mind, here are a few tips for keeping your mint under control:
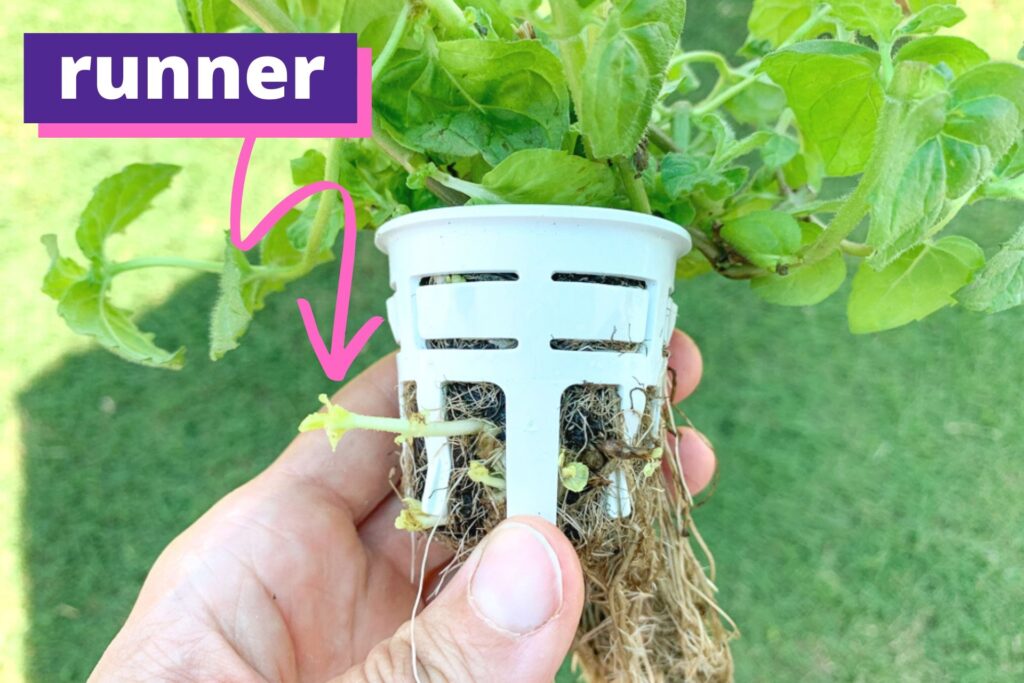
- Put up barriers – Mint can be contained by taking advantage of already present barriers. Raised beds with solid sides, sidewalks, walls, and sheds all work well. Just remember that mint spreads itself by runners (not by seed), so make sure barriers are tall or wide enough to prevent it from sneaking out.
- Try containers – Mint makes an excellent container plant, and this is one of the best ways to keep it from spreading. You can grow it in pots on your porch or sink containers into your landscape or herb garden.
- Choose the right variety – The type of mint you grow also factors into how quickly it will grow. For example, peppermint and certain variegated mints tend to be less aggressive than other varieties.
Benefits of Harvesting Mint
When you clip stems and leaves off plants, they put more energy into regrowing rather than into spreading. This creates bushier plants that will keep you well-supplied with new foliage. The youngest leaves are usually the most aromatic, flavorful, and delicious for both hot and iced tea.
When you’re picking mint, give it a check for runners and make sure to cut back any you find if you don’t want it to spread. These runners can grow underground, so scan the whole container or area. My hydroponic mint keeps sending out runners and attempting to take over the entire grow tower!
Picking mint also makes you smell good and will likely put you in a better mood! Research has shown that smelling mint can improve alertness and reduce stress.
When to Harvest Mint
You can start harvesting mint not long after it pops out of the ground in the spring. Give it a little time to leaf out and grow multiple stems, but you can start picking fresh leaves from young plants early on. Don’t cut lower than the second set of leaves. It’s better to leave at least four sets of leaves if you want the plant to continue growing well.
Like with most herbs, the best time of day to harvest mint is in the morning. The essential oils that give it its flavor will be in full force, and the leaves are freshest before the sun gets too hot.
You can continue harvesting often throughout the rest of the growing season. Mint benefits from regular harvesting. If you want to store any mint for the winter, plan to make a last big harvest before your first hard frost. Mint can withstand cold weather, but will die back during the winter months after a killing frost.
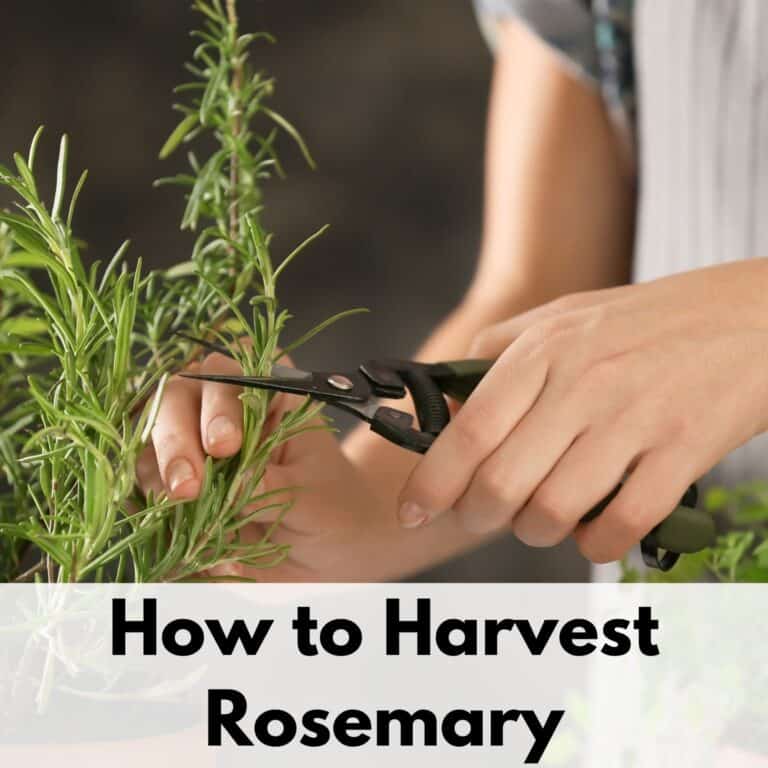
How to harvest mint leaves without killing the plant
When it comes to how to harvest mint, this herb is incredibly easy to pick. All you need to do is clip off stems of any length and strip off the leaves in your kitchen.
It is difficult to kill mint by harvesting it. As long as you leave some growth on your plant, it will probably be okay! For mint, “enough” means at least one inch of plant is still above ground.
However, there are two ways to harvest depending on how much herb you want and what stage your plants are at.
If you decide to check out the essential oil planner linked above, you’ll be taken to a page on my printables blog. I don’t want you confused and wondering what happened to the gardening blog you were reading when you see the url!
How to pick mint leaves
From when plants start growing in spring to well into the summer, you can harvest stems of mint as needed.
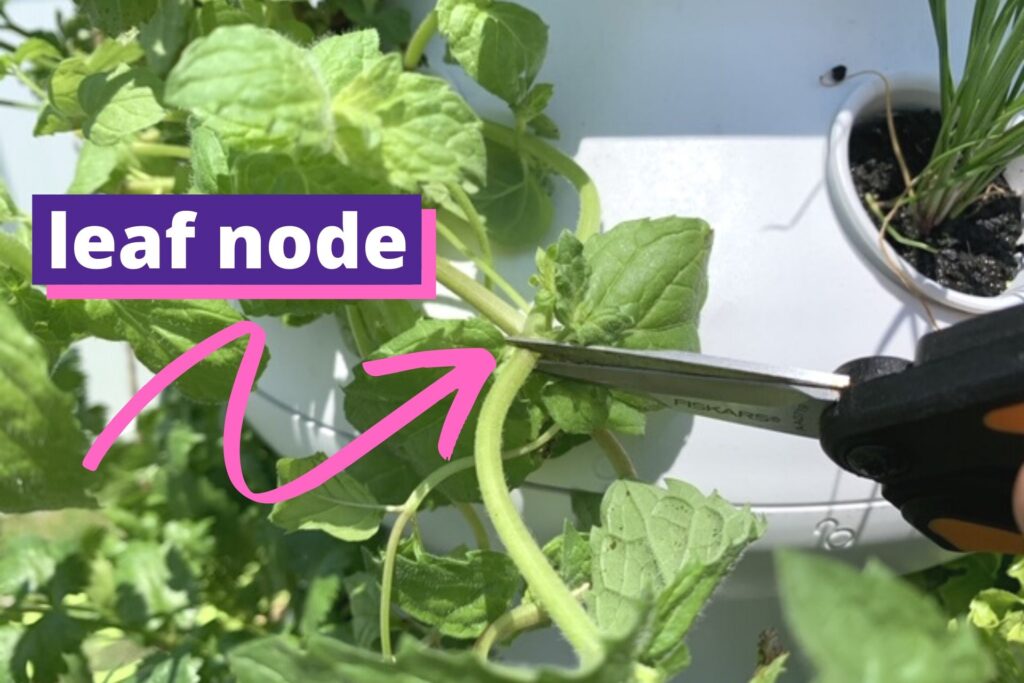
Use a pair of sharp scissors or clippers to cut off stems any length you want. I typically use these very sharp garden snips. Make your cuts right above a leaf node- where new leaves are coming out at either side of the stem. Mint is typically difficult to pinch through with your fingernails so make sure to use snips.
Pro tip: Always clean your gardening snips to ensure you don’t accidentally transmit plant diseases.

- GARDENING ESSENTIAL: With these stainless steel blade gardening shears, pruning tasks like cutting flower stems or maintaining your herb garden are...
- MAXIMUM POWER AND PRECISION: Micro-tip blades on these garden clippers (handheld) cut all the way to the tip for clean, healthy cuts making these...
- LONG-LASTING AND RELIABLE: Stainless steel blades stay sharp through heavy use and provide excellent durability for lasting value; Fiskars garden...
Rotate through your mint plants at each harvest if you have more than one, but don’t worry about your plants making a comeback! Constant pruning is great for mint.
You can use fresh mint leaves right away or put the stems in a glass jar of water for 3-5 days.
For longer storage (about a week) wrap them in a damp paper towel, put them in a plastic bag, and store in your refrigerator.
Don’t lose track of this important mint harvesting and preserving information – make sure to Pin it now!

How to harvest a lot of mint
It’s also good to know how to harvest mint midseason. This method will give you a large batch of mint for a recipe or for drying and storing. It will majorly keep your plants in check as well.
For this harvest, you’ll want to time it to happen right before the plants flower. Leaves are at their most aromatic at this time, and flowering will cause the leaves to start losing flavor. Mint flowers are great for pollinators, so don’t be afraid to let some of your plants flower.
Mint plants usually flower around midsummer, but timing will depend on your specific region. Look for flower buds to start forming, and harvest before they open.
Normally, you’d want to leave ½ – ⅔ of a plant when cutting it back, but mint can take a much more severe prune. Use a pair of garden clippers to cut down your entire mint plant(s) about 1-3” above the ground.
After this big harvest you’ll need to let them recover, but your plants will regrow and give you a second large harvest at the end of the season.
Once your mint has regrown several inches, you can go back to picking it regularly. If flower heads appear later in the season, snip them off (but let a few stay and bloom for the bees).
How to harvest mint for tea
If you want to dry mint for future use, harvest a substantial quantity of aromatic leaves by following the directions above for harvesting a lot of mint, then dry it using one of the drying suggestions below.
If you want to make fresh mint tea, you can pick just a couple of springs and make it whenever you wish.

How to make fresh mint tea:
- For one cup of tea, pick a hand full of fresh mint leaves. 12-15 should create a flavorful tea. For more tea, pick additional leaves.
- Rinse your leaves.
- Boil water. You can make a single cup or a teapot full – the choice is yours!
- Take a few mint leaves at a time and gently bruise them with your fingers or by placing them on one palm and clapping your hands together.
- Place your bruised mint in your cup or teapot.
- Pour boiling water over the leaves.
- Allow to steep for 3-5 minutes. The water should be tinged with green. For more intensely flavored tea, stir and then steep for 3-5 additional minutes.
- Strain tea, if desired. Add honey or sugar to taste and enjoy! Mint tea is also delicious chilled and/or with a splash of lemon. Using a teapot with an infuser makes straining tea easy.


How to preserve mint
It’s very easy to end up with more mint than you know what to do with, so you may want to store large batches for later. Here are different methods to try.
How to dry mint
Mint is easy to dry and will keep its flavor quite well this way.
For all methods of drying mint, rinse the leaves well (but gently). Gently shake the stems out to remove excess moisture and let the stems dry on a towel for a few hours.
How to air dry mint
For air drying, you’ll want to harvest stems that are 6-8” long.
- Gather the stems into small bundles and tie them together at their cut ends. Large bundles are more prone to mildew.
- Hang up your bundles in a warm and dry place out of direct sunlight. Placing a paper bag with holes cut it in for air circulation over your mint can help protect them from sunlight, which degrades their taste, and keeps any fallen leaves in the bag.
- Mint typically take 2-3 weeks to dry fully.
When the leaves are crispy, take them off the stems of the plant but leave the leaves whole. Store in airtight containers away from heat and light. For the most flavor, crumble dry leaves right before using them.
If you live somewhere humid (I do), I recommend using your oven or a dehydrator to dry your mint. Mint is a “tender leaf” herb with a high moisture content that is prone to mildewing before it dries in humid conditions.
How to dry mint in the oven
You can dry mint in the oven, but it may not taste as well as if you use a dehydrator. Mint’s volatile essential oils degrade in high heat, so if your oven’s lowest temperature is high you may end up with less flavorful dried mint.
If you live somewhere humid, oven drying is better than air drying, and chances are good you already have an oven. Here’s how to do it:
- Remove clean mint leaves from stems.
- Place the leaves flat on a paper towel, but don’t allow the leaves to touch.
- Cover with additional layers of leaves and paper towel. According to the National Center for Food Preservation, you can make up to five layers of towel and mint for drying.
- Dry in your oven on its lowest setting. This may take 1-4 hours, depending on the humidity. If you have a gas oven, you can leave the mint in your oven overnight with only the pilot light.
- Store in an airtight container in a dark, cool location. I use my Food Saver with the jar sealer attachment to seal up mason jars of mint for use later.
How to dry mint in the dehydrator
Drying mint in the dehydrator is my personal favorite method.
Dehydrators typically have settings that are lower than your lowest oven setting, which means the mint leaves are at less risk for scorching. High temperatures degrade mint essential oils and can lead to bland dried mint.
My family has used the older model of this Presto dehydrator for 20+ years and it’s still going strong!


Preheat your dehydrator to its lowest setting. Some have an “herb” setting, others have a thermostat. Low is usually 95ºF-115ºF.
Place clean mint leaves on a single layer on the dehydrator trays.
Dry until the leaves crumble easily.
Store in a cool, dark place.. I personally pack my extra dry mint in mason jars and use my Food Saver with the far vacuum attachment to seal the jars. This ensures my mint is fresh and minty all winter long!

- Stretch your dollar: Meat preserved with the foodsaver system in the freezer can last upto 3 years and still taste fresh, flavorful, and freezer-burn...
- Built-in roll storage & cutter: Create custom-sized bags without using scissors; Led light indicators then guide you through the vacuum sealing...
- Even more consistent sealing: guaranteed to reach an optimal vacuum level and perform an airtight seal for upto 60 consecutive seals before needing to...
Freezing Mint
Mint also keeps its flavor well in the freezer, and there are tons of ways to do it.
You can freeze individual or chopped leaves in plastic bags. You can freeze pre-measured portions of mint in an ice-cube tray or small containers. Or you can get creative and freeze it in with fruit (like raspberries), yogurt, or cookie dough for a tasty treat later.
What to do with mint
Dry mint is a favorite for making mint tea. Add a spoon-full to a tea strainer, drop it in your favorite mug, pour boiling water over the top, and steep for 3-5 minutes. You can also make fresh mint tea.
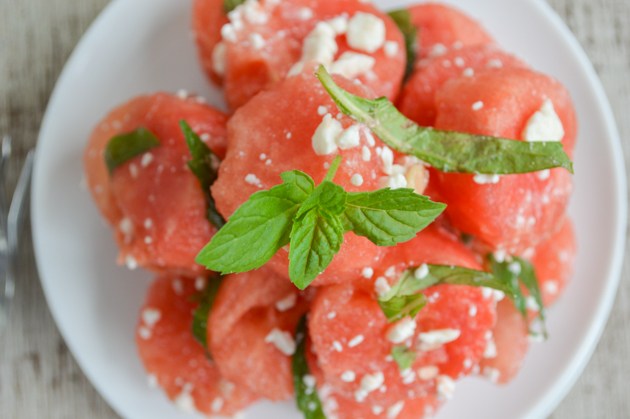
Add mint to a bowl with fresh watermelon chunks and feta cheese for a delicious summer salad.
- Make mojitos!
- Make mint jelly.
- Add your mint to fresh fruit salads.
- Make mint yogurt salad dressing
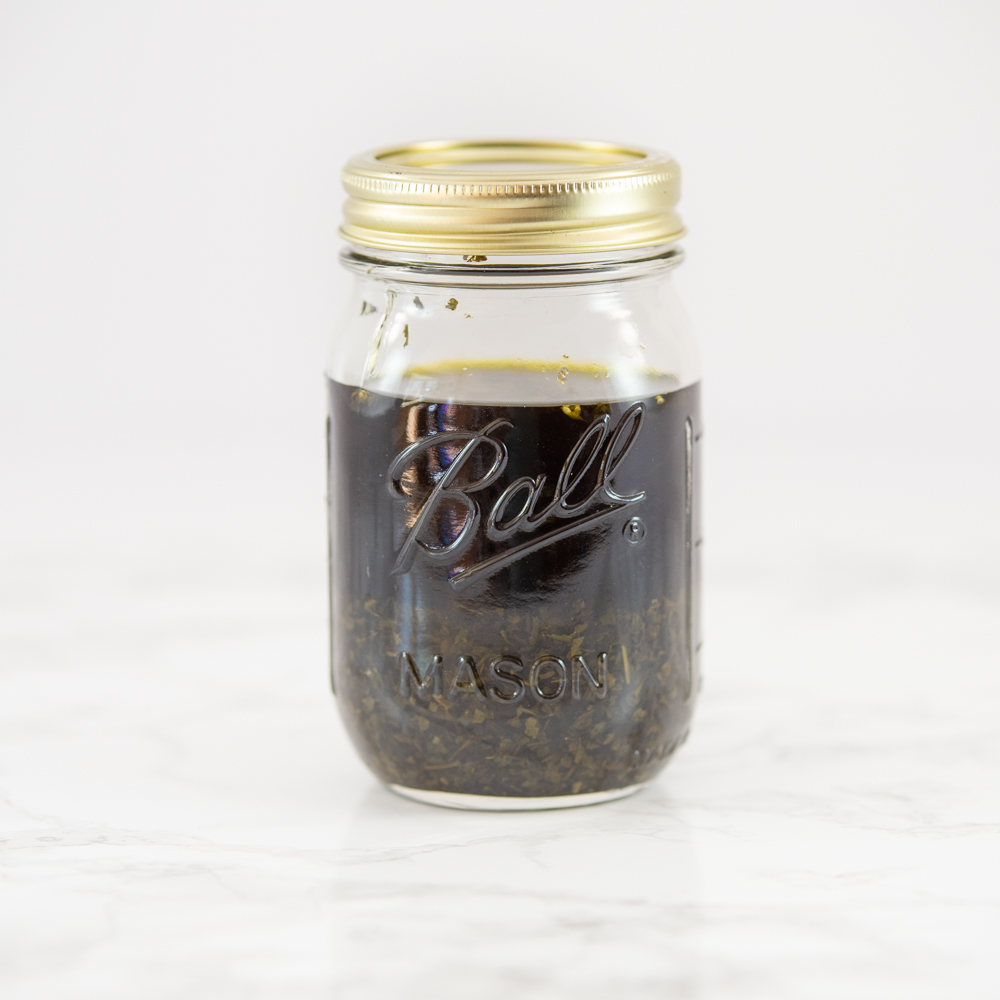
- Make your own mint extract using dry or fresh mint. It’s perfect for making delicious minty baked goods! Learn how to make your own mint extract. The instructions show fresh mint, but you can also make it with dry mint.
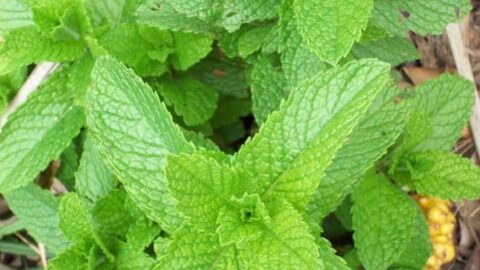
Different Varieties of Mint to Try
Now that you know how easy it is to grow and harvest mint, you may want to branch out and try some interesting types of mint.
It’s best to grow mint from new seed or from cuttings. Mint cross pollinates easily with other mint varieties so it’s easy to get off variety mints if you grow from saved seed. This off variety mint may or may not taste like what you expect.
Here are some fun mint varieties to try:
Varieties of Mint
Here are some fun mint varieties to try! Just remember that virtually all mint varieties can become invasive when grown outdoors. Grow them in containers and keep an eye on them to make sure they don't take over your garden.
Peppermint
Peppermint is a tried and true proven favorite. It's a culinary classic and perfect for desserts and making tea.
Apple Mint
Apple mint, also called woolly mint or fuzzy mint, has softer leaves and a sweeter flavor than peppermint and spearmint. It loves full sun and is delicious in tea or infused water.

Pineapple Mint live plant
Pineapple mint has a fun variegated appearance and a light pineapple taste.
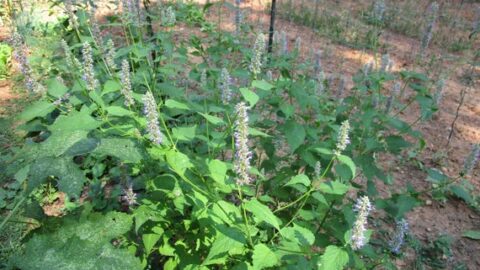
Hummingbird Mint Live Plant
Hummingbird mint has large, beautiful blossoms that are sure to attract the pollinators to your garden.
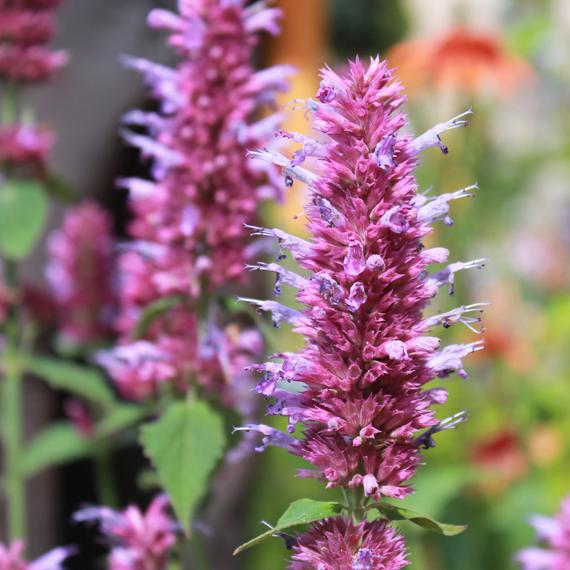
Licorice mint plant
Licorice mint has sweet, mildly anise flavored petals and blossoms that pollinators love. Licorice mint is one of the least invasive mints - plant it in the corner of your garden to make sure you have plenty of butterflies and bumblebees to pollinate your fruits and veggies!
Despite its enthusiastic growth habit, there’s a lot to love about mint, so don’t leave this lovely herb out of your garden!
Herb Gardening Resources
Are you thinking of starting an herb garden? Discover these herb gardening resources including which herbs to plant together, plants that repel spiders, and herb harvesting tips!

Planting Herbs Together (Which herbs to grow together & mistakes to avoid)
Do you know which herbs to plant together in containers? Discover the best herbs to grow together and how to tell if herbs will do well when planted together in this ultimate guide!

11+ Plants That Repel Spiders (plus a DIY spider repellent spray recipe that works!)
Did you know that many delicious kitchen herbs repel spiders? Discover which plants you can grow indoors and outside to help keep spiders away!

How to Harvest Basil (Must-know tip for an abundant harvest!)
Discover how to harvest basil for abundant yields all summer long!

How to Harvest Parsley
Learn how to harvest parsley to increase your parsley yields! Bonus tips for keeping your parsley fresh in the fridge and drying your parsley to use it later.

How to Harvest Thyme: tips for picking thyme & preserving your harvest
Thyme is an easy herb to grow and harvest. Once you learn how easy it is to pick and dry thyme, you'll never buy it from the grocery store again!