Thyme is a very easy to grow perennial herb to grow with incredibly versatile flavor for cooking and baking. You can have it in a pot on your porch or let it grow to full size out in your garden.
It’s hard to go wrong with harvesting thyme. You can collect small amounts for cooking any time you need to, or you can do a few large harvests and dry your herbs for later.
Here’s what you need to know about when and how to harvest thyme, how to dry it, and how to store it properly.
Table of Contents
When to harvest thyme
This post includes affiliate links, which means I may earn a commission on purchases made at no additional cost to you.
You can start harvesting from your thyme plants once they reach a height of about 6-8”. At first, you’ll only want to trim them lightly or use a few stems for cooking.
For a larger harvest, the best time to cut thyme is right before the plants start to flower. The leaves will be at their best and most intense flavor at this point and may start to lose flavor after flowering.
If you can, harvest in the morning, right after the dew has evaporated from the leaves. The flavorful essential oils are at their peak at this time.
If you can’t harvest in the morning, the second best time to pick thyme is whenever you have the chance!
How to harvest thyme
There aren’t many rules when it comes to how to harvest thyme, since it’s a very easy-going herb.
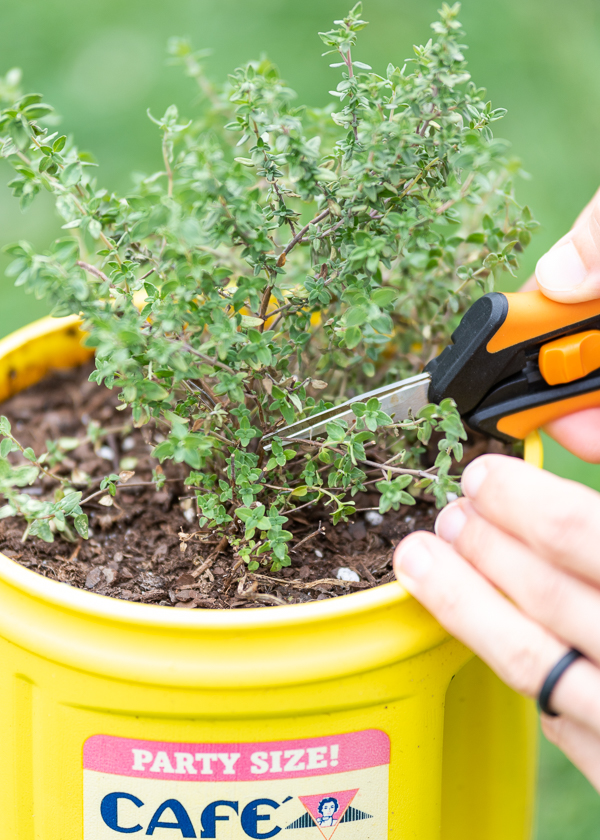
If you just want a stem or two to cook with, simply clip off a whole stem back to the ground or back to a woody section. Using small, sharp clippers is a must. Large garden shears are too big for thyme and the stems can be difficult to break free with just your fingers.
Do you remember how I wrote in this post on herbs to grow together that thyme is so ridiculously easy to grow that mine lives in a coffee can? I wasn’t kidding – you can see the coffee container in the photo below showing you where to snip off your time sprigs!
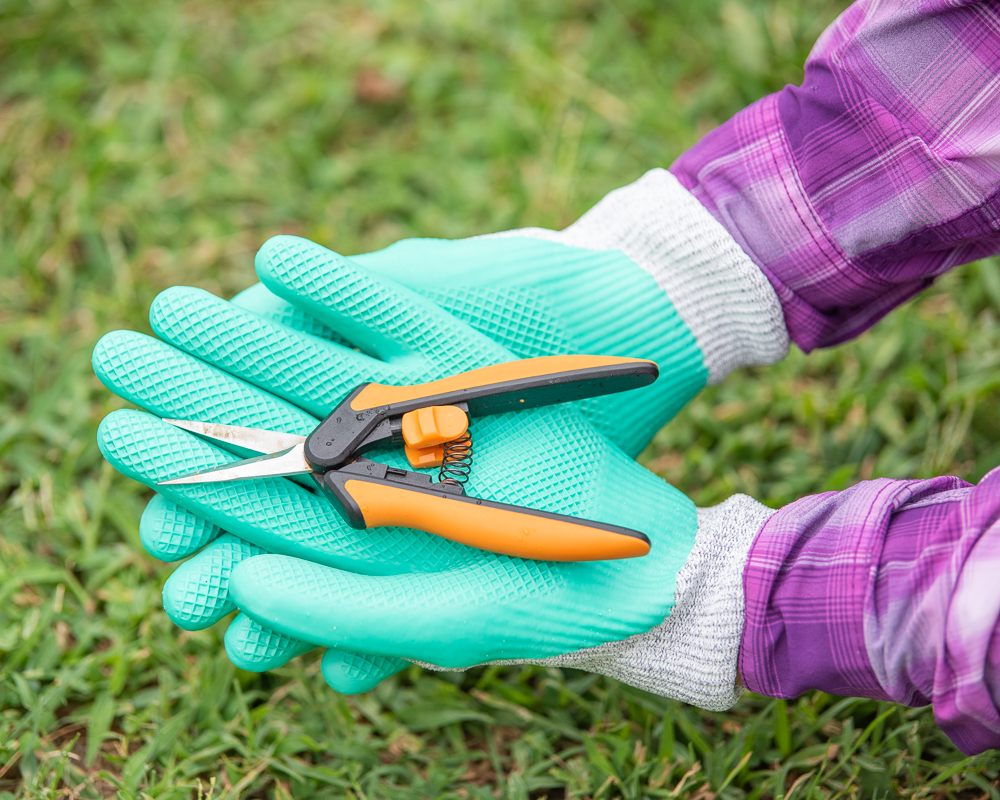
Wearing a pair of cut-resistant gardening gloves can be helpful, too, so you don’t snip yourself with your garden scissors. (Don’t have a pair of gloves you love? Check out this guide to the best cut resistant gloves for gardening.)
Rinse off the whole stem once you get inside then run your fingers (or an herb stripper) down the stem to pull the leaves off.
To harvest thyme for drying, go through your plants with a pair of sharp scissors or garden clippers. Cut off the top 5-8” of growth, leaving tough and woody parts behind.
You can cut stems any length as long as you leave at least 4-5” of growth behind so that your plants can bounce back. As long as you do this, you’ll be able to get 2-3 harvests off of the same plants before winter.
Trimming is actually good for the plants, so don’t be afraid to give your thyme a good haircut. You’ll soon see new growth coming out of where you harvested.
How to dry and preserve thyme
Fresh thyme leaves (still attached to the stem) can be refrigerated for a week or two, but drying thyme is the best way to store it long-term.
Fortunately, thyme is one of the easiest herbs to dry. It’s one of the very few herbs that actually air dries for me in a humid 8a climate.
How to air dry thyme:
- Gently rinse off the stems in cool water or swish them around in a bowl or sink filled with water.
- Pat them dry with a kitchen towel and lay them out to dry for an hour or two on another towel.
- Gather the stems into small bundles and tie them together at their cut ends. Use more string or twine to tie them up in a warm, dark, and well-ventilated area. If it’s really humid, spread thyme out on a paper towel placed on top of a wire rack. Set this rack on a cookie tray and stash it somewhere well ventilated but out of direct sunlight.
- (Optional) Place brown paper bags with slits cut in them around each bundle of herbs. This helps protect your herbs as they dry and catches any leaves that fall off.
- Most herbs take 2-3 weeks to dry fully, but the exact timing depends on humidity levels and other conditions. Thyme leaves are small and dry quickly, so start checking on them after a week. When the leaves are crispy and crumbly, you can take your bundles down.
You can also use a food dehydrator, if you have one, to dry thyme more quickly. Just lay out the stems in a single layer on the dehydrator trays and use a low setting suitable for herbs.
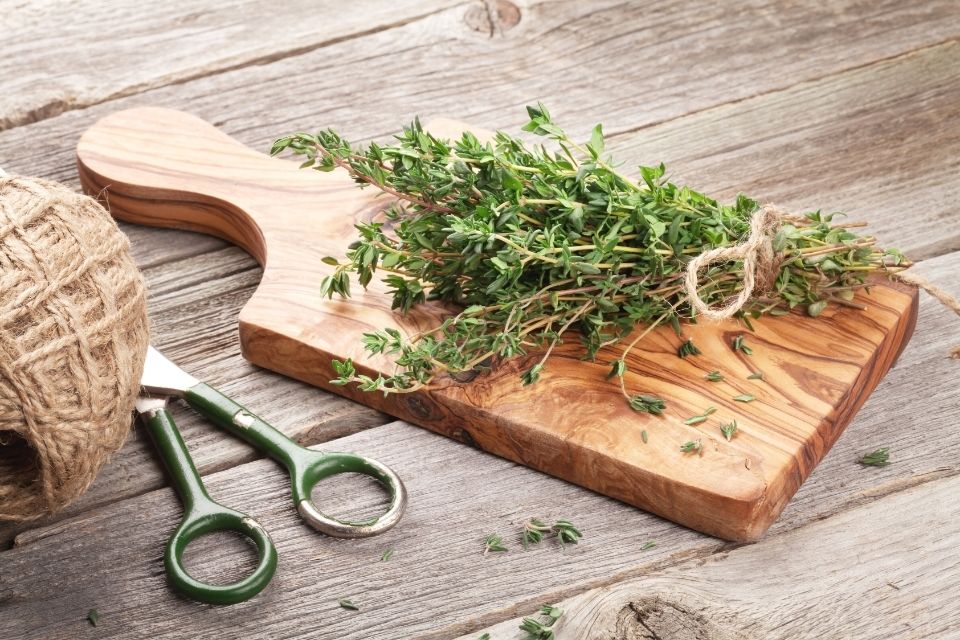
How to store and use thyme
After drying thyme, you can strip the leaves off the stems, but try to keep them whole. The leaves will start to lose flavor once they get crushed or broken.
Store dried leaves or whole stems in airtight containers. Keep the containers away from light and heat as much as possible to keep the flavor of your herbs intact. Stored this way, your thyme can last for up to 2 years!
The best way to store dry thyme is in a wide mouth mason jar. Place the stems in the jar then close it. For even better flavor, use the jar sealer attachment on your FoodSaver to vacuum seal the thyme. Make sure to keep your jar of thyme in a dark cabinet or pantry for tastiest results.
When you’re ready to use it, take out as many leaves as you need and crush them before adding to your recipe.
How to freeze thyme
If you don’t want to dry your harvest, thyme can also be frozen for long-term storage.
One way to do this is to fill ice cube trays with washed thyme leaves. Put as much thyme into each cube as you would use for a recipe. Then, fill up the trays the rest of the way with water.
Once frozen, the ice cubes can be taken out of the trays and stored in freezer bags or containers. Whenever you need thyme for a soup, stew, or sauce, just pull out one of your ice cubes and throw it into your recipe.
Another option is to simply freeze whole leaves or stems on a tray. Once frozen, you can pack the thyme into bags and keep in your freezer until needed.
I like to use reusable silicone storage bags in the freezer. They’re dishwasher safe and the thick sides help protect your thyme from being accidentally broken and smashed when you rummage in the freezer.
Enjoying Your Homegrown Thyme
Once you realize just how easy it is to grow and harvest thyme, you’ll be looking for more ways to use it in the kitchen!
Thyme works especially well with lemon and can be added to all kinds of casseroles, meat dishes, stews, soups, sauces, and more. For something more outside the box, try using it to make thyme-infused shortbread cookies.
Besides tasting good, thyme is a great companion plant for vegetable gardens, so enjoy growing it wherever you can. You can also plant it with other herbs that have similar soil and water requirements. Learn more in this guide to planting herbs together!
How to Harvest Popular Herbs and Veggies
Are you not sure how to correctly harvest your herbs and vegetables? Or maybe you don't know what to do with your harvest bounty now that it's picked? Discover tips for how to harvest, cure, store, and use popular herbs and vegetables!
Are you harvesting basil the wrong way? Discover how to harvest basil for increased yields!
Are you afraid of killing your parsley? Discover how to harvest parsley without killing the plant and how to keep parsley fresh in your fridge!
Do you know when and how to harvest mint for the best flavor?
Turnips are quick and easy to grow vegetables you can grow in the spring and fall. Discover how to harvest and store these versatile veggies!
Harvesting squash can be intimidating. Learn how to tell when your butternut squash is ready to harvest.
Do you have a bumper crop of cherry tomatoes? Learn how to pick and preserve cherry tomatoes and drool-worthy cherry tomato varieties to try!
Discover how to pick your broccoli crowns and broccoli leaves with this guide to harvesting and preserving homegrown broccoli.
Natasha Garcia-Lopez is an avoid home-gardener and proud owner of 88 acres of land in rural West Virginia. She was a member of the Association for Living History Farms and Agricultural Museums for many years and is currently enrolled in the Oregon State University Master Gardner Short Course program so she can better assist you with your gardening questions.She holds a certificate in natural skincare from the School of Natural Skincare.





Leave a Reply