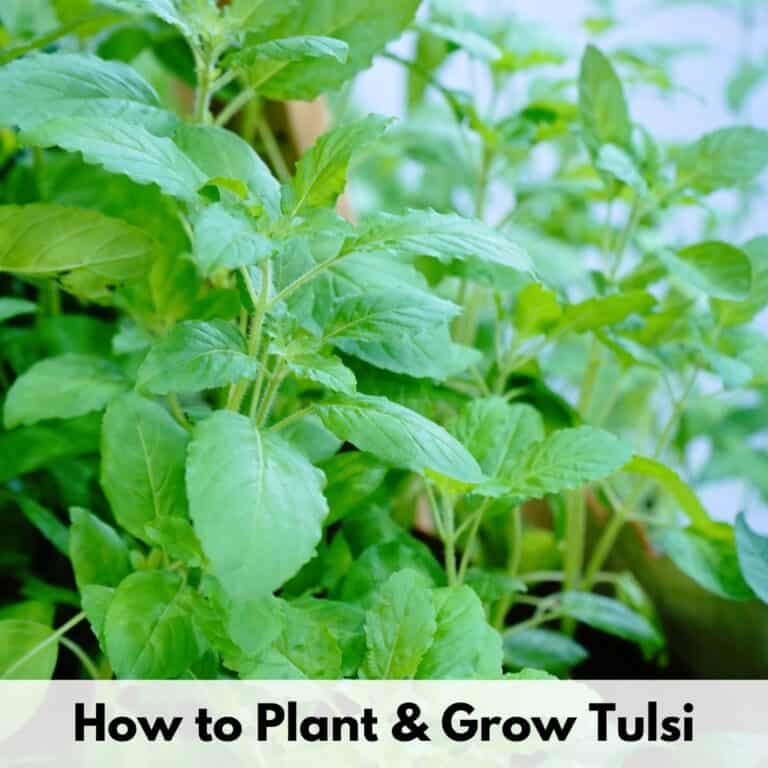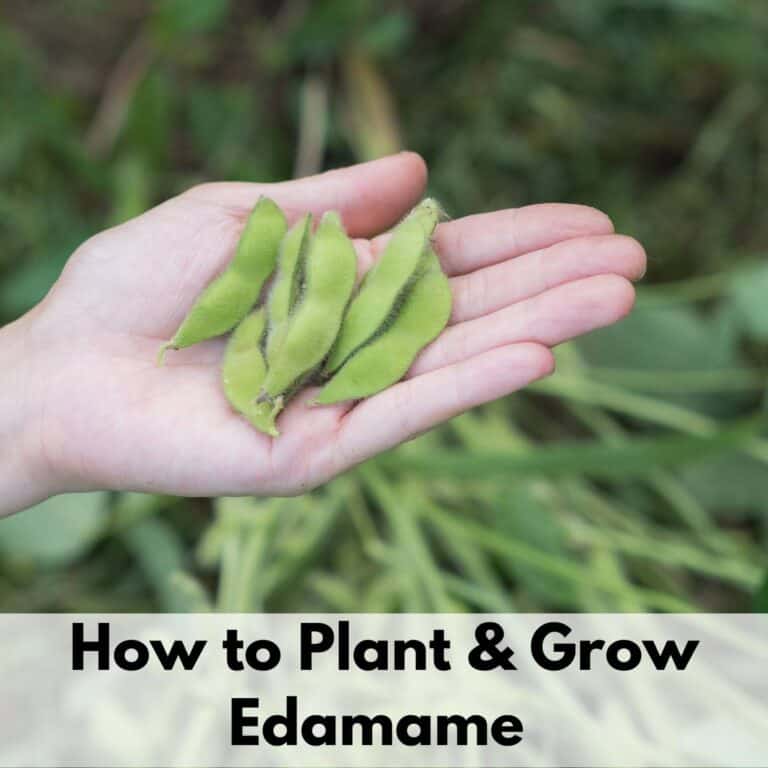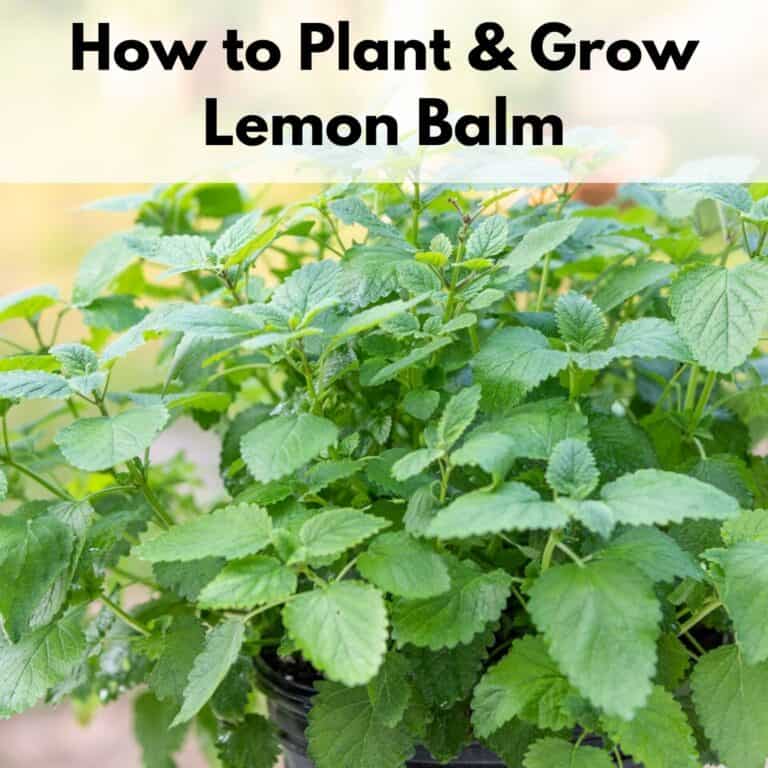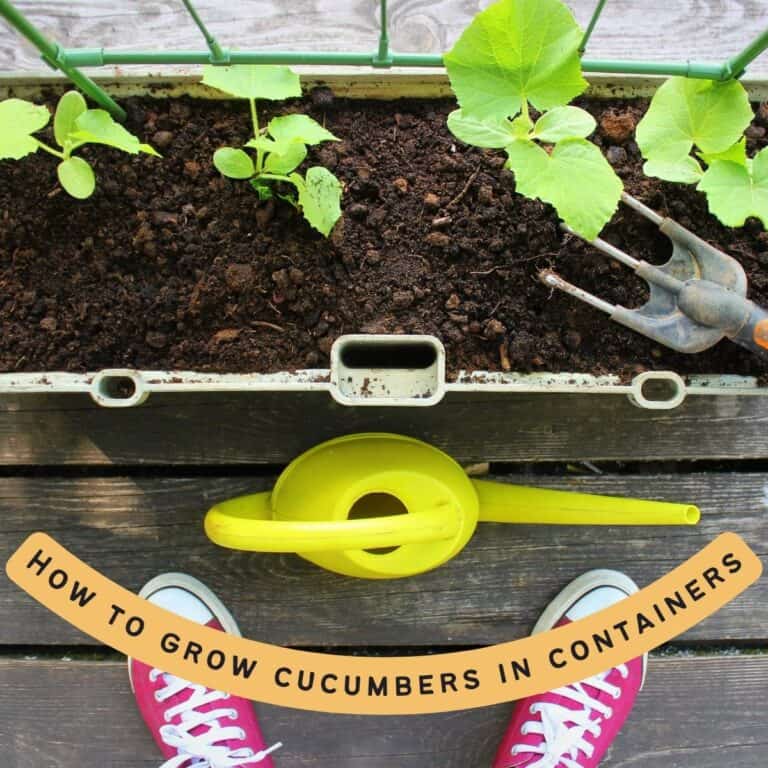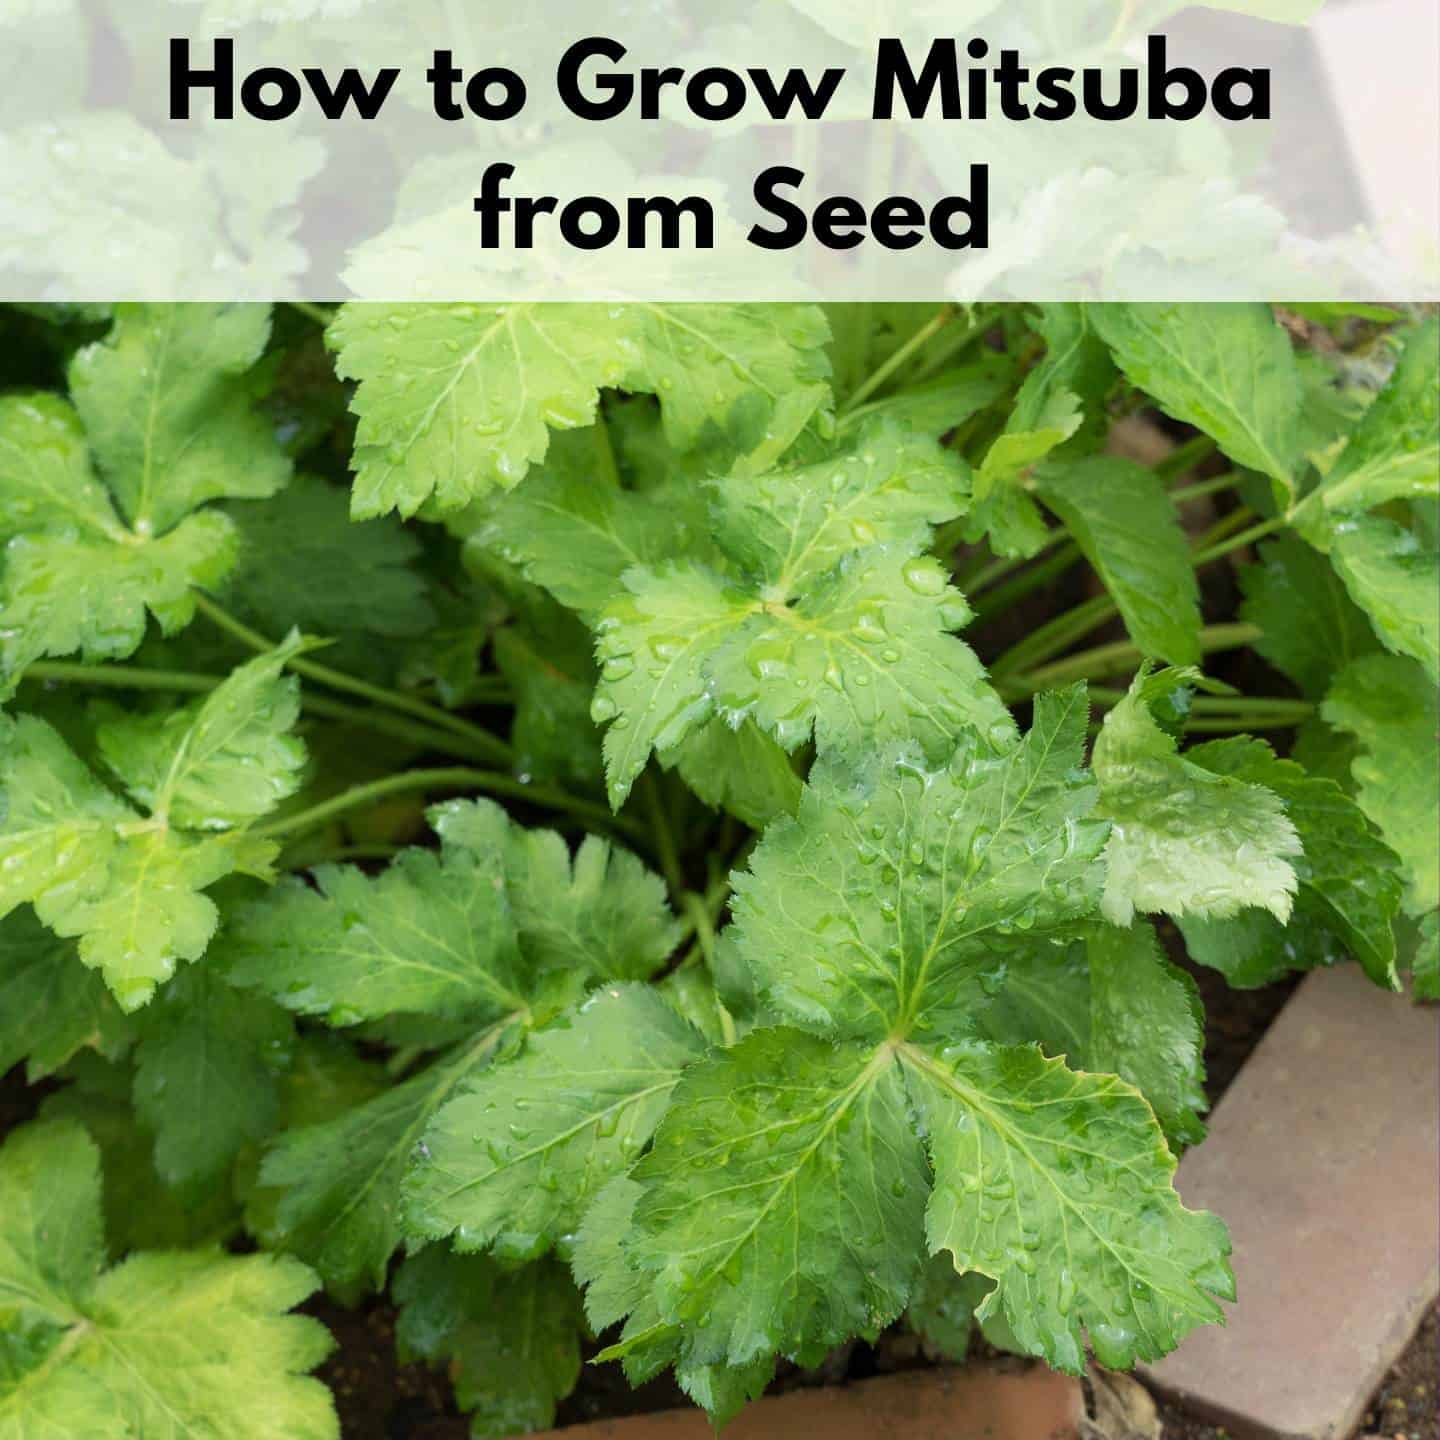
How to Plant & Grow Mitsuba from Seed
If you’re looking for an easy to grow culinary herb that can survive in shady areas, you need to learn about Japanese mitsuba! You can tuck it into shaded corners of your garden where most other edibles won’t grow and almost forget about it until harvest time.
Here’s more about this lovely low maintenance herb and a step by step guide on how to plant and grow mitsuba yourself.
This post includes affiliate links. If you make a purchase using one of these links, Together Time Family will receive a commission at no additional cost to you.
Mitsuba also has the benefit of being a novelty herb for most western gardeners. It’s a Japanese herb that’s widely grown in Japan and other Asian countries, but is just now starting to make its way westwards into new countries and gardens. It’s the perfect, low-maintenance addition to your gourmet garden!
What Is Mitsuba?
Mitsuba (Cryptotaenia japonica) is native to Japan, China, and Korea. It also goes by the name of Japanese parsley, Japanese wild parsley, or Japanese honewort.
Mitsuba belongs to the parsley and carrot family and has a flavor reminiscent of flat-leaf parsley, cilantro, and celery & carrot leaves. It doesn’t taste exactly like any of its relatives, but you can tell they’re related. It is written as 三つ葉 in Japanese and is a popular plant with Japanese cooks.
In its native habitat, mitsuba is commonly found growing in woodland areas in full to partial shade. It can be grown in more sunlight, but the leaves will be yellower and more bitter.
Mitsuba is a favorite of Asian chefs and is used much like parsley. All parts of the plant are edible— leaves, stems, flowers, roots, and seeds— and can be enjoyed fresh or lightly cooked.
Gardeners in USDA zones 4-9 can choose to grow mitsuba as a perennial, but it can also be treated like an annual and fully harvested when the plants are mature. Many people chose to treat it as a hardy perennial because, but those in very cold zones can lose their plants to cold and it will bolt in very hot weather.
Mitsuba tolerate a wide range of soil types (including clay and sandy soils) and requires little care.
If you give mitsuba a woodland-like setting to grow in, the plants can get up to 3’ tall and 2’ wide. However, when grown as an annual or in more sunlight, they will usually top out at 2’ tall and a foot wide.
Mitsuba in Japanese Cuisine
Mitsbua is used both as an herb and as a vegetable in Asian cuisine. This wild herb native (in Asia) is used in a variety of dishes. In Japan, mitsuba as a vegetable is very common and it is considered a “dentoo yasai,” or traditional vegetable.
These traditional vegetables are valued for the way they take on the characteristics of where they grew. The Japanese herb aficionado believes mitsuba tastes different depending on where and how it grows. Try some mitsbua grown in shade vs direct sun and I think you’ll agree!
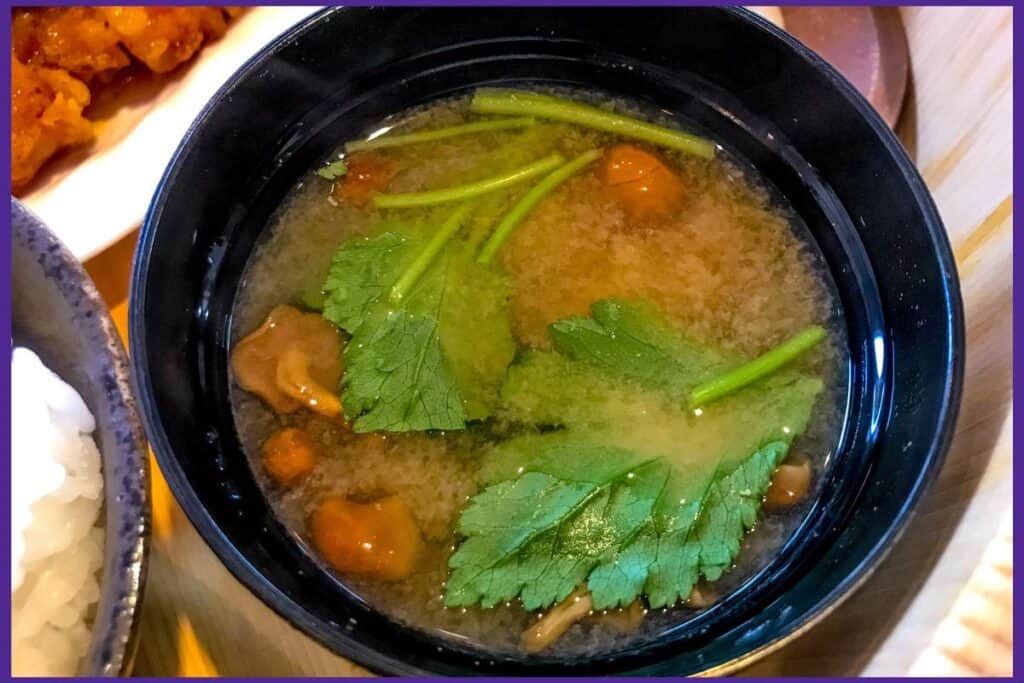
The clean fresh flavour of mitsuba is used as a garnish on miso soup and rice bowls. It is also used in popular dishes like katsudon and futomaki (traditional thick sushi rolls). It can also be enjoyed as part of a simple mixed green salad. Because all parts of this plant are edible, fresh mitsuba is usually sold in small bunches with the roots attached.
Eat mitsuba raw for best results. Its subtle and delicate flavors are typically replaced with bitterness when you cook it. If you want to add mitsuba to cooked Japanese dishes, such as stir fries, add it at the end to avoid bitterness.
How to Plant and Grow Mitsuba
When and Where to Plant Mitsuba
Mitsuba is best planted in the spring in cooler regions, but it can also be planted in the fall in warmer USDA hardiness zones. The plants grow best in cool to warm weather rather than hot weather (60-78° is ideal), so avoid planting during the hottest time of year. Although the mature plans are hardy, seedlings are not. Make sure to plant after last frost.
Ideally, plant your mitsuba in an area that gets partial to full shade. It is a woodland plant that can be grown in partial to full sunlight. The leaves will become yellow and increase in bitterness the more sun it gets. A location under trees with dappled shade or mixed in with tall perennials is perfect. You can also plant new plants in the half shade of taller plants.
Mitsuba will grow in a range of conditions, including clay, sand, and dry soil. However, you’ll get the best quality herb for eating by planting in moist, well-drained soil with medium fertility. Although it likes moist soil, it does not appreciate extended periods with wet feet.
Before planting, you can add compost or well-rotted manure to your soil to improve drainage and soil texture and boost nutrient content. Well-rotted compost will help simulate its native woodland habitat.
Growing Mitsuba from Seed
Unless you live in an Asian country, mitsuba is rarely sold in local garden centers or nurseries. The good news is that the seeds are now readily available online, and it’s very easy to start this herb from seed. I’ve purchased mitsuba seeds from this Etsy seller in the past.
The easiest seed-starting method is to directly sow seeds in a prepared garden bed. This can be done in spring after all danger of frost has passed or in the fall if you live somewhere with mild winters.
You can also use the damp paper towel method. Place seeds inside a folded over damp paper towel. Place this paper towel in a zip top bag to create a mini greenhouse, they carefully transplant the seeds once they start to sprout. Discover how to prepare seedings for transplanting in this post.
Sow your seeds no more than ¼” deep and keep the seeded area moist while they germinate. Germination usually occurs in 7-14 days.
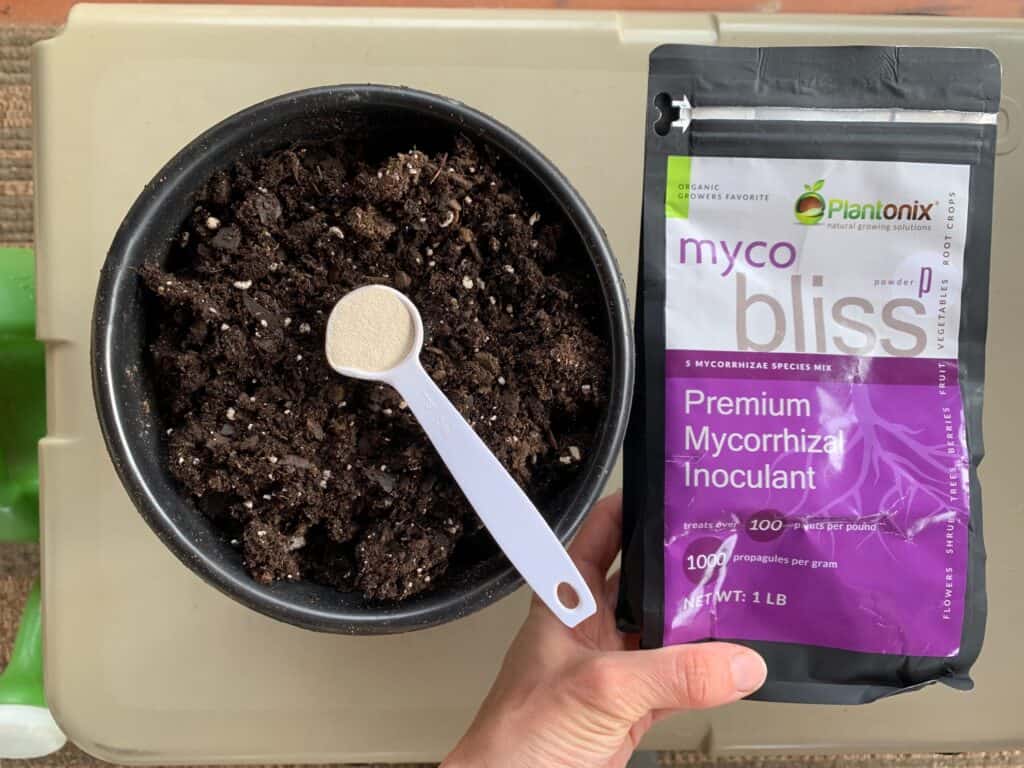
As a member of the carrot family, mitsuba can partner with mycorrhizal fungi. After an experiment with seedlings in spring ’22, I started innoculating everything compatible with mycorrhizal fungi. It promotes root development and helps plants use less water while producing more. How great is that? I typically use the Myco bliss brand.

- Mycorrhizal Fungi Inoculant for Plants - Myco Bliss contains 5 high performing strains of mycorrhizal fungi that form powerful symbiotic relationships...
- Super Concentrated Mycorrhizae - Myco Bliss is a powerful mycorrhizal inoculant for plants, boasting 1,000 propagules per gram and treating up to 100...
- Retains Water & Nutrients - Using mycorrhizal fungi for plants helps them absorb water and nutrients they can’t normally access. Thanks to its...
For a continuous supply of tender young leaves, sow another round of seeds every 2-3 weeks while cool weather lasts and again towards the end of summer (for a fall harvest).
If your winters are long and cold, you can start your seeds indoors 4-6 weeks before your last spring frost date to get a jump on the growing season. Surface sow them in trays filled with seed-starting mix and provide them with light while they germinate.
Planting Tips
If you started your seedlings indoors, an important step of how to plant and grow mitsuba is to harden off your herbs before planting them in your garden. Gradually acclimate them to outdoor weather for a 1-2 week period and then you’ll be ready to transplant them.
Plant your seedlings 6-9” apart in rows for easy harvesting or in groups for a more natural appearance. You can also interplant them with taller herbs and vegetables that will provide some much needed shade.
If you started your seeds directly in the garden, wait until your plants get about 3” tall and then thin them to a final spacing of 6-9”. The thinned plants are delicious as microgreens!
Mitsuba can also be grown in containers if you are short on garden space, although the plants will be smaller than their garden-grown counterparts. Just make sure your containers are at least 12” deep and have drainage holes in the bottom. You can also use non-woven fabric grow bags. They breathe well and help prevent wet feet.

- Thickened Nonwoven Fabric: Made from 300G thickened nonwoven fabric; Breathable cloth structure provides balanced airflow and moisture control;...
- Breathable Root Pruning Design: The breathable fabric structure promotes airflow to the root zone; Supports natural root pruning and helps reduce root...
- Efficient Drainage Performance: Fabric pots allow excess water to drain while maintaining proper moisture levels; Helps reduce overwatering and...
Mitsuba Plant Care
Japanese parsley is an easy-going herb and doesn’t need much maintenance, but there are a few key care tasks that will make your harvest better.
First, make sure you water your seedlings regularly while they are getting their roots established. Fully grown mitsuba will tolerate short dry spells, but the leaves will be more plentiful if you continue to supply supplemental water whenever the soil dries out.
Weeding is an important care task no matter what plant you are growing and will ensure your herbs don’t have to compete for water or nutrients.
For the most part, mitsuba does not need to be fertilized, especially when grown as an annual. However, if you are growing it as a perennial, it will benefit from a side dressing of compost in the spring or half-strength fish emulsion applied every few weeks during the growing season.
When happy with its location, mitsuba will freely self-seed and continue showing up in your garden year after year. If you don’t want this to happen, harvest your plants before they flower or pull up seedlings when they appear in the spring.

Common Pests and Problems
Japanese parsley doesn’t have any serious pest or disease problems, which is another great reason to learn how to plant and grow mitsuba.
The biggest pest threat is from slugs and snails that may munch on your plants in the spring, particularly when they are small and tender seedlings. You can deal with them by surrounding your plants with crushed eggshells or by using slug traps.
The other problem you may face is your plants bolting (flowering and going to seed) during hot weather, particularly when temperatures are 85-90°F or above. Time your planting to take advantage of cooler growing weather to avoid this problem.
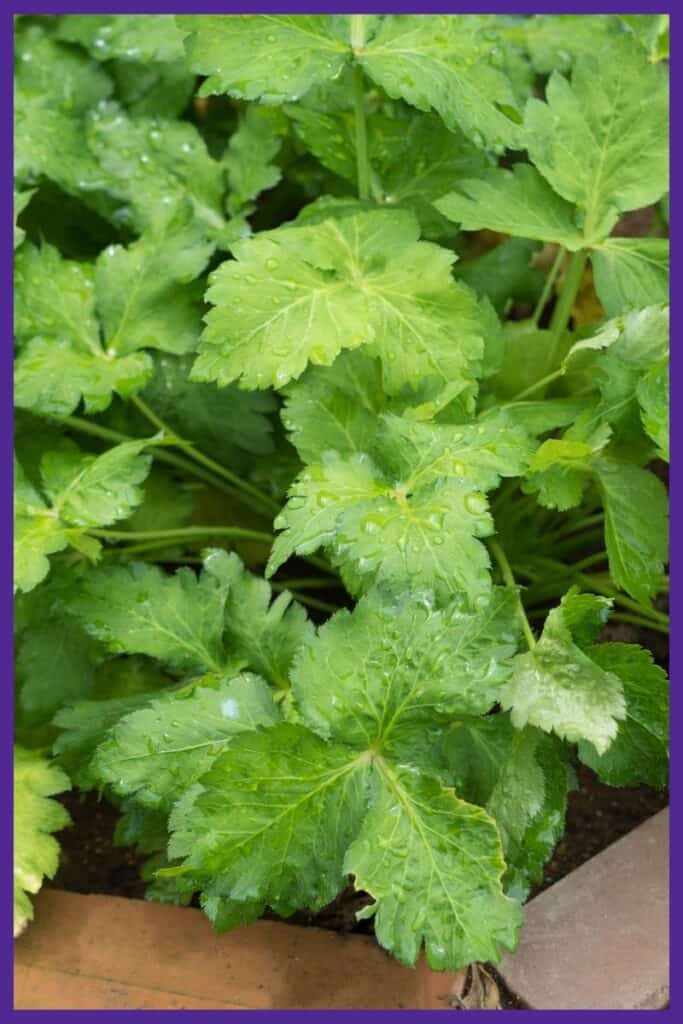
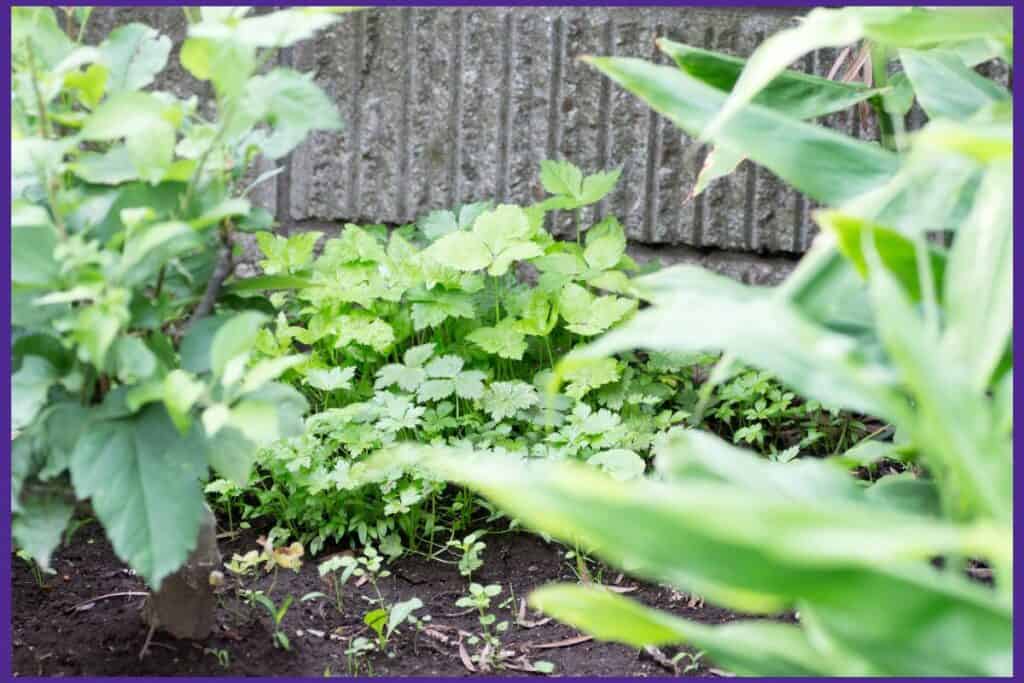
Planting in fall is best in warmer areas and frost-free climates. You can also take advantage of other plants and any features, such as walls, that can provide shade. In the image below, you can see mitsuba growing near a wall.
How to Harvest Mitsuba
There are two ways you can harvest mitsuba: as a cut-and-come-again plant or as an herb you harvest all at once.
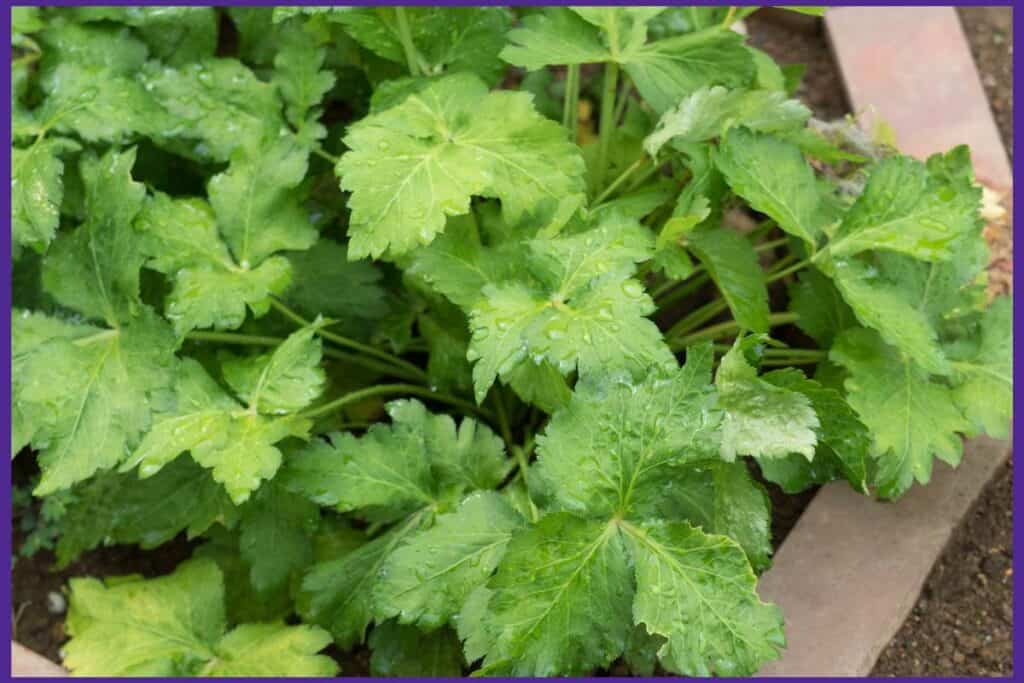
For a cut and come-again herb supply, wait until the stems are about 8-10” long. Cut them off just above soil level as needed, harvesting the outer ones first and leaving the inner ones to keep growing.
Alternatively, allow your plants to grow until they are mature, which should be about 50 days from seed. Then, either cut the entire plant off at ground level or dig up your plants if you’d like to eat the roots.
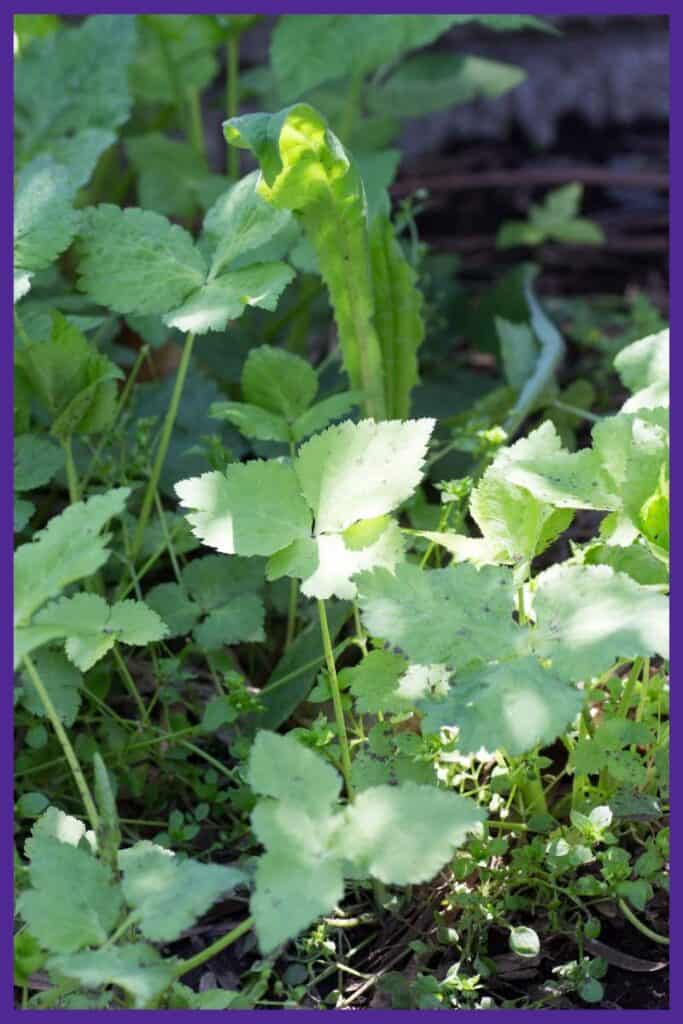
If you want mitsuba to return to your garden next year, allow a few plants to flower and set seed. The seeds will drop and sprout in the spring, and you can let them grow where they are or transplant them elsewhere.
Enjoying Your Mitsuba
Now that you know how to plant and grow mitsuba, you can bring your harvest into the kitchen and enjoy it.
Remember, the entire plant is edible and can be utilized if you desire. The leaves and stalks are easiest to work with, but the roots can also be washed, chopped, and added to a stir fry or shredded raw into a salad.
One important thing to keep in mind is that mitsuba can become very bitter if cooked for too long. Add it at the end of the cooking process or sprinkle it fresh over food to avoid this. The stems and leaves can also be quickly blanched and seasoned for a delicious “greens” dish.
However you choose to use it in the kitchen, you might find yourself growing attached to this easy-to-care-for, shade-loving herb and keep it as a staple for years to come!