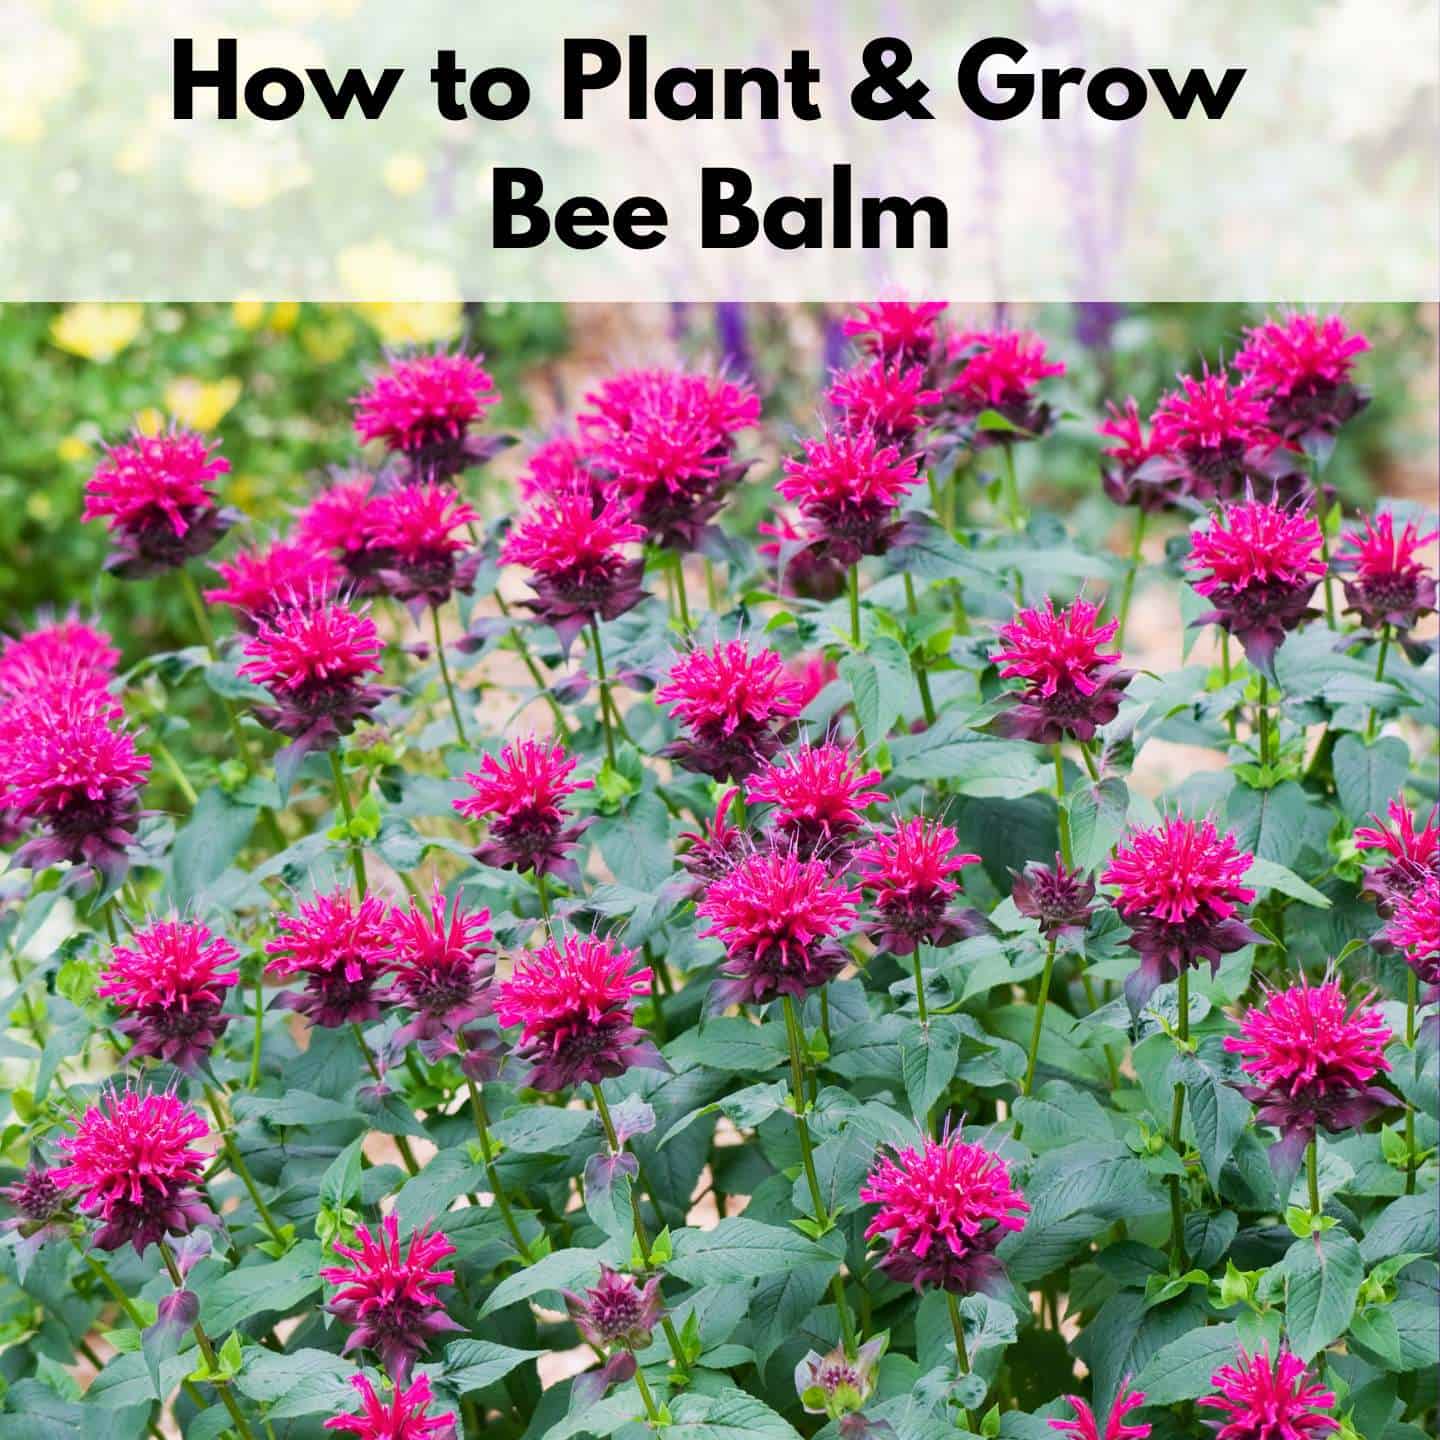
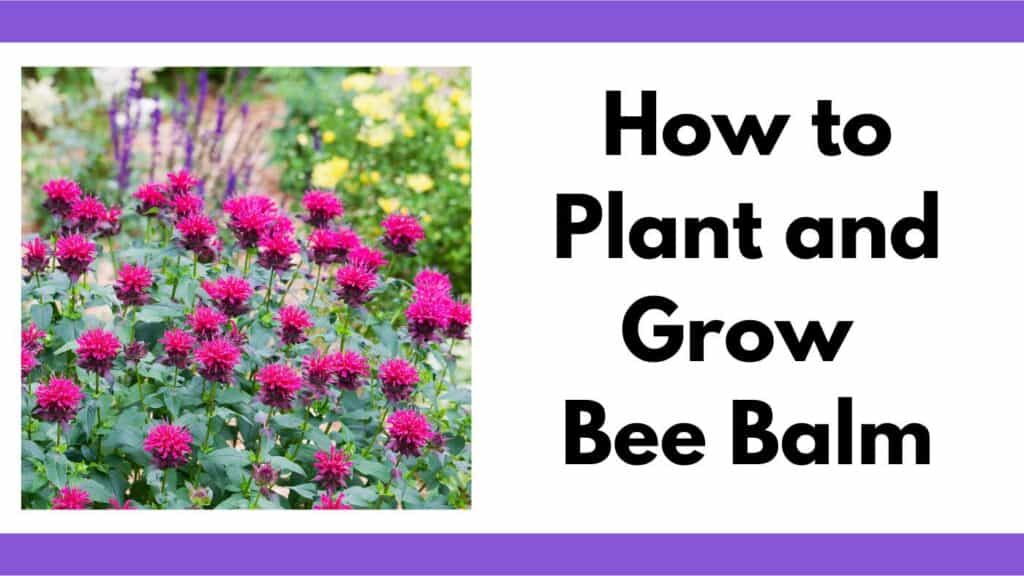
How to Plant and Grow Bee Balm
If you want a plant that attracts pollinators to your garden, bee balm is one of the best for the job. It blooms with long stems of lovely flowers for most of the summer and also gives off a delicious herbal fragrance when the leaves are crushed. It’s perfect for a flower garden, herb garden, or pollinator garden. It’s also a great way to attract beneficial insects to your vegetable garden.
Even better, bee balm requires little maintenance throughout the growing season and will return to your garden year after year.
Here’s everything you need to know about how to plant and grow bee balm from seed or transplants in your home garden.
All About Bee Balm: A Native Pollinator Plant
Bee balm (Monarda spp.) is a perennial plant native to North America. Bee balm plants naturally in woodland and meadow areas and has become a staple cottage garden plant, although newer varieties are also suited to urban gardens. Growing native plants is an easy way to make your garden pollinator-friendly.
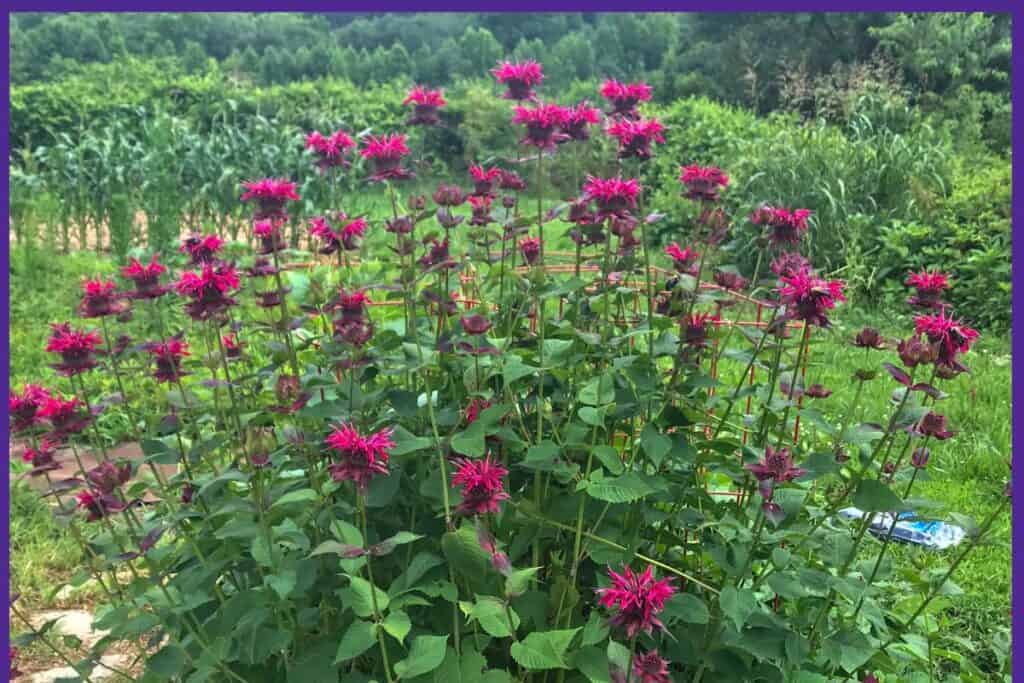
Bee balm normally grows 3-4’ feet tall, but there are now dwarf cultivars that top out at 10-15”. The plants have whorled blooms that develop on long stems and come in shades of red, purple, white, and pink. As a member of the mint family, bee balm has the characteristic square stems familiar in other mint plants.
Most gardeners in USDA hardiness zones 3-9 can have success growing bee balm. It will struggle the most in hot, dry areas but is otherwise very hardy.
Reasons to Plant Bee Balm
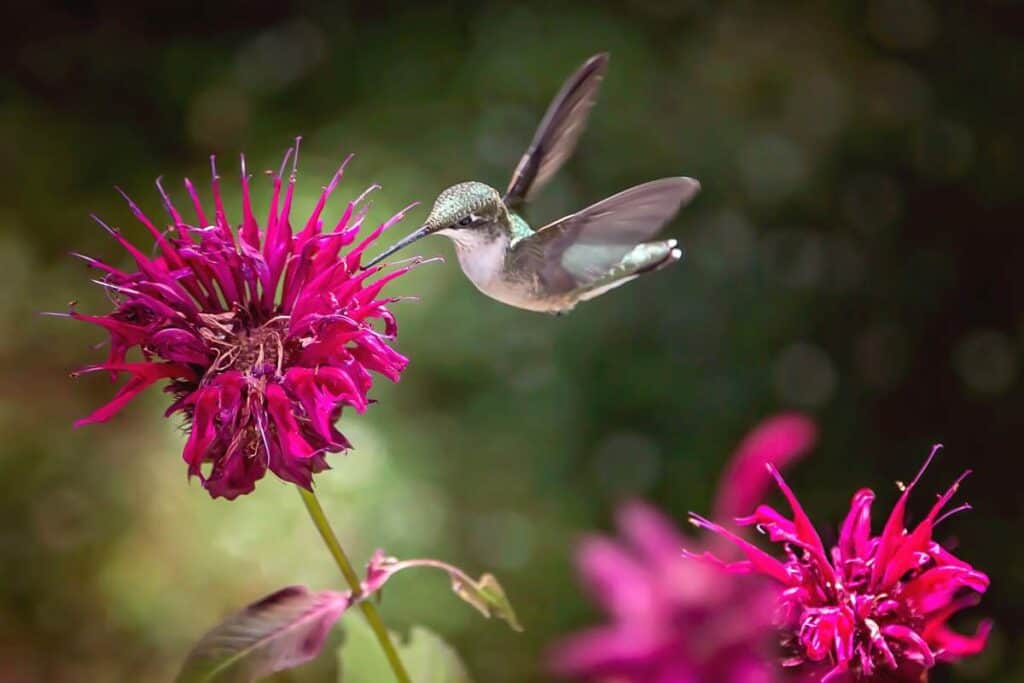
There’s no doubt that bee balm is a favorite with pollinators and birds.
It attracts a range of bees, butterflies, moths, and hummingbirds during the summer months. In the fall and early winter, song birds, like finches, will show up to feed on the seed heads left behind when the plants fade.
The leaves of bee balm can be harvested to make a fragrant, slightly minty herbal bee balm tea that has been used to aid digestion and strengthen immune health in traditional medicine. When crushed, the leaves also repel mosquitos, which can be very useful!
Bee balm flowers are edible as well and can be added to tea or used as a garnish. They also make lovely cut flowers and are deer resistant, which is even more reason to grow this beneficial plant.
Bee Balm Cultivars
The first step of how to plant and grow bee balm is to choose your cultivar(s). There are many to choose from in a variety of heights and colors. Some are available as both plants and seeds, while others can only be bought as seedlings, so keep that in mind as you look.
Here are some of the top bee balm varieties to help you get inspired:
- ‘Jacob Cline’– A crimson red cultivar of scarlet bee balm that is very attractive to hummingbirds.
- ‘Vintage Wine’– Bee balm with wine-red flowers that grows 2-3’ tall. Mildew resistant.
- ‘Petite Delight’– Dwarf cultivar with lavender-rose blooms.
- ‘Marshall’s Delight’– Lovely clear pink bee balm with good mildew resistance.
- ‘Scorpion’– Cultivar with masses of purple flowers and exceptional cold hardiness.
- Lemon Bergamot (Monarda citriodora)– Also called prairie bergamot, this old-fashioned cottage garden plant has lemon-scented leaves. Hardy annual that reseeds.
- Wild Bergamot (M. fistulosa)– Native to the prairies, this purple bee balm is more tolerant of dry soil than most cultivars.

- Pollinator Paradise: Attracts bees, butterflies, hummingbirds, and beneficial insects with nectar-rich blooms that support a thriving garden...
- Vibrant Variety Mix: Features three distinct heirloom types—Wild Bergamot (Monarda fistulosa), Horsemint/Spotted Bee Balm (Monarda punctata), and...
- Aromatic & Herbal Uses: Fragrant foliage and blooms release refreshing citrusy, minty, or oregano-like scents; petals and leaves are perfect for teas,...
How to Start Bee Balm from Seed
Some types of bee balm, like lemon bergamot and wild bergamot, can be started from seed, although many hybrid varieties are only available as transplants. Hybrid varieties are frequently available at garden centers and nurseries. (You may not be familiar with the name bergamot, but you’re probably familiar with its flavor because bergamot is it’s an essential ingredient in Earl Grey tea.)

- ATTRACT POLLINATORS - Bee Balm (Monarda Fistulosa) seeds for planting to fill your garden with fragrant lavender blooms that draw bees, butterflies,...
- PERENNIAL NATIVE WILDFLOWER - Wild Bergamot is a hardy perennial native to North America, returning each year with tall stems, aromatic foliage, and...
- EASY TO GROW - Sow bergamot seeds for planting indoors or directly outdoors in full sun; thrives in a variety of soils, tolerates drought once...
The best method for most gardeners is to start your seeds indoors about 8 weeks before your last average spring frost date. Use seed-starting trays or small pots filled with damp, good-quality seed starting mix.
Sow your seeds on top of the soil and barely cover them with a sprinkling of seed-starting mix. Water gently so that you don’t wash the seeds away, then place your trays or pots under grow lights or by a window because light will help the seeds to germinate.
Your seeds will sprout slowly and can take anywhere from 10-30 days to come up. Provide consistently moist soil and plenty of light as your seedlings grow.
Alternatively, you can directly sow your seeds in the garden after your last spring frost date by barely covering the seeds with soil and keeping the soil moist until germination occurs.
How to Plant and Grow Bee Balm
When and Where to Plant Bee Balm
Bee balm seedlings can be planted in the cool months of either spring or fall.
In the spring, plant bee balm after all danger of frost has passed. In the early fall, plant when the weather turns cool but before a hard frost comes through. (If you order your bee balm from an online source, it will often be shipped to you at just the right time for planting.)
Ideally, plant your bee balm in a spot that gets full sun. It will grow in partial shade, but the plants tend to get leggy and can be more susceptible to fungal infections and powdery mildew.
Most varieties of bee balm like soil that stays consistently moist. The exception is wild bergamot, which will tolerate much drier soil.
Monarda didyma will grow in poor soil, but you’ll get the best blooms and strongest plants if you give it nutrient-rich soil to grow in. Add compost before planting to boost nutrient content and improve soil texture.
Bee Balm Planting Tips
If you started your plants from seed indoors, be sure you harden them off over a period of a week or two before planting them in your garden. Discover how to do this in this post on preparing your seedlings for transplant.
Once that’s done, plant full-size monarda varieties 18-24” apart in clumps. Dwarf varieties can be planted a little closer together (check the label for the exact spacing), but it’s better to give your plants plenty of space for good air circulation.
Water your newly planted seedlings well and continue to supply regular water as they get established.
Bee Balm Plant Care
Monarda is not a very demanding plant, but learning how to plant and grow bee balm successfully does involve a few essential care tasks.
One of the most important things you can do, especially during their first year of growth, is supply your plants with water during dry spells. Bee balm does not like to grow in dry soil, so you’ll want to soak the soil around your plants deeply at least once a week if it doesn’t rain.
If your soil dries out quickly, mulch around your plants with shredded bark or another natural material like pine needles, straw, or even compost.
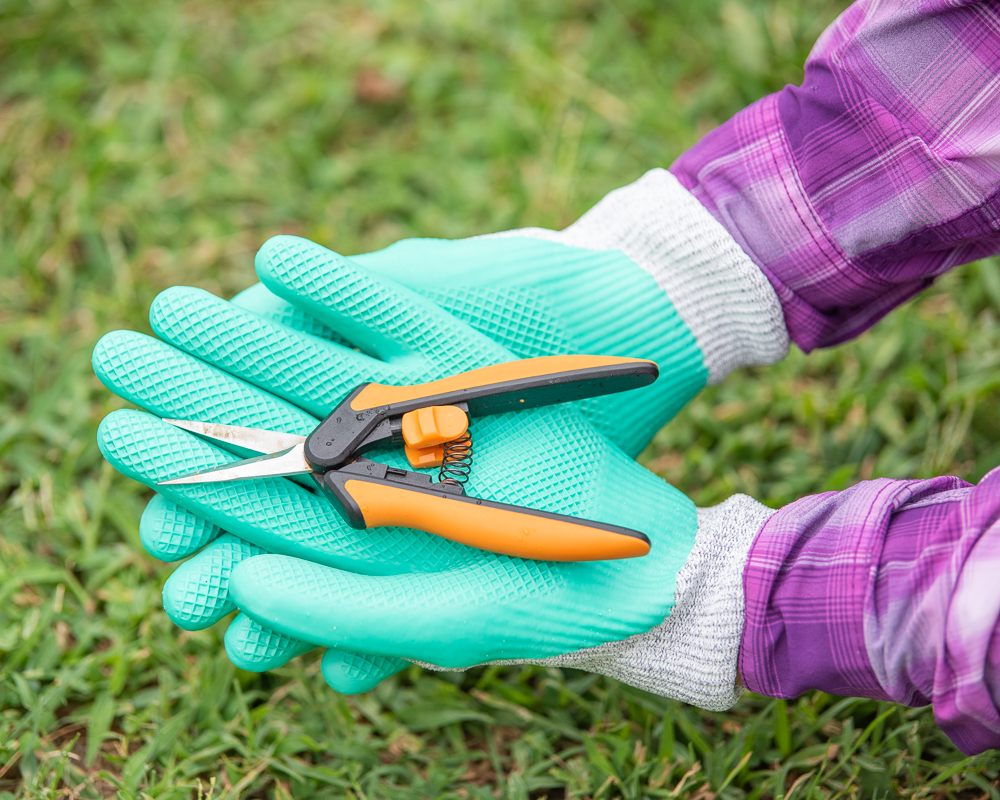
Deadheading bee balm is a key task if you want your plants to re-bloom later in summer. Simply trim off spent bee balm blooms regularly to encourage more flower production and a bushier, more compact plant. However, leave the spent blooms on at the end of the season for the birds!
I typically use my trusty Fiskar’s Micro Snips for pruning plants and harvesting herbs.

- GARDENING ESSENTIAL: Steel blade plant snips ideal for a variety of pruning tasks like cutting flower stems, shaping and maintaining your herb garden,...
- MAXIMUM POWER AND PRECISION: Non-stick blade coating makes smooth cuts, reduces gumming, and enhances rust resistance; Easy-Action design helps reduce...
- LONG-LASTING AND RELIABLE: Steel blades stay sharp through heavy use and provide excellent durability for lasting value; Fiskars pruning snips and...
Because it belongs to the mint family, bee balm tends to spread rather freely over the garden. This tendency so spread is the biggest problem with many members of the mint family.
You can easily keep it in check if you divide bee balms every 2-3 years. All you need to do is dig up a mature clump, discard the woody center section, and replant the newer roots and shoots in small sections. This keeps the plant in check and helps revitalize it.
Common Pests and Problems
Bee balm does not generally suffer from pest damage and is even deer resistant. However, it is susceptible to powdery mildew, which is a fungal disease most likely to appear in hot and humid weather.
To help protect your plants from mildew, you can look for newer cultivars that have built-in disease resistance. Also, be sure to properly space your plants to allow for plenty of airflow, and avoid getting the leaves wet when you water.
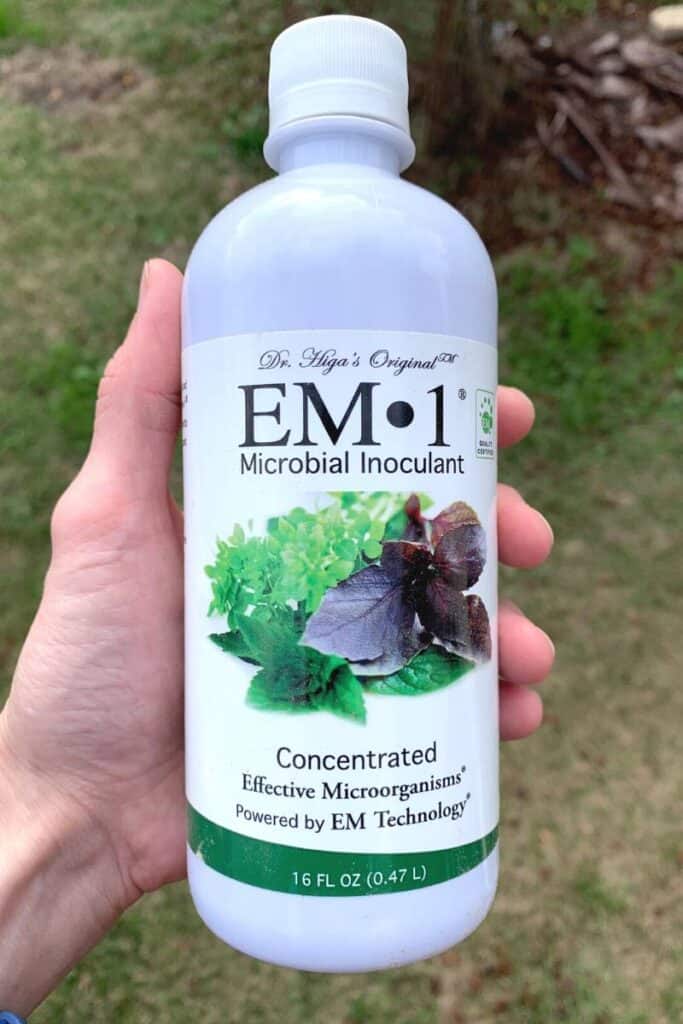
You can boost your plant’s resistance to powdering mildew by using EM-1 in your garden. It is a mixture of beneficial microbes that has been shown to promote complete lipid synthesis in plants. This helps the plant’s leaves stay waxy and strong so the powdery mildew can’t attach and feed on the plant.
EM-1 isn’t super cheap, but once you buy a bottle you can follow directions provided by the company to brew more with simple, inexpensive ingredients and your purchased EM-1 as a starter culture.

- ALL NATURAL ORGANIC PROBIOTIC for your plants and soil is finally here to improve texture and drainage for soils, while promoting growth for your...
- IMPROVE WATER QUALITY IN YOUR PONDS AND AQUARIUMS with our non-toxic and safe TCM microbial inoculant. This non-GMO, user-friendly probiotic inoculant...
- 1 MILLION COLONY-FORMING UNITS OF LACTIC ACID BACTERIA will help eliminate foul odors (pet, smoke, garbage or paint smell) while conditioning your...
If your plants do develop powdery mildew — which appears as gray, powdery splotches — remove and dispose of any affected leaves. Do not compost them! Carefully cut and bag the affected plants all over the spot. Do not carry them all across your garden. This will spread the fungal spores.
Harvesting Bee Balm Flowers and Leaves
After going through the work of learning how to plant and grow bee balm, you may want to harvest some fragrant leaves or flowers for yourself while letting pollinators enjoy the rest.
Harvesting the leaves is as simple as picking a few from each plant once they get large enough to be useful. Just don’t take too many leaves from any one bee balm because they supply energy to the plant.
To harvest bee balm as a cut flower, you can cut off the main flowering stem right when the blooms start to open. This will cause side shoots to grow and bloom, and these shoots can also be harvested as cut flowers later on in the season.
Collect flowers sparingly from multiple plants to make sure enough remains for insects and birds.
At the end of the season, leave spent flower heads on your plants to feed the birds over the winter. Then, in late winter or early spring, cut all stems back to a few inches above the ground and look for them to sprout up later on in spring!
Herb Growing Guides
There are many herb growing guides here on Together Time Family.
Individual herbs all have their own light, soil, temperature, and water requirements. Discover what your favorite herbs need to thrive so you can enjoy a bountiful, healthy harvest.
Planting Herbs Together
Companion planting herbs can save you space and increase your yields - if you plant correct. Discover this guide to planting herbs together and basic requirements for many popular herbs.
How to Harvest Parsley (without killing the plant)
Discover how to harvest parsley without killing the plant and how to keep your parsley plant healthy and thriving.


How to Harvest Basil
One basil plant can provide you with bountiful harvests all season long if you know how to grow and harvest basil the correct way.
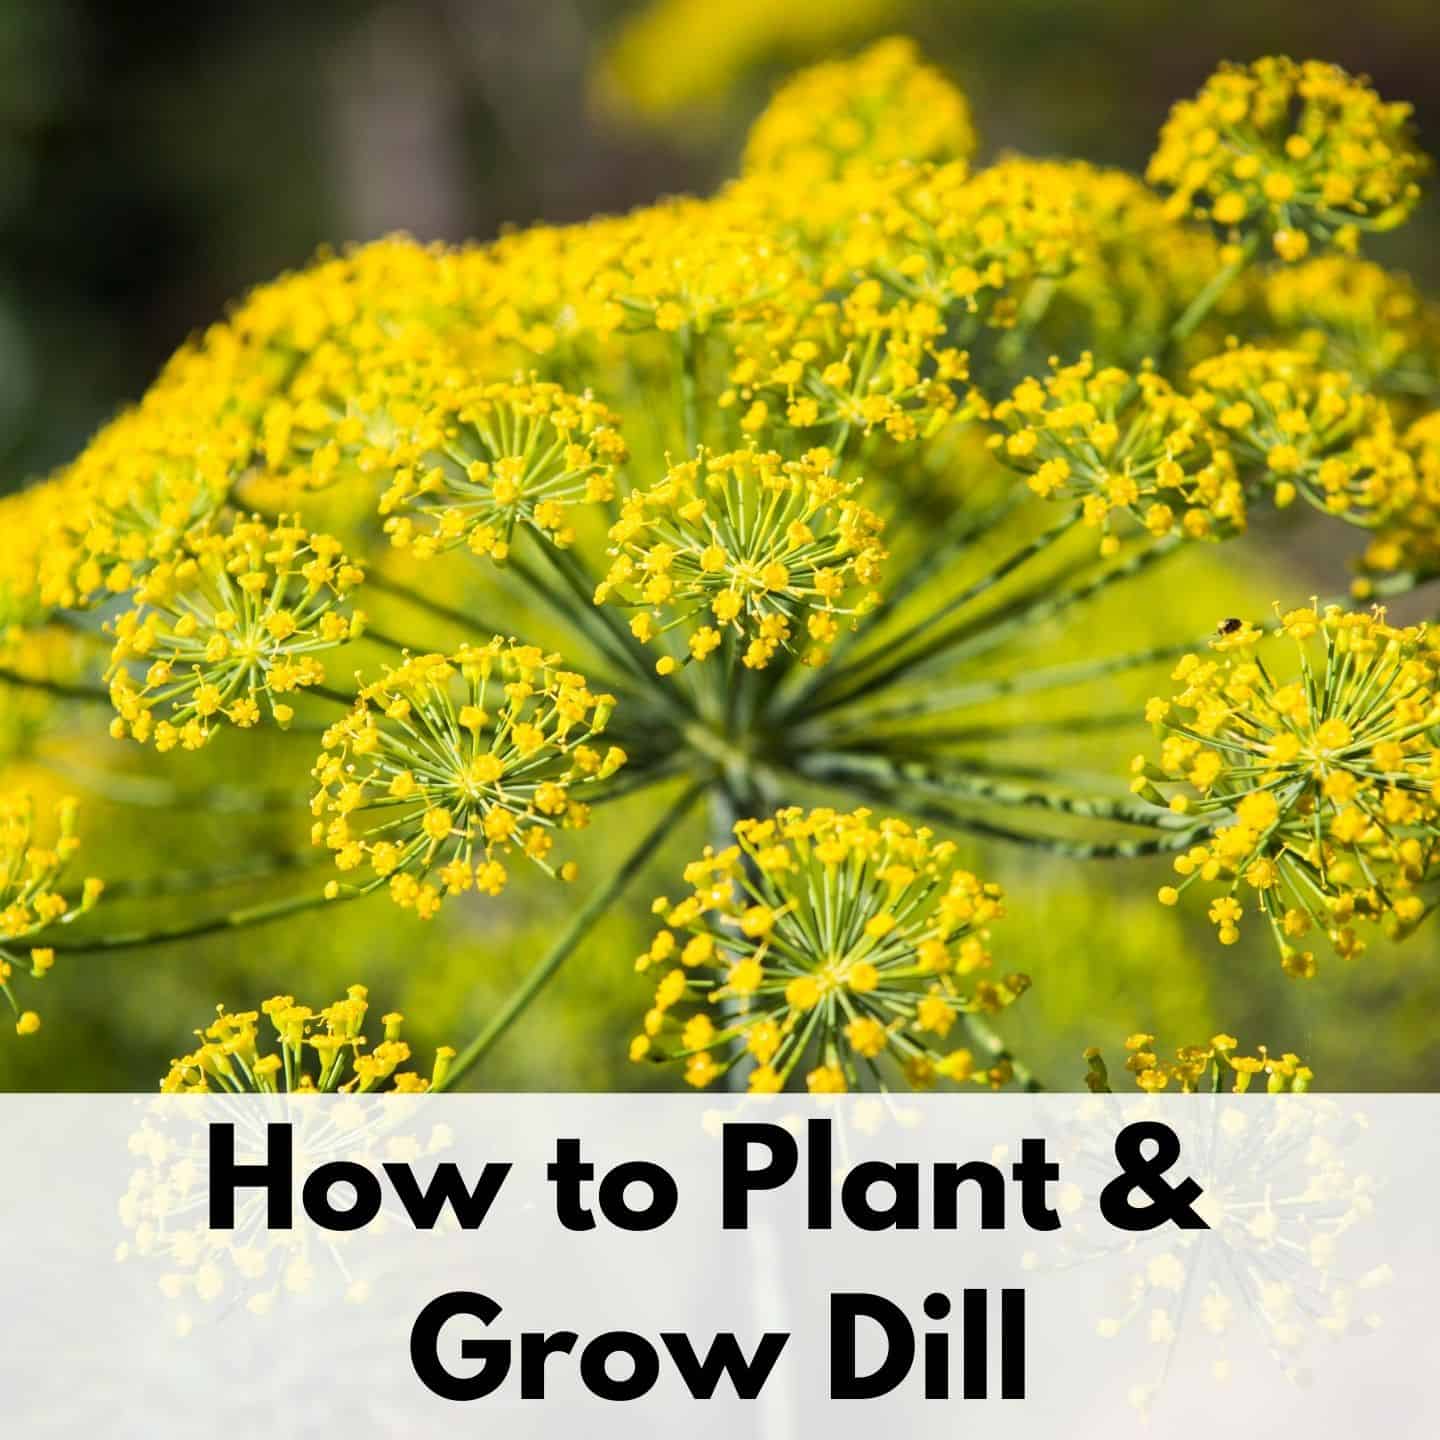
How to Plant and Grow Dill
Learn how to plant and grow will, plus tips for dealing with dill pest and problems.
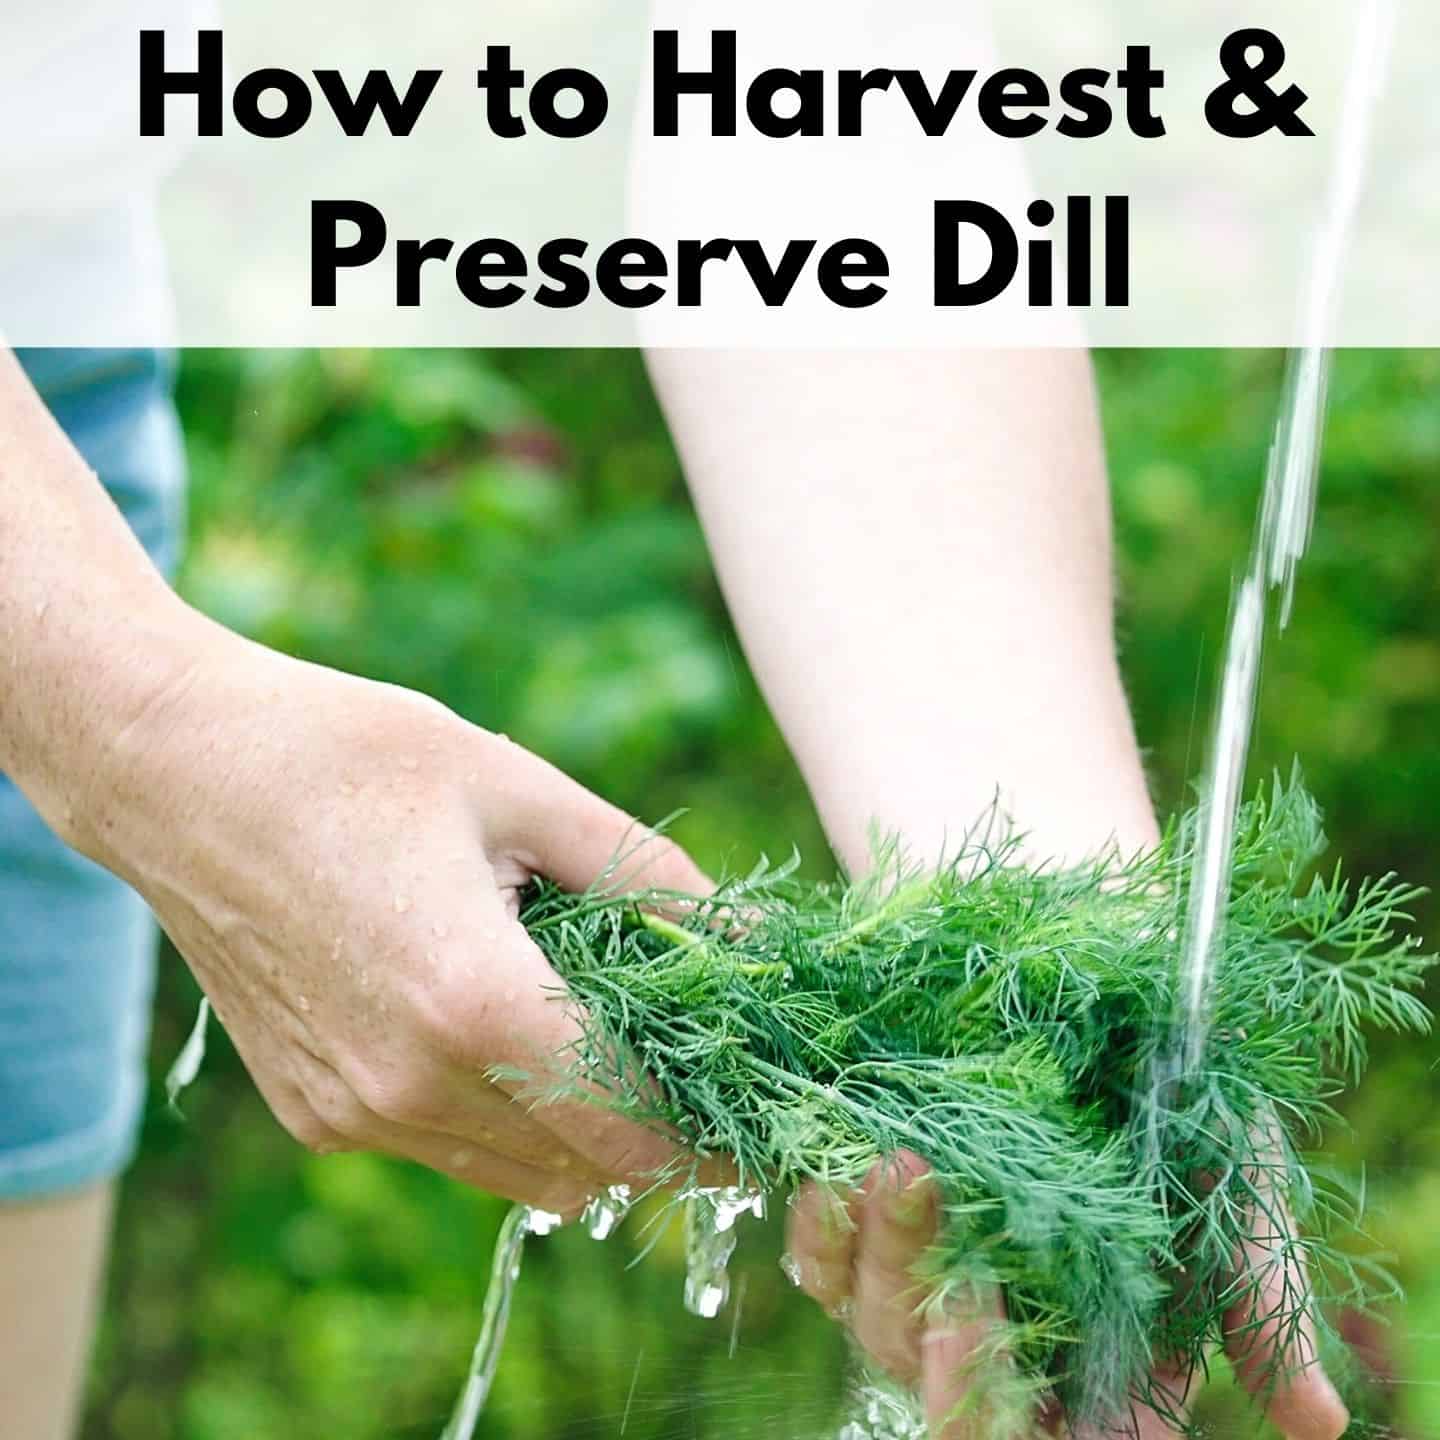
How to Harvest Dill
Discover how to harvest and preserve your dill for delicious homemade pickles, fish dishes, and more.
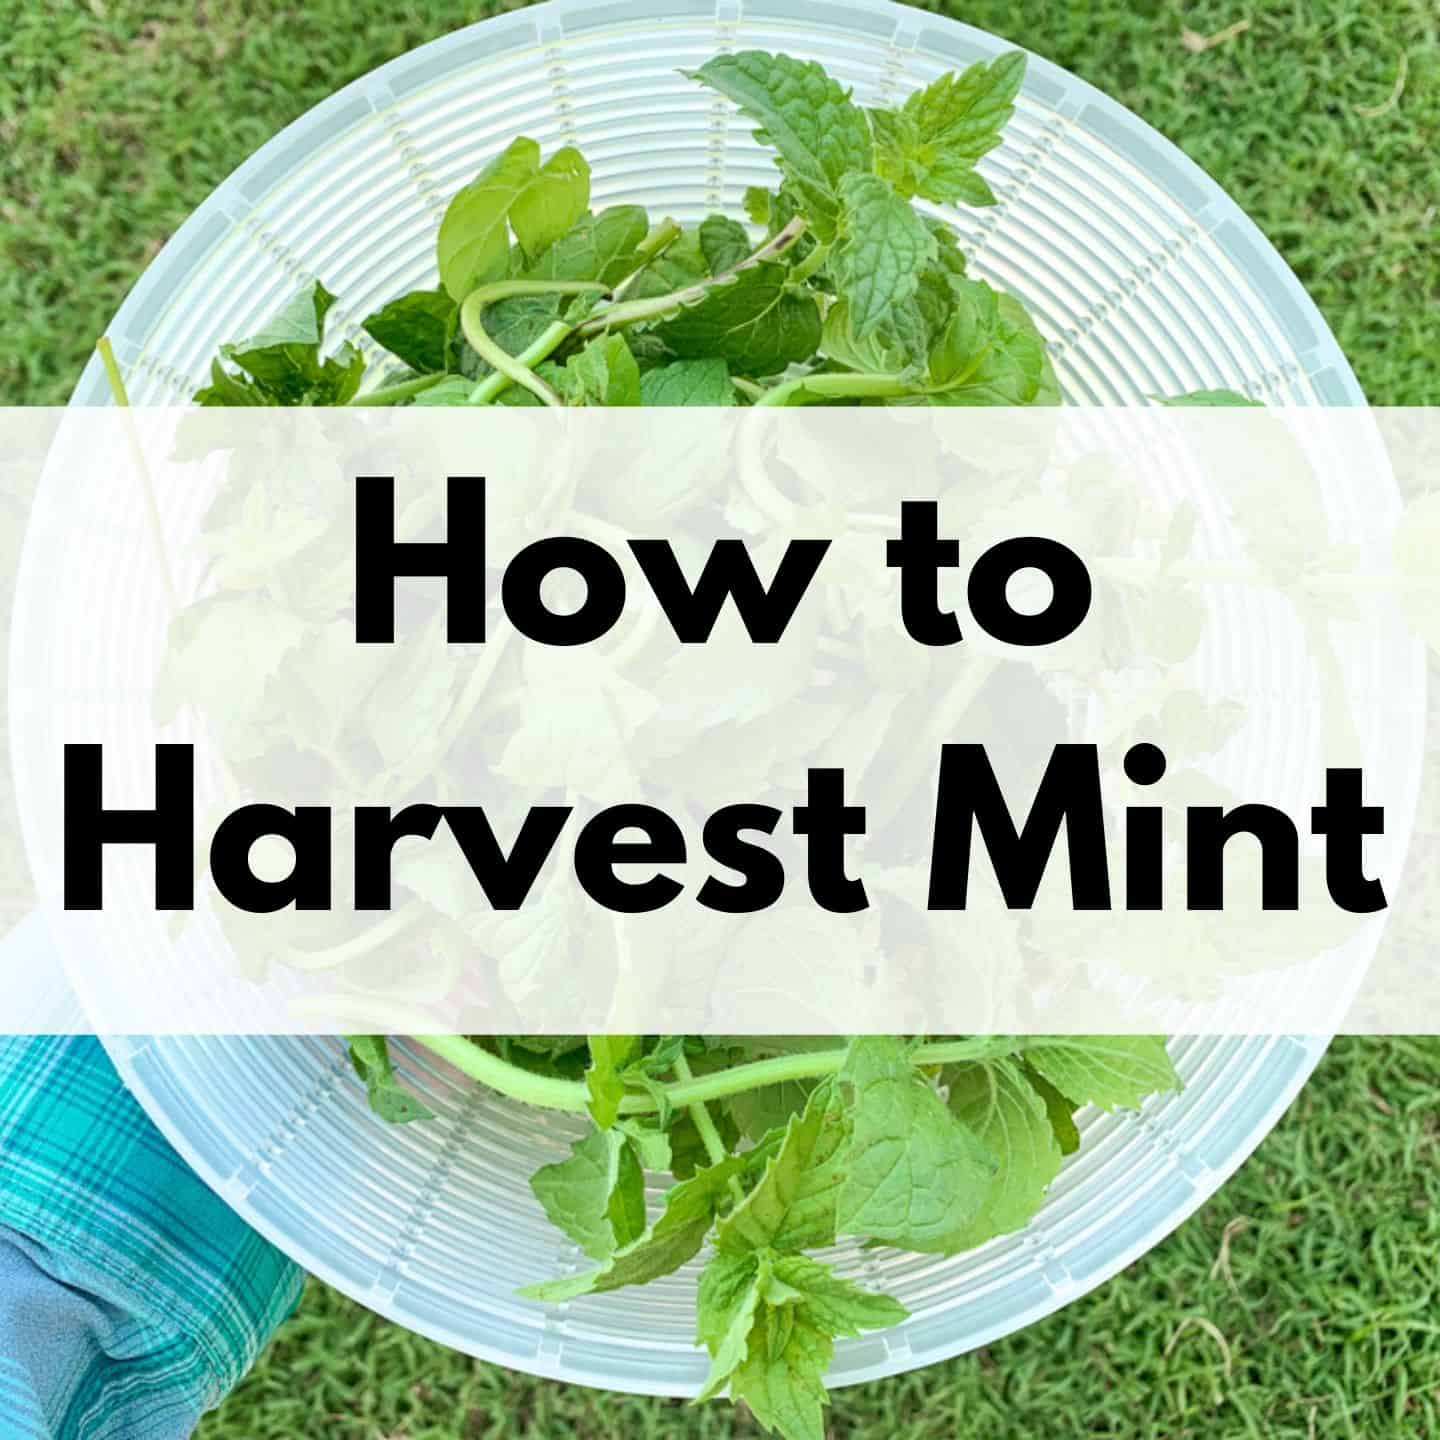
How to Harvest Mint (and what to do with lots of mint)
Discover how to harvest mint and what to do with your abundant mint harvests.

How to Plant and Grow Cilantro
Cilantro is easy to plant and grow...if you plant it at the right time.