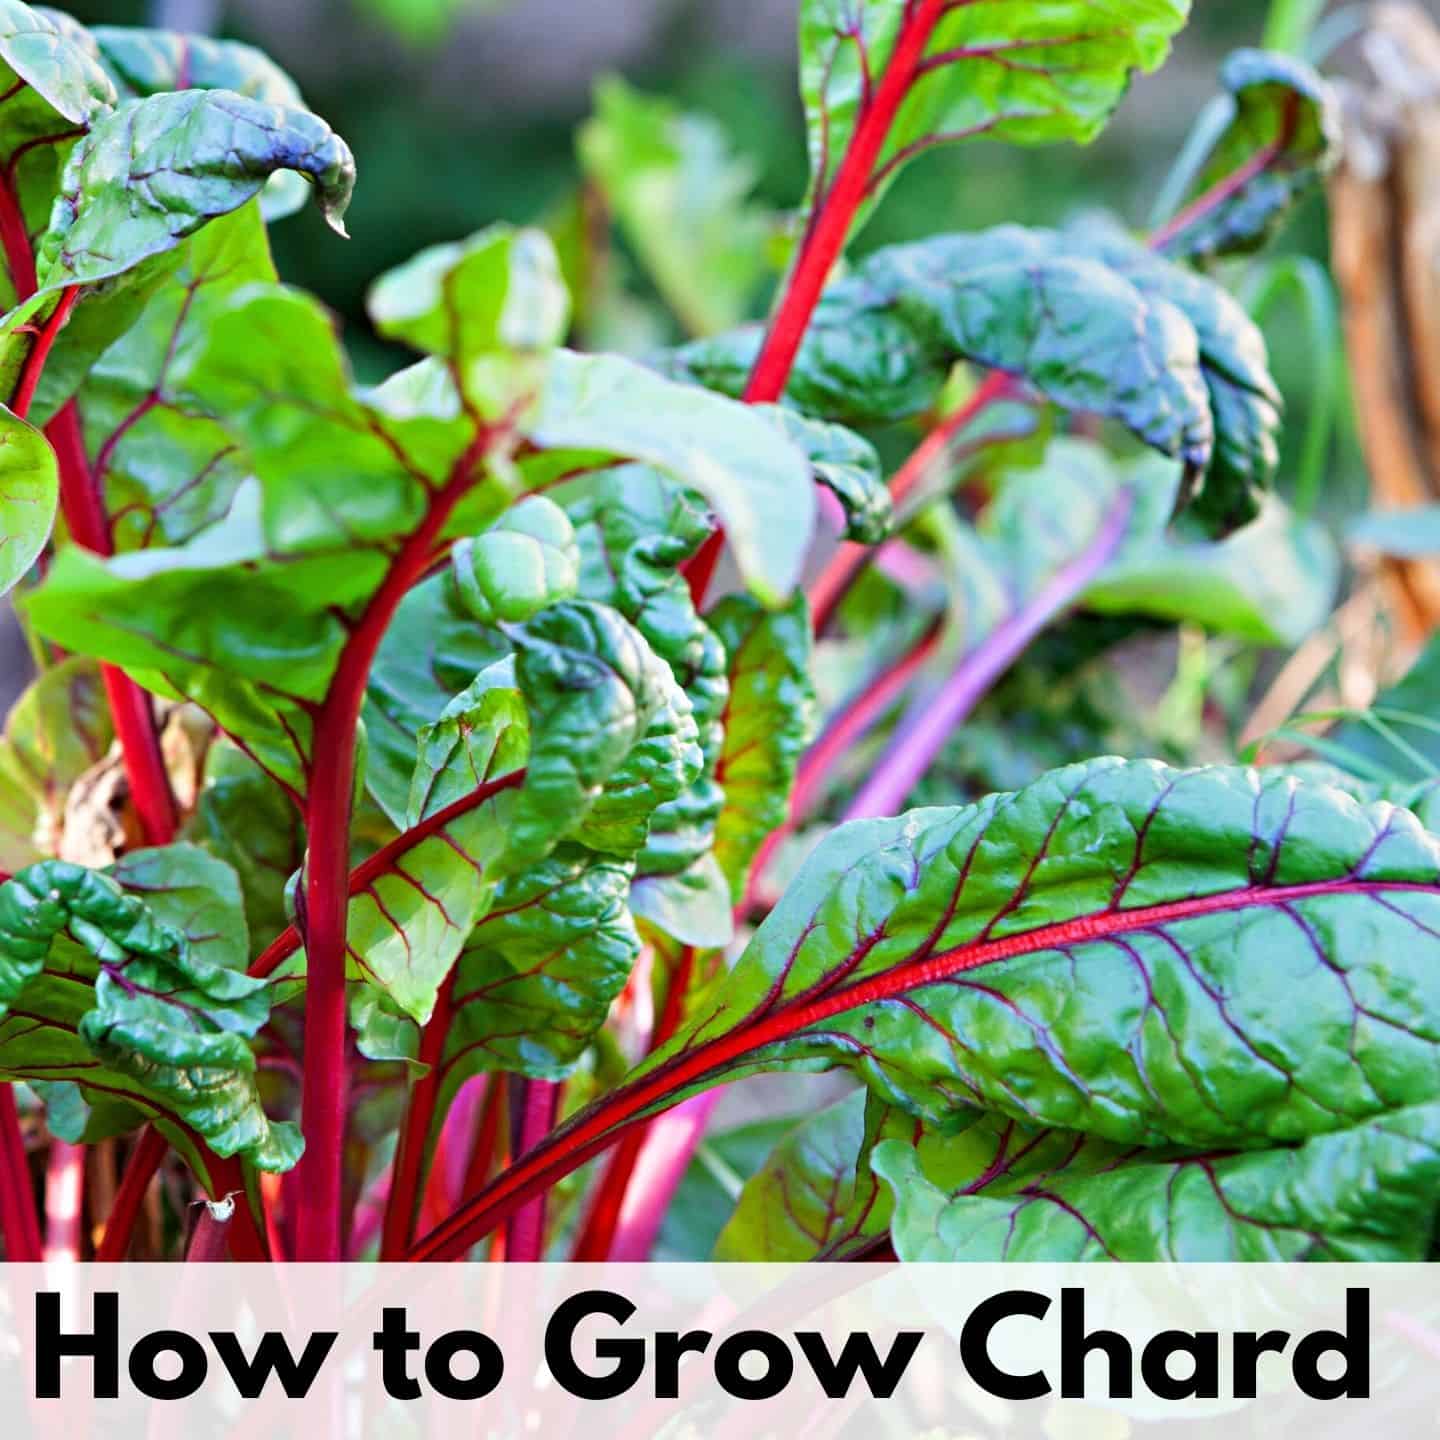
How to Plant and Grow Swiss Chard
Swiss chard is colorful, edible, nutritious, and easy to grow. Discover how to add this vibrant veggie to your garden with this complete guide to growing Swiss chard!
Ornamental and edible, chard is highly nutritious and has become popular as both a raw and cooked green.
It’s also one easy vegetable to grow in your garden. Chard can be planted early and harvested practically all summer long. It grows well with minimal attention and will reward you with a continuous production of fresh greens.
Here’s more about how to plant and grow Swiss chard in your garden, plus some care and harvesting tips.

All About Swiss Chard
This post includes affiliate links, which means I may earn a commission on purchases made at no additional cost to you.
Funnily enough, Swiss chard doesn’t come from Switzerland. It originates from the Mediterranean region of Europe (source). Why it got the name it did remains unclear, but one theory is that a Swiss botanist was responsible for determining its botanical name.
Chard (Beta vulgaris var. cicla) is closely related to beets. In fact, it’s a subspecies of the common garden beet but doesn’t grow the large, rounded roots that beets do. Swiss chard is grown specifically for its edible leaves and stems and has been popular since ancient times- ancient Greeks and Romans used Swiss Chard. I like cutting Swiss chard stems and using them as a celery substitute in recipes. They have a similar shape and crunch that makes them an easy swap in many recipes.
If you’ve ever tasted Swiss chard, you might recognize the flavor as being similar to beet greens. The colorful leaves are high in vitamins A, C, and K and can be eaten cooked or raw. The stems are also edible.
Like many other salad greens, chard grows best in cool weather. However, it will keep growing throughout hot weather (if adequately watered) and won’t bolt quickly like many other greens will.
Plants grow 1-2’ tall and are best harvested as a ‘cut-and-come-again’ crop. This means you can keep harvesting from your chard plants for months without killing them.
If you want to enjoy chard at home, you’ll probably have to shop at a farmer’s market or grow it, yourself. According to the Colorado State University Food Source Information database, Swiss chard is frequently associated with E. coli, Listeria, and Salmonella on the commercial market. Additionally, chard leaves are bulky and highly perishable.
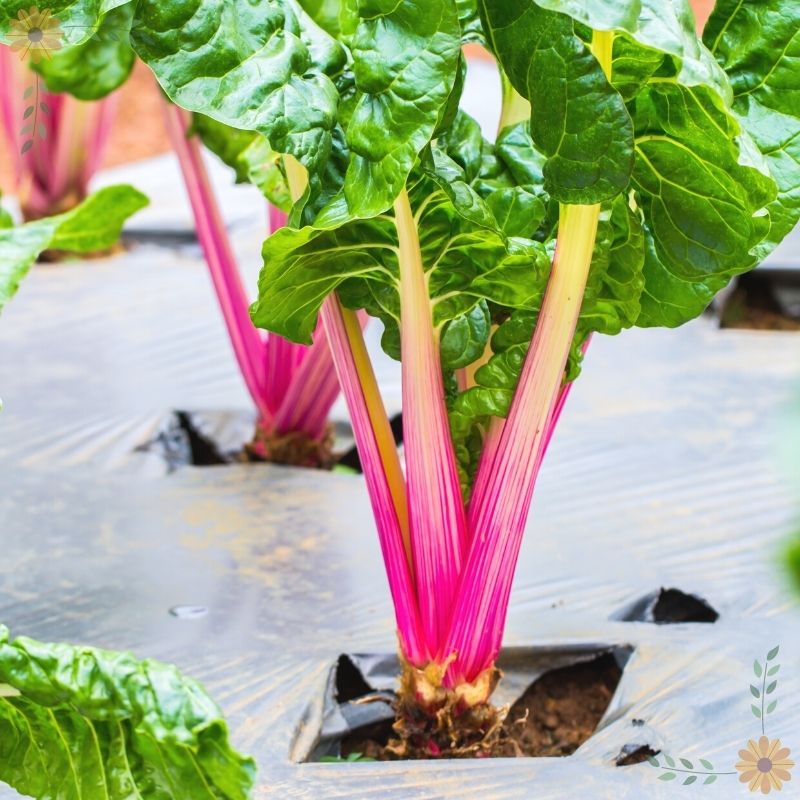
Colorful and Tasty Chard Cultivars
There are lots of varieties of Swiss chard to choose from. Here are some of the most popular for taste and for colorful appearance:
- ‘Bright Lights’- This chard mix could best be described as ‘rainbow chard.’ You get a variety of pink, red, purple, orange, white, and gold stems.
- ‘Fordhook Giant’– A very productive variety with green leaves and white stems. Plants grow tall but stay compact.
- ‘Rhubarb’ or ‘Ruby Red’– Both are varieties of red chard with red stems and deep or medium green leaves. May bolt if exposed to frost, so plant later in the season.
- ‘Peppermint’– Stems are pink and white striped, leaves are glossy and deep green. Upright habit that makes harvesting easy.
- ‘Bright Yellow’ or ‘Canary Yellow’– Two chard varieties with vibrant yellow stems. Leaves are dark green.
- ‘Lucullus’– One of the most hardy varieties that tolerates both heat and frost. Leaves are green and flavorful with white ribbing and white stems.
How to Plant and Grow Swiss Chard from Seed
When to plant Swiss Chard
Although Swiss chard is more tolerant of heat than many other greens, it’s best to get your plants started in cool weather.
You can sow seeds outside about a week or two before your last average frost date in the spring. Or start seeds indoors 3-4 weeks before the last frost date, although you should keep in mind that chard doesn’t always transplant well.
To get a fall crop of Swiss chard, sow seeds in late summer or about 40-50 days before your average first frost date in the fall.
If you live somewhere with a mild climate, you can also plant in the fall and harvest all winter. Swiss chard is naturally cold tolerant and will keep growing until temperatures reach the mid-20’s F (source). Chard is biennial, which means it flowers and goes to seed in its second year of life. Many biennials, like carrots, celery, kale, are cold tolerant.
To extend your growing season, erect a simple poly tunnel over your plants. I love the book The Year-Round Vegetable Gardner for advice on growing vegetables all winter long. The author is Canadian – if she can grow veggies in winter, so can you!

- Jabbour, Niki (Author)
- English (Publication Language)
- 256 Pages - 12/14/2011 (Publication Date) - Storey Publishing, LLC (Publisher)
Growing Conditions for Swiss Chard
Chard isn’t a very picky vegetable, but planting it in the right spot is key to growing healthy plants. Here are the top requirements to keep in mind:
Swiss chard light requirements
Plant your chard in full sun for the biggest leaves and best harvest. If full sun isn’t available, plants will tolerate partial shade, but leaf size may be smaller.
The one exception is that chard plants can benefit from afternoon shade during the heat of summer.
Soil for Swiss chard
Well-drained soil is best for growing Swiss chard, and it may struggle in heavy clay or soggy soils. Mix in compost before planting or apply a balanced fertilizer to your soil to give your plants a rich source of nutrients.
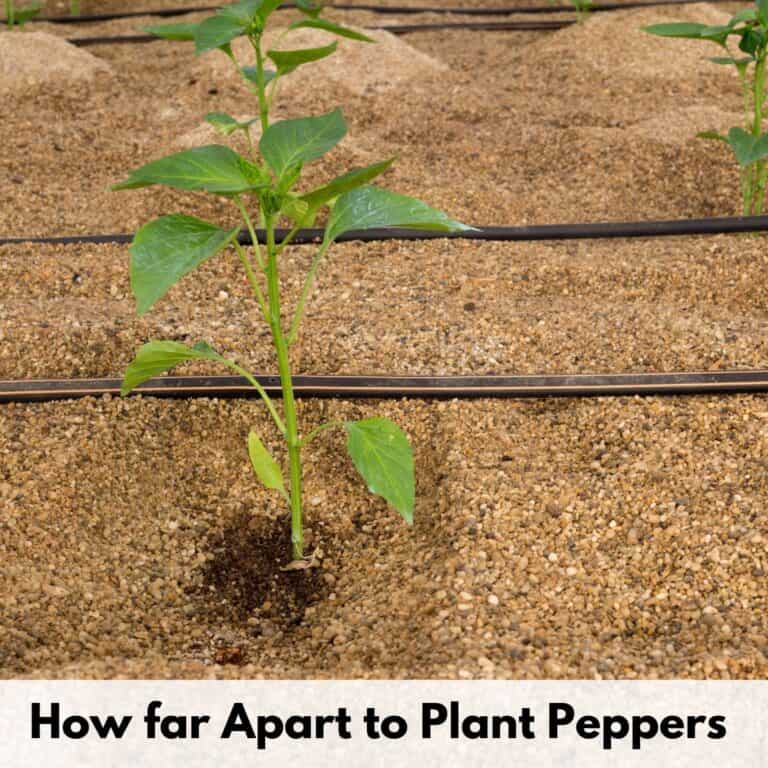
Swiss chard plant spacing
Space your plants 6-12” apart, depending on their mature size. Spacing isn’t as critical as it is for other vegetables, but crowding will likely decrease leaf size.
Growing Swiss chard in containers
If you’re short on space or want to make harvesting easier, you can plant chard in containers that are at least 8-12” deep and wide. Fill them with a rich, well-drained potting soil.
How to plant Swiss Chard seeds
When it comes to how to plant and grow Swiss chard, most gardeners opt to start from seed because it’s quick and simple. Just pick up or order a packet of chard seeds in the variety of your choice.
Before planting your seeds, get your chosen garden area ready by weeding, working in soil amendments, and raking the top few inches of soil until smooth.
To help your seeds germinate, soak them in water overnight or for 24 hours before planting. Sow seeds about ½” deep and a few inches apart. If you are sowing rows of Swiss chard, leave at least 18” between each row.
Cover seeds, water them, and make sure the soil stays damp while your seeds are germinating. Germination should take from 7-14 days.
Swiss chard “seeds” are actually a cluster of 2-4 seeds, so it’s very likely you’ll have multiple seeds germinating in one place. Once seedlings are 3-4” tall, thin them to a spacing of at least 6” by snipping off extras at ground level.
You can enjoy your thinned out chard clippings as microgreens!
Swiss Chard Plant Care
The two biggest maintenance tasks for Swiss chard are pretty straightforward: watering and weeding.
To keep leaves tender, make sure your plants get consistent water, especially when they are small. Supplemental water is also important as the weather turns hot. Chard will slow its growth in the summer but can continue to produce if well watered.
Make sure to use a watering wand, not your regular hose nozzle, when watering young plants. For a look at the benefits of using a watering wand, discover this post on the best garden watering wands.
Weeding regularly prevents invaders from stealing water and nutrients away from your chard. It’s also important to cut down on weeds that may attract pests and diseases.
Your gardening practices have a huge impact on how many weeds your garden develop.
If you’ve been tilling and experiencing huge weed crops every year, read about a no-till gardening method. There are several no-till methods that can reduce the prevalence of weeds and build better soil. I personally enjoy Charles Dowding’s perspective, even though his climate is very different from mine. Visit Charles Dowding’s Instagram to see his garden photos – the results speak for themselves.

- Hardcover Book
- Dowding, Charles (Author)
- English (Publication Language)
As the weather turns hotter and sunnier, applying a light layer of a natural mulch like straw can cut down on weeds and keep more moisture in the soil. Make sure to apply mulch thickly. A thin sprinkling of straw won’t do much for you.
Although you have to plan ahead, plastic sheeting can also be used as mulch. Plastic mulch is frequently used in commercial growing and can be an effective way to preserve soil structure, keep plants hydrated, and prevent weeds.
If you added fertilizer or compost right before planting, you most likely won’t need to fertilize your plants any further. However, if they remain small or the leaves start to turn yellow, you can apply a balanced 10-10-10 fertilizer 4-6 weeks after planting.
Swiss Chard Pest and Problems
Swiss chard does not have a long list of pests or diseases that normally attack it, which is great news for gardeners! You may not have any problems at all growing it, but there are a few things to keep an eye out for.
Leaf miners, flea beetles, and aphids are the most likely insects to chew on the leaves of chard. The damage they do is often not enough to harm your crop, but you can protect your plants with floating row covers if they become a nuisance.
Aphids can quickly sap your plants of vitality. Because of aphids’ unique lifecycle, a single aphid can create a whole new infestation! Alarmingly, a new generation of aphids can form in as little as 7-10 days (source). Address any aphids promptly to avoid a devastating infestation.
Luckily, aphids are fairly easy to kill with neem oil. Neem oil is natural and does not harm the environment – just softer bodied pests like aphids. (Pure neem oil is used in skincare products so it is not harmful to you.) Neem oil is also a natural fungicide.
You can mix your own neem oil spray from pure neem oil or buy it pre-mixed. If you purchase pre-mixed neem oil solution, double check to make sure it’s only neem oil and does not contain an additional pesticide. Homestead and Chill has a fantastic resource on how to mix and emulsify neem oil spray.

- USDA Certified Organic Neem Oil – Made from 100% pure neem seed oil, cold pressed and unrefined. Contains no additives, solvents, preservatives, or...
- Cold Pressed & Unrefined – Extracted using traditional cold-press methods to maintain the oil’s natural properties, aroma, and integrity.
- Versatile Multi-Purpose Oil – Commonly used as a carrier oil in skin and hair care routines and also used as neem oil for plants when diluted per...
Apply neem oil using a pressure sprayer. You can buy ready to use hand sprayer bottles, but the quantity is not very helpful and you will wear your hand out quickly. This is the sprayer I personally use:

- Chapin Bleach and Disinfectant Sprayer: complete cleaning and lawn care tasks efficiently with a 1‑gallon translucent poly tank featuring a wide...
- Bleach ready: clean, disinfect and tackle mold or fungus confidently using bleach‑resistant seals and gaskets designed to handle bleach solutions...
- Consistent coverage: achieve even application during yard or cleaning jobs with the SureSpray in‑tank anti‑clog filter that helps maintain a...
You have to spray thoroughly to make sure you get all the aphids. Focus on the stems and backs of leaves where the aphids congregate and spray again in about a week.
Swiss chard can also develop powdery or downy mildew. Luckily, neem oil can also take care of that problem for you! Spray affected plants throughly (as in, basically drench them on all sides) every 7-14 days. If any leaves still have powdery mildew spots after a couples of treatments, cut them off and immediately bag them up for the trash so they don’t spread spores.
Deer, rabbits, groundhogs, and slugs are pests that can do some real damage, especially to chard seedlings.
You can keep the bigger pests out by using chicken wire or some other kind of fencing and putting short bamboo poles among your plants so deer don’t have a landing space. Crushed egg shells around your plants can deter slugs, or you can try buying some slug traps.
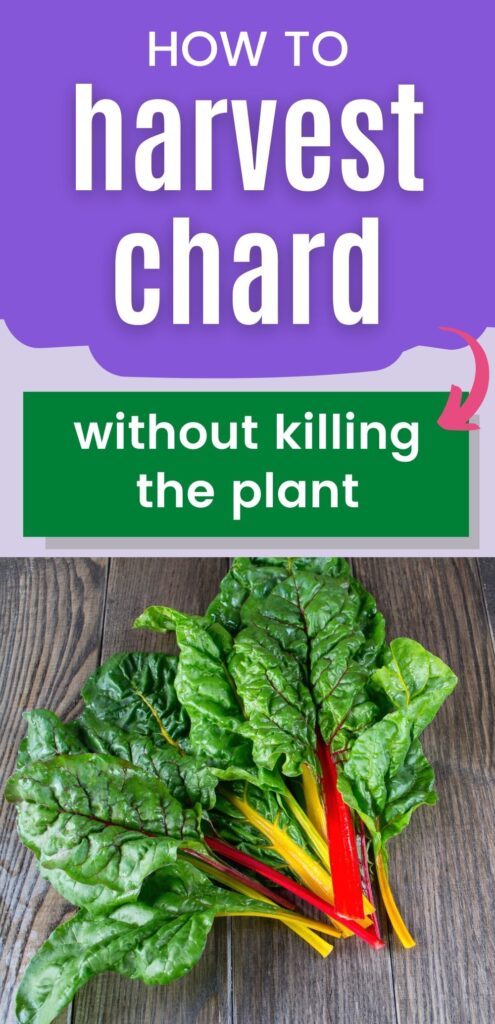
How to Harvest Swiss Chard Without Killing the Plant
Full-sized Swiss chard leaves will be ready to harvest about two months after planting, and baby leaves will be ready just a month after sowing seeds.
Smaller leaves that are 3-4” long are the most tender. Larger leaves will have a stronger flavor and can be a little bitter. Try to harvest chard before it gets more than about 10” long because it starts to become tough and loses flavor at this point.
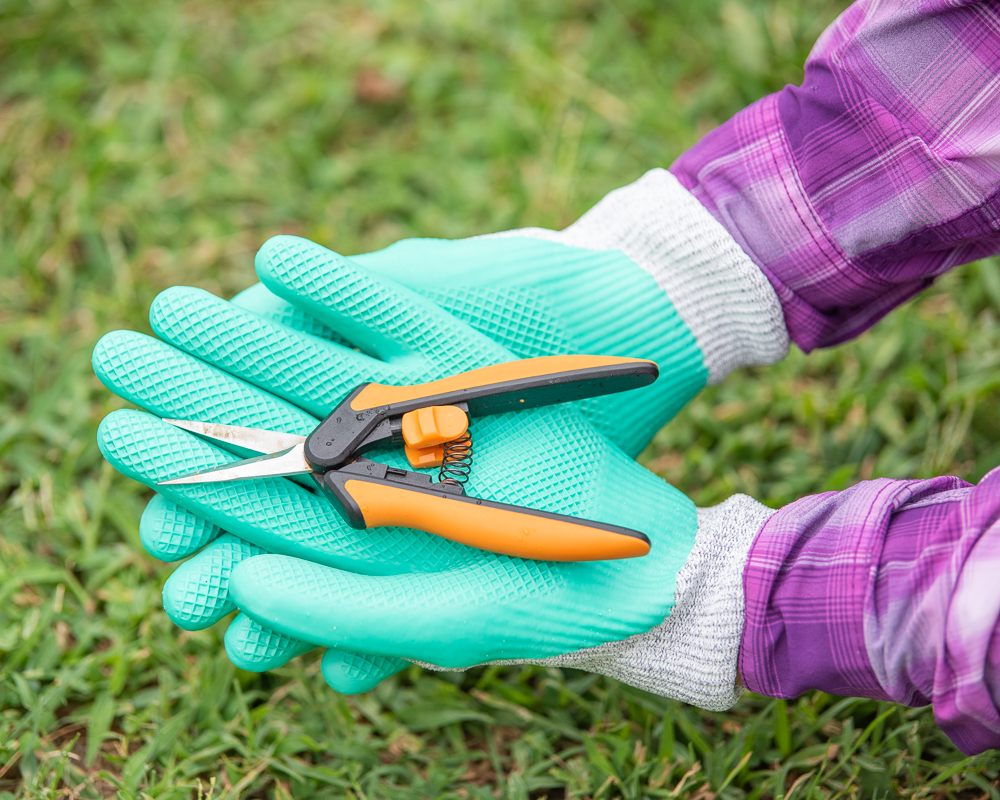
You can pick leaves by snapping or cutting them off about two inches above the base of the plant. Harvest the outside leaves first, and let the center ones continue to grow. I use my small garden snips to ensure I get only the leaves I want and leave the central area intact. Be careful to make sure you don’t accidentally nick or cut the inner stalks as you harvest the outer ones.
To keep your plant healthy and hardy, only harvest about 1/3 of the available leaves at a time.
Swiss chard leaves wilt quickly after cutting in hot weather, so harvest early in the morning in the spring and summer. If your leaves do wilt, check out this article from Cook’s Illustrated on how to revive your wilted produce.
Eat or cook with the leaves right away for the best flavor and texture, or store in the refrigerator for up to 14 days. The stems can be cooked with the leaves or separated and cooked like asparagus.
The Plant that Keeps Giving
Now that you know how to plant and grow Swiss chard, you can keep harvesting from your plants for most of the season.
They will slow down in hot weather, so you’ll want to harvest fewer leaves, but your chard will keep going when many other greens have faded. To keep up a continuous harvest, you can sow seeds every two weeks from spring to early summer.
If you get tired of eating Swiss chard, don’t forget that the plants are also very ornamental. Let some grow just so you can enjoy the bright colors in your garden!
Cool Weather Crops to Grow
Spring, fall, and even winter can be a fantastic time for gardening. Discover these delicious cool weather crops for your year-round vegetable garden!

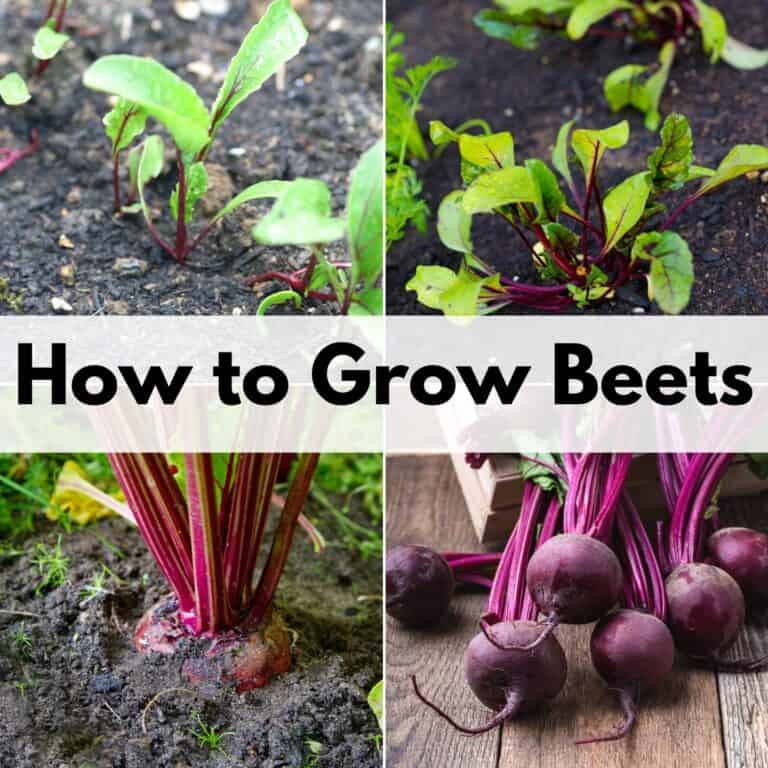
How to Plant & Grow Beets for a Successful Harvest
Beets are easy to grow and love cooler weather. The roots and tops are edible and they taste even better after a frost.
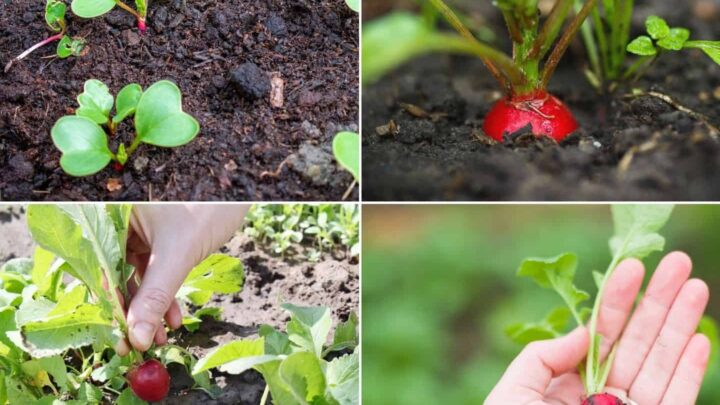
How to Plant and Grow Radish from Seed
Radishes are one of the fastest-growing vegetables. Both the greens and roots are edible and can be ready to harvest in just 3-4 weeks.

How to Plant and Grow Cabbage
Cabbage is a little more challenging to grow, but homegrown cabbage is so delicious that it's worth the effort. Discover how to plant and grow cabbage (plus how to combat annoying cabbage pests).

How to Plant and Grow Arugula
Arugula is quick and easy to grow. Discover how to plant and grow this salad favorite!


Growing Fennel - How to Plant and Grow Fennel from Seed
Discover how to plant and grow fennel from seed in your cool weather garden.