When to Harvest Potatoes: stop harvesting too soon and wasting potato potential with these must-know tips
Potatoes are an easy-to-grow and productive crop that you can enjoy harvesting right from your backyard. They go into the ground in early spring, are harvested late summer, and can be stored through fall and winter.
Harvesting your potatoes can be a fun family activity with the reward of tender, tasty tubers to cook afterwards. Store-bought potatoes don’t have anything on homegrown ones!
Here’s what you need to know about when to harvest potatoes, how to dig them up, and how to store them correctly.
When to harvest potatoes from your garden
This post includes affiliate links, which means I may earn a commission on purchases made at no additional cost to you.
Knowing when to harvest potatoes can feel intimidating. After all, you can’t see the tubers before you harvest them! Luckily, once you know what to look for your potato plants will tell you when it’s time to harvest.
These same techniques and tips for knowing when to harvest potatoes apply whether you’re harvesting potatoes in containers, grow bags, traditional beds, or some other method.
Your potato crop can be harvested at two stages depending on what kind of potatoes you want.
You look for different signs depending on which type of potato you want: new potatoes or storage potatoes.
When to harvest new potatoes
New potatoes can be thought of as baby potatoes.
They are small, thin-skinned, and very tender. Because of their thin skins, new potatoes don’t store well, but they are some of the most delicious potatoes you’ll ever cook with and eat!
So how do you know when to harvest new potatoes?
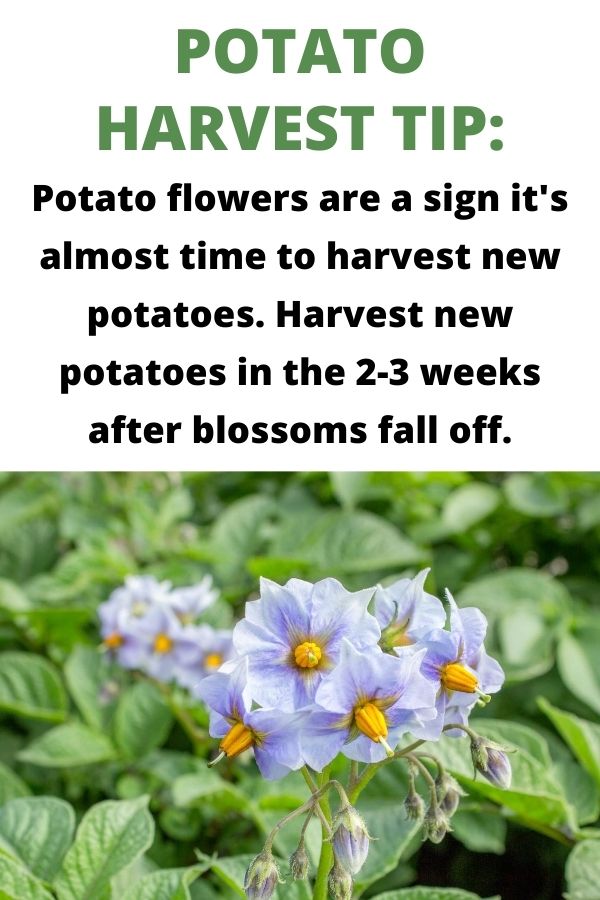
The key is to watch your plants for the right signs. Once flowers form on your potato plants it’s almost time. Wait until the flowers start to fade and drop off the plant. You can then start harvesting, and your potatoes will remain in this tender stage for 2-3 weeks.
Making use of a potato grow bag with a flap can help you keep an eye on your potatoes. You can see how big (or small) they are and judge whether you want to pick some for dinner.


When to harvest storage potatoes
Also called main-crop potatoes, storage tubers are larger and have thick skins. This is the type you can cure and keep over the winter months.
You may need to protect your potato beds or containers from wild animals, pets, or even children so they can stay in the ground long enough to become storage potatoes. I once had a dog who loved digging up potatoes so I had to eat my entire crop fresh that year instead of storing them!
What do potato plants look like when ready to harvest?
Knowing when to harvest potatoes for storage is all about watching your plants.
The leaves of your plants will start to turn yellow at the end of the season. Once the foliage is completely brown and dry, it’s almost time to harvest, but there are a few steps you can take to improve your crop.
Many growers recommend cutting the foliage almost all the way to the ground once it’s completely brown. (Just make sure you remember where your potatoes are!)
Then, let the tubers keep sitting in the ground for 10-14 days after you cut back the foliage. This allows the skins to become good and thick for storage. After this time period you can go ahead and harvest them.
The one exception to this is if your soil is very wet at the end of the season. If this is the case, it’s better to harvest as soon as the foliage dies back to prevent your potatoes from rotting in the ground.
Also, be sure to harvest them all, ready or not, before the first hard frost!
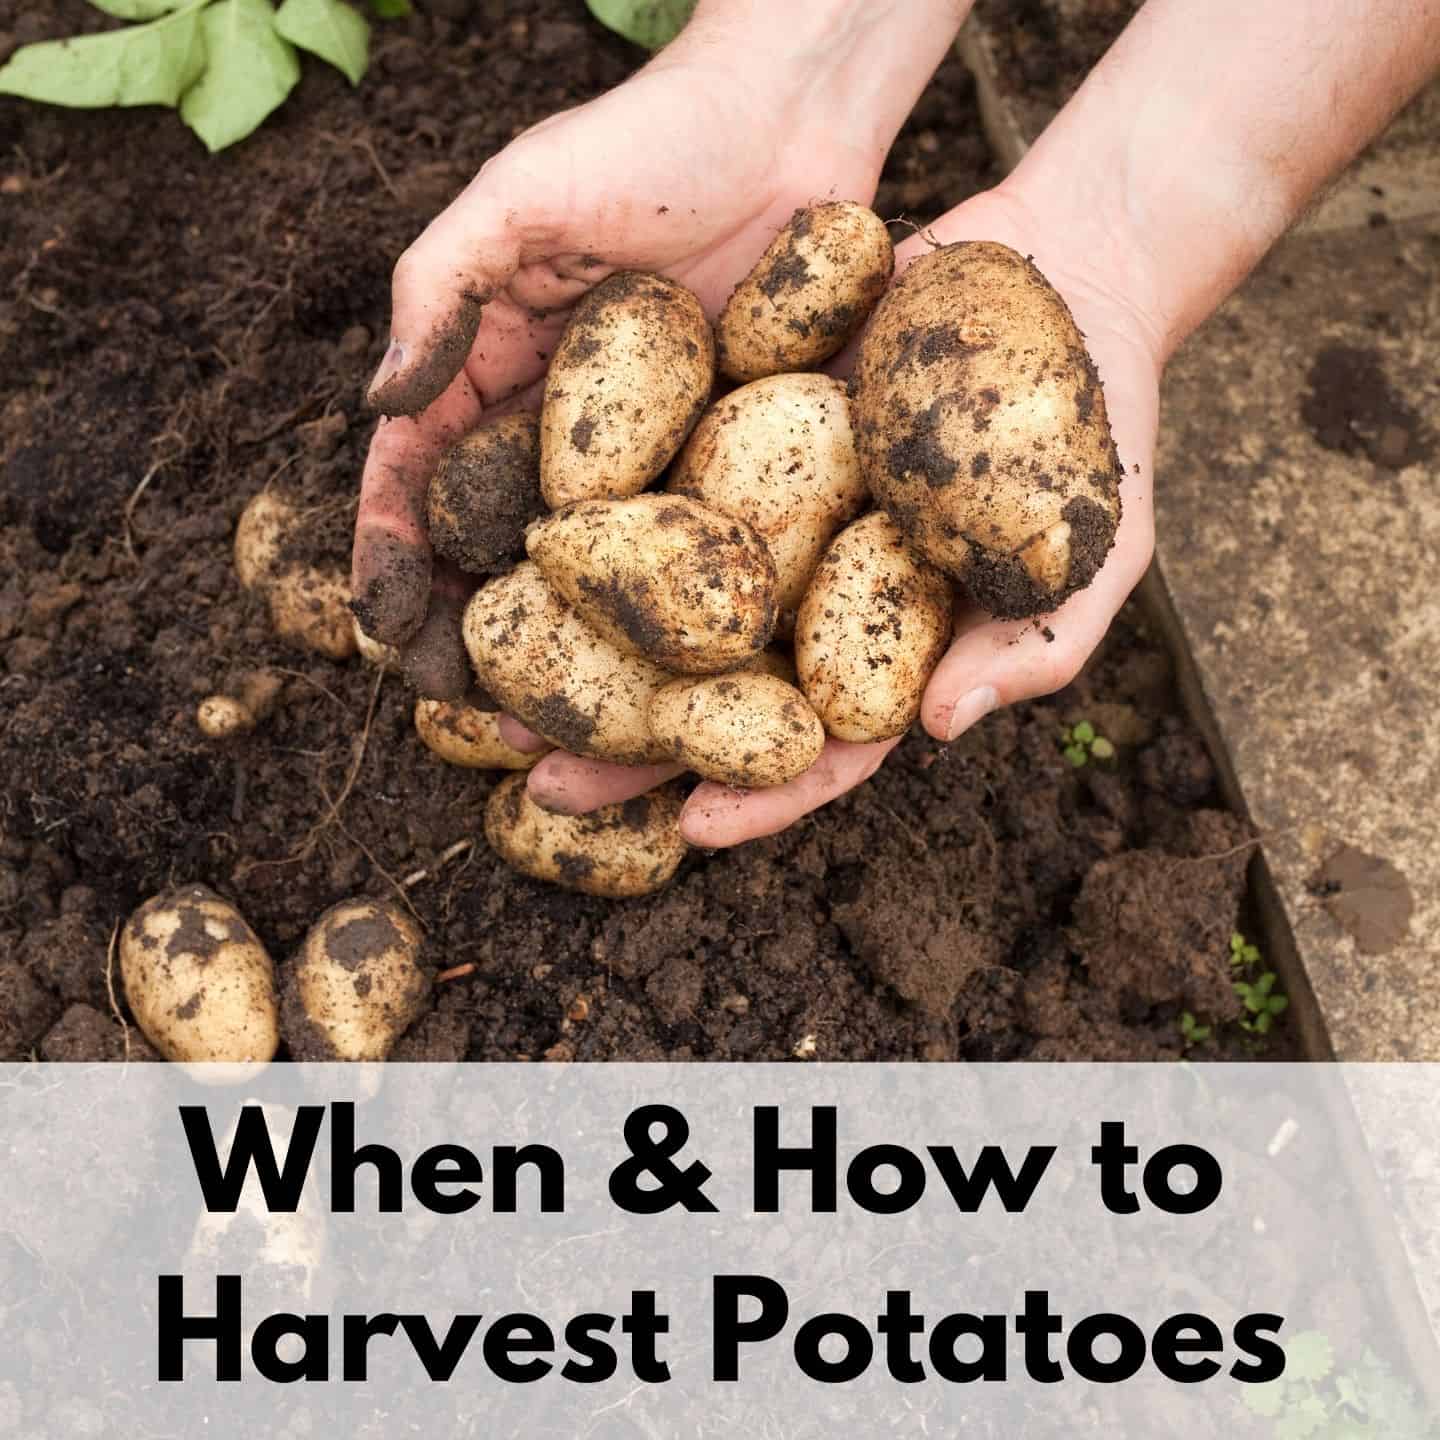
How to harvest potatoes
Now that you know when to harvest potatoes, the fun part is actually digging them up! That is, as long as you don’t mind getting a little dirty.
The biggest tip to remember when harvesting your tubers is to do your best not to cut into them with your shovel, especially if you want to keep them in storage.
This can be easier said than done, but you’ll get better with practice.
How to harvest new potatoes
New potatoes can often be harvested just by using your hands rather than a garden tool.
If you grew yours in the ground, reach with your gloved hand into the side of one of the hills you piled up around your potatoes. Feel around gently, collecting tubers as you go. Once you have as many as you want, pile the soil back up so the rest of your potatoes can keep maturing.
If you’re growing in raised beds or some kind of container, just carefully dig your hand down through the soil until you hit potato gold. Lift them out gently and firm the soil back around your plants when you’re done.
Of course, if you’re only growing potatoes to eat them new and not for storage, you can simply dig them all up at once.
How to harvest storage potatoes
Before digging up your whole potato crop, it’s a good idea to dig up a test section first. You can check one of the tubers to see if the skin on it is thick and well-attached. If the skin can easily be rubbed off with your finger, you need to wait longer to harvest.
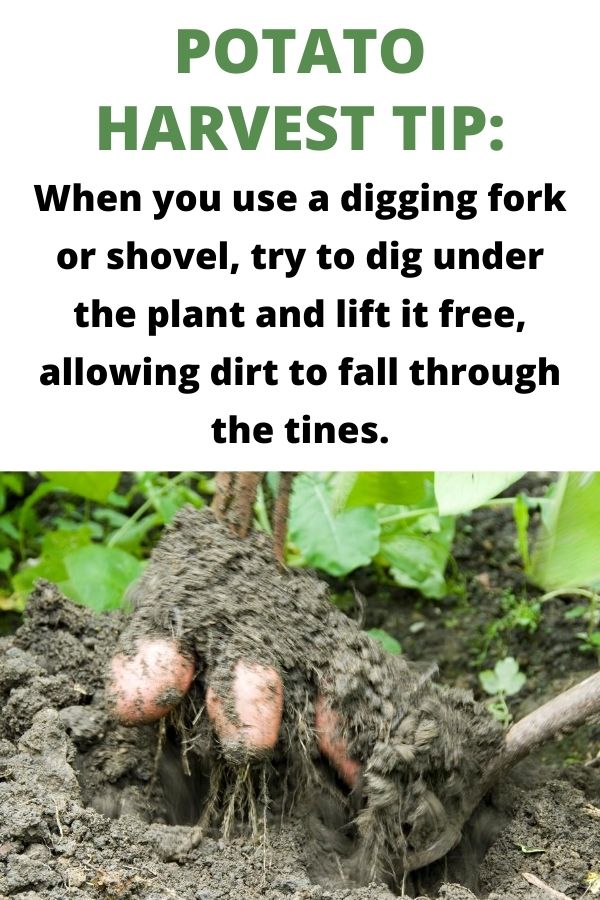
Each gardener has their preferred tool for digging out their potatoes. A garden fork or a sturdy shovel are the two best options.
Whichever one you work with, the key is to dig down about a foot away from the plants and start to loosen and lift up the root mass. Once you’ve gone all the way around a section of plants, you should be able to pull up the main root system, which will have lots of potatoes attached.
When you use a digging fork or shovel, try to dig under the plant and lift it free, allowing the dirt to fall through the tines.

- Forged spading fork head
- 4 diamond pointed steel tines for easy soil penetration
- 30-inch hardwood handle for strength and durability
Pull the potatoes off of the root mass and place them in a container. Once you’ve dug up your plants, go back through the soil with your hands to find potatoes still hiding there. There will be some extras so don’t skip this step!
If you accidentally poke or slice any potatoes (which happens to everyone), set them aside to cook with.
How to store potatoes
After harvesting, brush the dirt off your potatoes, but don’t wash them or get them wet. Also, don’t leave them out in the sun too long or you’ll get dreaded green potatoes (which can make you sick if eaten).
Cure your potatoes by laying them out in a cool, dark, and dry location for 1-2 weeks. The ideal temperature for curing is anywhere between 45-60°F.
Once cured, your potatoes can be stored in bags or boxes that have ventilation holes, but don’t layer them too deeply because this encourages rotting.
Sort through your tubers before storing and discard any that are bruised, cut, green, or show signs of rot.
Your storage area should be dark and preferably somewhere between 40-50°F. This could be a cold basement, root cellar, or garage attached to the home. Check on your potatoes regularly for signs of rotting or shriveling.
Serious gardeners and homesteaders frequently use a harvest rack to store potatoes. Root vegetable storage bins and bags can also work, too.


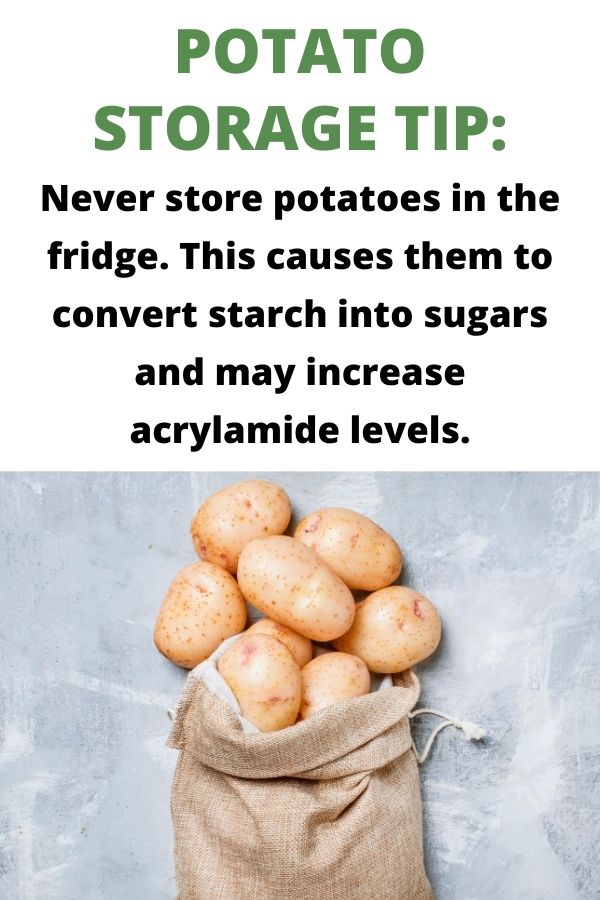
Never store potatoes in your refrigerator or keep them next to apples. Depending on variety, your tubers can last for 4-6 months in storage.
There are two reasons to avoid storing your potatoes in the fridge.
One is that potatoes, even after they’re harvested, convert starch to sugar and vice versa depending on the temperature. When stored in the fridge, your potatoes will convert starch to sugar, which tastes weird.
Another, more important reason to avoid putting your potatoes in the fridge is that storing them in the fridge can lead to higher levels of acrylamide, a potentially hazardous compound produced when you cook potatoes at high temperatures. Acrylamide can cause cancer in animals, so it might be harmful to human health, too (source).
Potato varieties to grow
Here are a few of the best varieties for new and storage potatoes, plus some fun and unusual potato varieties thrown in:
Potato varieties to try
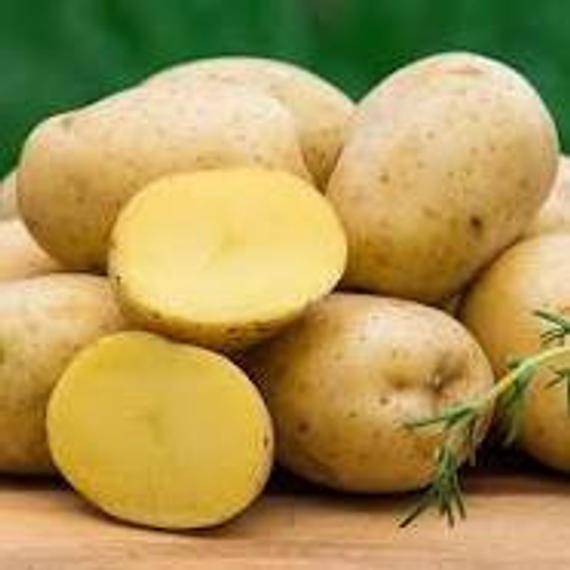
York Gold are tasty yellow potatoes that can be dug up new or for storage (6+ months). They're a classic option with smoother flesh than russet potatoes. Yukon gold are one of my personal favorites! They're delicious for smooth, creamy mashed potatoes
Yukon Gem is a similar disease-resistant variety.
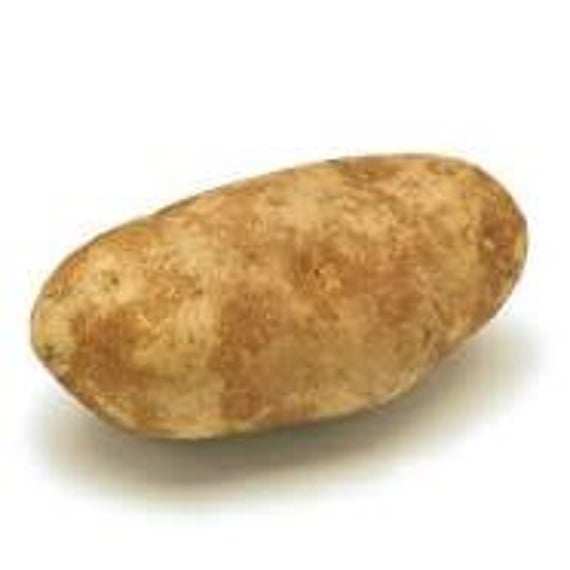
The russet Burbank is a white potato that's great for baking and fries. It's long-lasting in storage.

Red Pontiac potatoes have red skin white interiors. They are known for high yields and are good for storage. They're an excellent choice for home gardeners!

Fingerling potatoes are long, thin potatoes best eaten fresh for a delicious, gourmet taste.

The Adirondack Blue potato has blue skin and blue to purple flesh. Remarkably, it keeps its color when cooked!
These potatoes are much more beautiful in real life than this photo suggests.
With hundreds of varieties of potatoes out there to try, you have a ready-made excuse to grow potatoes in your garden every year!
And if you ever get tired of digging them all up, you can try growing in containers that just get dumped out at the end of the season. Either way, you’re likely to agree that freshly dug and cooked potatoes are the best!
How to Harvest Popular Herbs and Veggies
Are you not sure how to correctly harvest your herbs and vegetables? Or maybe you don't know what to do with your harvest bounty now that it's picked? Discover tips for how to harvest, cure, store, and use popular herbs and vegetables!
Are you harvesting basil the wrong way? Discover how to harvest basil for increased yields!
Are you afraid of killing your parsley? Discover how to harvest parsley without killing the plant and how to keep parsley fresh in your fridge!
Do you know when and how to harvest mint for the best flavor?
Turnips are quick and easy to grow vegetables you can grow in the spring and fall. Discover how to harvest and store these versatile veggies!
Harvesting squash can be intimidating. Learn how to tell when your butternut squash is ready to harvest.

Do you have a bumper crop of cherry tomatoes? Learn how to pick and preserve cherry tomatoes and drool-worthy cherry tomato varieties to try!

Discover how to pick your broccoli crowns and broccoli leaves with this guide to harvesting and preserving homegrown broccoli.