Although its cousin, the pumpkin, gets most of the attention, butternut is a favorite storage squash for many gardeners. The rich taste of it works equally well in sweet and savory dishes, and its thick skin helps it last months after being picked. Discover when to harvest butternut squash and how to store your butternut squash in this guide!
Butternut squash is a delightful crop that’s harvested as the weather starts to get cooler and the leaves turn.
If you’re growing them in your garden, one of the trickiest parts is knowing when to harvest butternut squash. Here’s how to know when your squash is ready, plus some harvesting and storing tips.
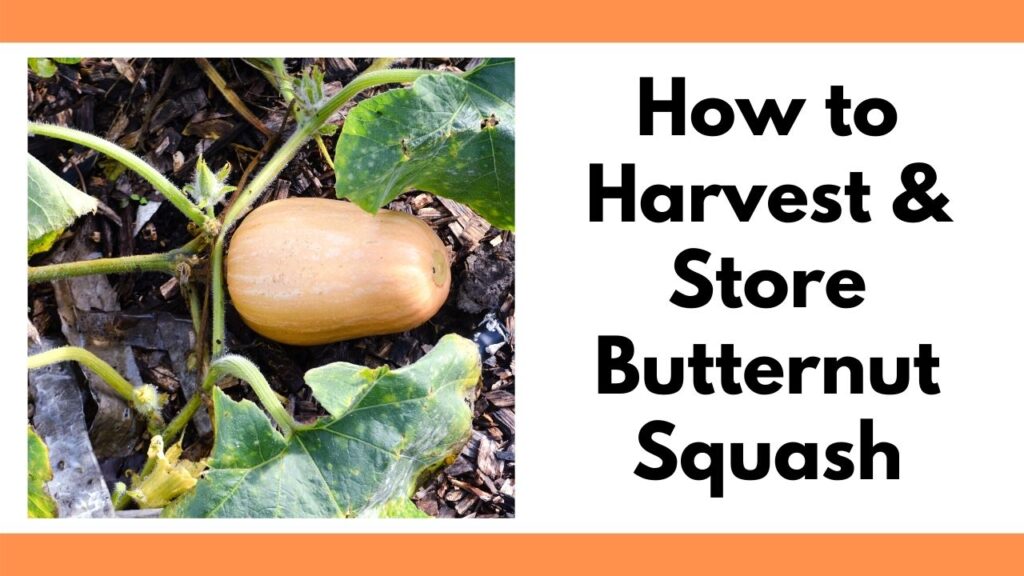
Table of Contents
How do you know when butternut squash is ripe?
This post includes affiliate links. If you make a purchase using one of these links, Together Time Family will receive a commission at no additional cost to you.
Harvesting at the right time is key for all winter squashes. Picking too early means the squash won’t be ripe and sweet inside, and leaving it on the vine too long could lead to rotten squash.
If you planted your butternut squash on time in the summer, it will most likely be ripe in late September or sometime in October.
All gardeners have their preferred method for deciding when to harvest their butternut squash, but it really comes down to three factors:
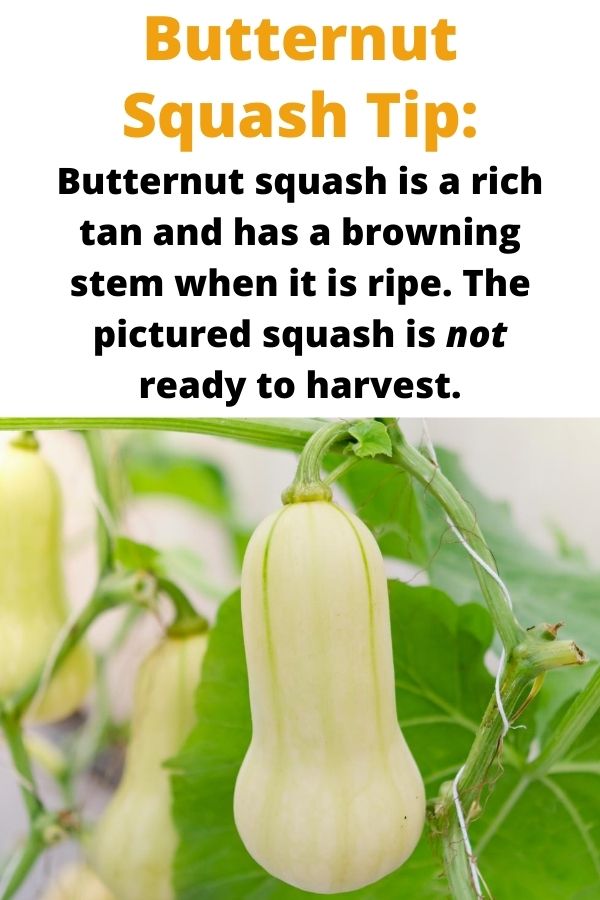
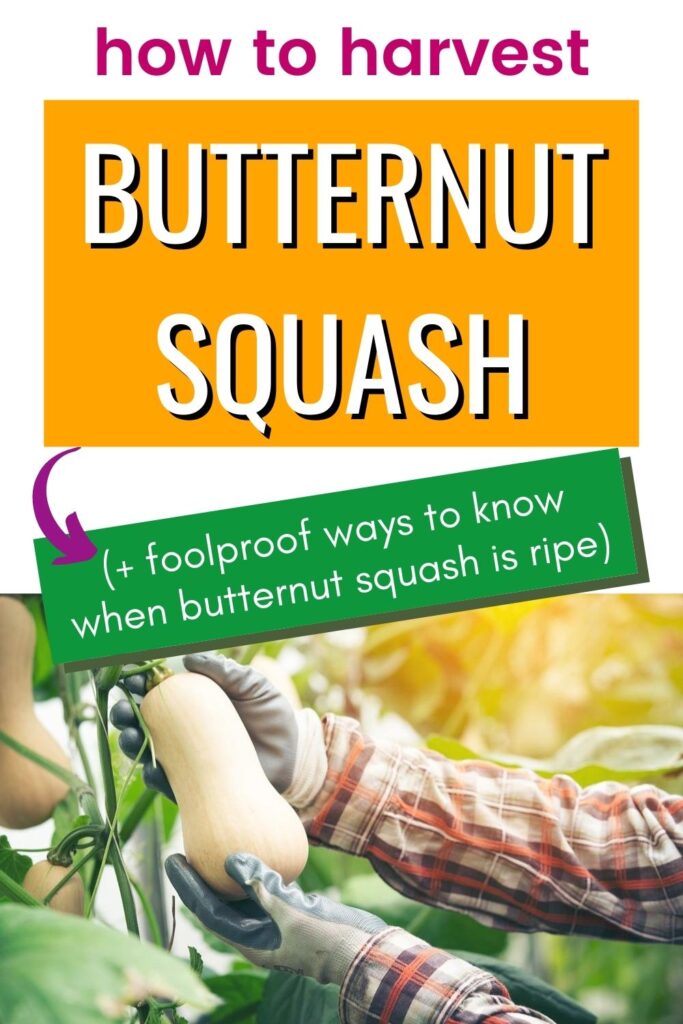
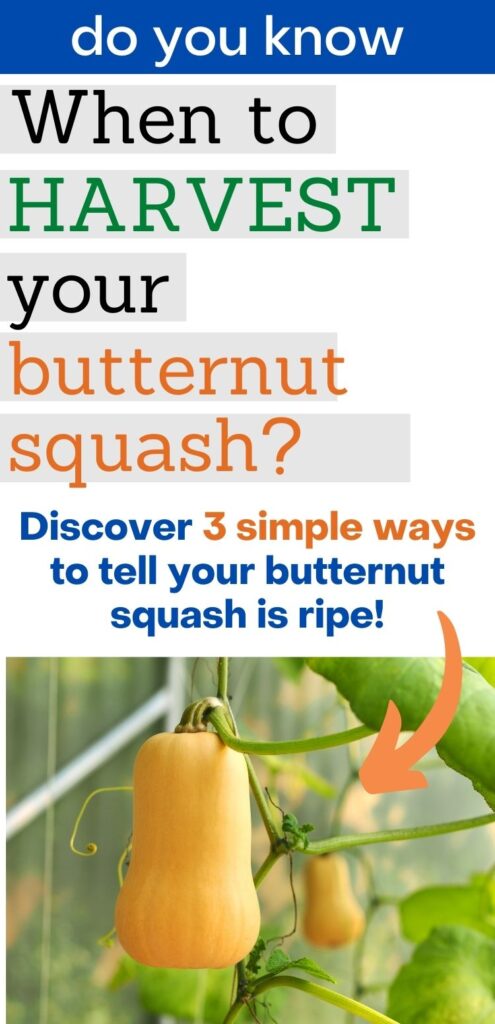
- Color and length– The mature size of butternut squash is 8-12” long, and fruits turn a deep tan color when ripe. Because growing conditions and variety affect how big your squash will be, color is a better judge of ripeness than a specific size. However, when the fruits stop growing longer, it’s not long until harvest time.
- Stem turning brown– If you look closely at your butternut squash fruits, you’ll see that each one is attached to the vine by a short stem. For most of the season this stem will be green, but it starts turning brown as the fruit ripens. Completely brown and dried-looking stems are another indicator of ripeness.
- Fingernail test– Perhaps the best method for knowing when to harvest butternut squash, this test involves trying to push your fingernail through the skin of a squash. If you can puncture the skin, it’s not ready. If the skin is hard and resists being punctured, it’s time to harvest!
Another popular trick to tell when to pick butternut squash is tapping on it. Ripe squash (and melons!) sound hollow when you tap on them.
Does butternut squash ripen off the vine?
Many fruits and vegetables will continue to ripen even after being picked, but this is not true of winter squashes, including butternut squash.
It’s better to leave your squash on the vine for longer than to pick it too early. Unless you have really rainy weather, fruits are not likely to rot on the vine for a long time. In fact, if left on the plants past ripeness, the skin on your squash will start to cure, making them better for storage.
There are two exceptions to this general rule:
- If you live in an area where squash bugs are a problem, they can become a major nuisance in the fall, eventually killing plants. This means your squash is no longer getting nutrients from the vine. Harvest them as soon as you think they’re ripe and immediately harvest any fruit off of plants that have been killed.
- This happened to us this year with a gourd plant. Green June Beetles destroyed the leaves and the vine was starting to rot. We had to harvest the gourds and bring them inside sooner than anticipated.
- Harvest the rest of your butternut squash crop before the first frost, whether they’re ripe or not. Plants and fruit will both be harmed by a frost, and it’s better to have underripe squash than lose your crop!
How to harvest butternut squash
Now that you know when to harvest butternut squash, tactually picking it should be easy.
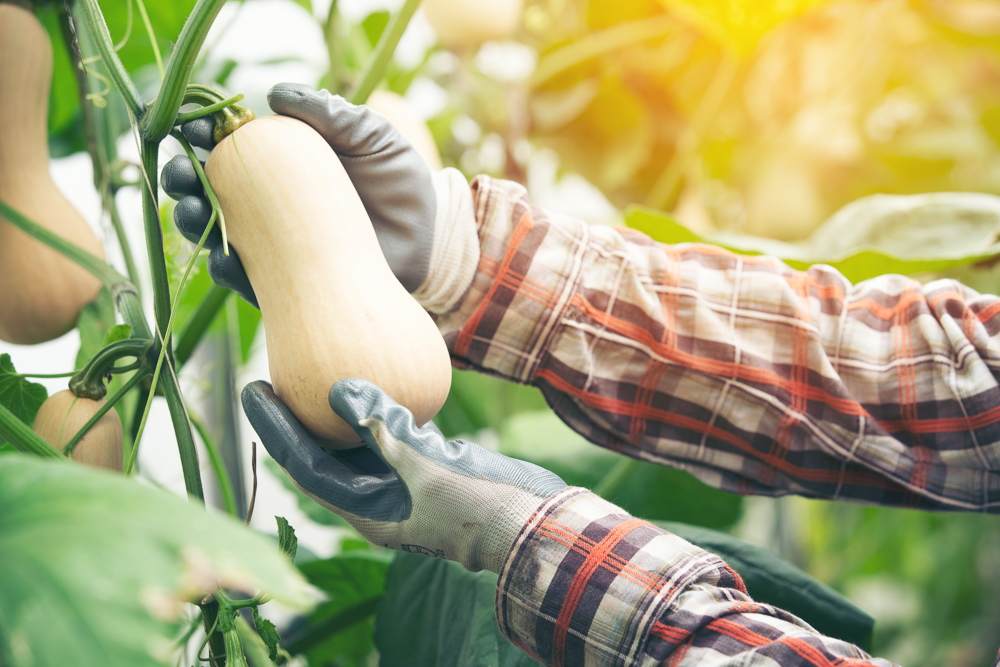
All you need is a small pair of pruning shears or sharp garden clippers and a harvest basket or container to put your harvest in. I also recommend a pair of cut resistant gardening gloves since you need to use heavy-duty clippers on squash vines.
Cut each ripe butternut squash off the vine with your shears, leaving an inch or two of stem on each fruit. Be sure you don’t puncture the skin or cut the stem too short because this invites in bacteria that will eventually cause your hard-earned crop to rot.
If you want to store your squash, sort through them after you harvest. Set aside any that have been punctured, bruised, or that are underripe. None of these will store well, but you can still cook with them!
Curing and storing butternut squash
If you were able to leave your squash on the vine for a week or two after it was ripe, you can skip this step. Otherwise, curing your squash after picking them is what will help them last in storage.
All you need to do is let your butternut squash harvest sit somewhere that’s about 80-85°F for 10-14 days. You can stack your squash to cure them, but make sure there’s good airflow all around.
Many gardeners choose to cure their squash in a protected area outdoors where it won’t get wet. You can also choose something like a shed or warm garage.
How to store winter squash
Once your squash harvest has cured, you can brush or wipe off any dirt that might be sticking to them (just keep them dry).
The ideal storage space for butternut squash is somewhere cool and dry with a temperature of 50-55°F. For most people this is a cool basement or a garage attached to the house.
Store your squash in a place of their own, especially avoiding storing them next to ripening fruits like apples or pears. Stack them on shelves or place in a container with holes so that they’ll get good ventilation.
Stored this way, your harvest should last for 2-3 months.
What to do with butternut squash
The good thing about butternut squash is that it lasts a while in storage so that you have time to figure out what to do with it!
How to roast whole butternut squash
One of the easiest ways to cook it is by baking or roasting it whole. This is an easy way to get butternut squash puree for recipes or to freeze for later.
- Preheat your oven to 425°F.
- Place a whole squash in a glass baking dish or on a sturdy cookie sheet with sides (squash can get juicy while baking). I always use my Volrath sheet pan. I like to place a silicone baking mat on top of the tray to prevent direct contact with the aluminum. Not sure why? Check out this post on my “other” blog about aluminum foil alternatives and why you should consider them.
- Poke some holes in your squash with a knife or fork and bake it in your preheated oven for an hour to an hour and a half depending on size.
- When a fork or knife slides easily into the squash and the skin is brown and bubbly, it’s done!
Once your squash cools, you can easily peel off the skin and cut it in half to scoop out the seeds. Use the roasted squash in soups, casseroles, sweet dishes, etc. Or blend it to a puree and store in your freezer.
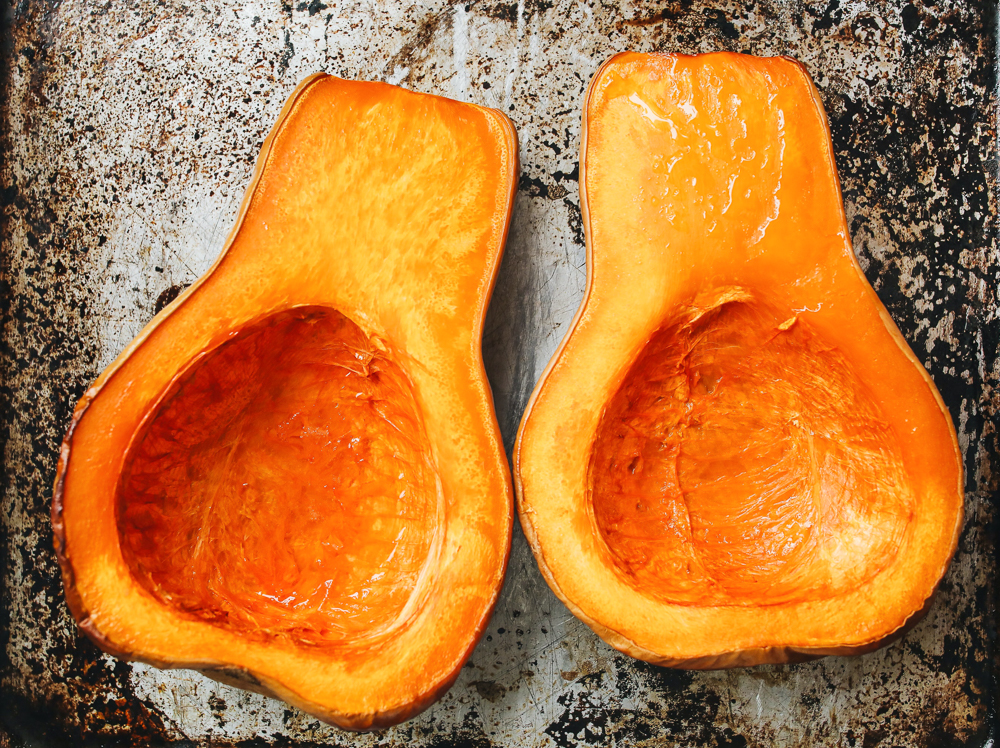
Butternut squash can also be halved, then roasted. Scoop out the seeds, brush the cut surfaces with olive oil, and sprinkle with salt and pepper.
For interesting garden recipes, check out a plant-oriented recipe book like Love and Lemons Every Day. It has a recipe for creamy butternut squash “queso!”
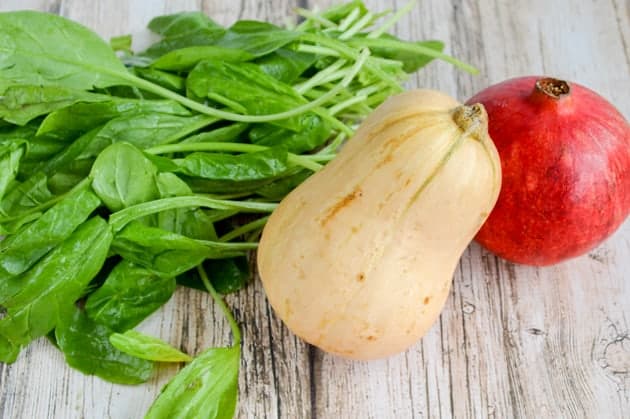
If you want to cube your butternut squash, it can be used in a variety of delightful and creative ways. For example, I used to love making a roasted butternut squash spinach salad with pomegranate seeds.
Roasted Butternut Squash Salad with Pomegranate Seeds
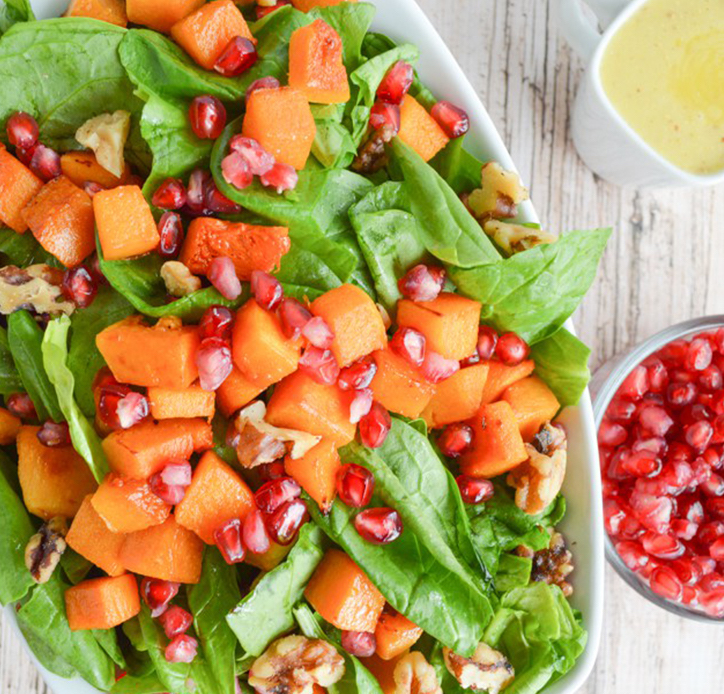
This spinach and roasted butternut squash salad features pomegranate seeds and a homemade vinaigrette!
Ingredients
For the salad
- 3-4 cups of washed spinach leaves
- 1/3 cup of walnuts, roughly chopped
- 1/4 cup pomegranate seeds
- 1 1/2 - 2 cups of butternut squash, peeled, seeded, and cubed into 1/2" - 3/4" chunks
- 1 tablespoon extra virgin olive oil
- 1 tablespoon real maple syrup
For the dressing
- 1/4 cup EVOO
- 1 tablespoon apple cider vinegar (I recommend "real" vinegar like Braggs)
- 1 teaspoon minced garlic
- 1 teaspoon raw honey, or to tase
- 1 teaspoon whole grain mustard
- 1/4 teaspoon salt, or to taste
- A pinch of cinnamon
Instructions
For the salad
- Preheat your oven to 400º Fahrenheit.
- Once the oven has heated, combine the squash cubes, 1 tablespoon of olive oil, and maple syrup in a bowl and toss to coat the squash. If some of the cubes look dry, add a little more oil.
- Spread the squash out on a heavy duty baking sheet and roast them on the oven's middle rack for 10 minutes. Use tongs or a spatula to flip the cubes and then roast until they are tender, but not falling apart, and starting to caramelize, 10-15 minutes longer.
- Once the squash is ready, place the spinach leaves in a salad bowl and layer the squash, walnuts, and pomegranate seeds on top. The whole salad can be refrigerated until you're ready to serve it, or you can eat it now with the squash still warm.
For the dressing
- Combine the 1/4 cup of olive oil, garlic, honey, mustard, and salt, and cinnamon in a food processor or blender. Puree to thoroughly mix ingredients.
- Do a taste test and adjust to suit your palate. If it's too sweet, add more vinegar. Too tangy? Add more honey!
- Store the dressing in an air tight container in the fridge until you're ready to use it. If it has been refrigerated for several hours or longer, you may need to let it come to room temperature (so the olive oil can melt) and shake it to recombine the ingredients. Ours stayed pretty well blended, so we just poured it on!
- When you're ready to eat the salad, dress it and serve.
Notes
Here's a hack for getting the seeds out of your pomegranate without making a mess.
Fill a medium bowl with water. Roll your pomegranate to loosen the seeds, then cut it in half. Submerge the pomegranate underwater and push the seeds out. You can use a spoon or your hands to help them along. The pith (the white parts) and seeds will float! Separate the pith and skim the seeds off the water's surface or dump the water into a colander.
Recommended Products
As an Amazon Associate and member of other affiliate programs, I earn from qualifying purchases.
Once you try a few recipes with butternut squash and experience the joy of pulling one out of storage in mid-winter, you’ll be growing it every year!
Herb and Vegetable Harvest Tips
Not sure when your vegetables are ready to pick? Or how to harvest your herbs without killing the plant? Discover these herb and vegetable harvesting guides!
How to Harvest Basil (Must-know tip for an abundant harvest!)
One basil plant can provide enough basil for your entire year...if you know how to harvest it correctly.
Bitter Lettuce: What to Do About it & How to Prevent it
Are you plagued by bitter lettuce? Discover what to do about bitter lettuce, how to prevent it, and how to make your lettuce less bitter.
How to Harvest Parsley (without killing the plant)
Are you picking your parsley the wrong way? Learn how to harvest parsley without killing the plant so it will continue producing!
How to Harvest Mint (and what to do with lots of mint)
Mint is a garden favorite. Learn how to harvest this vigorous grower to keep it under control and discover tips for what to do with lots of mint.
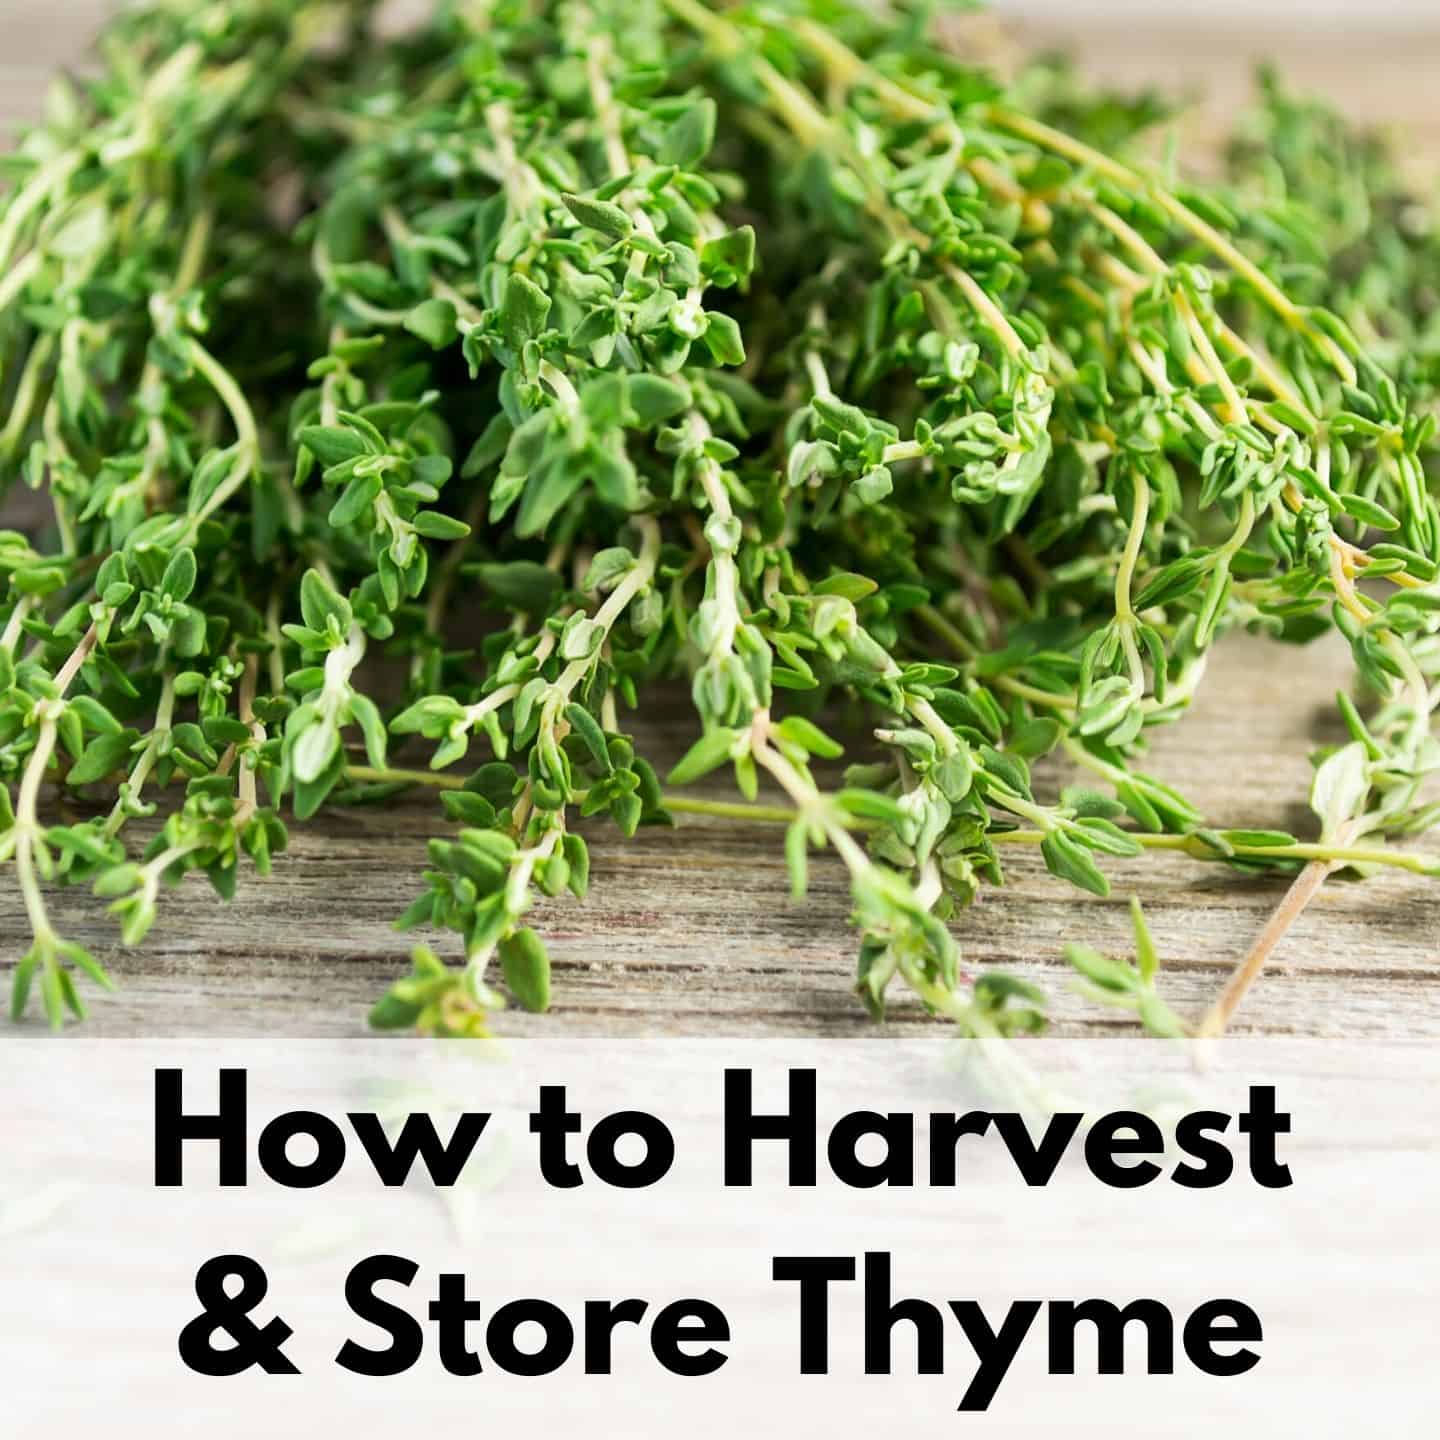
How to Harvest Thyme: tips for picking thyme & preserving your harvest
Learn how to harvest and store thyme in this compete guide.
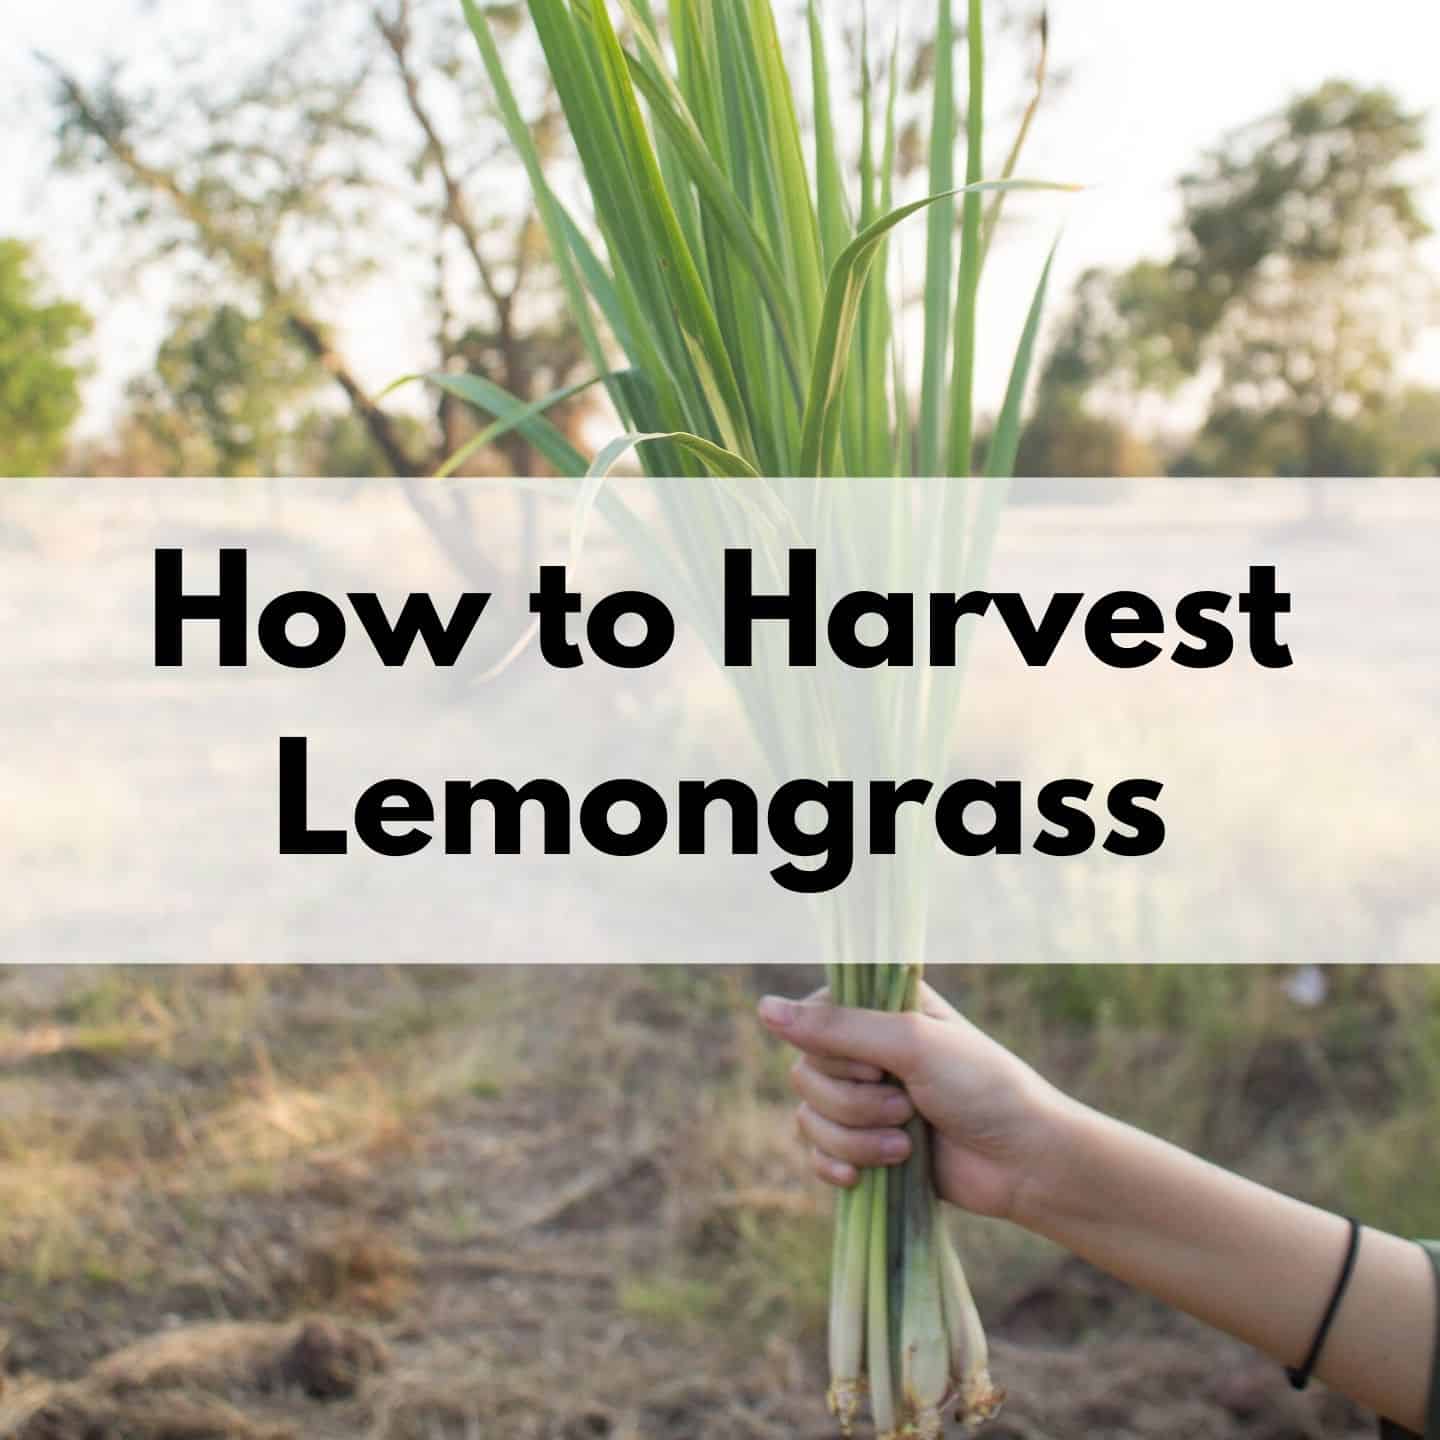
How to Harvest Lemongrass
Lemongrass is easy to grow, pest-repellant, and delicious in food or as a lemony tea. Discover how to grow this fantastic scented grass in your garden!
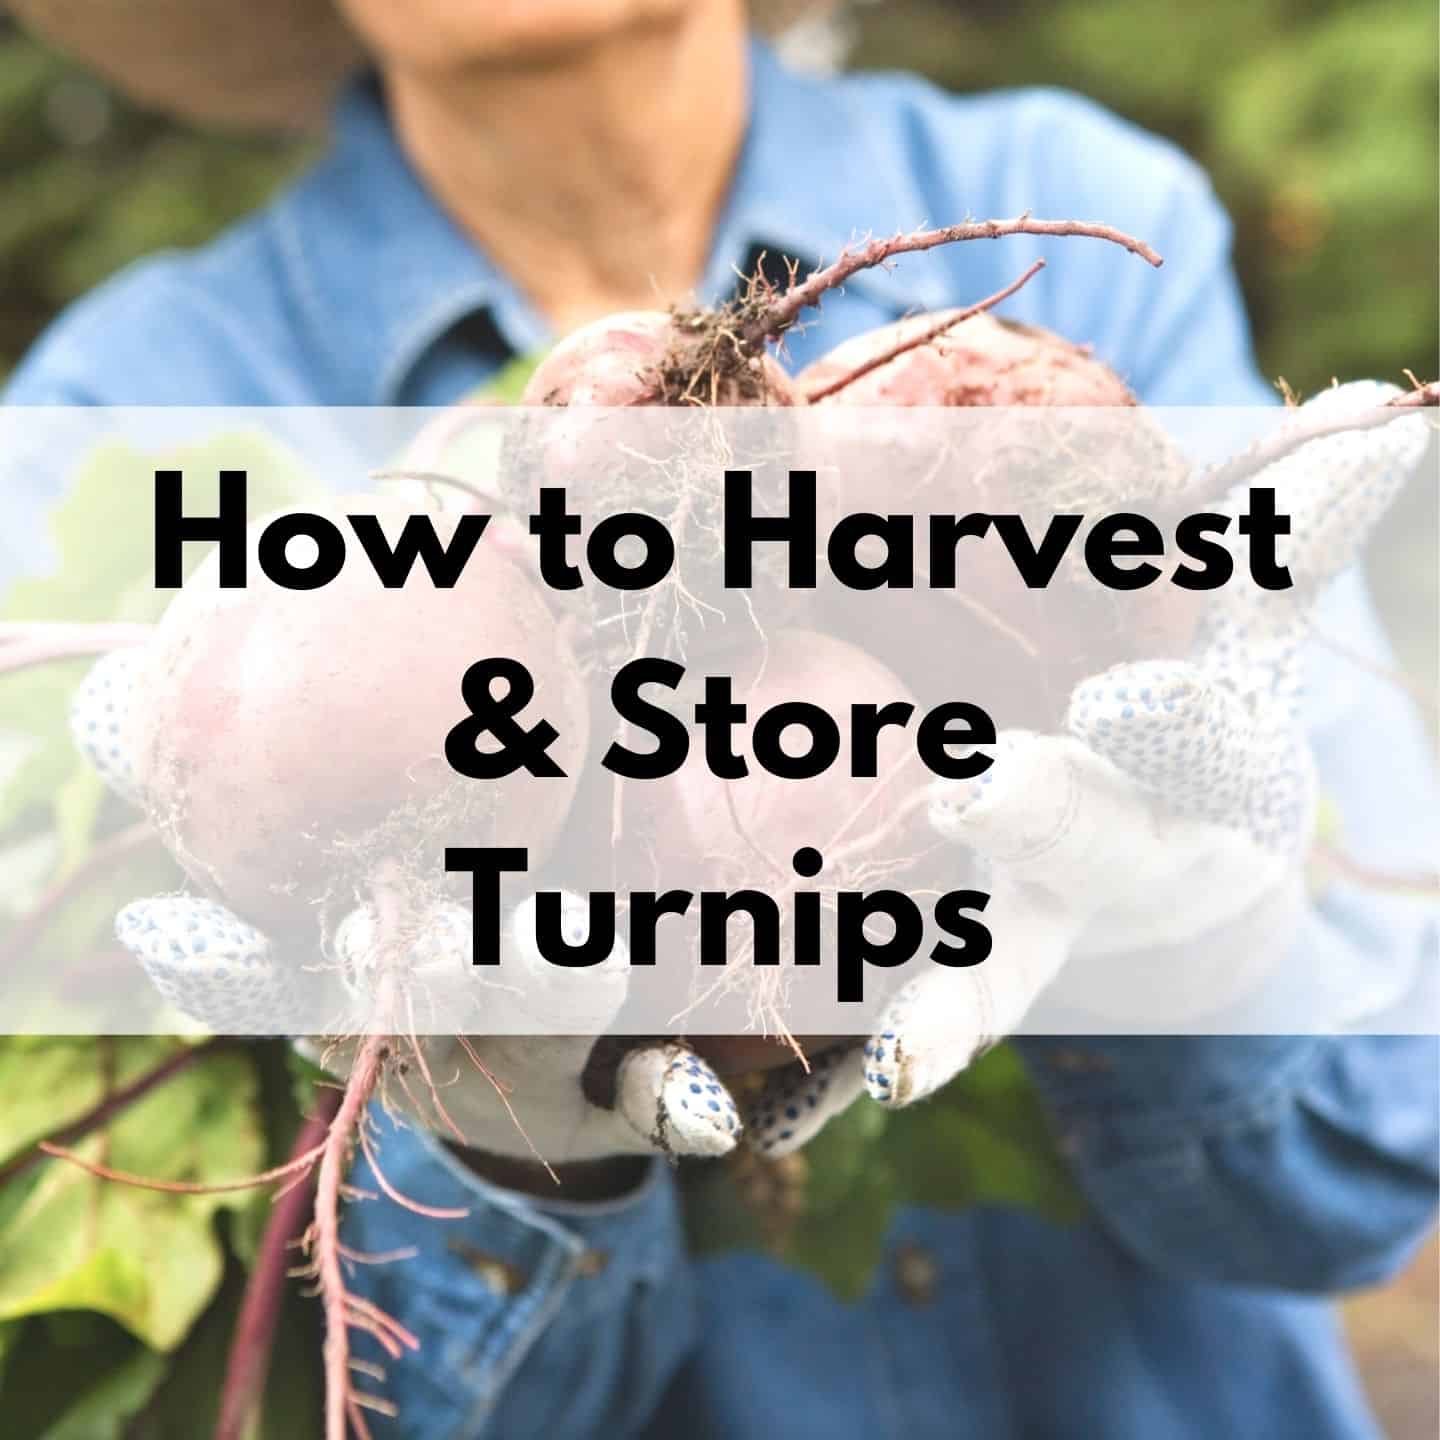
How to Harvest and Store Turnips: Quick & Easy to Grow Veggies for Spring & Fall
Turnips are fast growing vegetables that can be grown in spring and fall. Learn how to harvest and store your turnips and turnip greens!
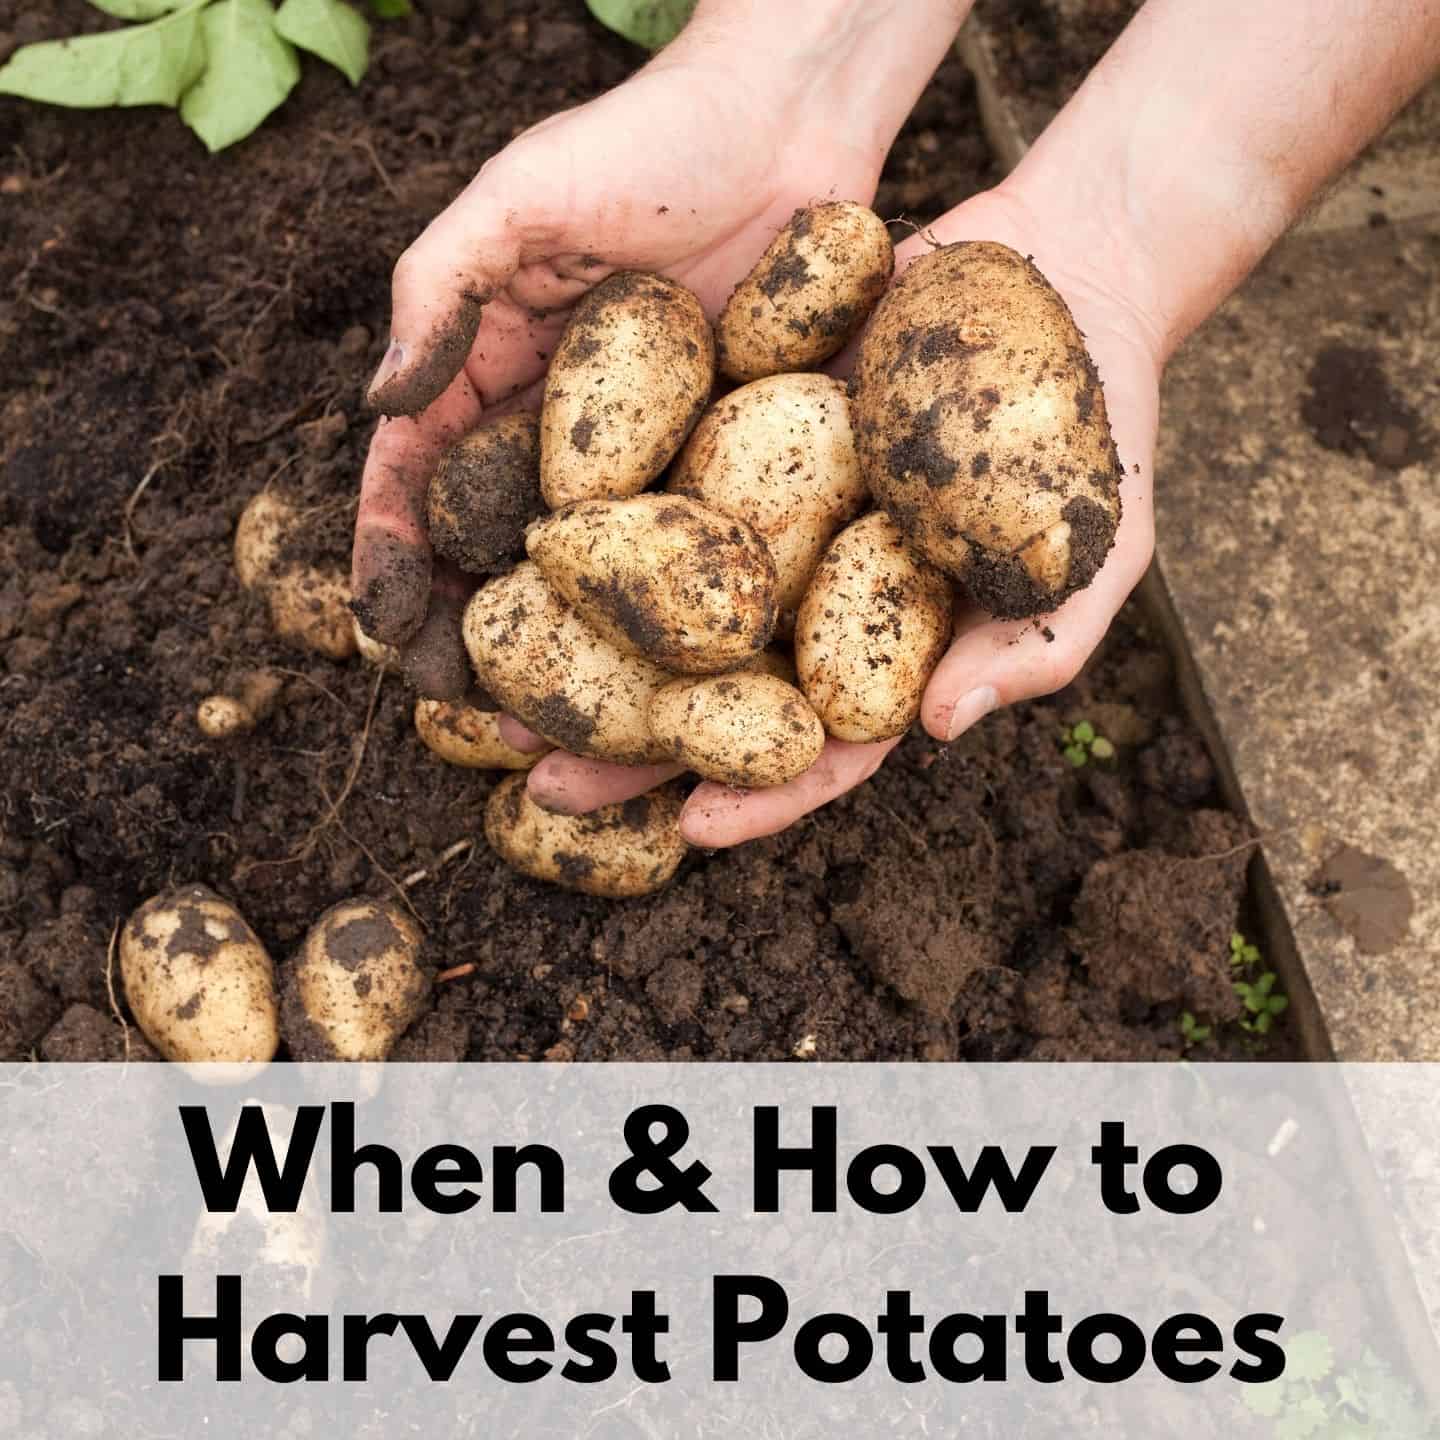
When to Harvest Potatoes
It can be hard to know when potatoes are ready to harvest. Discover these potato harvesting tips!
How and When to Harvest Broccoli (are you making a common broccoli picking mistake?)
Are you making a common broccoli harvest mistake that can put your plants at risk? Learn how to harvest and store broccoli the right way!
How to Plant and Grow Radish from Seed: a fast-growing crop you can grow in containers
Radish is one of the fastest-growing vegetables. Learn how to plant and grow radish from seed so you can enjoy fresh vegetables in under a month!
Natasha Garcia-Lopez is an avoid home-gardener and proud owner of 88 acres of land in rural West Virginia. She was a member of the Association for Living History Farms and Agricultural Museums for many years and is currently enrolled in the Oregon State University Master Gardner Short Course program so she can better assist you with your gardening questions.She holds a certificate in natural skincare from the School of Natural Skincare.





Thank you for your timely advice! I found your article on butternut squash on Pinterest, just in time. My squash plant was a compost pile volunteer. I had no idea when to harvest it, and was tempted to get the shears already.
Yay for compost volunteers! Squash and tomatoes are famous for sprouting in compost piles.
Really helpful squash article. I assume you are aware of the toxic dangers of using aluminum for cooking? Be well.
Yes! Thank you for your concern! I actually use a silicone baking mat on top of my aluminum pan. I personally never cook, or store, food in aluminum foil. Looking at the post, I see I forgot to include that. I need to update!