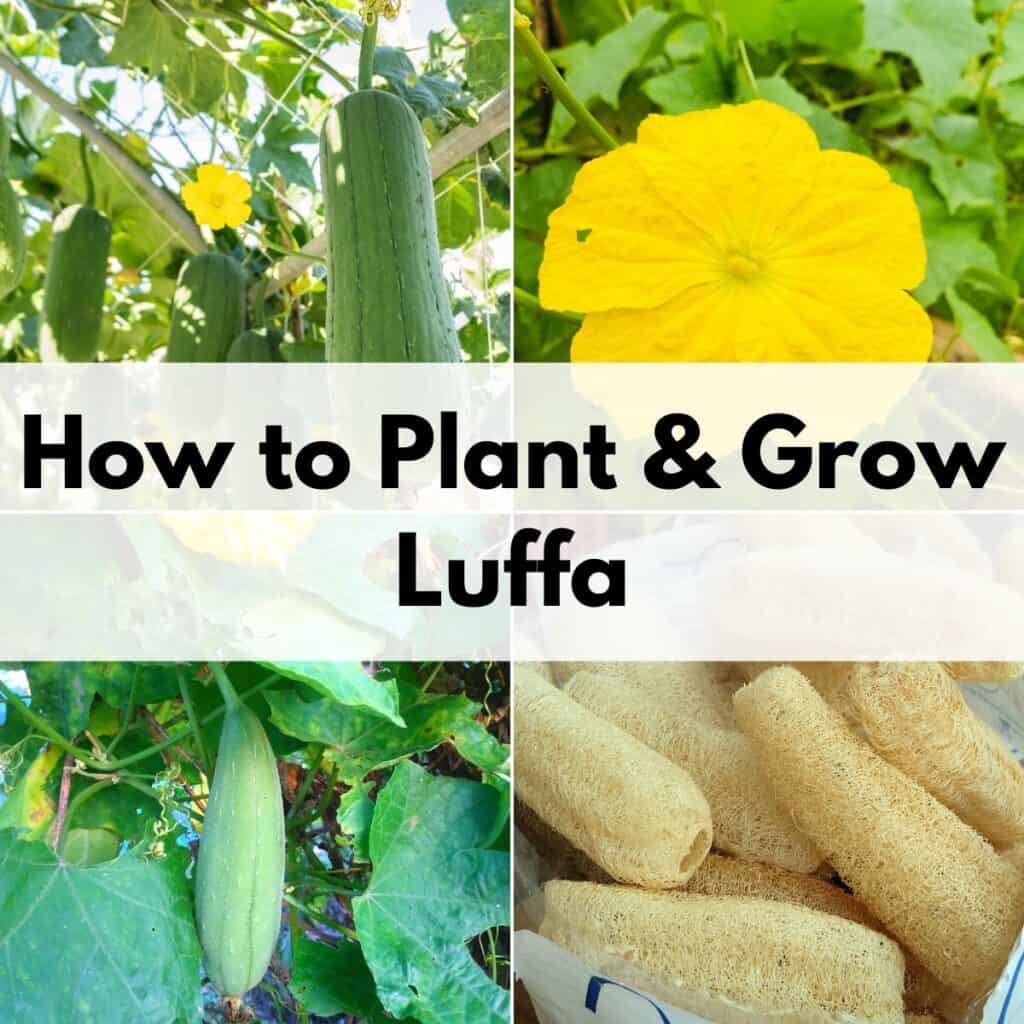
Have you ever wondered where luffa sponges come from? There’s been a common misconception over the years that this popular type of sponge comes from the ocean, but it actually grows on a plant in the squash family.
This means that if you have the right growing conditions, you can grow your own sponges right in your backyard!
Here’s more on the specific requirements the luffa plant has and how to plant and grow luffa at home to make your own biodegradable sponges.
This post includes affiliate links, which means I may earn a commission on purchases made at no additional cost to you.
Table of Contents
Luffa Growing Information
Luffa (Luffa aegyptiaca) is a gourd. This makes it closely related to summer and winter squash, cucumbers, and melons.
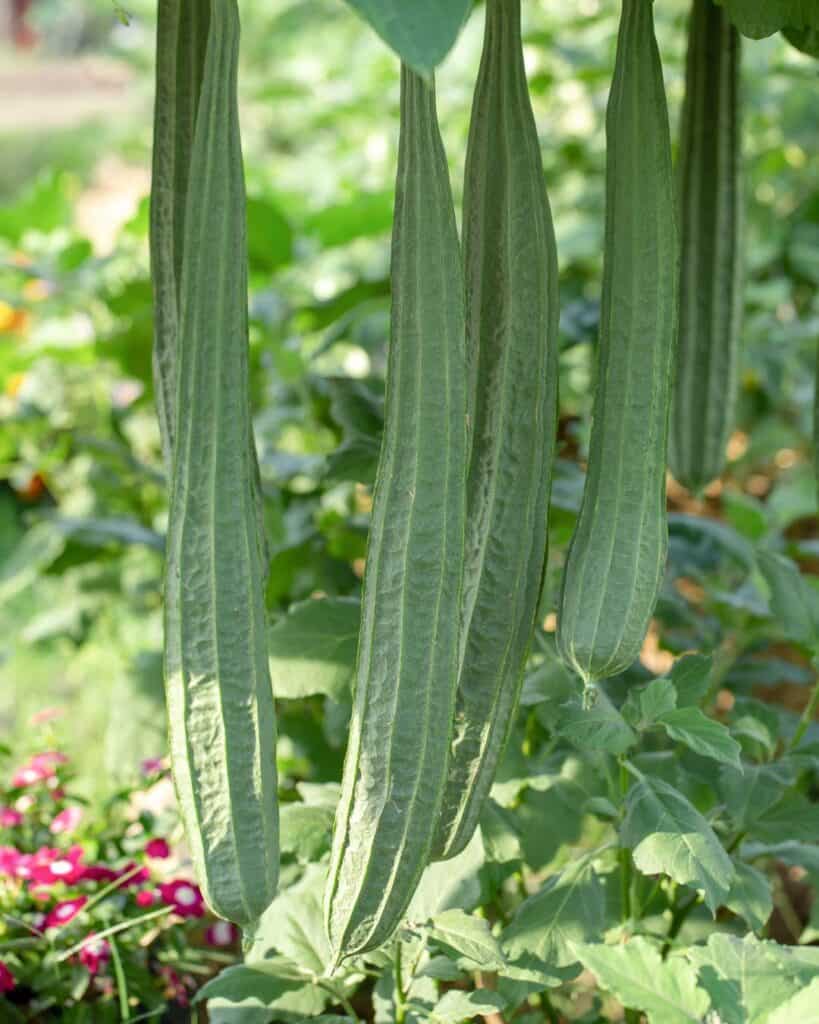
Luffa vines can get up to 30’ long in a single season and produces luffa fruit that gets up to 30” long.
Luffa (also spelled loofah) plants need quite a bit of space in the garden. They can take up a smaller area by being grown vertically on a trellis. However, you will still need to plan where to put them so they don’t shade out any nearby plants.
Apart from needing a decent amount of space, the biggest growing requirement for luffa is a long, warm season with an early last frost date and later first frost date.
Luffa takes 2-3 months to start producing fruit and needs another 1-2 months for the fruit to dry on the vine so it can be made into your own luffa sponges. That makes a total of around 150-200 frost-free growing days, which not all gardeners have.
Fortunately, if you have a shorter growing season, you can start your plants early indoors (or buy seedlings at a nursery) to get a head start.
Be aware that luffa will struggle to grow in cold and damp climates. It will be more prone to downy mildew and less likely to produce mature luffa gourds.
Starting Luffa Plants from Seed
The first step of learning how to plant and grow luffa is deciding whether you should start your seeds indoors or outdoors.
If you know a nearby nursery that sells luffa seedlings, you also have the option to simply buy them at planting time.
Gardeners in USDA zone 6 and below may do best to start their seeds indoors.
If you are in zone 7 or above, you can start your seeds either indoors or outdoors, depending on your preference.
I personally prefer to direct seed members of the cucumber family whenever possible. They quickly develop large roots that are easy to damage during transplanting.
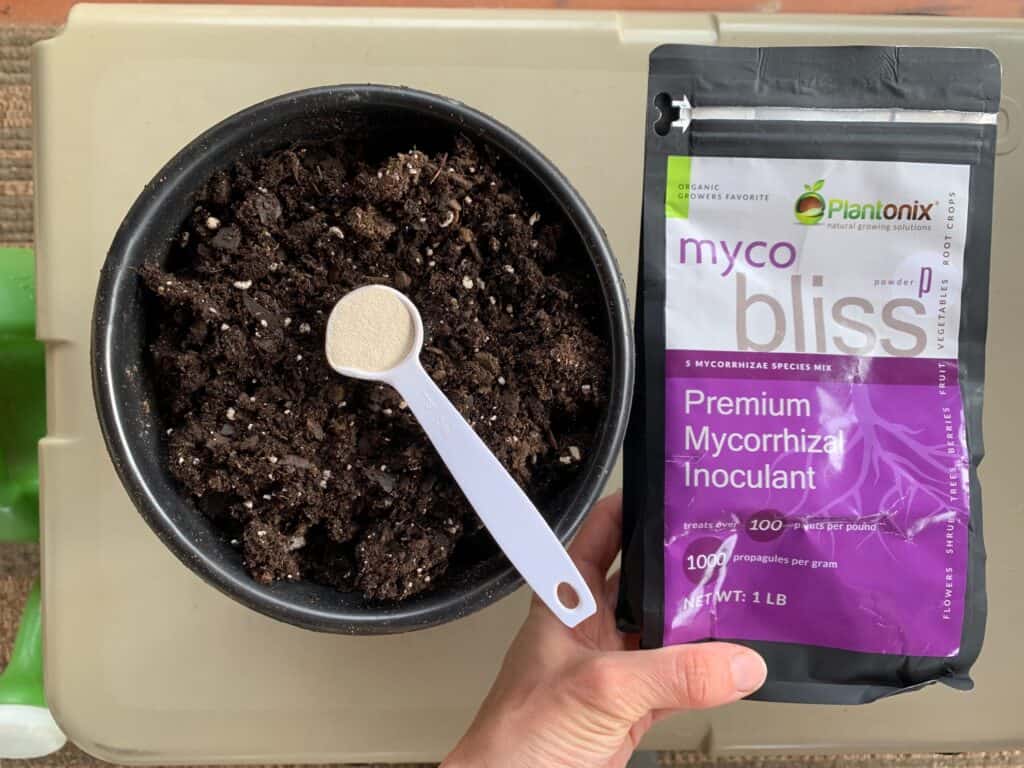
Whether you start indoors or outdoors, inoculate your seeds with beneficial fungi for best results. Mycorrhizal fungi has been demonstrated to produce healthier plants with larger yields while using less water. Cool!
To start seeds indoors, get them going 4-6 weeks before you plan to transplant your seedlings outside. Because luffa tends to be sensitive to the transplanting process, it’s best to use biodegradable pots that can be planted straight in the ground later.
Fill your pots with a damp seed starting mix. To improve germination, soak the seeds in warm water overnight. Then, plant them about ½” deep, one per pot.
Take your seeded pots somewhere warm to germinate. If there isn’t a warm spot in your house, use a heating mat underneath the pots to raise soil temperatures. Keep the soil moist throughout the germination period, and your seeds should sprout in 7-14 days.
Give your seedlings plenty of light as they grow. Using grow lights for 14-16 hours a day is a great option, and a heated, sunny greenhouse is even better. Regularly water them before the soil dries out.
When the weather is warm and settled, harden off your seedlings and take them out to your garden.
If you want to go the route of directly seeding your luffa, read more about how to do that in the planting section below.
How to Plant and Grow Luffa
When and Where to Plant
Luffa is sensitive to frost and cold weather, so only plant it in your garden after all danger of frost has passed in the spring and the soil has warmed to at least 65-70°F.
In colder areas, you can use black plastic or fabric and/or raised beds to help the soil warm more quickly.
Choose a spot for your luffa that gets full sun— the more, the better. Well-drained, fertile soil is ideal, since gourds don’t like wet feet and luffa will need a lot of nutrients over its long growing season.
To add nutrients and improve drainage, mix in a good amount of compost or well-rotted manure to your soil before planting.
Planting Tips + Directly Sowing Seeds
Be gentle with their roots to avoid transplant shock. Also, make sure you have properly hardened them off over a 1-2 week period so they are acclimated to weather outdoors.
If you started seeds in biodegradable pots, carefully tear the pot open and place the entire pot in the ground.
Space the seedlings at least 3-4’ apart, even if you are planning to use a trellis.
To directly sow seeds in the ground, plant them at a depth of ½” in soil that has been prepared.
You may want to plant more than one seed in each section to improve chances of germination. Make sure to add your beneficial fungi at the time of planting for best results.
Mark where your seeds are, water the area well, and keep it damp until the seeds germinate. When your seedlings have sprouted, thin them to one plant every 3-4’.
Putting in a Trellis
Using a sturdy trellis is an important part of growing uffa successfully.
You can grow the plants along the ground, but the fruit will be healthier and straighter if the vines are going vertically up a trellis.
There isn’t one specific trellis that is better for loofah than another, but whatever you choose must be sturdy.
One option is to use an A-frame or arch trellis that allows your plants to grow up one side and down the other. This should result in most of the fruits handing down in the middle of the trellis.
You can also grow your luffa next to a sturdy fence or use posts with mesh, netting, wires, etc. strung across them.
Make sure your trellis has thin grips so that the tendrils of the plant can curl around them.
Luffa Plant Care
Aside from training the vines up your trellis, loofah plants are fairly low maintenance.
You will want to make sure they get about an inch of water a week, which means supplementing during dry periods. Aim to water them deeply once or twice a week, and avoid getting the leaves wet.
Weed regularly and use a nitrogen-rich liquid fertilizer every 2-3 weeks while your plants are growing. You can switch to a balanced fertilizer when flowers and fruit appear.
I prefer to use a natural, organic fertilizer like Neptune’s Harvest.
If you have a shorter growing season and want to encourage the fruit to develop more quickly, limit each plant to 5-6 fruits and prune the vine off right after the last fruit (or when it’s about 10’ long). This makes it send all its energy into the remaining fruits.
Common Luffa Plant Pests and Problems
Luffa plants are most susceptible to fungal diseases like powdery or downy mildew as well as pests like cucumber beetles.
Mildew is most likely to happen in damp and humid conditions, particularly when the leaves are wet for long periods of time. The best way to avoid this disease is to space your plants properly to allow for plenty of airflow and give them well-drained soil.
According to permaculture expert Matt Powers, using EM-1 can boost your plants’ health and help them fight off mildew.
With the microbes and nutrients in EM-1, your plants can have complete lipid synthesis and create a waxy barrier on their leaves. Mildew cannot break through the barrier to feed on the plant so it’s unable to take hold.
EM is a little pricey to purchase, but you can use it to make your own “extension” brew with just molasses, water, and a pinch of salt. This means you can buy it once, then make your own.
In the home garden, insects like cucumber beetles can usually be controlled by handpicking them and dropping them in soapy water (or squashing them).
Grow your luffa under row covers until they start to flower to avoid pests early in the season.
When and How to Harvest Luffa
Timing your harvest is important. Ideally, the fruit needs to dry fully on the vine before you pick it.
Start keeping an eye on your luffa after it begins to change from green to yellow. This is usually at least 3-4 months after planting.
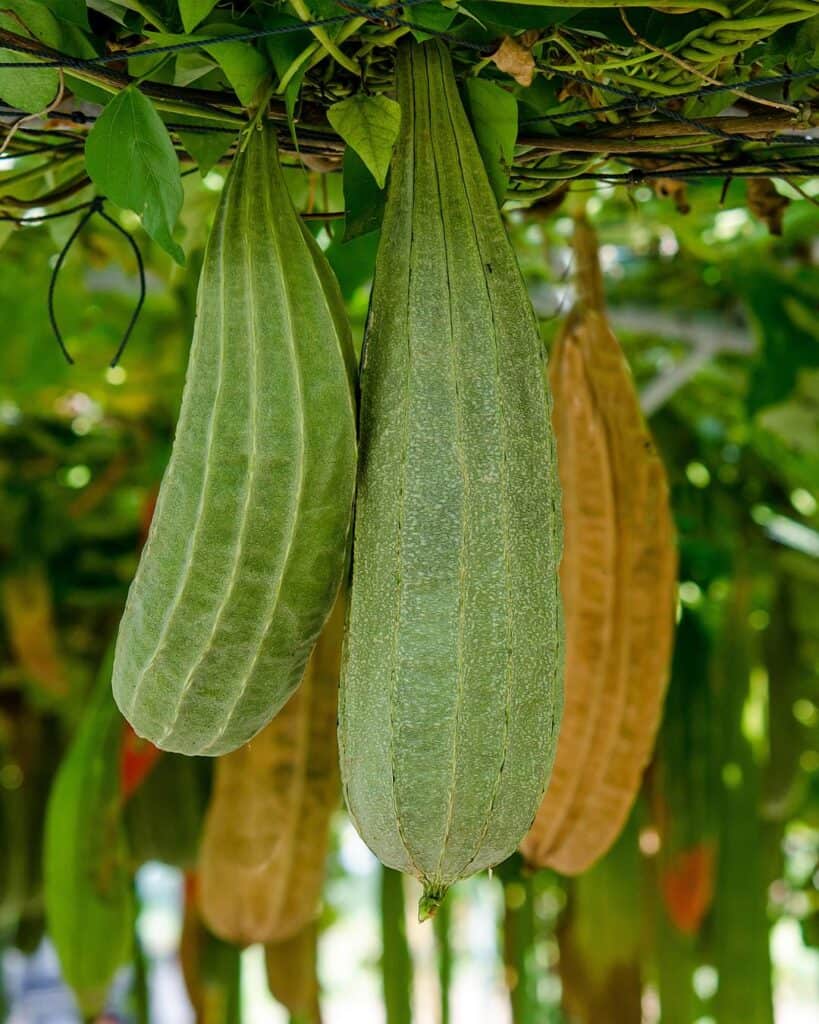
Check the fruit every few days, watching for the skin to become tan and fully dry to the touch. The fruit should feel light when you pick it up and the seeds should rattle inside.
When they reach this stage, harvest the fruit by cutting each one off the vine.
If you can’t leave your luffa to fully dry on the vine because a frost is coming, harvest any fruit that is close to being mature and hang them up indoors to finish drying.
Turning Your Luffa Into a Sponge
After harvesting the fruit, remove the skin. It should peel easily away if it’s fully dry.
Then, cut off each end of the fruit and shake out the seeds.
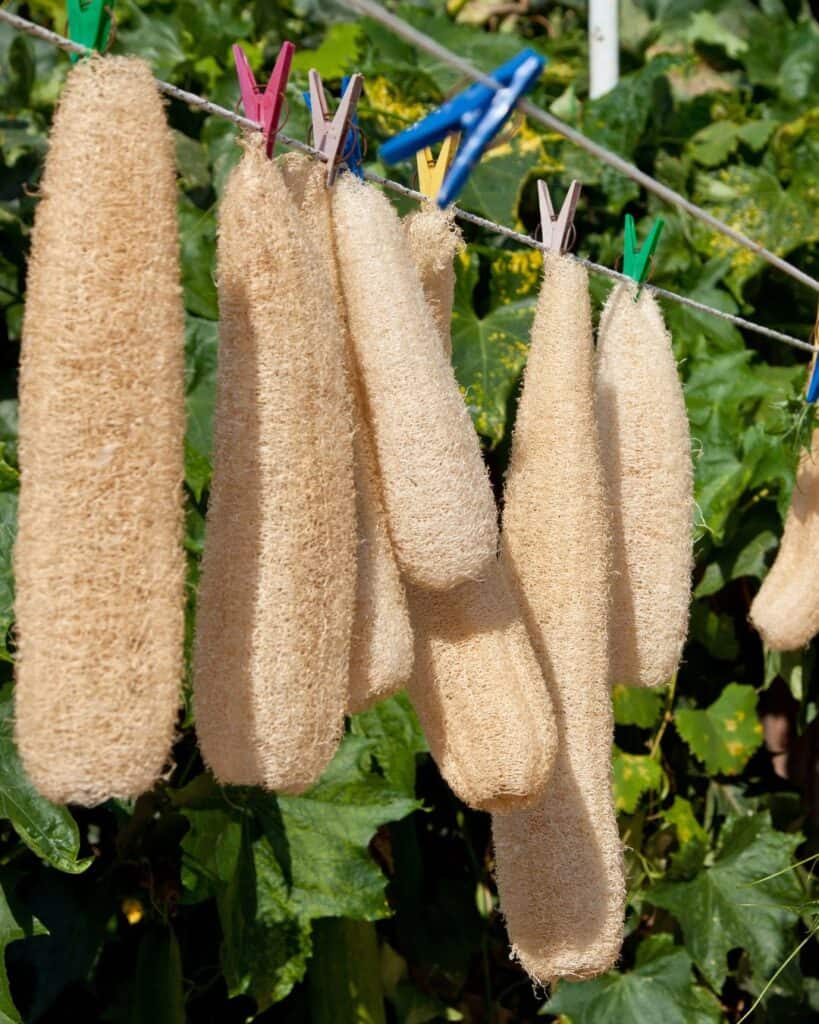
Rinse your luffa thoroughly to get rid of any debris and hang them in a warm place to dry.
As an extra step before drying them, you can soak each luffa in a 10% bleach solution to kill pathogens and help them last longer.
Once they are dry, cut your luffa into sponge-sized pieces for a homegrown, natural scrubber!
Popular summer vegetables and herbs
Discover how to grow popular vegetables and herbs in your backyard garden or container garden with these in-depth vegetable growing guides.
7 Easiest Vegetables to Grow for an Abundant Harvest (and 5 to avoid!)
Discover the easiest vegetables to grow for beginners so you can have a healthy, successful garden.
Discover these must-know tips for planting yellow squash and common squash growing mistakes and problems.
How to Pick and Preserve Cherry Tomatoes (plus drool-worthy cherry tomato varieties to try)
Discover how to pick and preserve delicious cherry tomatoes.
Must-Know Zucchini Companion Plants (and 5 plants to avoid)
Zucchini are a summer garden must-have. Learn how to companion plant them for a healthier, more productive garden.
How to Harvest Basil (Must-know tip for an abundant harvest!)
One basil plant can provide you enough for fresh eating and drying for homegrown basil all winter long when you discover how to harvest basil the correct way.
How to Harvest Parsley (without killing the plant)
One parsley plant can provide you with an ample harvest all season long...if you know how to pick it the correct way. Discover how to harvest parsley with this comprehensive guide and video!
Harvesting Tomatoes - How and When to Pick your Tomatoes
Discover how to harvest tomatoes and how to tell when they're ready to pick - even heirloom varieties with different colors.
Natasha Garcia-Lopez is an avoid home-gardener and proud owner of 88 acres of land in rural West Virginia. She was a member of the Association for Living History Farms and Agricultural Museums for many years and is currently enrolled in the Oregon State University Master Gardner Short Course program so she can better assist you with your gardening questions.She holds a certificate in natural skincare from the School of Natural Skincare.







Leave a Reply