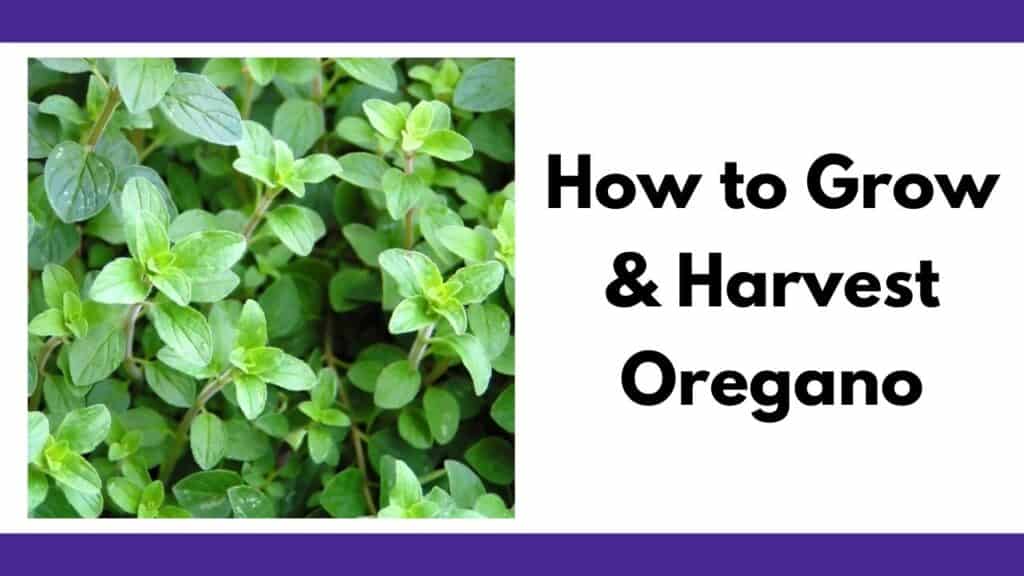
Oregano is a very popular herb that flavors the food of many different cuisines. If you enjoy cooking Italian, Greek, or Spanish food, this herb is a must to have on hand.
The good news is that oregano is very easy to grow and will return to your garden year after year with just a little care. You can grow it in pots or in the ground to have it fresh and also harvest a large amount in the summer to dry for later. Oregano is one of the easiest plants to grow. Try it and you’ll wonder why you never grew your own oregano before!
Keep reading to discover everything you need to know about how to plant, grow, and harvest oregano successfully.
This post includes affiliate links. If you make a purchase using one of these links, Together Time Family will receive a commission at no additional cost to you.
Table of Contents
A Quick Look at Growing Oregano
Oregano (Origanum spp.) is a Mediterranean herb, which means it favors hot, dry, and sunny conditions. In spite of this, it adapts well to a wide variety of growing conditions, although it will never thrive in overly damp areas.
If you garden somewhere in the range of USDA zones 5-9, oregano will be a perennial for you. This means you can plant once and enjoy a harvest for several years. Gardeners in colder zones can still grow this herb as an annual or plant it in containers that can be brought inside during the winter.
Some varieties of oregano are more cold tolerant and can be successfully grown as a perennial in zone 4 with a little extra protection through the winter.
Oregano is mostly grown for its leaves that are typically oval and medium to dark green. Oregano also has edible flowers that bees and other pollinators adore when they start to bloom. Plants can grow up to 2’ tall and form a nice ground cover.
Some oregano varieties are grown for their ground cover abilities. For more information ground cover for your yard that isn’t grass, be sure to read the book Covering Ground. The author specifically recommends the variety “Aureum” for its short stature and lovely leaves.
The flavor of oregano is very pungent and somewhat spicy, although the flowers are milder than the leaves. Hailing from the mint family, some cultivars of oregano even have hints of peppermint.
If you decide to check out the essential oil planner linked above, you’ll be taken to a page on my printables blog. I don’t want you confused and wondering what happened to the gardening blog you were reading when you see the url!
Types of oregano
Whether you want the traditional, bold flavor or are interested in branching out to a more decorative plant, there’s an oregano out there for you!
Here’s a look at some of the best options:
- Greek Oregano (Origanum vulgare subsp. hirtum)– The most pungently flavored variety, sometimes called ‘true oregano.’
- Italian Oregano (O. vulgare)– Slightly larger leaves and a milder, sweeter flavor than Greek oregano.
- ‘Aureum’– Known as golden oregano because of its yellow-gold leaves. Often grown ornamentally but still edible.
- ‘Variegata’– Small, green leaves edged in white. Ornamental and still has good flavor.
- Syrian Oregano (O. syriacum)– Large variety that grows up to 4’ tall with gray-green, fuzzy leaves. Pepperminty flavor. Only hardy in zones 9-11, annual elsewhere. ‘Cleopatra’ is a cultivar of Syrian oregano that has pretty silvery-green leaves.
- ‘Compactum’– Dwarf oregano perfect for containers and small garden spaces.
The book The Cook’s Herb Garden is a great resource for anyone who wants to know more about growing culinary herbs, different varieties of popular herbs, and ways to use them in the kitchen. The book is packed with real photos and information, as well as tips for useful companion planting and herb container gardens. The only downside is that the type is surprisingly small, but the book’s overall compact size is convenient.
How to Start Oregano from Seed
Many gardeners who are learning how to plant, grow, and harvest oregano want to start the process at the very beginning: with the seeds.
In the case of oregano, this is easy to do. You can start seeds indoors 6-8 weeks before your last average frost date in the spring, or sow them directly in the garden after the danger of frost has passed.
To start seeds indoors, fill a seed-starting tray with a good quality, sterile seed-starting medium. Mix it with water before filling the tray until the soil is just damp.
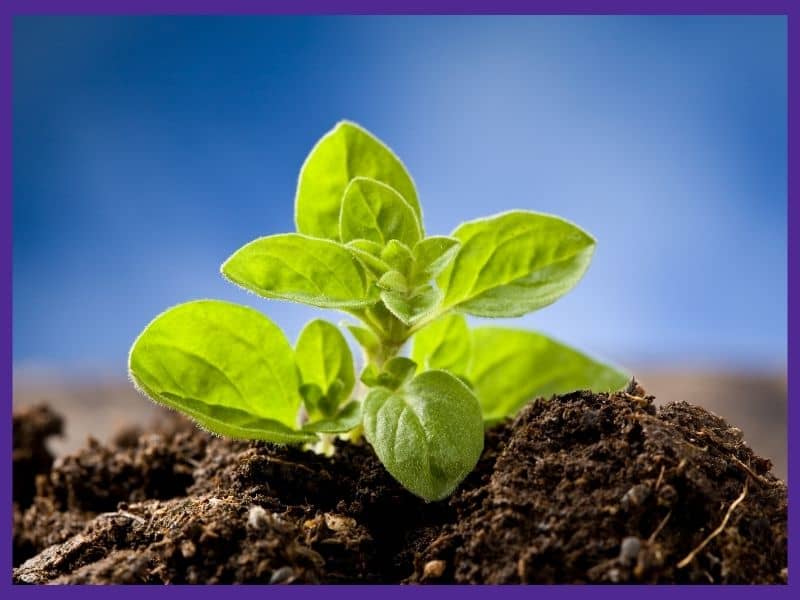
Oregano seeds are tiny and need light to germinate. Sow them on top of the soil and press them in gently with your finger but don’t cover them. Water the seeds and place your seeded trays somewhere that is 60-70°F for the best germination.
Your oregano should germinate in 7-14 days. Once you see sprouts, place your seedlings under grow lights or by a very sunny window. I use clip-on grow lights for my indoor seedlings. They cost a lot less than panel grow lights and give your seedlings a boost so you have healthy plants.
As you enjoy watching your seedlings grow, be sure to water the soil just before it dries out, while avoiding getting the leaves wet. Running a fan a few times a day will provide good airflow and prevent fungal diseases. A fan also helps your plant grow sturdy and strong, which makes it more likely to thrive outdoors. I use this small clip-on USB rechargeable fan for my seedlings.
Once the seedlings have several sets of true leaves, they can be transplanted outside after the danger of frost has passed. Established oregano plants are cold hardy, but tender seedings are not.
If you prefer to sow seeds directly outside, follow the same steps, except that you will need to prepare a garden bed or containers before planting instead of trays. Seeds germinate best outdoors when soil temperatures have reached at least 60°F.
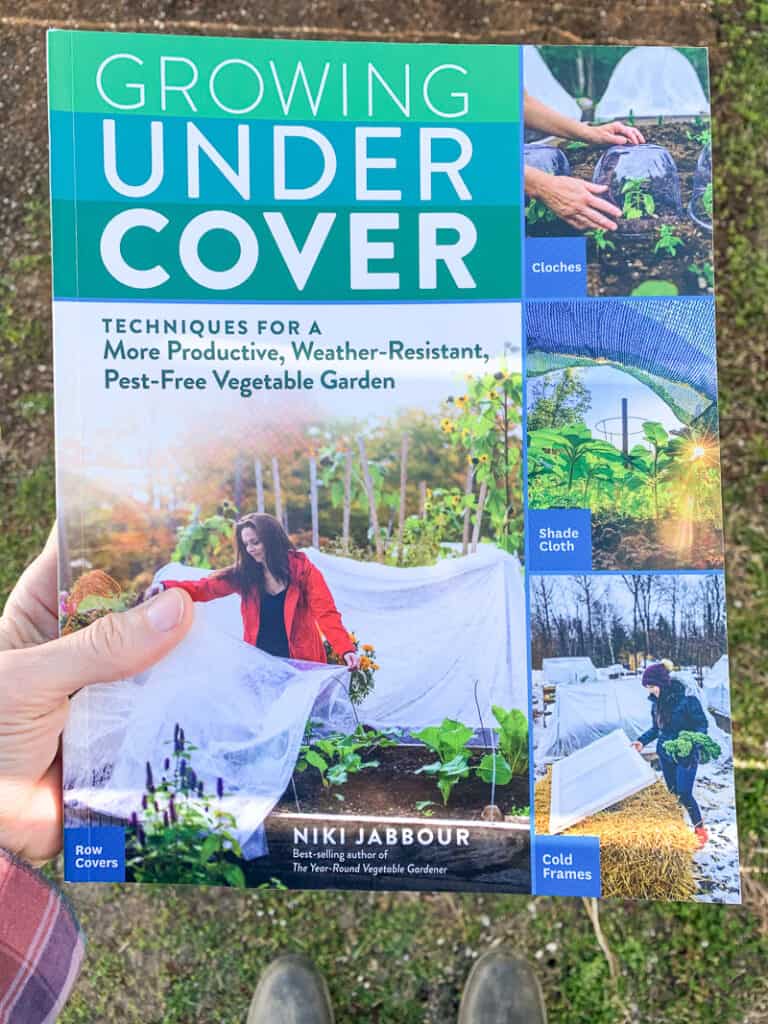
For tips and techniques on extending your growing season, take a look at Niki Jabbour’s new book Growing Under Cover. She gives advice for warming your soil more quickly in the spring and growing your plants throughout the winter. She lives in Canada – if she can grow all year long, so can you!
Tip: Oregano seedlings tend to vary greatly in how intense their flavor is. Plant more seeds than you need and test-taste each seedling when it has a few sets of true leaves. Keep the ones with the best flavor and thin out the rest.
How to Plant Oregano Seedlings
When and Where to Plant Oregano
Whether you bought seedlings at the store or grew your own from seed, they can be transplanted outside after the danger of frost has passed. Ideally, wait until the soil is at least 65-70°F. As noted above, established oregano plants are cold tolerant, but new seedling usually aren’t.
The two biggest requirements for a good planting spot are full sun (usually the more, the better) and well-drained soil. The one exception to this is golden and variegated oregano, which may need partial shade to keep their coloring.
You can prepare your garden ahead of time by weeding and/or creating raised beds if the soil drains poorly. Or fill up some pots (make sure they have drainage holes) with a good potting soil. I like using fabric grow bags for oregano. They breathe well and are less likely to become waterlogged than plastic pots.
With many plants, you would add amendments before planting. Oregano is more flavorful if grown in soil with low to average fertility. Overly rich soil actually diminishes the flavor of oregano.
However, you can add compost to your soil if it is needed to improve drainage.
Oregano Planting Tips
If you grew your own seedlings, remember harden them off before planting them outside. This is a simple process of gradually acclimating them to outdoor weather without exposing them to overly harsh conditions. If you’re not sure how to harden off your seedlings, be sure to visit this post on how to prepare seedlings for transplanting.
Plants bought at a nursery are usually already hardened off, but you can ask if you’re not sure.
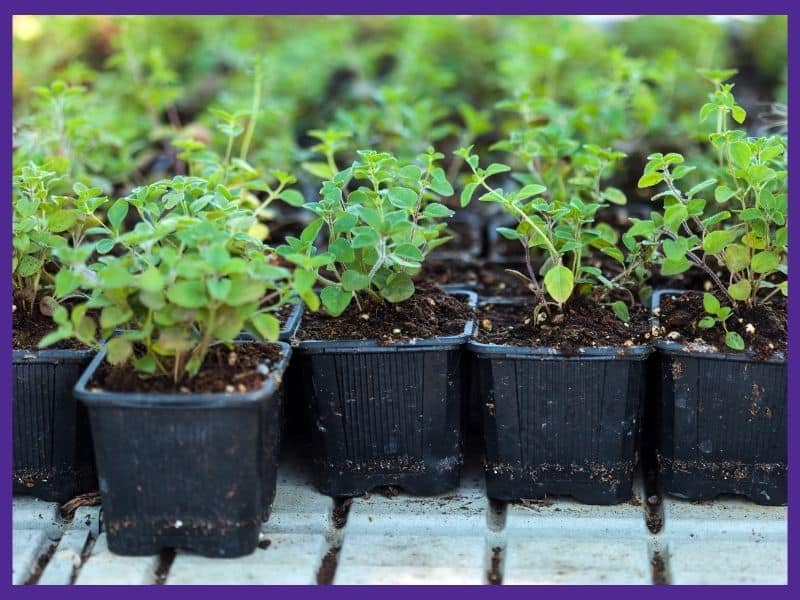
To get oregano to form a ground cover, space plants 8-10” apart. Plant them further apart if you want individual clumps.
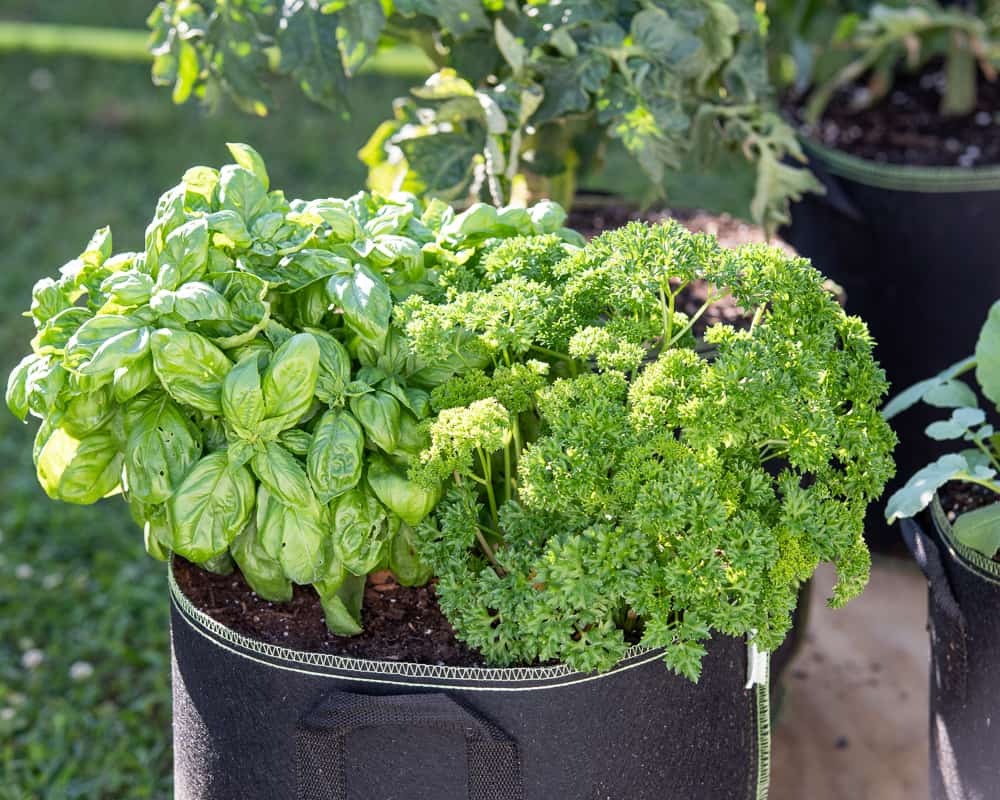
For container-growing, you can easily fit 3-4 oregano plants into a medium to large container, or stick with one per small container. It makes a great companion plant for more upright herbs like parsley, basil, or rosemary and even looks ornamental trailing over the sides of pots. Discover more about which herbs to plant together in this post.
I grew basil, parsley, and oregano together last year in a container and they did great. You can’t see the oregano in this photo, but you can see the dead basil stems behind the same oregano in the video lower down in this post.
Plant each seedling so that the roots are just covered with soil then water them in well. A watering wand is best for delicate seedlings . The gentle flow keeps disruptions to a minimum. Discover the best watering wands in this post.
Simple Tips for Oregano Care
Oregano is a very easy herb to care for and doesn’t require much attention.
It is drought tolerant once mature, but be sure to water your seedlings as needed while they get their roots established. Container-grown oregano will need watered regularly during dry periods, but only just before the soil dries out completely.
Once your plants are growing well, pinch off the growing tips to encourage bushy, vigorous growth (you can eat these trimmings!).
Other than that, there’s not much to do until harvest time. Oregano doesn’t need fertilizer, and it usually does better without mulch, which can make the soil too damp.
At the end of the season, you may want to mulch over your oregano with leaves or evergreen branches if you live in zones 4 or 5. This gives plants a little extra insulation for winter.
Something to note for the future is that oregano does start losing flavor when plants get 3 or 4 years old.
You can rejuvenate your patch of oregano by letting plants drop seeds and transplanting the new seedlings or by taking and rooting cuttings.
Oregano Pests and Problems
Insect pests are rarely a problem for oregano, and even deer and rabbits tend to stay away from this strongly scented herb.
The most frequent problem is root rot and other fungal diseases that develop if growing conditions are too damp. Planting in well-drained soil is essential to avoid this problem.
As a zone 8A gardener, we have dealt with lots of pests. Caterpillars, beetles, slugs, aphids – you name it. But, knock on wood and all that, I’ve never actually had a pest damage my oregano.
How to Harvest Oregano
Now, it’s time for the fun part!
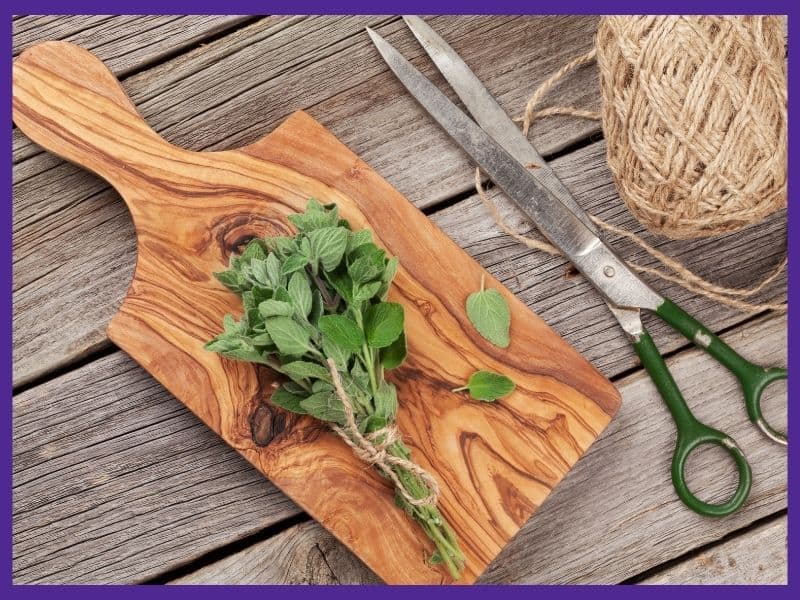
To harvest oregano, you simply need a pair of clean, sharp scissors or small garden snips. You can start harvesting anytime after plants get 3-4” tall. Some varieties are very low-lying. If you have a shorter oregano variety, harvest once it has several sets of true leaves and is well-established without worrying about the exact height.
We have an entire post on garden shears if you’re looking for new clippers. The TL;DR version is that Micro-Tip snips are great for herbs. I use Fiskar’s Micro-Tips virtually every day. It’s worth it to get the non-stick blade version.
You can pick off individual leaves as needed, but an easier way to harvest is to cut off whole sprigs of oregano. Try to cut right above a leaf node, where you see a new set of leaves coming out, but don’t worry about being too precise because oregano is very forgiving.
If you would like to dry oregano, make a large harvest right before plants bloom when they will have the best flavor. Harvest as much as you need, just leave behind about 2/3 of the plant. Common advice is to only harvest 1/3 of a plant and leave 2/3 behind, but I’ve found that I can typically harvest more oregano since it’s so hardy.
If you’re wondering what a “leaf node” is, I have you covered! Be sure to watch this short minute video covering the basics of oregano care and how to harvest oregano:
Drying and Storing Oregano
You can freeze oregano to store it, but it keeps its flavor the best if dried. In fact, oregano intensifies in flavor as it dries, making the dried herb much more potent than the fresh.
If you live in a dry climate, you can either hang up small bundles of oregano sprigs to dry, or lay them out on a wire rack. Choose somewhere warm, dry, and out of direct sunlight. With good air circulation, your herbs should dry in just a few weeks.
If you live in a more humid climate, an herb dryer is your friend. We use this round Presto dehydrator. Unlike older models, new new version has trays that flip to stack more easily for storage. It’s a real space saver!
When the oregano is crispy and crumbly, remove the leaves from the stems, but keep them whole. Store in airtight containers and add to your recipes at the very end of the cooking time.
If kept somewhere cool and dark, dried oregano will remain flavorful for 6 months or longer.
My favorite way to preserve herbs is to place them in glass jars and vacuum seal them with the vacuum attachment for the Foodsaver. The jar protects herbs from being crushed when the air is vacuumed out.
The Delicious “Joy of the Mountain”
Once you learn how to plant, grow, and harvest oregano for yourself, you’ll probably discover why it’s been nicknamed “joy of the mountain.” Homegrown herbs always have better flavor than what you can find in the store, and there’s a real joy to being able to pick them fresh.
And of course, don’t forget to cut and dry some to keep your kitchen stocked through the winter!
Be sure to check out these additional posts on growing your own herbs and vegetables while you’re here on Together Time Family. Once you’ve tasted homegrown produce, you’ll never want to go back to store bought!
Herb and Vegetable Harvest Tips
Not sure when your vegetables are ready to pick? Or how to harvest your herbs without killing the plant? Discover these herb and vegetable harvesting guides!
How to Harvest Basil (Must-know tip for an abundant harvest!)
One basil plant can provide enough basil for your entire year...if you know how to harvest it correctly.
Bitter Lettuce: What to Do About it & How to Prevent it
Are you plagued by bitter lettuce? Discover what to do about bitter lettuce, how to prevent it, and how to make your lettuce less bitter.
How to Harvest Parsley (without killing the plant)
Are you picking your parsley the wrong way? Learn how to harvest parsley without killing the plant so it will continue producing!
How to Harvest Mint (and what to do with lots of mint)
Mint is a garden favorite. Learn how to harvest this vigorous grower to keep it under control and discover tips for what to do with lots of mint.
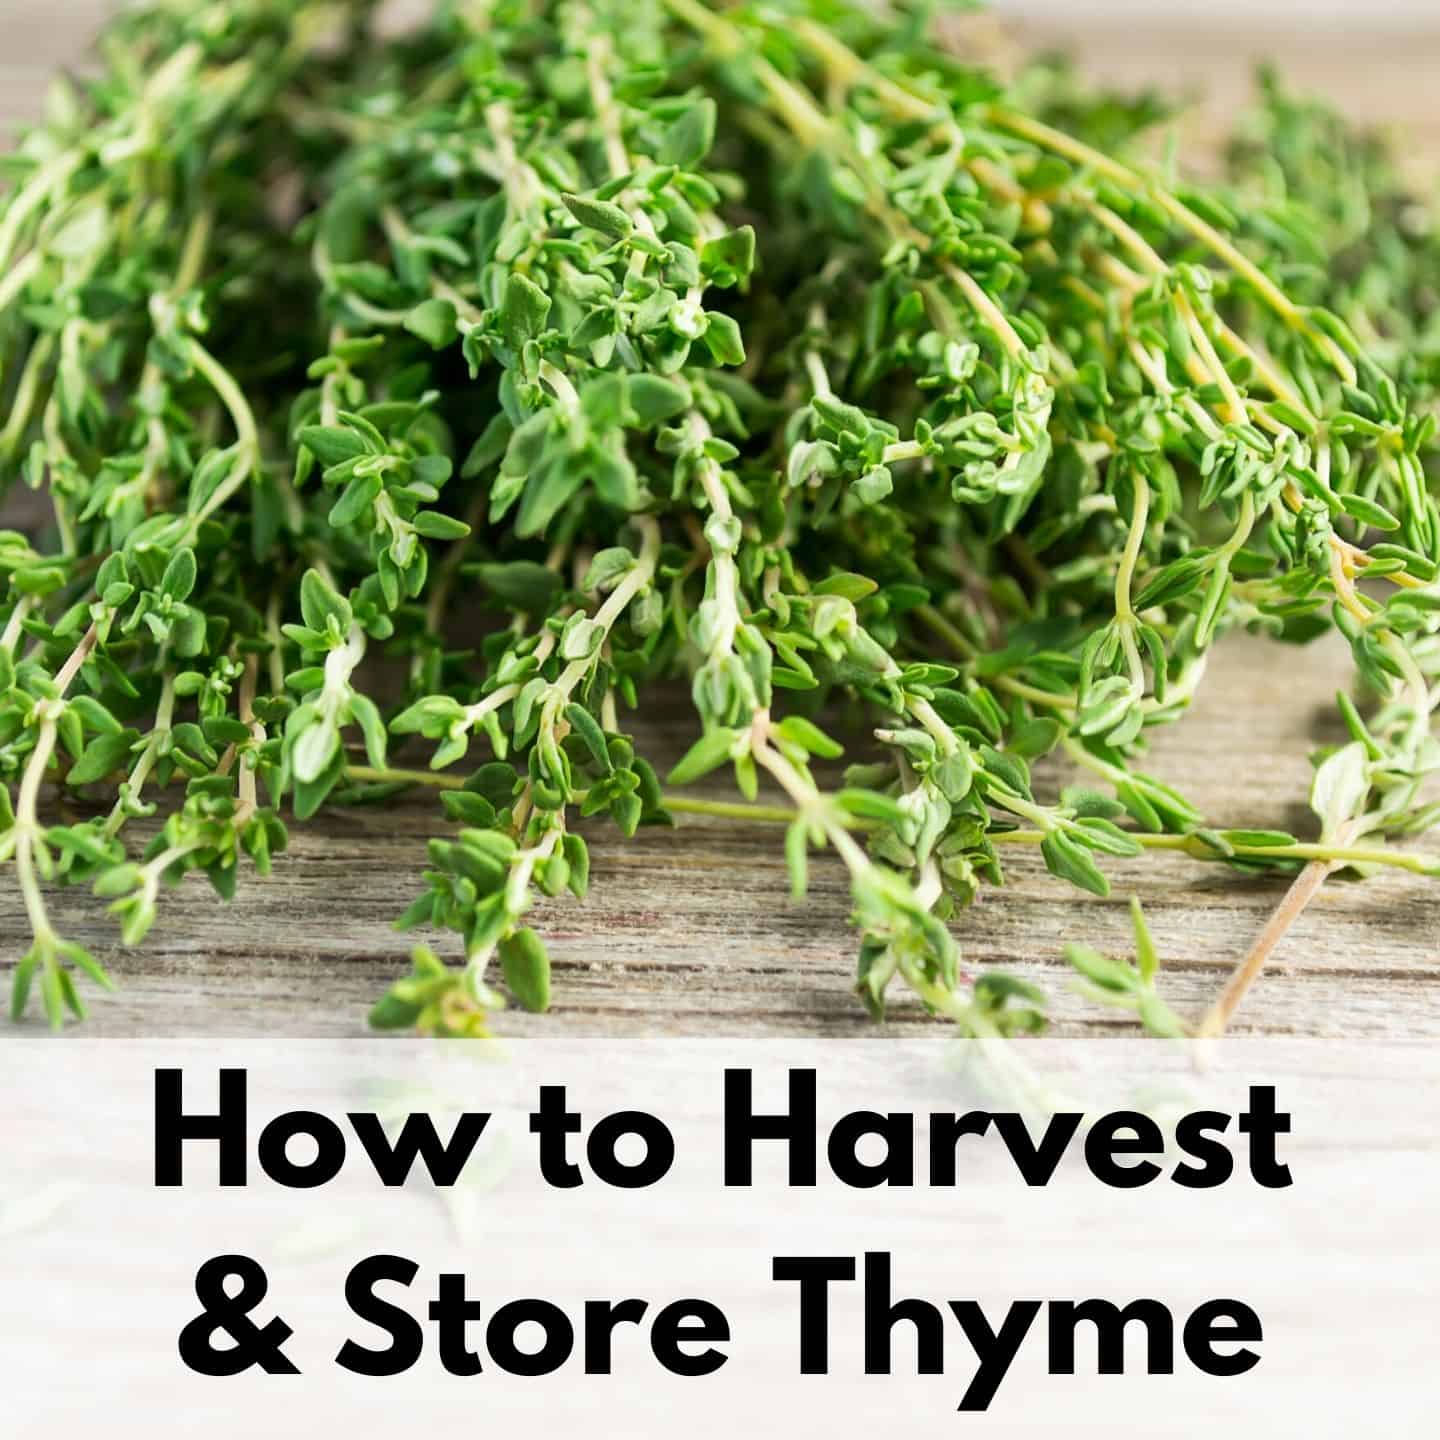
How to Harvest Thyme: tips for picking thyme & preserving your harvest
Learn how to harvest and store thyme in this compete guide.
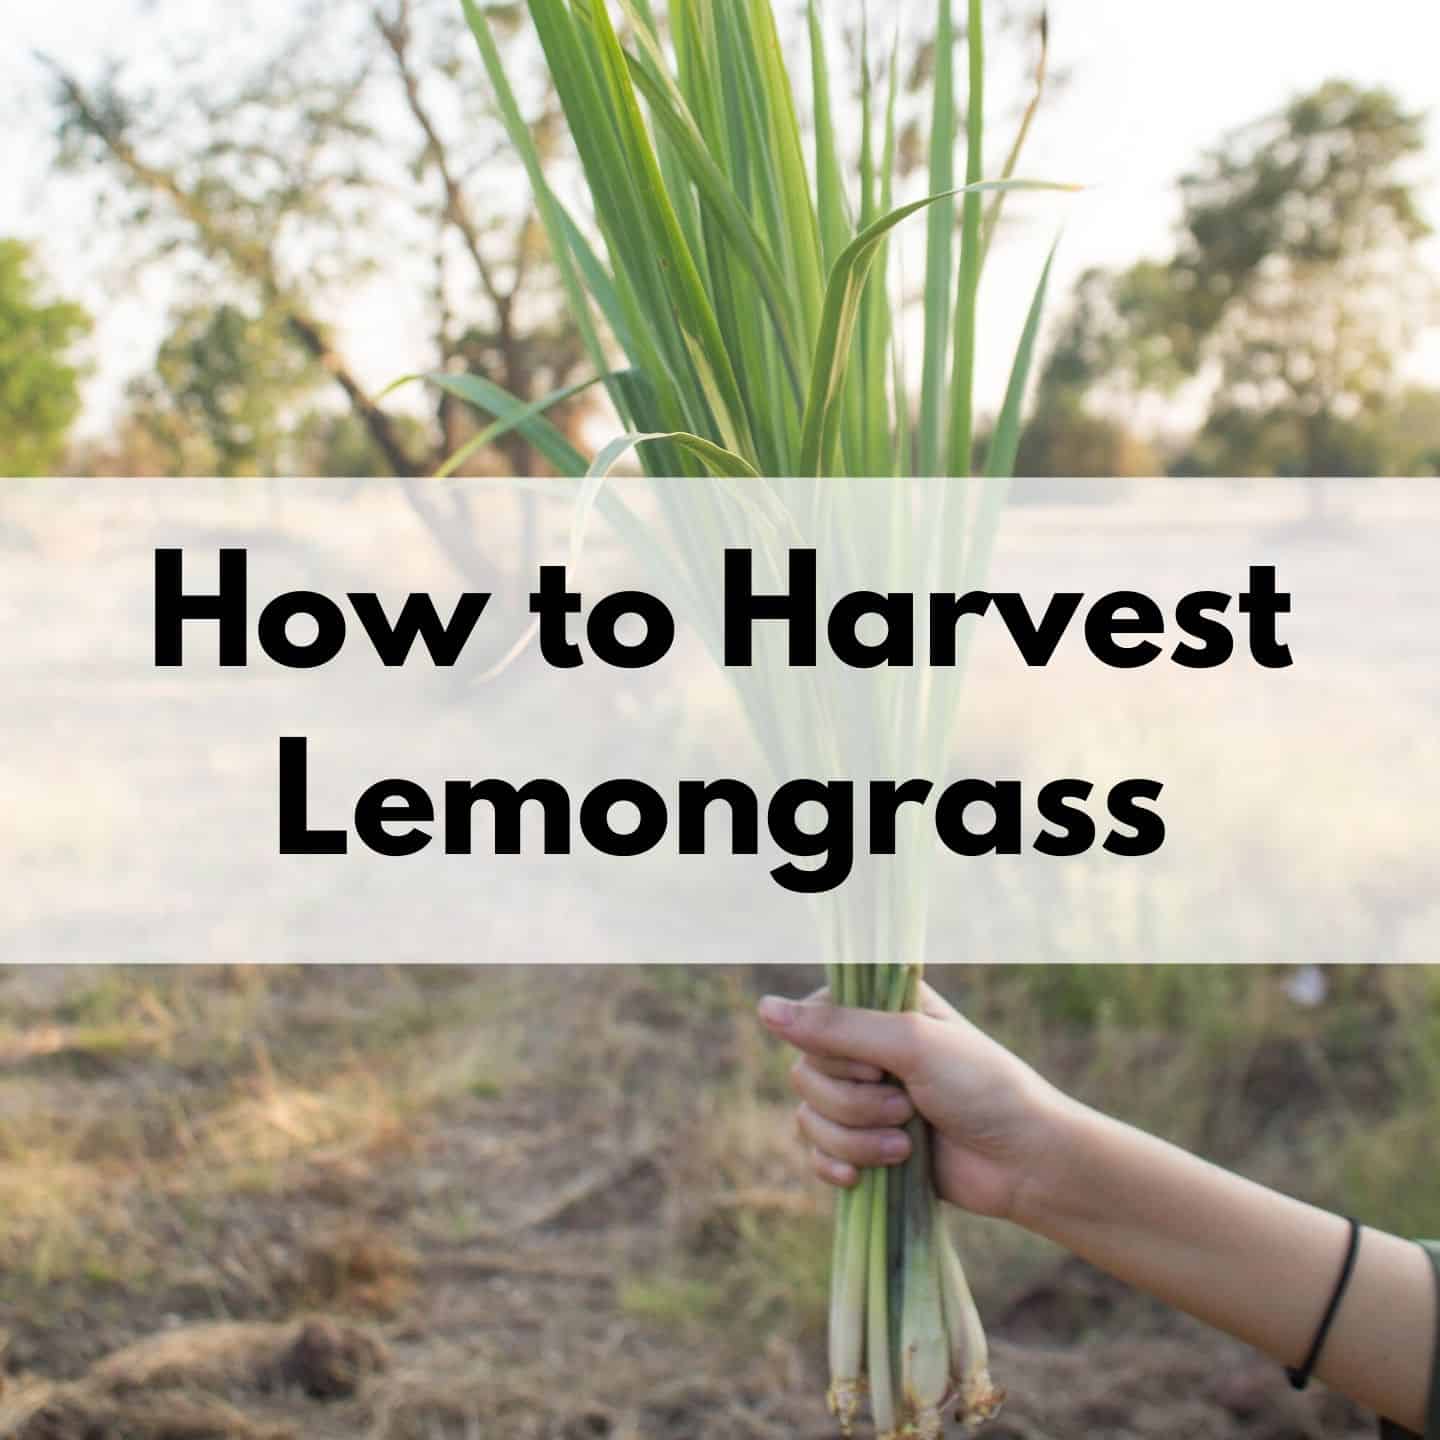
How to Harvest Lemongrass
Lemongrass is easy to grow, pest-repellant, and delicious in food or as a lemony tea. Discover how to grow this fantastic scented grass in your garden!
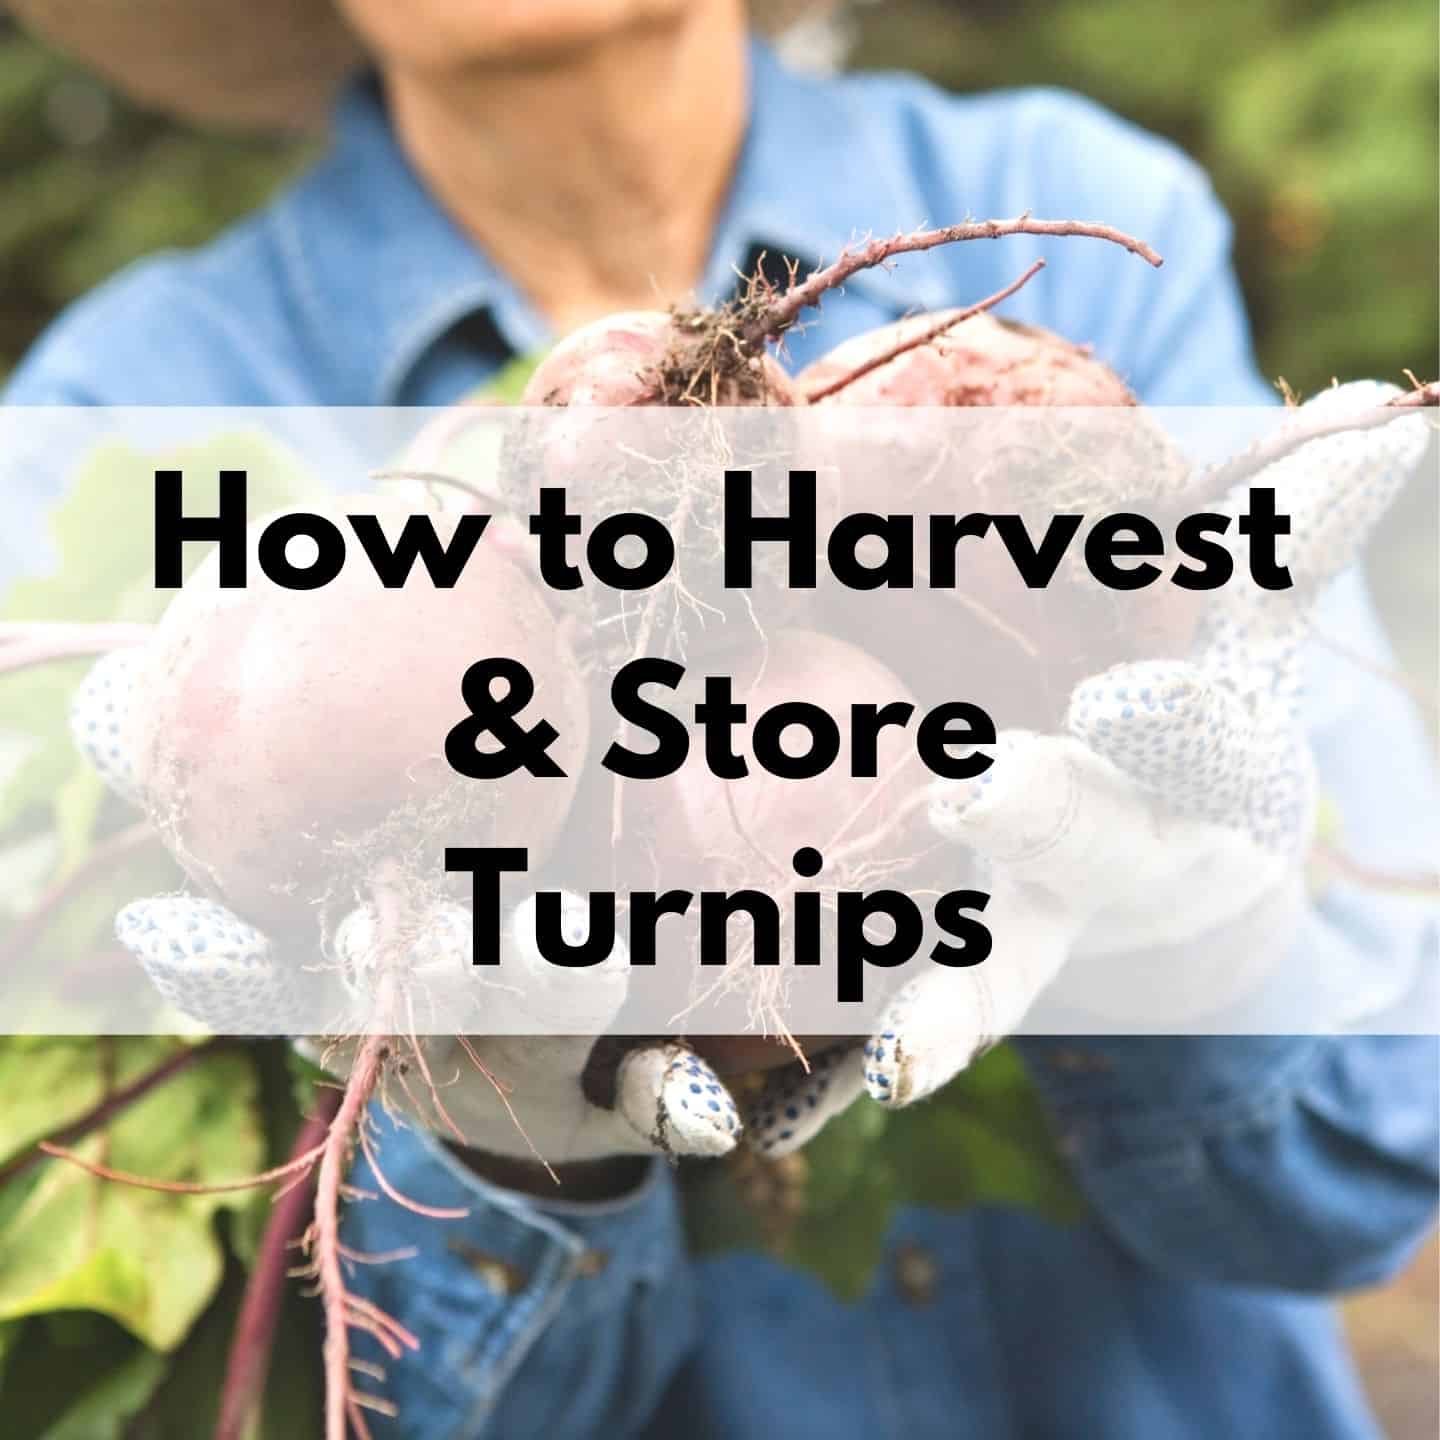
How to Harvest and Store Turnips: Quick & Easy to Grow Veggies for Spring & Fall
Turnips are fast growing vegetables that can be grown in spring and fall. Learn how to harvest and store your turnips and turnip greens!
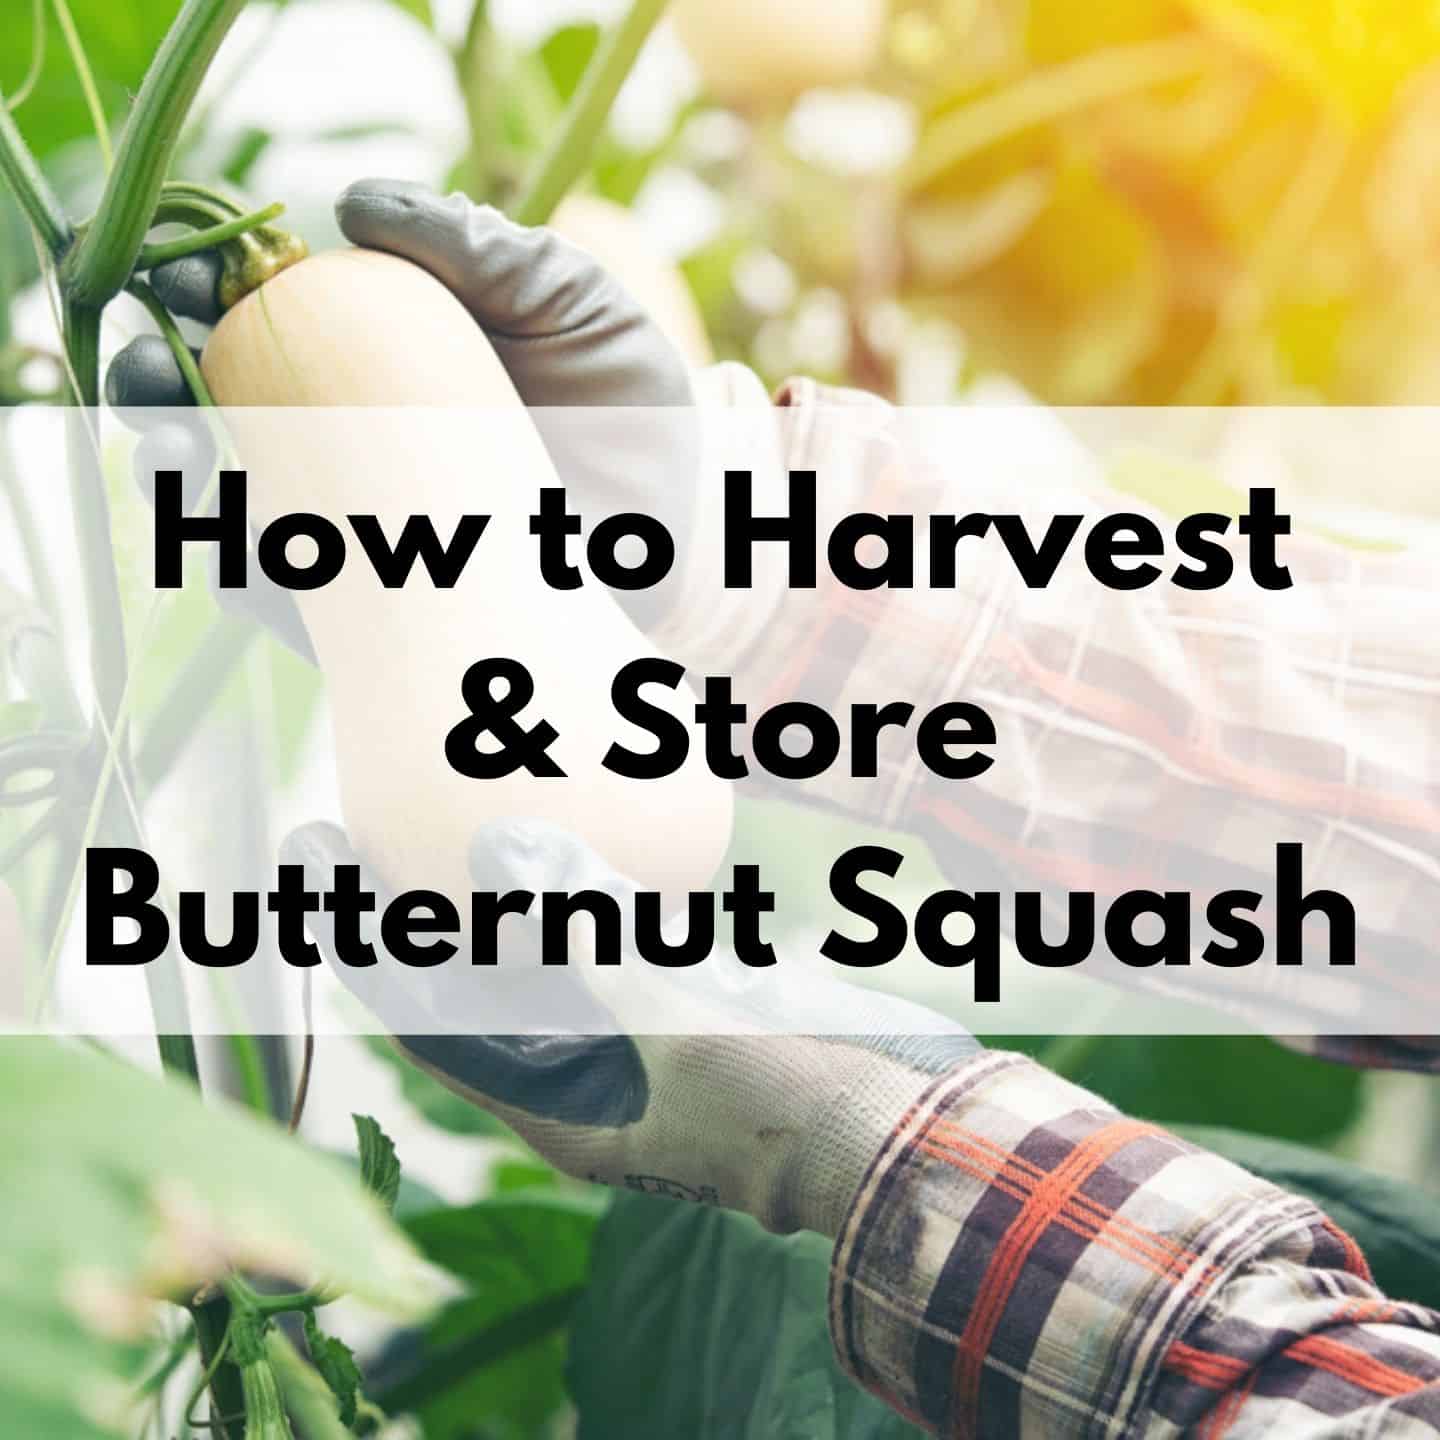
When to Harvest Butternut Squash
Does your butternut squash have you stressed and confused? Learn how to harvest and store your butternut squash.
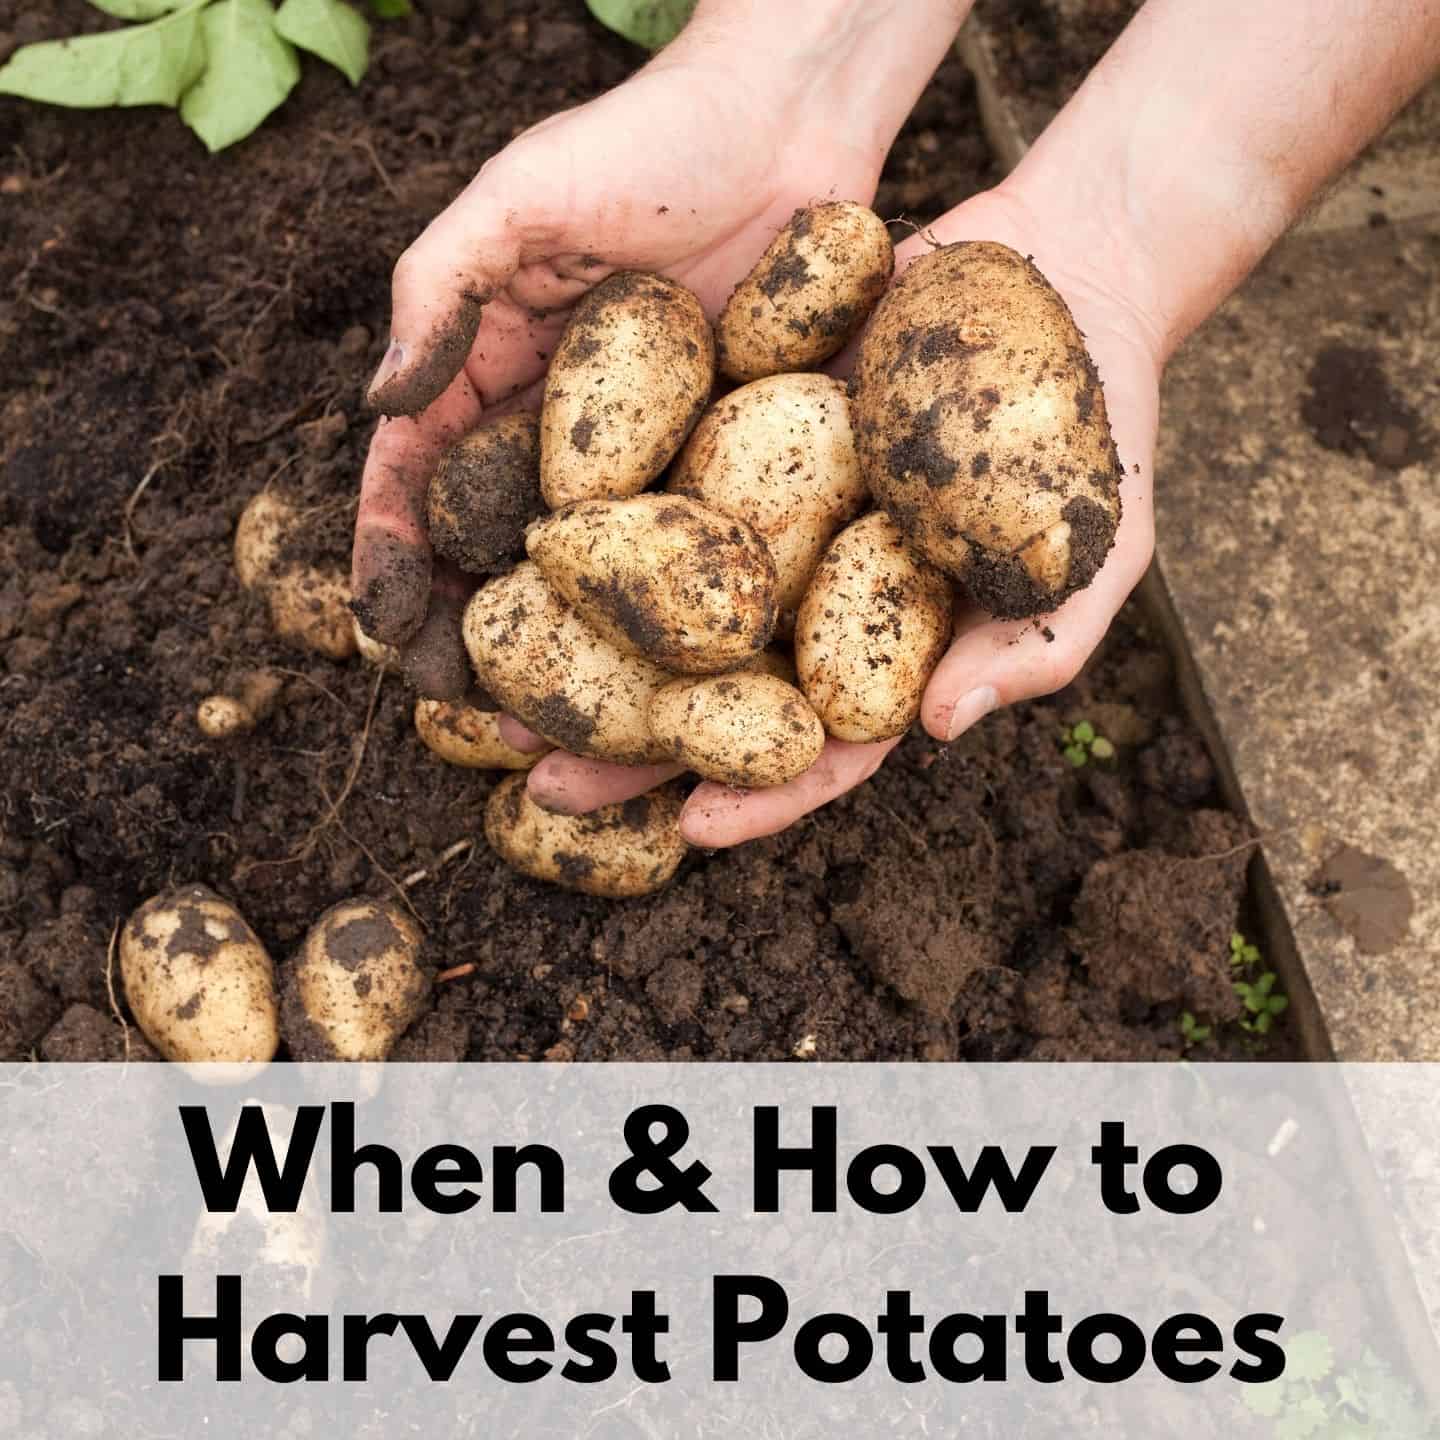
When to Harvest Potatoes
It can be hard to know when potatoes are ready to harvest. Discover these potato harvesting tips!
How and When to Harvest Broccoli (are you making a common broccoli picking mistake?)
Are you making a common broccoli harvest mistake that can put your plants at risk? Learn how to harvest and store broccoli the right way!
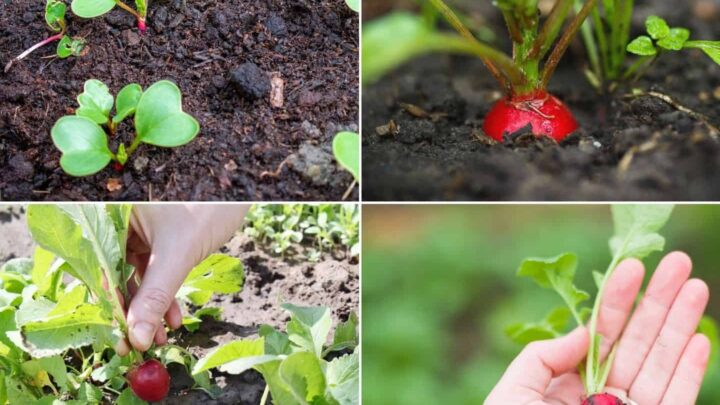
How to Plant and Grow Radish from Seed: a fast-growing crop you can grow in containers
Radish is one of the fastest-growing vegetables. Learn how to plant and grow radish from seed so you can enjoy fresh vegetables in under a month!
Natasha Garcia-Lopez is an avoid home-gardener and proud owner of 88 acres of land in rural West Virginia. She was a member of the Association for Living History Farms and Agricultural Museums for many years and is currently enrolled in the Oregon State University Master Gardner Short Course program so she can better assist you with your gardening questions.She holds a certificate in natural skincare from the School of Natural Skincare.



Leave a Reply