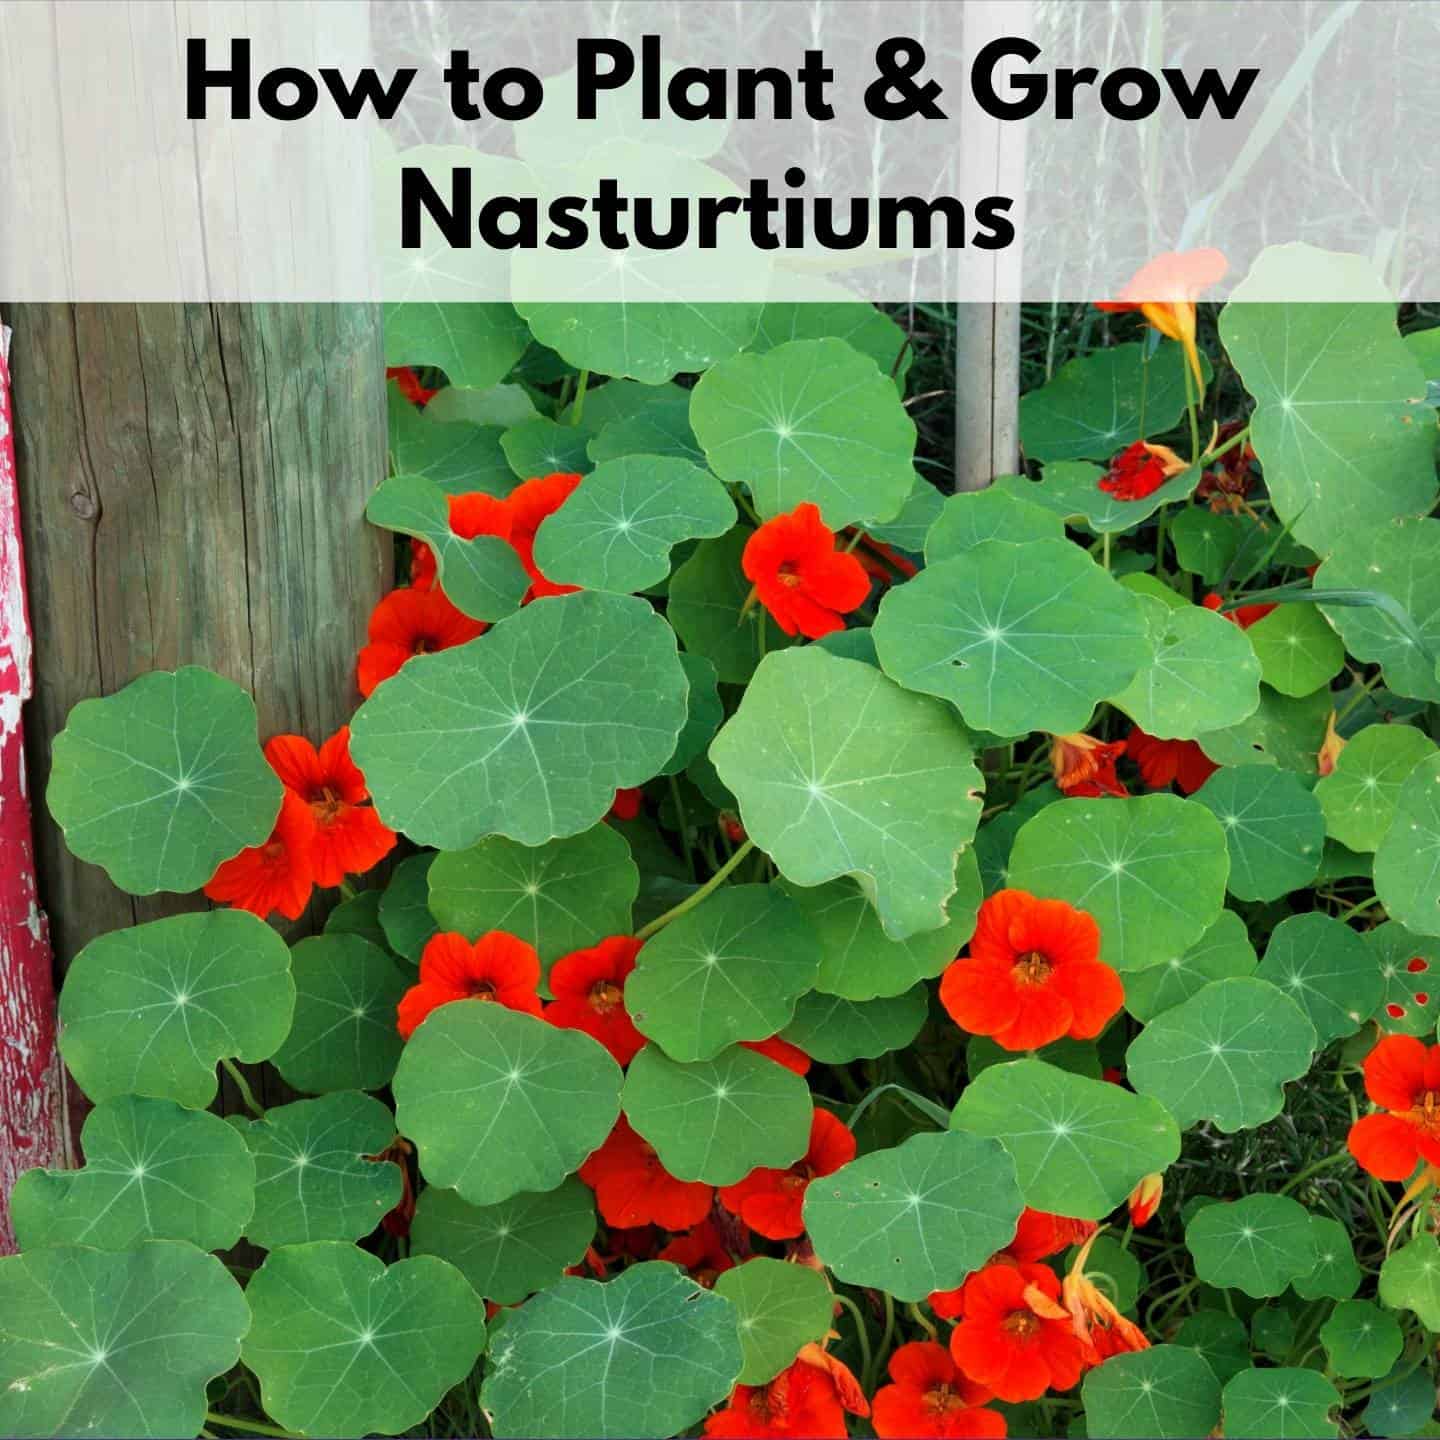
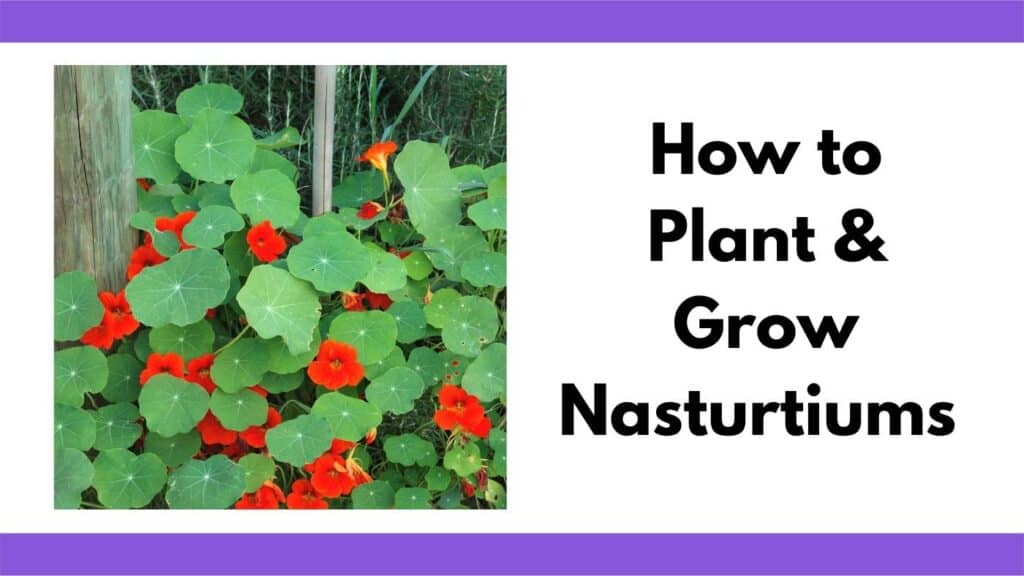
How to Plant and Grow Nasturtiums
If you’re searching for a lovely garden flower that can take a little healthy neglect, look no further than nasturtiums. Not only do they come in a variety of bright colors, they also low-maintenance, are great companion plants, and can be eaten!
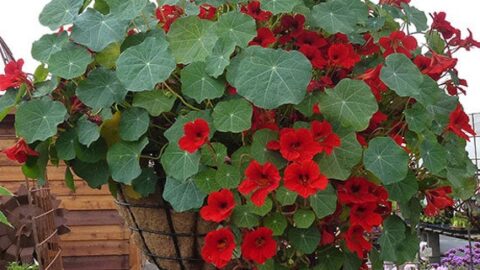
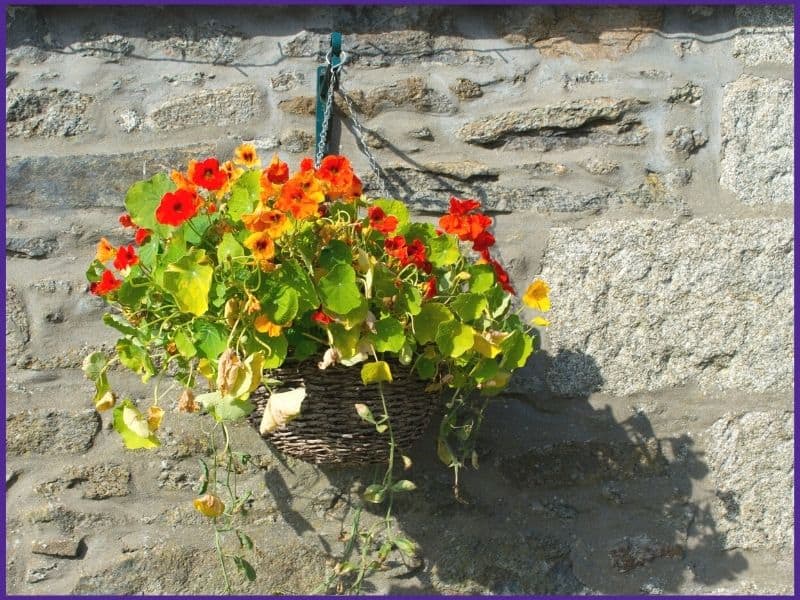
Nasturtiums can trail gracefully out of a hanging basket, climb up a fence, or simply form a bush-like clump in your garden. They are also incredibly easy to grow and thrive in less-than-perfect soil. You can even use them to benefit your other plants when you use nasturtiums as an aphid trap or companion plant.
Here’s everything you need to know about how to plant and grow nasturtiums in your garden or in containers.
This post includes affiliate links, which means I may earn a commission on purchases made at no additional cost to you.
All About Nasturtiums
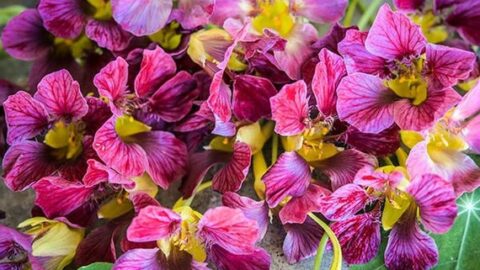
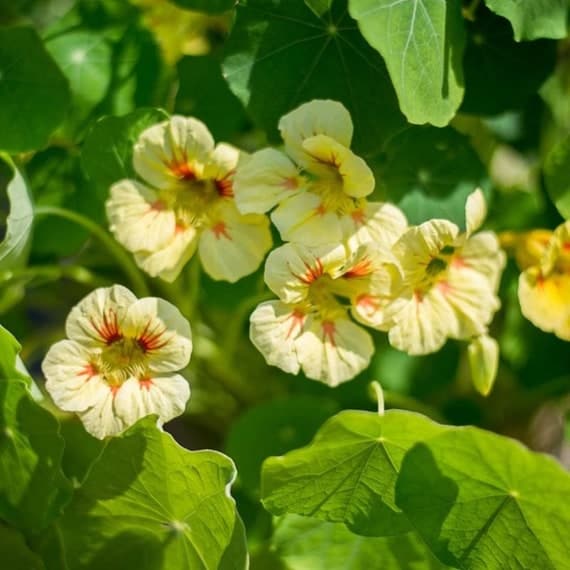
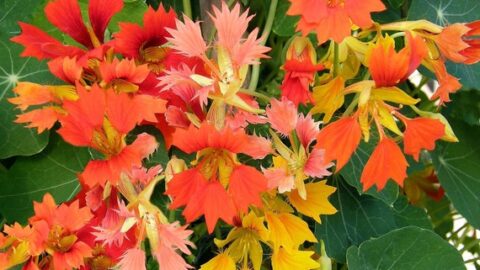
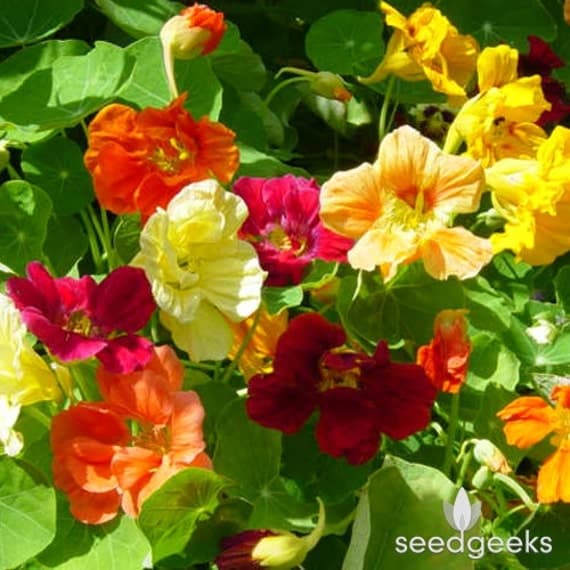
Nasturtiums (Tropaeolum sp.) have many benefits in the garden. They provide bright pops of color in shades of orange, red, yellow, pink, and cream with jewel-like blossoms that peak out through rounded green foliage.
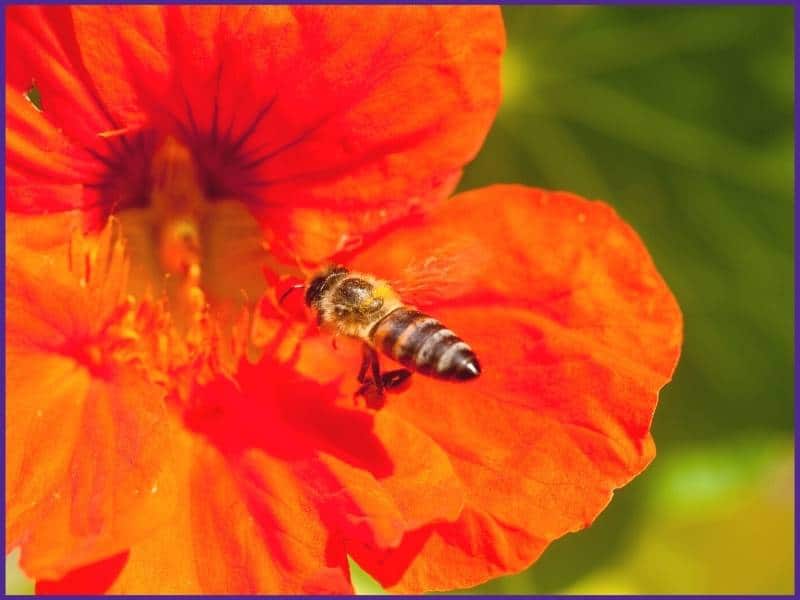
Along with being pretty to look at, nasturtiums also attract beneficials to your garden, including bees, butterflies, and hummingbirds. Nasturtiums are a lovely, pollinator-friendly addition to any garden.
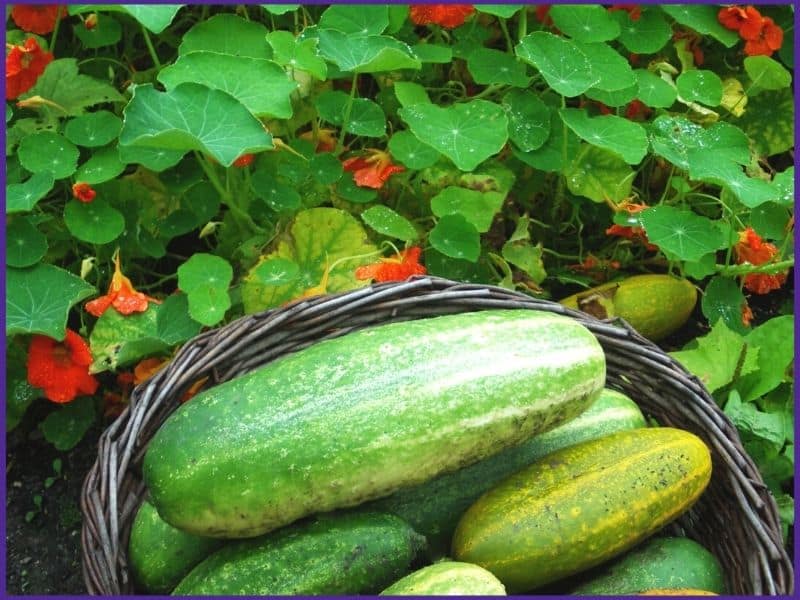
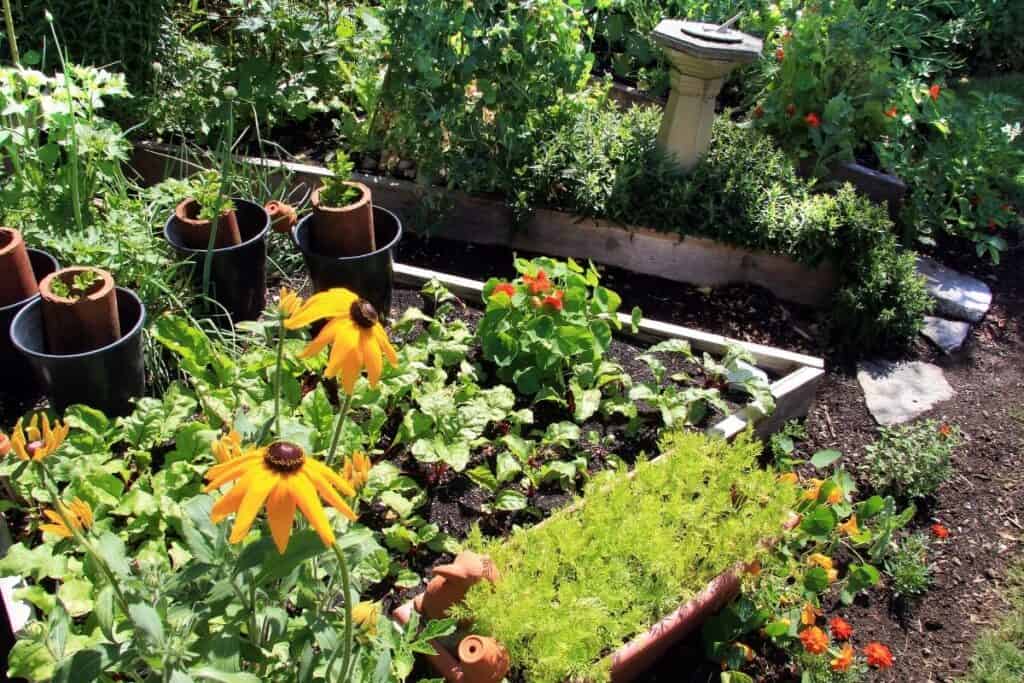
You can plant nasturtiums next to veggies like cabbage, kale, beans, melons, and cucumbers as a companion plant. Nasturtiums purportedly attract hoverflies, which eat aphids, and repel unpopular pests like squash beetles and cucumber beetles. They can also be planted as a “trap crop” that draws pests, like aphids, away from your vegetables.
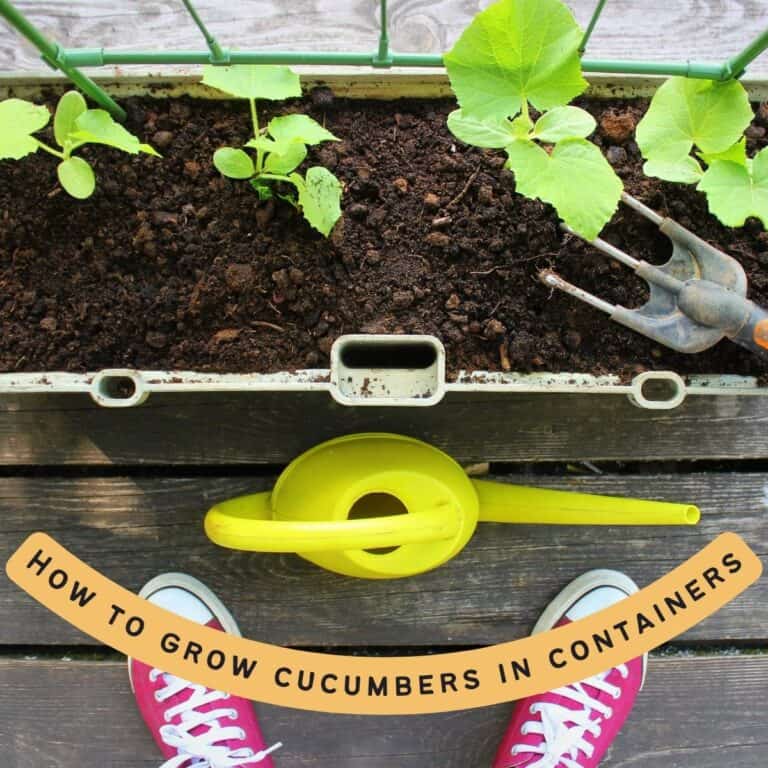
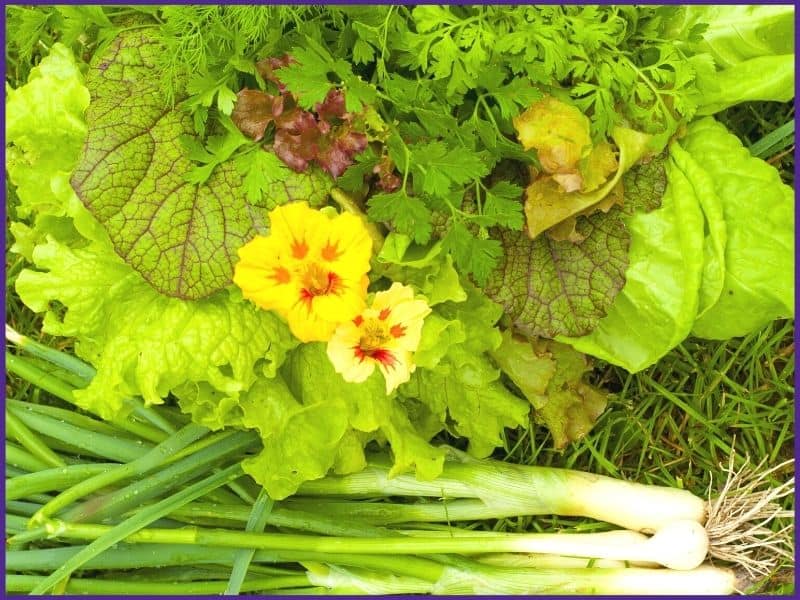
To use nasturtiums as an aphid trap crop, plant a border away from your aphid-prone plants (like tomatoes). To repel and confuse squash and cucumber beetles, plant them with your cucurbits. In the photo below, you can see cucumbers and nasturtiums together:
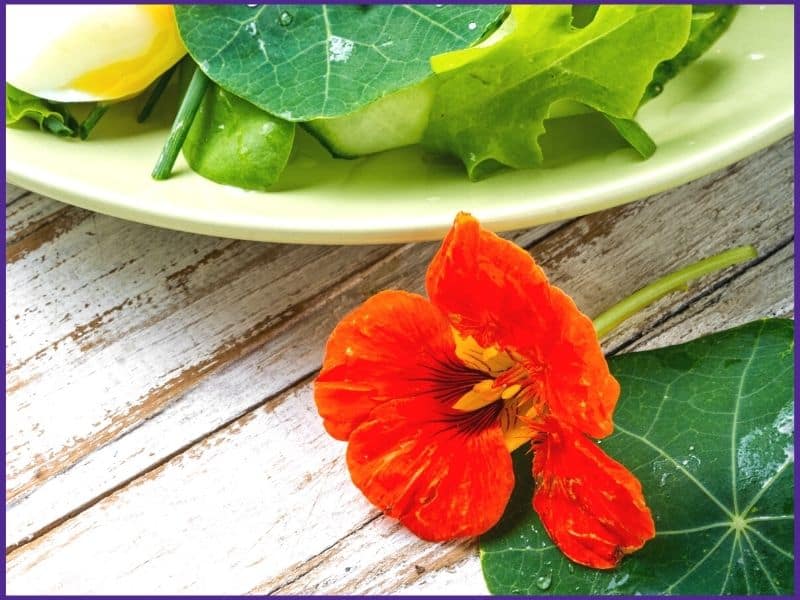
The leaves, flowers, and immature seeds of the plants are edible and can be harvested throughout the season. They have a peppery flavor and make an excellent addition to salads. Many people describe the taste as lightly peppery. I think they’re pretty spicy, my husband thinks they’re a great snack and barely spicy at all. It depends on your tastes.
According to chicken expert Lisa Steele of Fresh Eggs daily, nasturtiums are a tasty treat for your backyard chickens that have natural deworming and antibacterial properties. I don’t know if they have added health benefits for chooks, but our hens do love nasturtium flowers.
As far as growth habit goes, nasturtiums are usually grown as annuals, although they can be perennial in frost-free areas (USDA zones 10-11). Plants usually only get about a foot or two high, but the vines on certain cultivars can reach up to 10’ long!
Types of Nasturtiums + Top Cultivars
There are two main types of nasturtiums: Tropaeolum majus, which has a trailing or vining habit, and Tropaeolum minus, which has a bush-like habit.
The bush types tend to be more compact and better for smaller spaces, while the trailing types work well for hanging baskets or containers, trellises, and as a ground cover. Both do well in a vegetable garden, flower garden, or pollinator garden.
You have many choices when it comes to bloom color and finding a nasturtium that is perfect for your garden. Here are some of the top cultivars to get you started:
Nasturtium Seeds
Scarlet Red Empress of India
The heirloom Empress of India variety is my nasturtium of choice because we have hummingbirds and chickens, both of which are attracted to red. These vining flowers look lovely in hanging baskets and will help bring pollinators to your porch or garden.

Heirloom Alaska Nasturtium Variegated Mix
These variegated nasturtiums have stunning leaves with pops of white.
Purple Emperor Nasturtium
These are the only purple nasturtiums I've ever found!
Peach Melba Nasturtium Flower Seeds
These nasturtiums have unique flowers with creamy petals and vibrant centers. They are a vining variety that's great for containers and training up a trellis with your cucurbits.
Phoenix Nasturtium Seeds
Phoenix nasturtiums have unique petals and stunning colors. They're a British variety with limited availability in the US. They're considered "vining and bushing," which means they can trail over a basket edge or grow semi-upright.
Nasturtium Jewel Mix - Dwarf
Can't pick a color? Jewel mix nasturtiums are yellow, red, orange, and pink! They're a dwarf variety, which means they do well in containers and as a border.
How to Plant and Grow Nasturtiums from Seed
Nasturtiums are sensitive to being transplanted, so the best way to grow them is by planting the seeds directly in your garden.
When and Where to Plant Nasturtiums
Nasturtium seeds can go directly in the garden about 1-2 weeks after the last spring frost has passed. The ideal soil temperature for them to germinate in is 55-65°F.
Choose a spot for your nasturtiums that gets full sun. They can grow in partial shade (and may prefer some afternoon shade in very warm climates) but will bloom much better with at least 6-8 hours of sunlight each day.
Nasturtiums are not picky about soil and are even famous for thriving in poorly fertile soil, but they do prefer good drainage.
Because of this, you should not add compost or fertilizer to your soil before planting unless it is extremely depleted. Particularly avoid soil or fertilizer that is heavy on nitrogen because this will result in lots of foliage but few flowers.
How to Plant Nasturtium Seeds
Nasturtium seeds should be planted ½-1” deep and about 10-12” apart. (You can also plant them more closely together and thin seedlings once they sprout.) I personally plant 2-3 seeds per hole because I typically have relatively low germination rates for nasturtiums (when compared to something like a radish or bean).
You can improve germination by nicking the hard seed coat that surrounds the seed. Do this (carefully) with a sturdy knife, cutting just deep enough to allow water to get through the outer coat and directly to the seed. You can also use a sturdy nail file to scuff the coat. I have a history of accidentally hurting myself with sharp tools, so I just plant extra seeds, instead.
After you’ve planted the seeds, be sure they are covered and water them in well. Germination should happen in about 7-10 days. I’ve had it take a little longer in cool spring weather. They are not super fast spouters. Don’t give up on them too quickly!
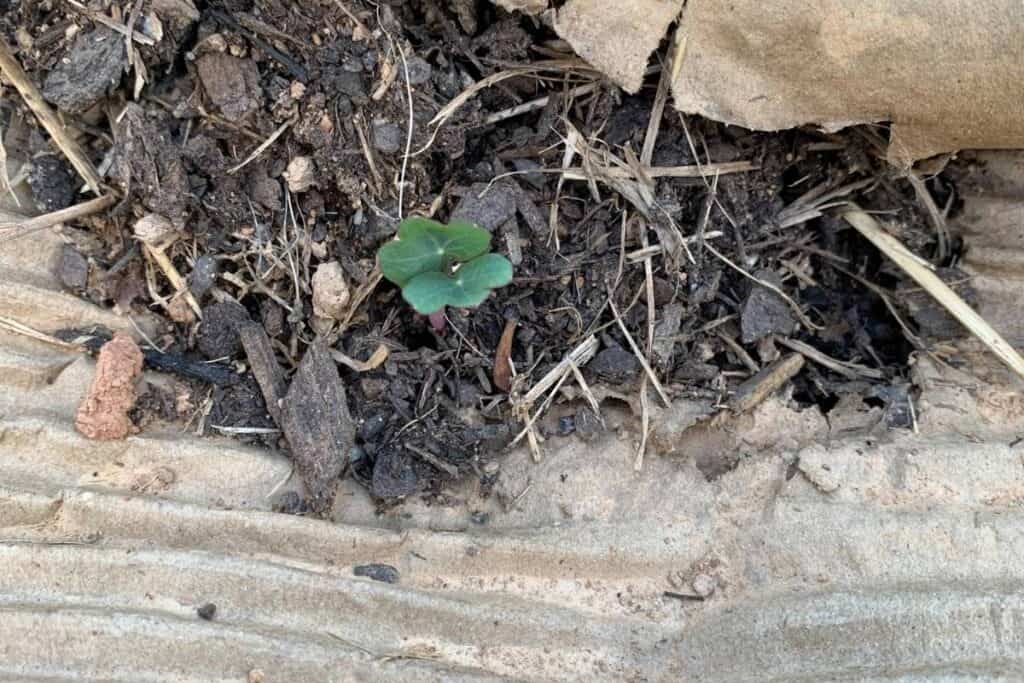
Once your nasturtiums do sprout, you’ll recognize them immediately. Their first, small leaves look just like their adult leaves.
Indoor Option: If you really want to get your nasturtiums started early indoors, plant the seeds in peat pots or another biodegradable option. This cuts down on transplant shock when you set them out in your garden and increases their chances of surviving the transplanting process.

Fill the pots almost to the top with damp seed starting mix and plant the seeds (nick them first) about an inch deep. Keep the seeds and seedlings watered, but not soggy, and give them plenty of light and air as they grow.
About 1-2 weeks before you plan to transplant them outside, harden off your seedlings by taking them out during the day and bringing them in at night. After several days of this, start leaving them out all night when there is no danger of frost. For more detailed information about hardening off your seedlings, see this post on how to prepare seedlings for transplanting.
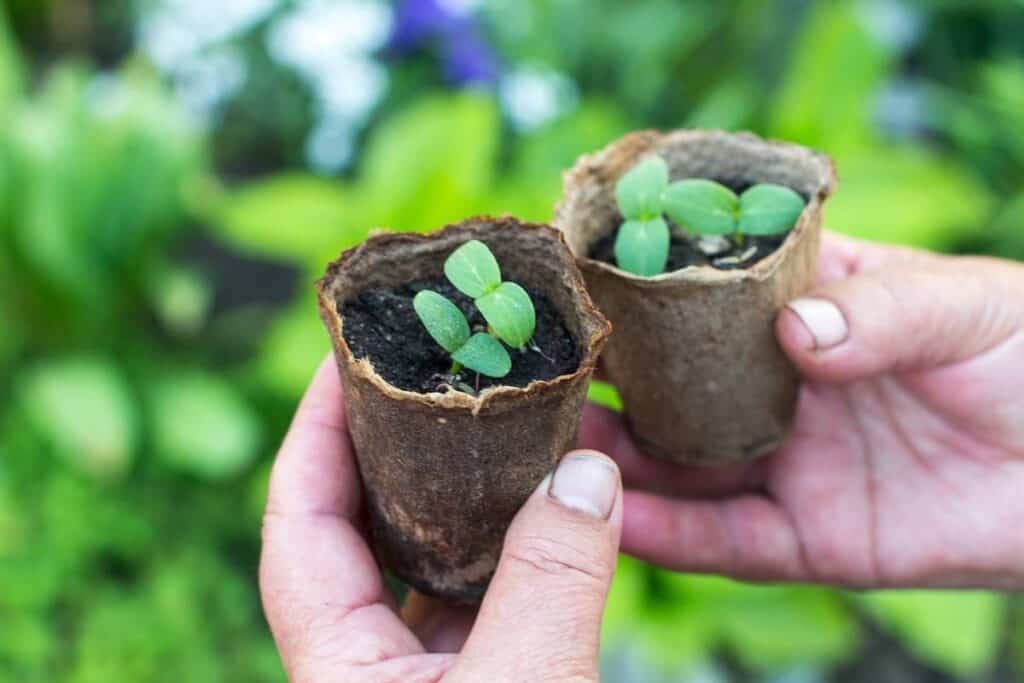
After this, they are ready to be planted in your garden, pot and all. Make sure to carefully rip the bottom off your pot so the roots have space to grow. Peat pots can take a year or more to fully break down. I direct seed nasturtiums, so I don’t have any personal photos of nasturtium seedlings in peat pots to share, but these are the type of pots I mean (shown with cucurbit seedlings):
Planting Nasturtiums in Containers
If you’re wondering how to plant and grow nasturtiums in containers, it’s really not that different from planting them in the ground.
You don’t need a deep container for your plants, but the larger the pot, the bigger your nasturtiums will grow. They work well in containers of all kinds- window boxes, hanging baskets, garden pots- as long as you give them a spot that gets plenty of sunlight.
Make sure your containers have drainage holes in the bottom and fill them with a dampened potting soil mix. Sow the seeds just as you would in the garden: ½-1” deep and about 10” apart, although they can be spaced more closely in containers. Do not add rocks to the bottom. Contrary to popular legend, this does not improve drainage.
If you want your nasturtiums to grow up, put a small trellis in each container right after you plant the seeds. Otherwise, plan for your plants to spill gracefully over the edge.
Nasturtium Plant Care
One of the best parts about growing nasturtiums is that they are extremely easy to care for.
Be sure to water and weed around your seedlings regularly. Once they are fully grown, nasturtiums are fairly drought tolerant, although they will still benefit from supplemental watering during dry periods. Container-planted nasturtiums need watering.
Nasturtiums usually don’t need mulch and do better without it, preferring soil on the drier side. They also don’t need any fertilizer, so no need to worry about this task!
Deadheading can prolong flowering on certain cultivars, but it’s entirely optional. Many varieties will continue to bloom for long periods of time even without being deadheaded. Nasturtiums can bloom all summer long, up until first frost.
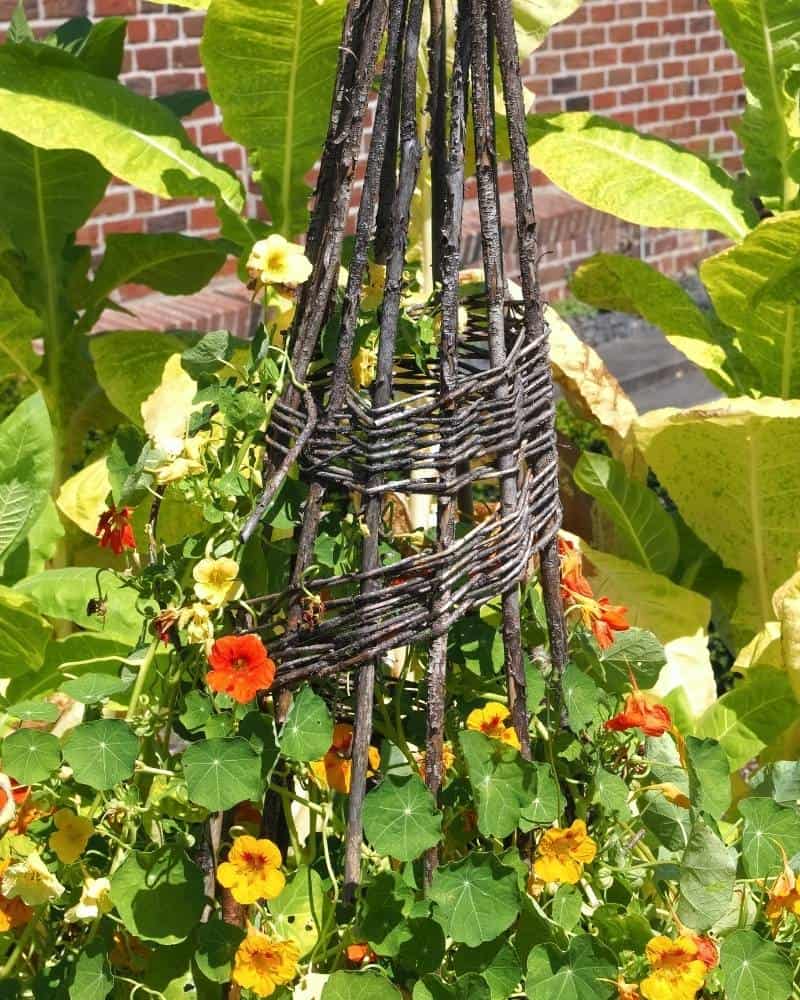
If you want your nasturtiums to grow a certain way, you will have to put a little time into training them.
Bush types typically don’t need any shaping but can be trimmed back occasionally (particularly if they are in containers) to keep them from getting too bushy and to stimulate new growth.
Trailing types can be trained up a trellis, but they may need a little help to get started since they don’t have tendrils. Make sure they have something thin to wrap around (string, wire, etc.), and help them get started by gently twining them where you want them to be.
Common Pests and Problems
Nasturtiums are not pest-free, but they rarely suffer enough damage to do real harm to the plants.
Aphids are the most likely pest to attack your nasturtiums, and some gardeners will specifically plant these flowers so that the aphids go for them instead of more precious vegetables. The best control is to regularly spray off aphids with a jet of cold water from a hose (just not towards your veggies!).
Neem oil works well on aphids, too, if your hose efforts aren’t enough.
Thankfully, nasturtiums aren’t afflicted by any diseases worth mentioning, although they can struggle in soggy soil. In my experience, they can also experience stunted growth in compact, clay soils (but this is true for almost all plants).
Harvesting Nasturtiums & Seed Collecting
Now that you know how to plant and grow nasturtiums, you may want to take advantage of the edible nature of your plants by harvesting the flowers, leaves, and/or seeds.
Both the flowers and leaves can be harvested any time throughout the growing season by carefully snipping off any that you want to harvest. The flowers are most popular because they make a brightly colored garnish, but the leaves have a similar peppery taste and can be added to salads. They also make great treats for chickens, as mentioned above. Go ahead and toss them in your daily garden harvest basket!
The immature seeds can be collected when they are still green and slightly soft. At this stage, they are edible and are most commonly pickled and used like capers.
If you’d rather collect the seeds to plant next year, wait until they have dried and turned brown. At this stage, they usually fall off the plant, and you can collect them from the ground. Brush them off and allow them to dry fully indoors before storing in an airtight container.
Stored in a cool, dark place, nasturtium seeds will last for multiple years so you can plant them for several springs to come!
Popular summer vegetables and herbs
Discover how to grow popular vegetables and herbs in your backyard garden or container garden with these in-depth vegetable growing guides.
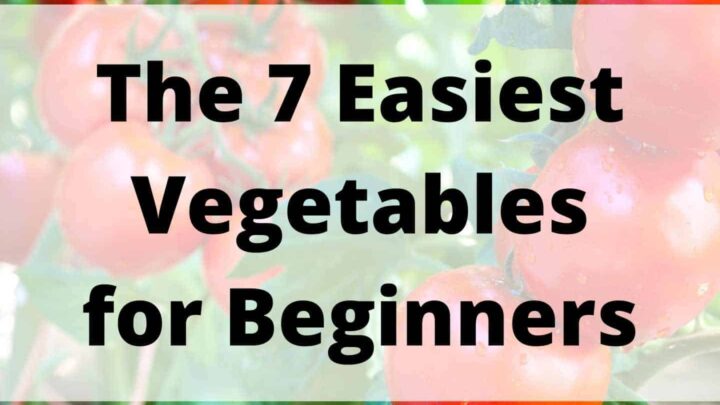
7 Easiest Vegetables to Grow for an Abundant Harvest (and 5 to avoid!)
Discover the easiest vegetables to grow for beginners so you can have a healthy, successful garden.
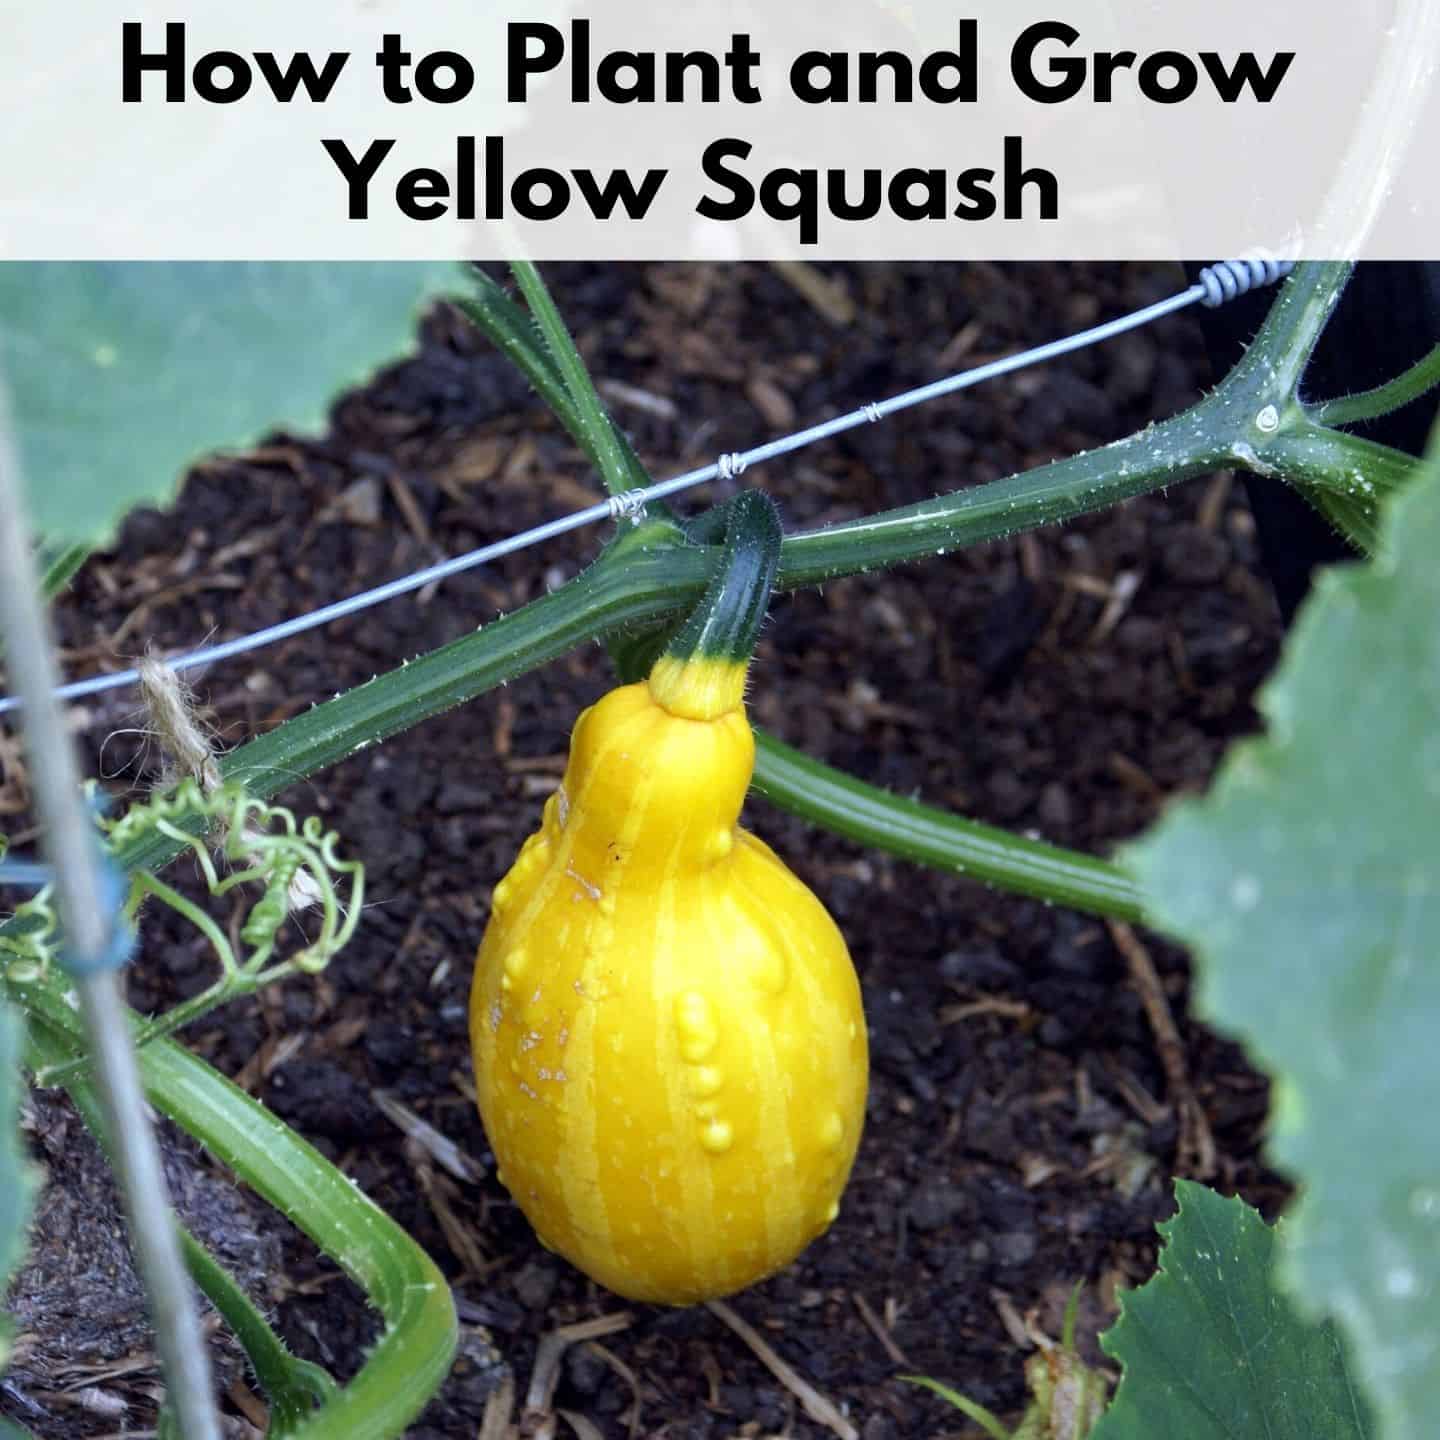
Discover these must-know tips for planting yellow squash and common squash growing mistakes and problems.
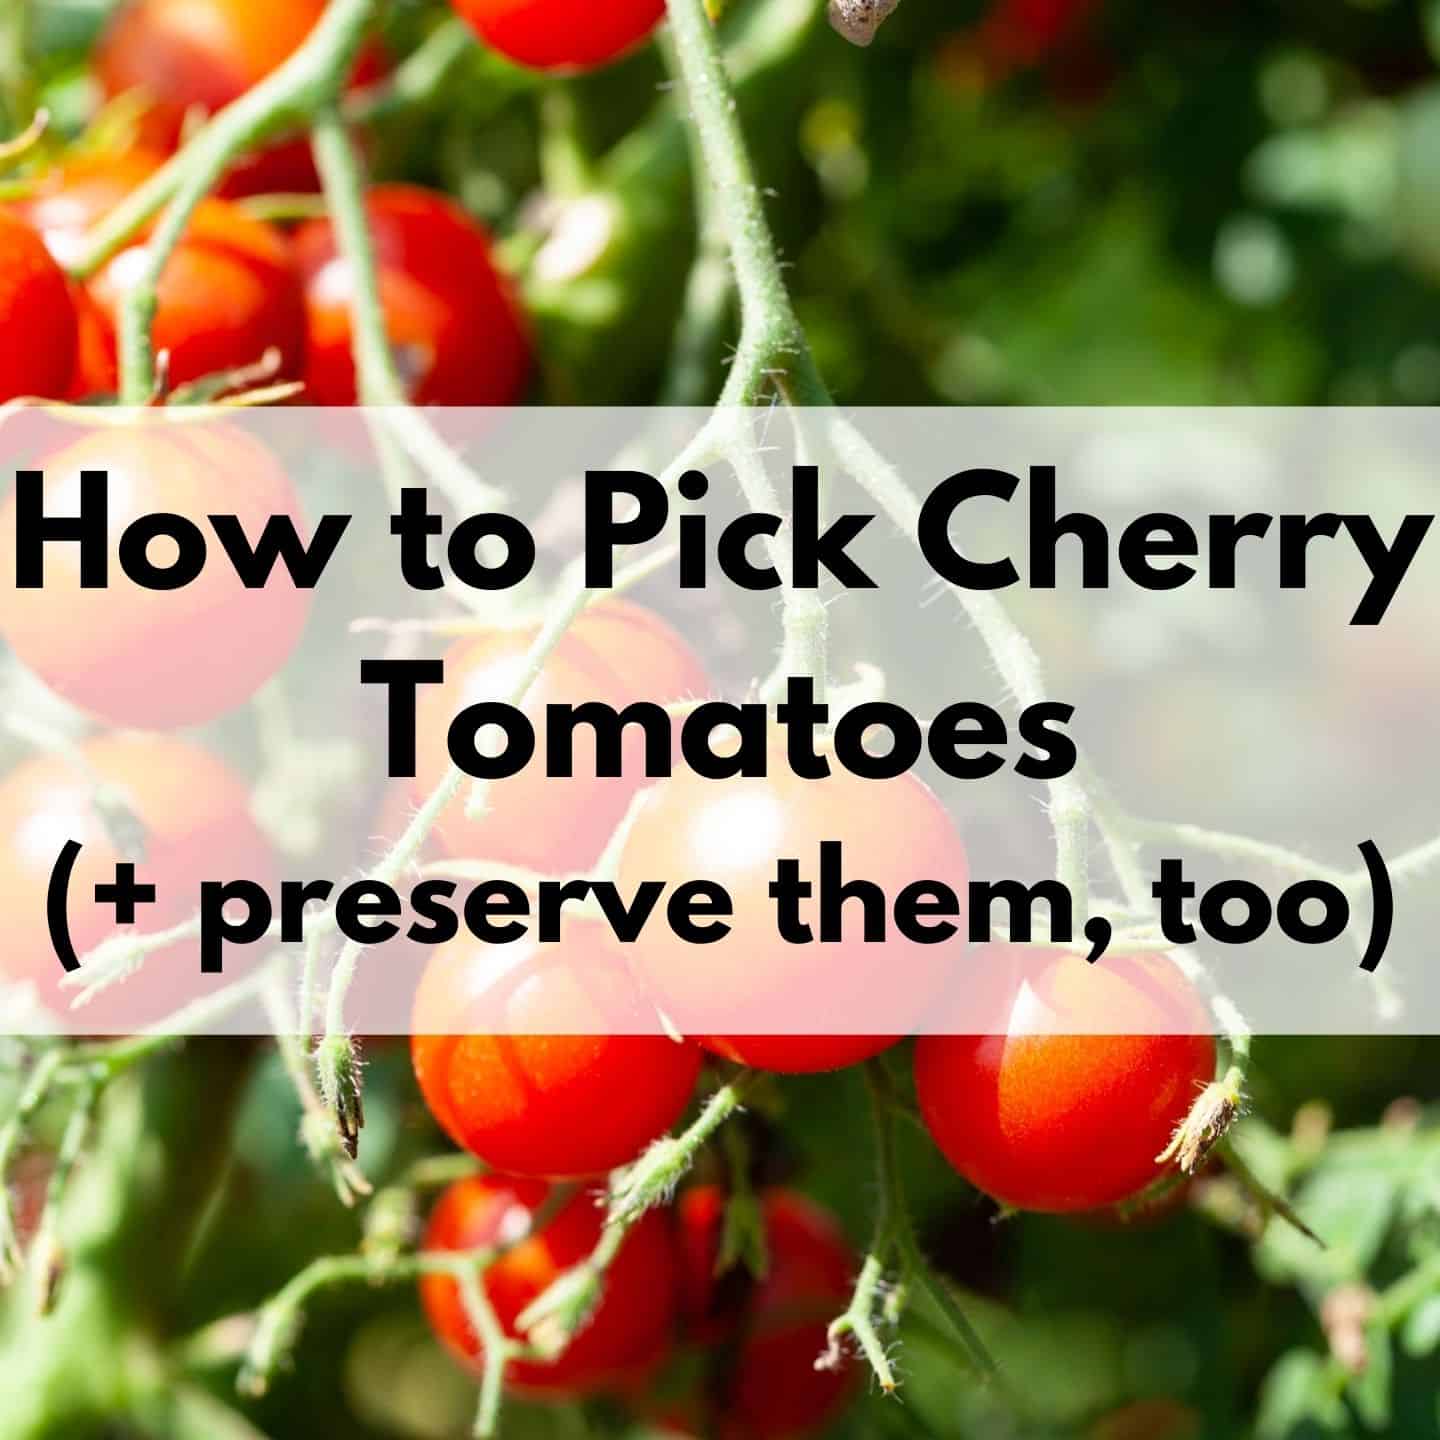
How to Pick and Preserve Cherry Tomatoes (plus drool-worthy cherry tomato varieties to try)
Discover how to pick and preserve delicious cherry tomatoes.
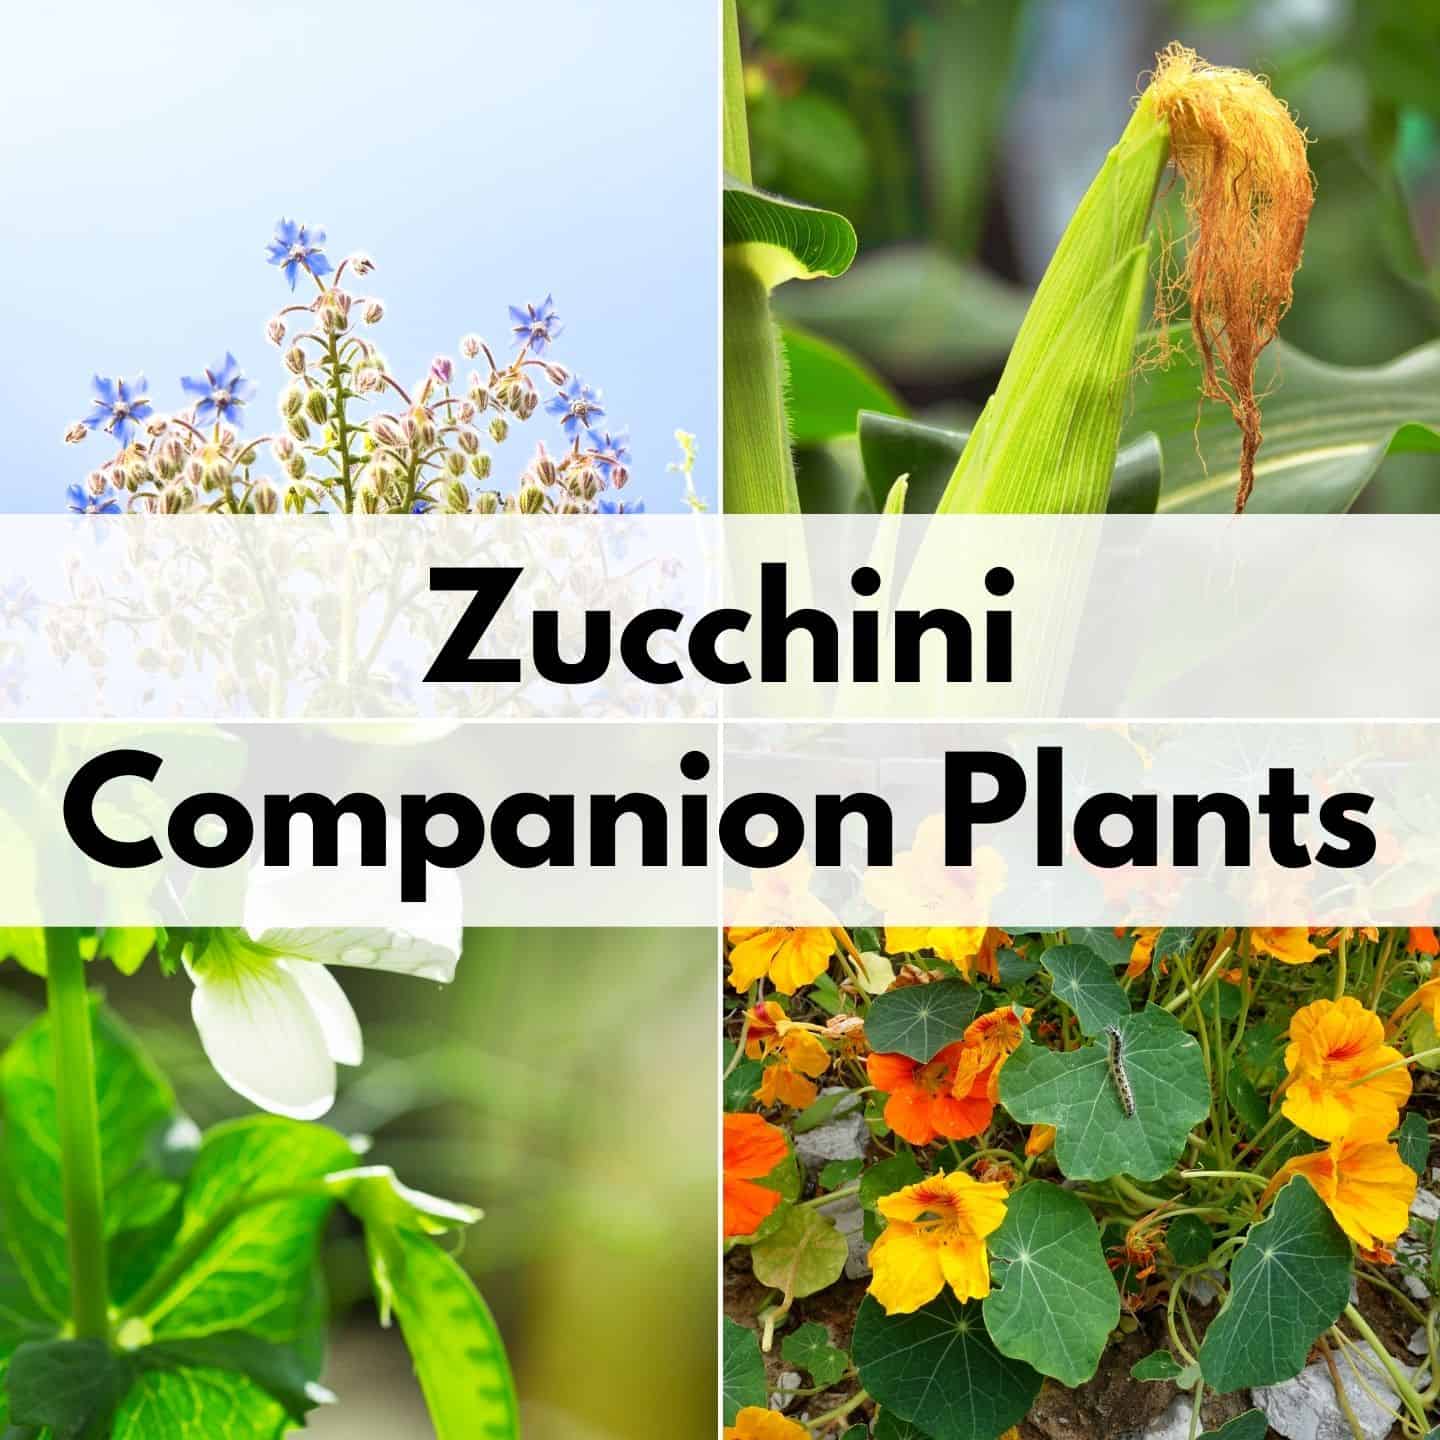
Must-Know Zucchini Companion Plants (and 5 plants to avoid)
Zucchini are a summer garden must-have. Learn how to companion plant them for a healthier, more productive garden.

How to Harvest Basil (Must-know tip for an abundant harvest!)
One basil plant can provide you enough for fresh eating and drying for homegrown basil all winter long when you discover how to harvest basil the correct way.
How to Harvest Parsley (without killing the plant)
One parsley plant can provide you with an ample harvest all season long...if you know how to pick it the correct way. Discover how to harvest parsley with this comprehensive guide and video!

Harvesting Tomatoes - How and When to Pick your Tomatoes
Discover how to harvest tomatoes and how to tell when they're ready to pick - even heirloom varieties with different colors.