Green beans are a staple summer vegetable that’s easy to grow and taste amazing when picked fresh from your garden. Both bush and pole varieties are easy to grow and can provide you delicious, nutritious fresh vegetables for weeks.
One of the keys to getting the freshest and most tender beans is picking them at the right time. If you get to them too late, they will be tough, stringy, and not worth eating. Too early and they can be floppy instead of crisp.
If this is your first time growing beans, here’s what you need to know about how and when to pick green beans so that you can catch them at their peak.
Although I refer to them as “green” beans in this guide, the exact same methods work for yellow beans and purple beans. I personally grow more purple beans than green-colored beans. Purple beans turn green when cooked, so don’t be surprised when your purple beans change color!
This post includes affiliate links. If you make a purchase using one of these links, Together Time Family will receive a commission at no additional cost to you.
Table of Contents
Harvesting Different Types of Beans
There are two main types of green beans you can grow: pole and bush beans.
In general, bush beans will be ready to pick before pole beans, but it’s a trade off. Bush beans don’t produce for as long as pole peans – most of the bush bean harvest happens over a span of just 2 or 3 weeks. I have had bush beans send out a second round of flowers, but they typically produce all of their flowers within the same relatively short window. Many people remove their bush bean plants after picking their beans.
People who can beans frequently prefer bush beans because your harvest comes during a relatively short period of time, which is ideal for canning and other preservation techniques. Pole beans are better at providing fresh green beans for the dinner table all summer long.
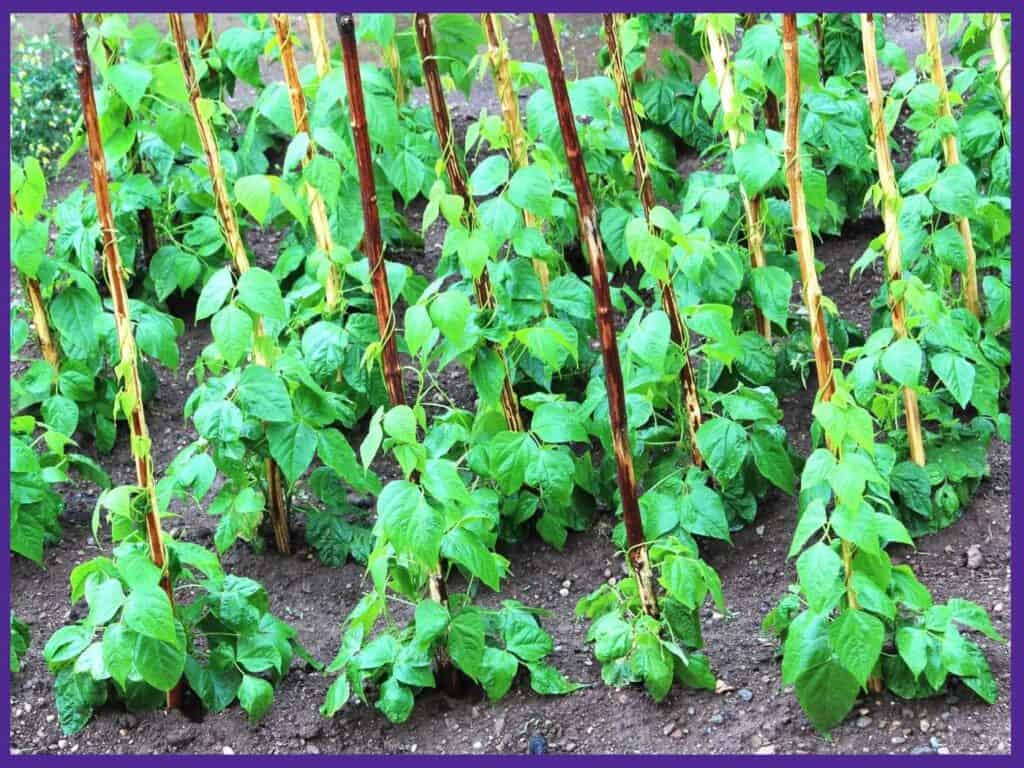
Pole beans, also called runner beans, take longer to grow and mature, but you can be picking from your plants for months once they get started. Pole beans are a vine, so they keep gaining length and sending out new flowers as long as they have space and the weather is favorable.
One of the keys to harvesting green beans is to do it regularly. Picking the beans stimulates your plants to produce more and gives you a longer harvest period. Plan to be harvesting every 2-3 days once the bean season starts.
When to Pick Green Beans
For Fresh Eating
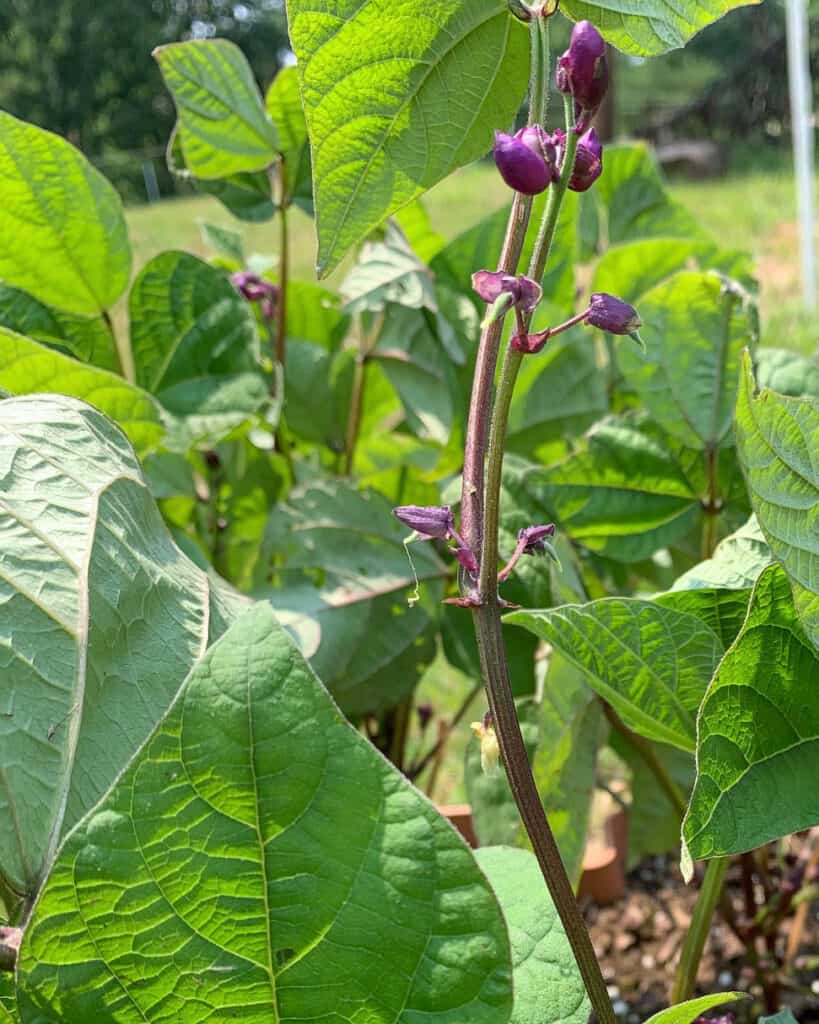
Bush beans are usually ready to pick 50-60 days after you plant them and pole beans 60-90 days after planting. This time frame will vary a bit depending on which variety you’re growing and weather conditions, but start checking your plants for beans a little less than 2 months in. You’ll know it’s time to keep a closer eye on your plants after you see tiny little beans appearing at the base of fertilized flowers:
If your days are consistently hot (above about 95º), don’t be surprised if your bean flowers aren’t fertilized. Pollen viability suffers in high temperatures, even for summer-loving plants like corn, tomatoes, and beans. Once temps cool down, your plants should start setting fruit. (Yes, botanically speaking beans are a fruit!)
Green beans are best picked when they are still small and tender- not when they become huge and bulging. Some bean varieties stay tender as they grow, others become more tough and stingy. Experience with your favorite varieties will help you know when to pick for the best flavor and texture.
Standard beans can be picked when they are anywhere from 3-7” long and still thin. Generally speaking, the individual beans in each pod become plump and start to bulge out, the beans are past their prime. Some beans, like many French varieties, have small seeds that will be virtually invisible inside the pod when the beans are ripe. Other varieties, like my personal favorite, Royal Burgundy Bush, may have more visible seeds and a pumper pod.
A good way to test a bean is to pick it off the vine and snap it in half. It should be crisp and snap cleanly. If the bean is floppy instead of firm, it’s underripe.
In the photo below, this bean is not quite ready to pick for the particular variety. It is still too skinny and likely wouldn’t pass the snap test.
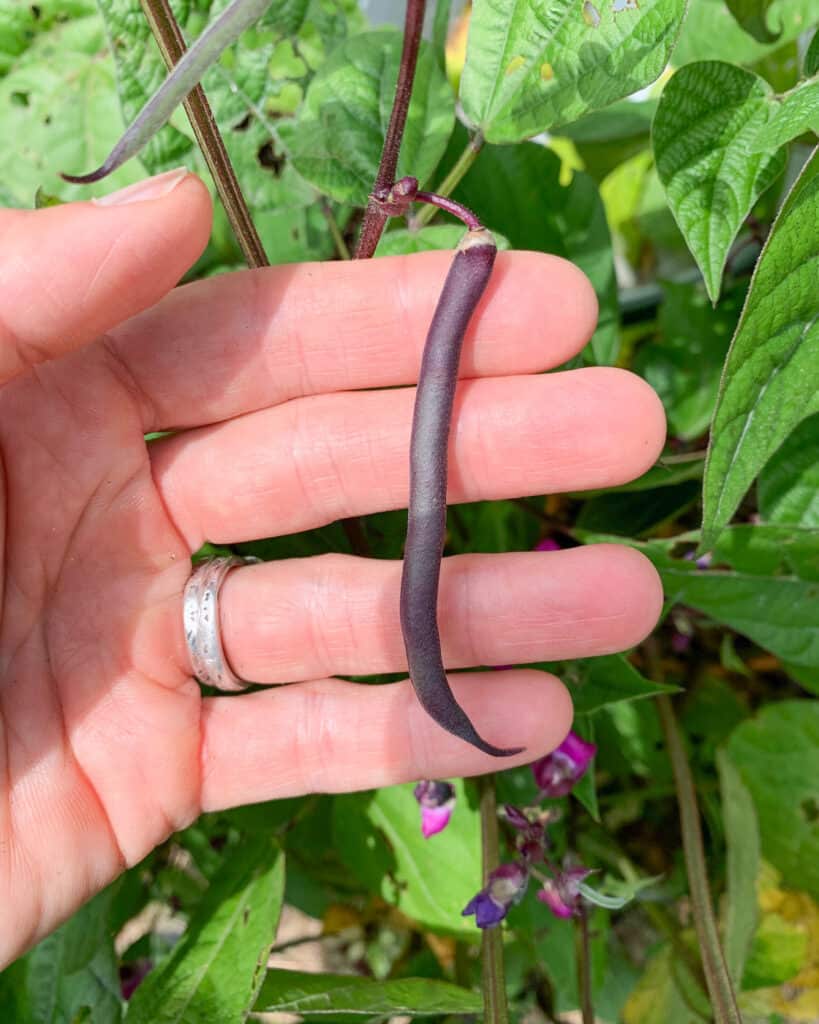
In the photo below, the bean is ready to pick. It’s firm and plump, but individual beans are not visible through the pod:
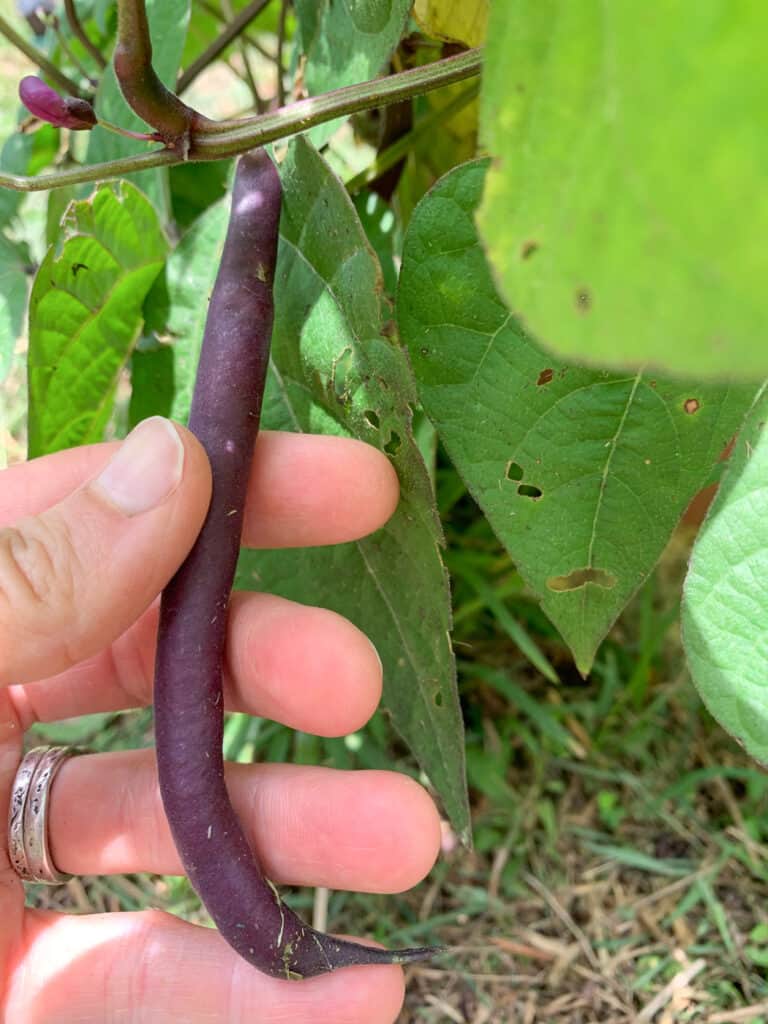
I love Royal Burgundy Bush Beans and plant more of them than any other variety. They look awesome, taste great, and purple vegetables are even more beneficial than their “normal” counterparts. My favorite supplier is Southern Seed Exchange because they always ship promptly and their seeds have great germination rates.
The size and length of mature beans depends on which variety you’re growing. French varieties, for example, grow very long and thin, while others are naturally short and plump.
The best way to tell your beans are ready is to compare them to what they should look like (there’s usually a picture on the seed packet) and do the snap test for crispness. With experience, you will learn what to look for in your favorite varieties.
Picking Beans For Seeds
Knowing when to pick green beans for seed-saving is very different from picking them for fresh eating.
In this case, you’ll want to leave a few pods on the vine until they turn brown and dry. By this point, the individual beans will be very plump and bulging, which is good because these beans will be your seeds for next year.
You can get several seeds from each pod, so you’ll only need a few pods to get a good amount of seed to save. Shell the beans when the pods are completely dry, and allow the bean seeds to dry out fully before storing them.
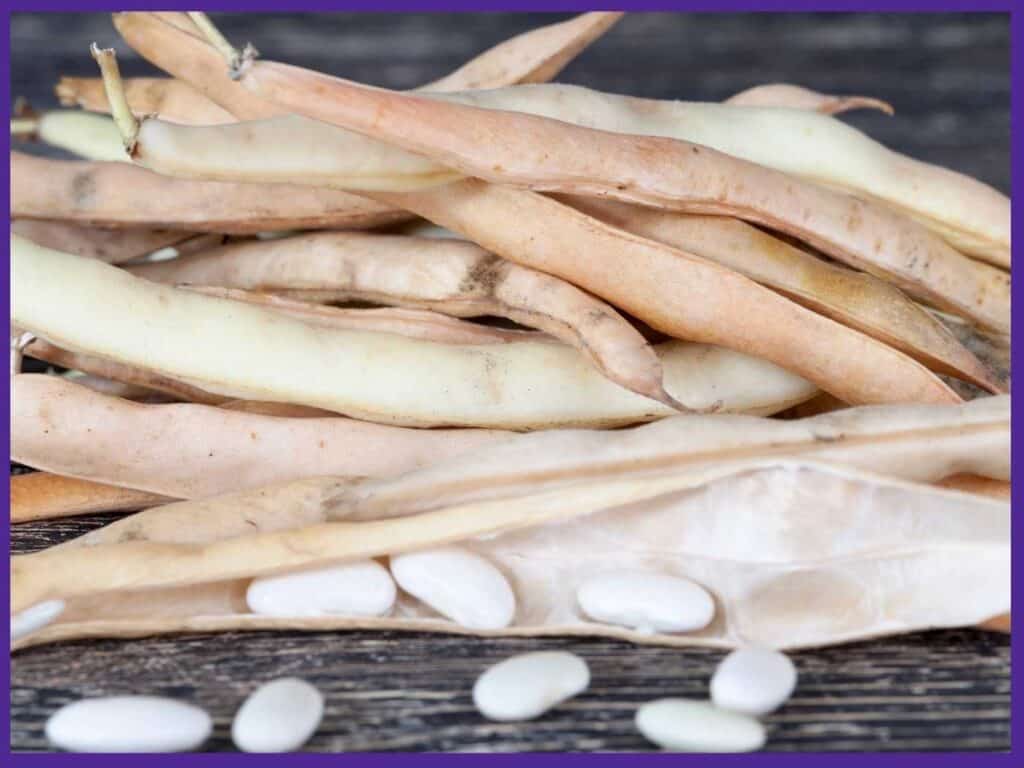
If you live in a humid climate, use a stacking dehydrator to fully dry your seeds before storage. Carol Deppe, author of The Resilient Gardener, writes that she dries purchased seeds in a dehydrator, repackages them, and has found the seed to be viable for years longer than seeds she didn’t dehydrate and repackage.
How to Pick Green Beans
Once your green beans are ripe, it’s harvest time!
Picking beans is simple. Just go out with a basket or similar container and pull or cut ripe beans off your plants.
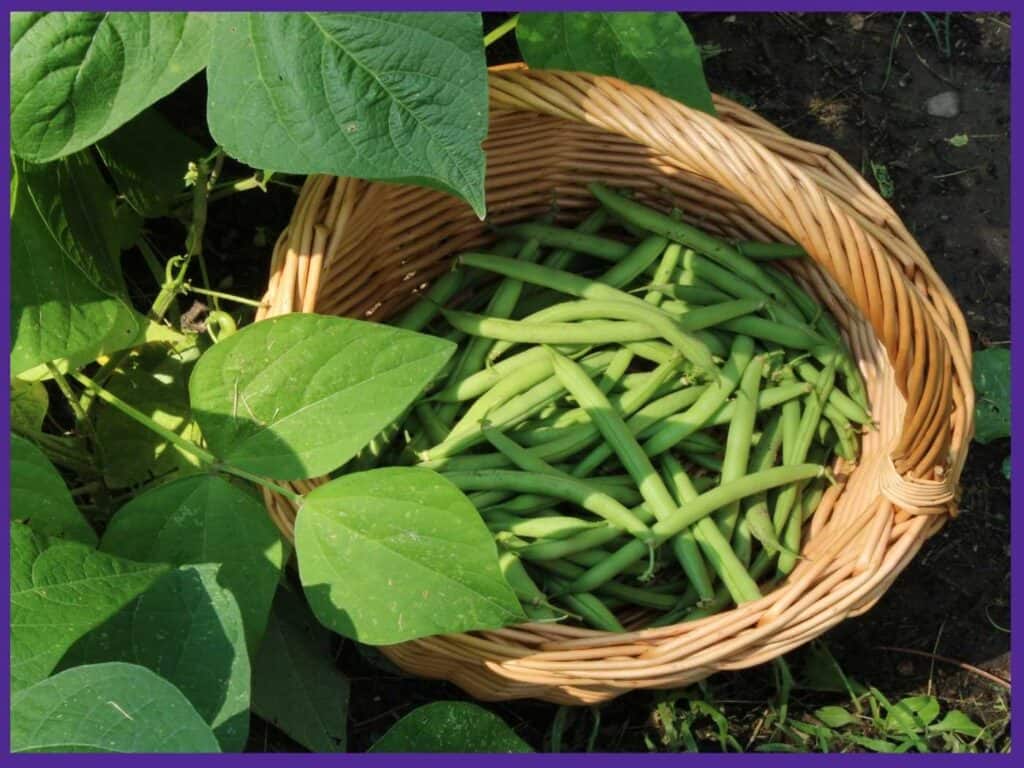
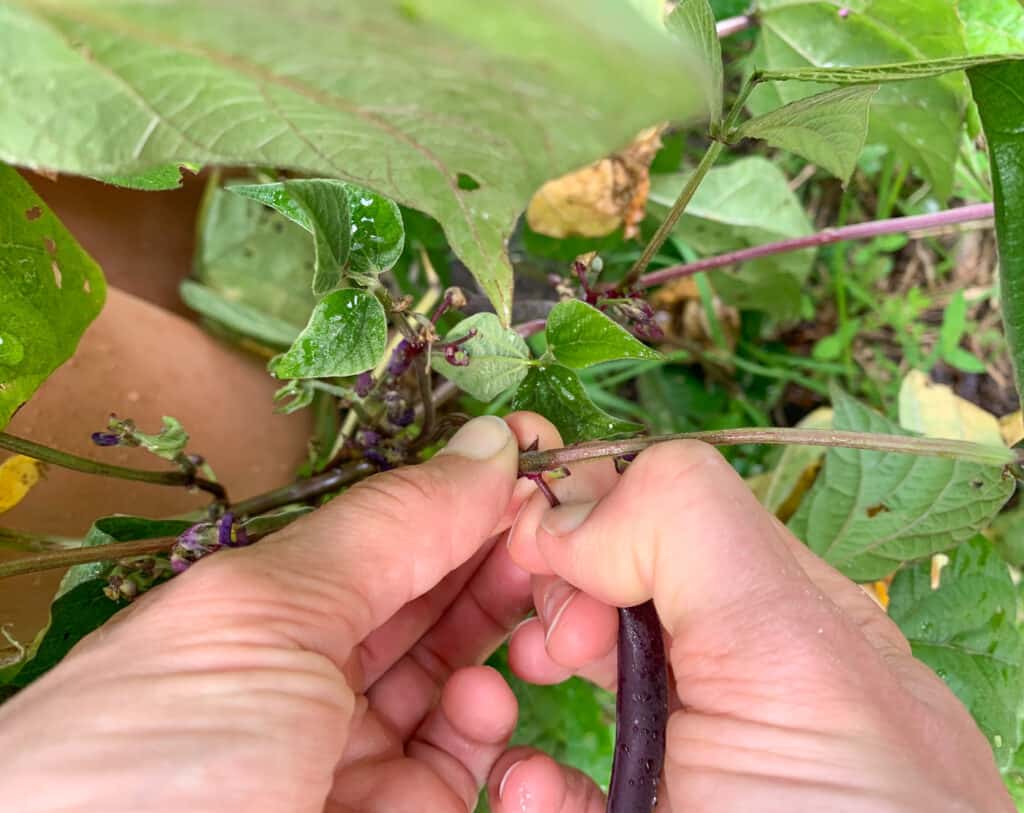
If you’re using your hands to harvest, hold your plant with one hand while you pull off the beans with the other. Grab each bean at the top of its stem and “pop” it off with your thumb. It should separate from the stem easily, but make sure you aren’t breaking off the tops of your beans.
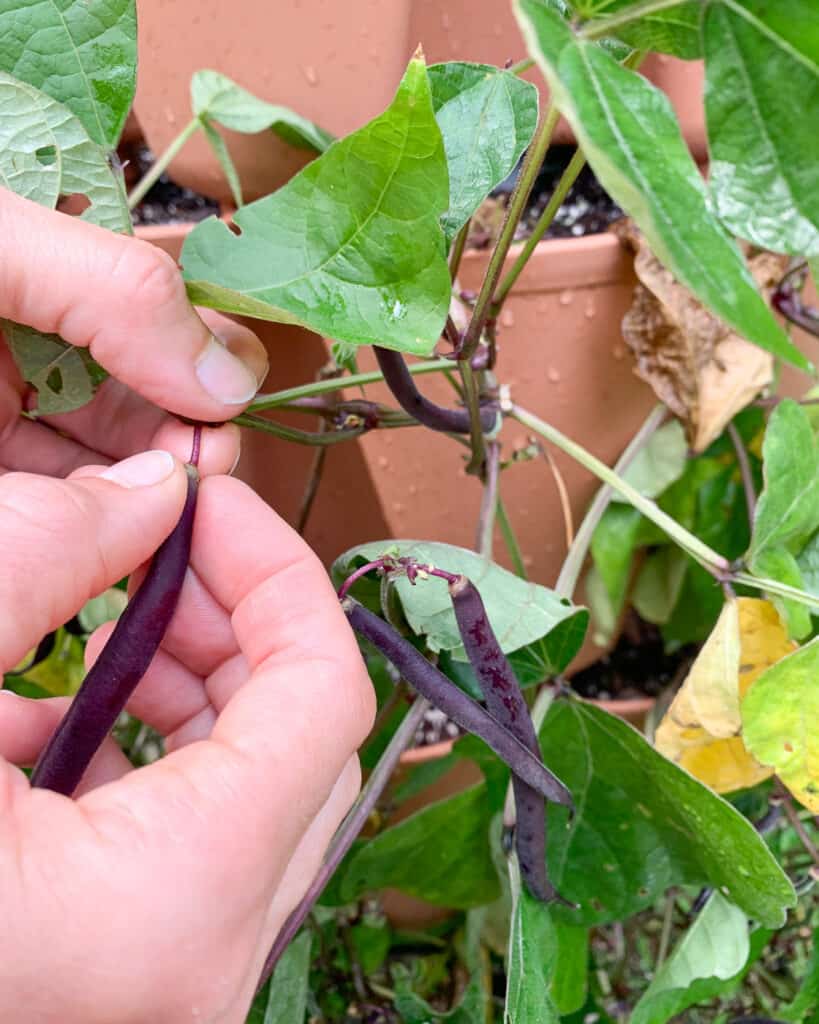
If “popping” the beans isn’t working well for you, try cutting through the tiny stem with your thumbnail:
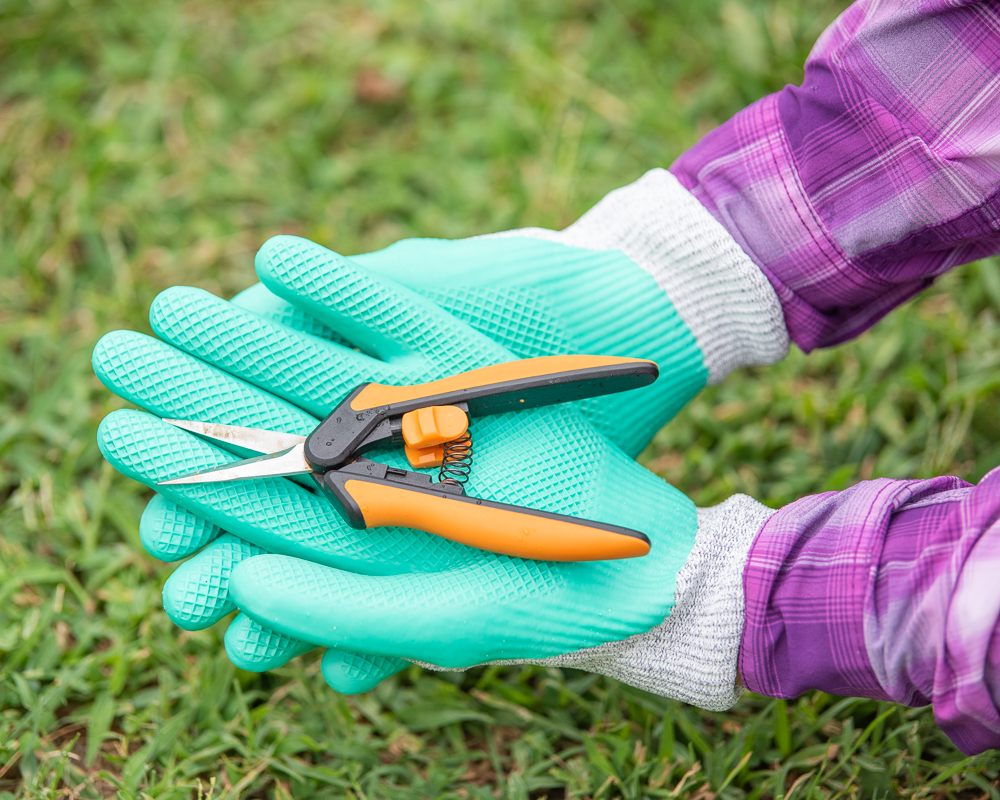
You can also use sharp scissors or garden clippers to simply cut off beans with a tiny bit of stem attached. Fiskars Micro-Tips are perfect for harvesting beans with a simple snip. They’re spring-loaded so they pop back open on their own for easy one-handed operation.
Either way, be sure you aren’t pulling too hard on your plants, or you may end up damaging them. Beans, especially bush beans, have relatively shallow root systems. They can also snap fairly easily, so make sure to hold your plant firmly when you pull beans off instead of tugging with one hand. Always remember, the more regularly you harvest, the more your plants will produce.
Tips for Storing Green Beans
Now that you know how and when to pick green beans, what do you do with the extras you harvest?
Unwashed green beans will keep in the refrigerator for about a week, but they will taste the best if cooked right after you pick them. Store uncooked beans in a sealed bag – they will dehydrate and become floppy if left uncovered or if you let them sit out on the counter. For longer storage, you can freeze, dehydrate, or can extra beans, depending on how much work you want to put into it.
To freeze them, blanch the beans first to help them retain their color and texture before storing them in freezer-safe containers. Blanching green beans is easy – toss your trimmed beans in boiling water for about 3 minutes, then promptly transfer them to an ice bath to stop the cooking process. Drain the cooled beans and you’re ready to go! They can be frozen or used for green bean salads. Celebrate your summer garden by making a quick salad with blanched green beans, fresh tomatoes, balsamic vinegar, and feta cheese. Yum!
You can also try pickling or fermenting some green beans for a sour, pickle-like treat. Dilly beans are a classic example of pickles made with green beans.
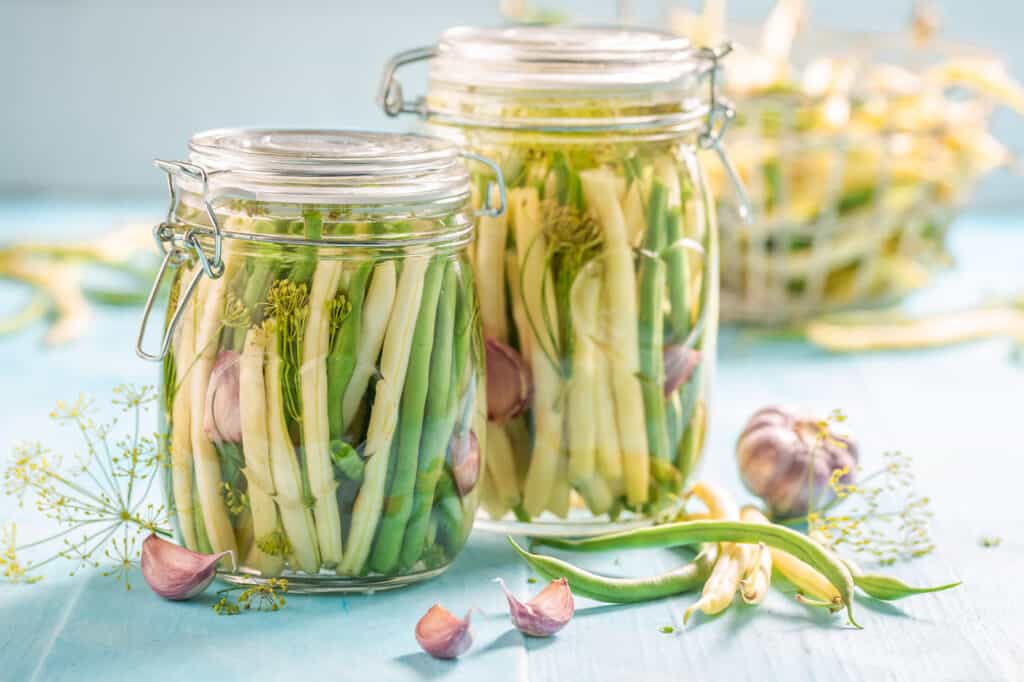
If you’re interested in creating fermented pickles, take a look at the book Fermented Vegetables. Lacto fermented foods do not use vinegar in the brine – you make a salt water solution and allow the vegetables to ferment naturally for a few days. My daughter likes to call them “kombucha pickles.”
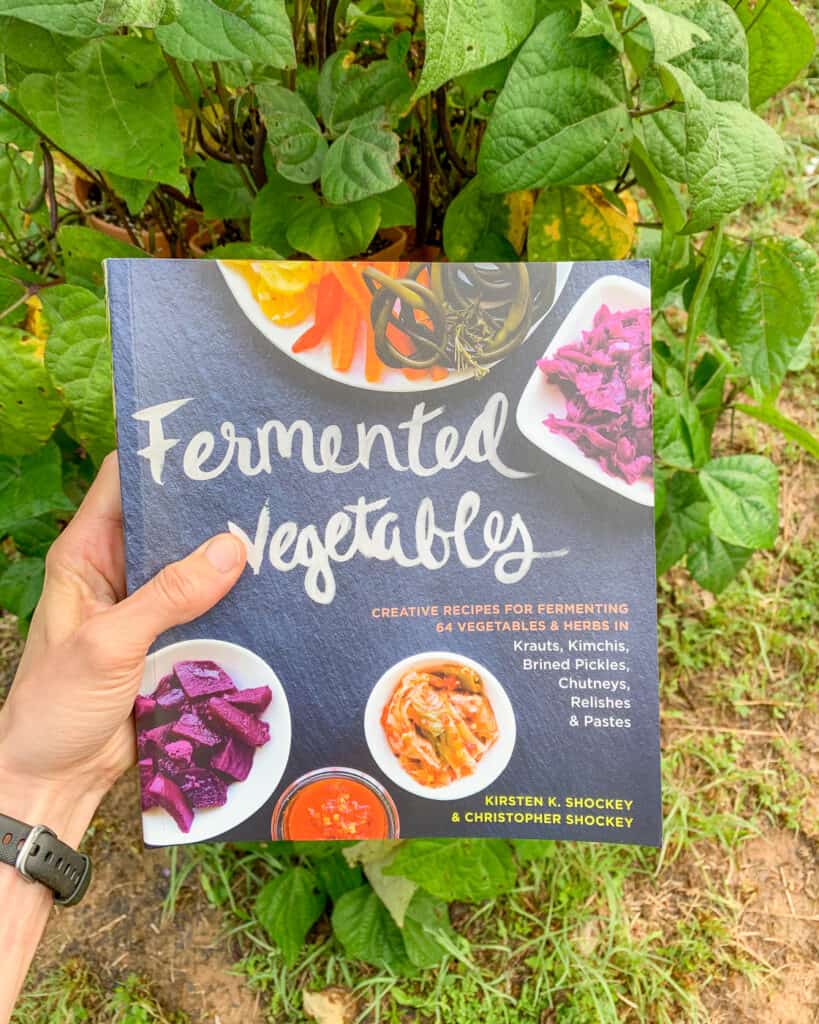
Once you get your hands on Fermented Vegetables, turn to page 216 for the start of the section on green beans. I love that the book gives recipes for creating your own spice blends if you don’t want to use a purchased pickling spice mix.
For canning green beans, be sure to refer to an authoritative, up to date canning resource. Modern canning guidelines ensure a safe final product. Green beans must be pressure canned. You can access the National Center for Home Food Prservation’s latest guidelines online. If you prefer a physical book for reference, the Ball Canning Back to Basics guide is an excellent choice. For a more general book on food preservation, including canning, Stocking Up is a classic.
Green beans can also be dehydrated if you have a more powerful dehydrator like an Excalibur. Stacking dehydrators typically don’t have the power to adequately dry green beans. The Excalibur guide to dehydrating lists green beans as “good” for dehydrating. Beans can be dehydrated whole, cut into pieces, or Frenched. Tammy Gangloff, author of The Ultimate Dehydrator Cookbook, recommends blanching beans before dehydrating them at 125ºF.
Enjoying Your Summer Harvest
As you can see, it’s easy to harvest green beans. Once you get your method down, you won’t even have to think about it much- you’ll just know when they are ripe and go out to pick them.
If you’re growing pole beans, your biggest problem may be an overabundance of beans. Share them with your neighbors or preserve the bounty for later. Once you taste homegrown green beans, you’ll never want “store” beans again.
Make sure to check out these additional guides for planting and harvesting summer garden favorites while you’re here on Together Time Family:
Popular summer vegetables and herbs
Discover how to grow popular vegetables and herbs in your backyard garden or container garden with these in-depth vegetable growing guides.
7 Easiest Vegetables to Grow for an Abundant Harvest (and 5 to avoid!)
Discover the easiest vegetables to grow for beginners so you can have a healthy, successful garden.
Discover these must-know tips for planting yellow squash and common squash growing mistakes and problems.
How to Pick and Preserve Cherry Tomatoes (plus drool-worthy cherry tomato varieties to try)
Discover how to pick and preserve delicious cherry tomatoes.
Must-Know Zucchini Companion Plants (and 5 plants to avoid)
Zucchini are a summer garden must-have. Learn how to companion plant them for a healthier, more productive garden.
How to Harvest Basil (Must-know tip for an abundant harvest!)
One basil plant can provide you enough for fresh eating and drying for homegrown basil all winter long when you discover how to harvest basil the correct way.
How to Harvest Parsley (without killing the plant)
One parsley plant can provide you with an ample harvest all season long...if you know how to pick it the correct way. Discover how to harvest parsley with this comprehensive guide and video!
Harvesting Tomatoes - How and When to Pick your Tomatoes
Discover how to harvest tomatoes and how to tell when they're ready to pick - even heirloom varieties with different colors.

Natasha Garcia-Lopez is an avoid home-gardener and proud owner of 88 acres of land in rural West Virginia. She was a member of the Association for Living History Farms and Agricultural Museums for many years and is currently enrolled in the Oregon State University Master Gardner Short Course program so she can better assist you with your gardening questions.She holds a certificate in natural skincare from the School of Natural Skincare.




Leave a Reply