Growing Celery – How to Plant & Grow Celery from Seed
If you’ve ever thought that celery was flavorless, you’ve probably never tried the homegrown kind. Grown in your own garden, celery can be wonderfully crisp and flavorful and won’t have any of the pesticides that are normally sprayed on it.
Celery is usually not the best crop to start with for beginners because it has a long growing season and typically requires transplanting. However, it’s not really that difficult if you follow the right method. Celery is almost always on the Environmental Working Group’s “Dirty Dozen” list of plants with excessive pesticide residues, so it’s worth growing at home.
Here’s everything you need to know about how to grow celery- from seed to harvest.

This post includes affiliate links. If you make a purchase using one of these links, Together Time Family will receive a commission at no additional cost to you.
All About Celery
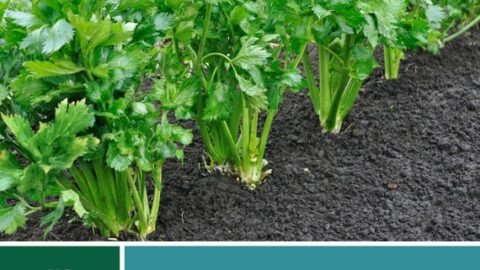
Celery (Apium graveolens) belongs to the same plant family as carrots, parsley, parsnips, fennel, and cilantro. Like other members of this family, it prefers cool weather to grow in, which is an important tip for growing it successfully.
Technically a biennial, celery is usually grown as an annual vegetable. It can be grown in USDA hardiness zones 2-10 as long as you can give it about 4 months of relatively cool weather.
Celery stalks usually grow about 12-18” tall with leafy growth at the top that can be harvested and used as an herb. Plants only need to be spaced 6-12” apart, so you can fit quite a few in a small area. Planting closely helps keep the stalks tender and mild, so don’t spread them out too much.
An added bonus of growing celery at home is that you can harvest it as a cut-and-come-again plant, which means you’ll get a pretty large harvest from just a few plants.
When to Plant Celery
One of the most important parts about how to grow celery is planting time. Getting this right is a big key to success and will depend on the climate where you live.
If you have a cool spring and cool first part of summer, it’s best to plant celery in early spring so that you harvest it in summer. If you live somewhere with warm springs and hot summers, you should plant in summer for a late fall harvest.
Celery can also be a good winter crop if you live somewhere without freezing temperatures or have season-extenders such as a greenhouse. In this case, plant in late summer for a winter harvest. For an introduction to season extenders that won’t break the bank, make sure to check out Niki Jabbour’s Growing Under Cover. She grows vegetables year round in Canada. If she can do it, so can you!
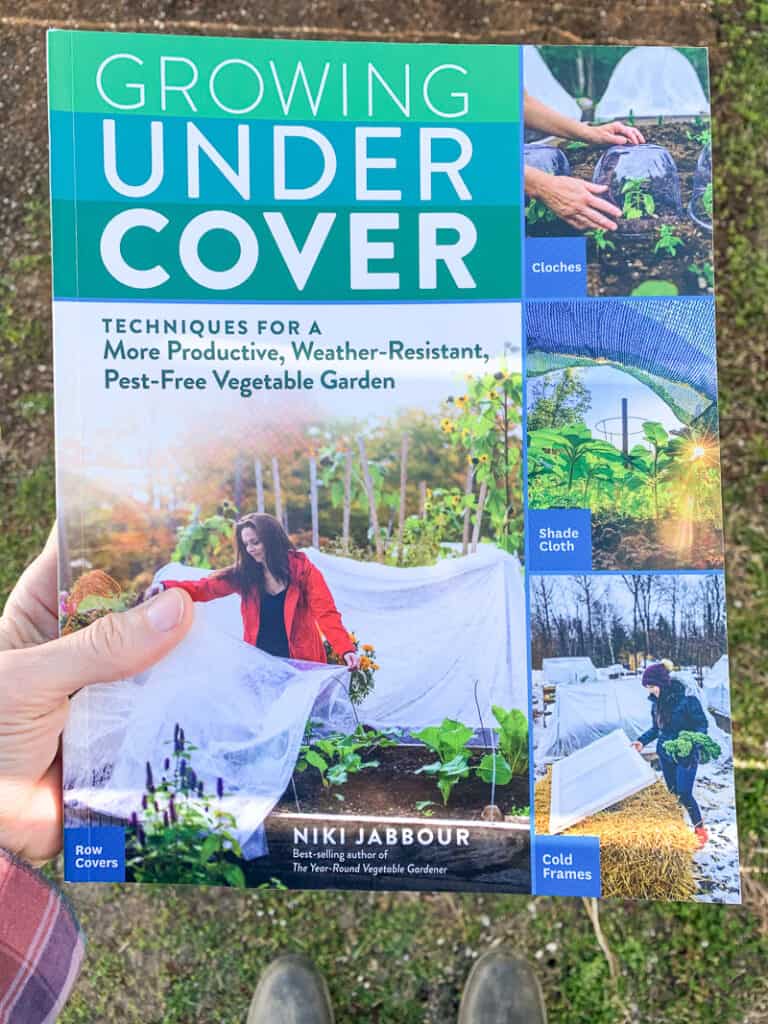

- Jabbour, Niki (Author)
- English (Publication Language)
- 216 Pages - 12/22/2020 (Publication Date) - Storey Publishing, LLC (Publisher)
Celery Varieties to Grow
There are several different types of celery available. If you want to eat large, developed stalks, make sure to avoid “cutting celery.” This plant grows more quickly and is great for having a bit of celery flavor in a small space, but it doesn’t produce large stems. It’s grown primarily for its leaves. There’s nothing “wrong” with cutting celery – just don’t get it by accident if you want big celery stems!
Celery Seeds
Tendercrips Celery Heirloom Seeds
Tendercrisps is a compact plant with (like the name says) tender, crispy stalks.
This seller, Southern Seed Exchange, is one of my personal favorites. They always ship promptly and I've had fantastic luck with their seeds every time I've planted with them.
Celery Utah 52-70 Organic
Utah 52-70 celery is a grower favorite. It's known for being stringless and producing foot-long, crispy stalks. Although it's tall, it has a compact growth habitat that makes it great for smaller spaces. In plain English, this means the stems grow tightly together and straight up instead of spreading out broadly.
Pascal Celery - Heirloom
Pascal is a classic French heirloom celery known for long, flavorful stalks.
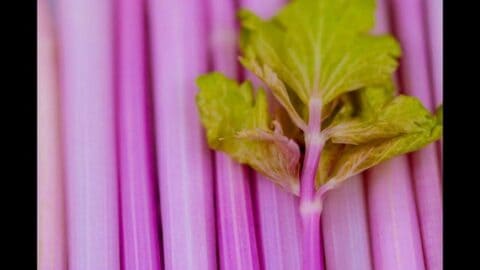
Organic Pink Celery Seeds
Pink celery is a rare Chinese heirloom with a stunning pink hue. You can eat the rainbow when this pink celery is growing in your garden!
How to Grow Celery from Seed
Because celery needs such a long growing season, it’s best to start it from seed indoors.
For spring planting, start your seeds 8-10 weeks before your last average frost date in the spring. To plant in summer for a fall harvest, start seeds at least 12 weeks before your first frost date in the fall. This could be anywhere from May until July, depending on your location. Make sure to look up your plant hardiness zone if you’re not sure of what to expect.
To aid germination, you can soak celery seeds in warm water overnight before you plant them. Then sow them on top of damp seed starting mix in trays or flats. Celery seeds need light to germinate. Like its carrot relative, celery can take a while to germinate and has a lower germination rate than fast-growers like radish. Be patient and keep your soil moist.
Celery seeds are tiny, but do your best to space them about an inch apart or sow 2-3 per cell. You can thin them out later when they sprout.
The best way to help your seeds germinate is to water them and cover your trays with plastic domes or plastic wrap to keep the moisture in. Set them somewhere warm and have patience- it can take up to three weeks for the seeds to sprout.

- The only new design in the market: Transparent cover height 3.3", which provides more space for your seeds to grow. With circular vents, you can well...
- Seedling trays with drain holes:With drain hole at bottom of each cell for proper drainage. Each cell is 1.5” square by 2” deep. Suitable for...
- Base green tray:The basic base is very important to collect the excess water and fallen soil from the tray, keep it clean and tidy, and is easy to...
Don’t have a seedling tray? No problem! Use a self-contained grow medium like Jiffy pellets and place them in a container like a plastic tray from a salad mix or the cut off bottom of a milk jug.
No products found.
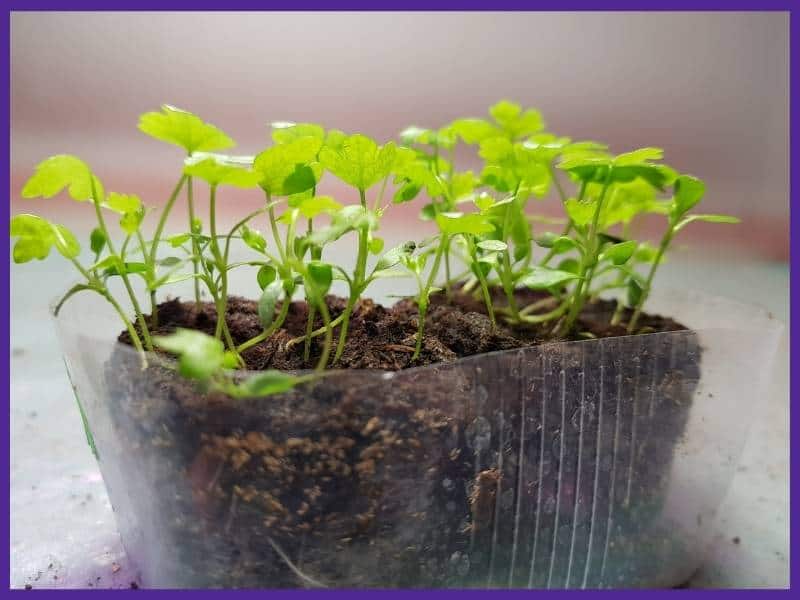
Once your seedlings appear, place them under grow lights. Ideally, you want to give them 12-16 hours of light a day and keep them at a temperature of 70-75°F during the day. If you can, let the temperature drop to around 60°F at night, but don’t worry too much if this isn’t possible.
For young seedlings, these inexpensive clip on grow lights are usually adequate. I prefer not to use my grow light panel on young seedlings because (in my experience) the extra heat dries them out quickly.

- [AUTO TURN ON/OFF & TIMING FUNCTION]: Our Grow Light is the latest in plant growth lamps with an automatic timing function and a USB plug (comes with...
- [EFFICIENT RED/BLUE LED COMBINATION]: This LED lamp has grow lights made up of 80 efficient growing LEDs (52 red and 28 blue). It meets the conditions...
- [9 DIMMABLE MODES & 3 SWITCH MODES]: Our grow lamps provides 9 dimmable modes and 3 spectrum modes to suit varied stages of plant growth. It has 9...
When the seedlings are about 2” tall, transplant them to individual pots if you are growing them in an open flat. At 6” tall, they are ready to be transplanted to your garden.
How to Plant Celery
Choosing & Preparing a Spot
Choose a spot for celery that receives full sunlight. It likes to grow in moist, enriched soil, so try to find a spot that mimics these conditions.
To make your soil richer, spread out a 2-4” layer of compost or well-rotted manure over your planting area. If you use manure, be sure to use it from a work it from a source you know and trust. Many gardeners have accidentally introduced herbicides into their garden through contaminated manure. Learn more about this and how to make your own compost, in David Goodman’s guide Compost Everything.
People frequently recommend working compost into the soil about 12-15” deep. This typically isn’t actually necessary – the nutrients will work their way in without the extra work on your part. If it’s what you’ve always done and you want to fork it in, go for it.
While many other vegetables prefer well-drained soil, wild varieties of celery actually used to grow in boggy ground. This doesn’t mean your more cultivated celery wants to grow in soggy soil, but it will do better in soil that retains moisture for longer.
Harden Off Seedlings
About two weeks before you transplant celery to your garden, make sure you harden it off. This is a process of gradually exposing your plants to more and more outdoor weather until they are completely acclimated.
Start by taking them to a sheltered spot on a mild day for a few hours. Work up to longer and longer periods until you can leave them out all night (as long as there’s no threat of frost).
To learn more about this process, and why it is necessary (even in mild climates), stop by this guide to how to prepare your seedlings for transplanting.
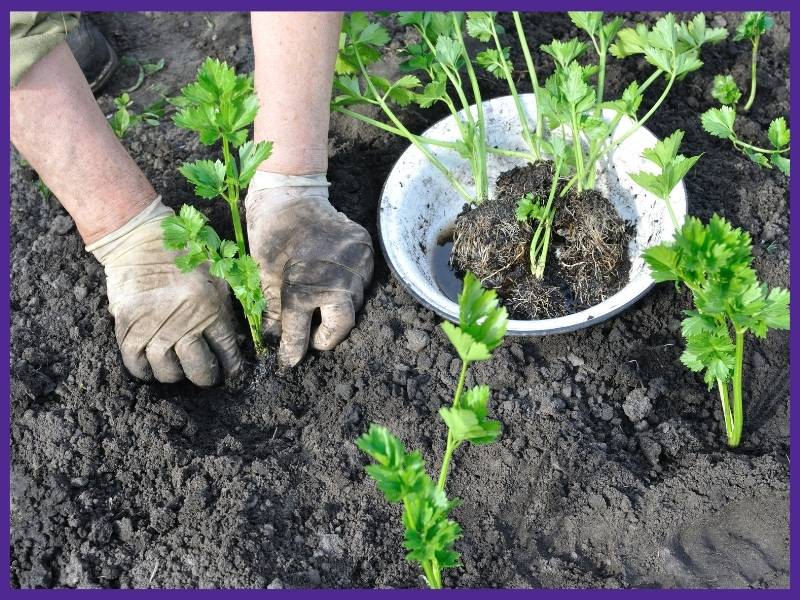
The Planting Process
Even though celery likes cool weather, plants are sensitive to cold temperatures. If you are planting in the spring, make sure all danger of frost has passed and the soil temperature has reached at least 50°F before you plant.
After you’ve gradually acclimatized your plants to the outdoor world, plant them so that the top of the root ball is just underneath the soil.
Space plants 6-10” apart in rows that are about 2’ apart. By spacing them closer together, you can fit more plants in but the stalks will be more slender. Give them more room and you’ll have fewer plants but larger stalks. Don’t space them too far or the stalks will be more bitter and tough because they receive additional sunlight.
Make sure you water your new plants well, and prepare to watch them grow! I always use a watering wand for seedlings. Its shower of water is more gentle on young plants. Hard jets of water can damage plants and their root structures. Discover more about watering wands here.
Celery Plant Care
An important part of how to grow celery (and many other vegetables) is plant care.
One of the best things you can do for your celery plants is to make sure they get a consistent supply of water, particularly during warm weather. If you don’t water regularly, you’ll end up with dry and stringy stalks when you try to harvest.
Adding mulch around your plants to help with water retention and to keep weeds down. Be sure to take care of any weeds that do pop up to make sure they aren’t competing with your plants. This is most importnat when the plants are young. Once they get larger, they’ll shade out most of the weeds.
Celery will grow best if it gets fertilized part way through the season. An easy way to do this is to “mulch” around it with compost so that nutrients will trickle down to the roots when the soil gets watered. Worm castings are another option. They’re a natural, slow release fertilizer. Have a friend with bunnies? Rabbit poop can be applied directly to your garden as fertilizer!

- 100% Pure Castings: Each bag of WIGGLE WORM Worm Castings is OMRI listed organic, nutrient-rich, and mineral-dense pure castings, not vermicompost or...
- Improves Soil Structure: WIGGLE WORM Pure Worm Castings are tiny, football-shaped particles which help improve soil aeration, while also creating...
- Easy-to-Use: Apply WIGGLE WORM worm castings into your garden soil above the root zone three times a year or to the hole during transplant or seeding...
A final optional care task is a process known as blanching.
Blanching happens when you cover the stalks with soil to prevent sunlight from reaching them. This makes the stalks whiter and less nutrient-dense but also sweeter and more tender. You can also use straw or another material to cover the stalks if you don’t have enough soil.
According to English gardening guru Charles Dowding, blanching with soil increases the risk of slug damage. He recommends planting celery closely so that foliage blocks out some of the light to the stems and “blanches” without the need for soil.
Most celery varieties don’t have to be blanched, so whether you do it or not is really about flavor preference.
Common Pests and Problems
Celery typically doesn’t have any serious pest problems, which makes plant care a little easier. However, you may run into trouble with slugs if you are planting in spring. Protect your seedlings by putting crushed egg shells around them or using slug traps.
The best way to avoid diseases that may affect your plants is to practice crop rotation by not planting celery where other members of the carrot family have been in the past few years.
Also, be aware that you may find some black and green striped parsley worms on your plants at some point in time. These caterpillars will turn into swallowtail butterflies and are considered beneficial insects, so try to leave them alone! I typically move these caterpillars from parsley and carrots and place them on my parsley, instead. Parsley usually regrows vigorously, even after it’s eaten down aggressively.
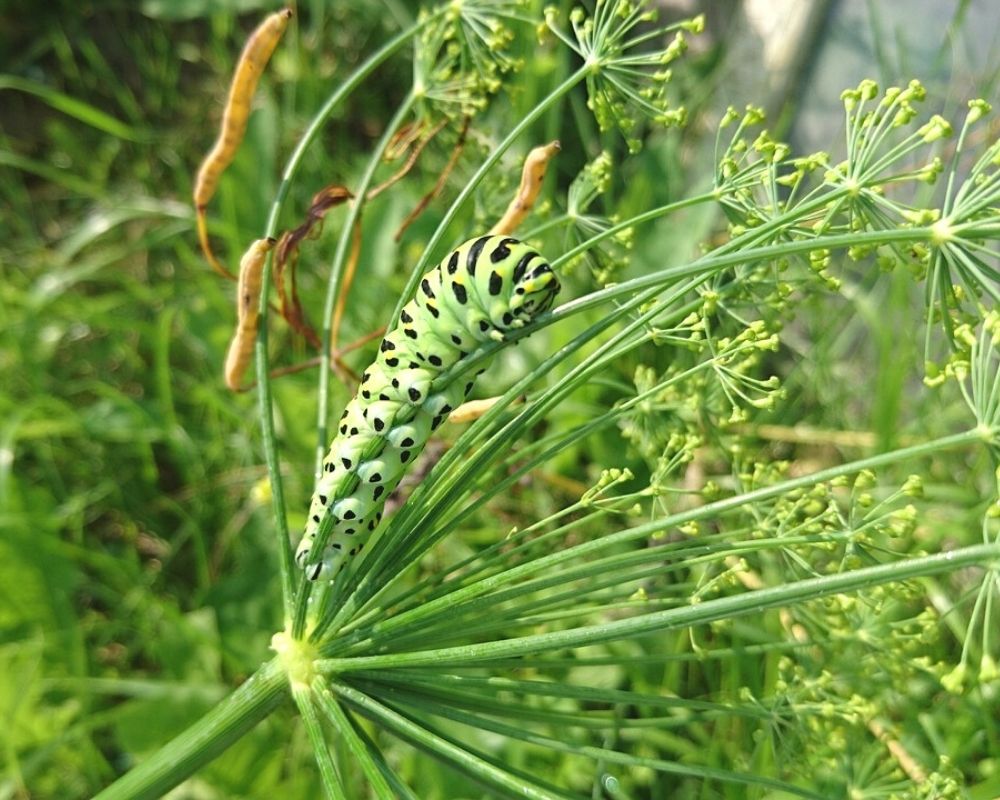
Wear gloves when you move swallowtail caterpillars. They don’t have stinging spines, but they do have a little appendage that looks like a forked horn that pops out of their head. It’s called an osmeterium and contains a stinky substance that’s hard to wash off your hands. This gland and the smelly substance are part of the caterpillar’s defenses against predation.
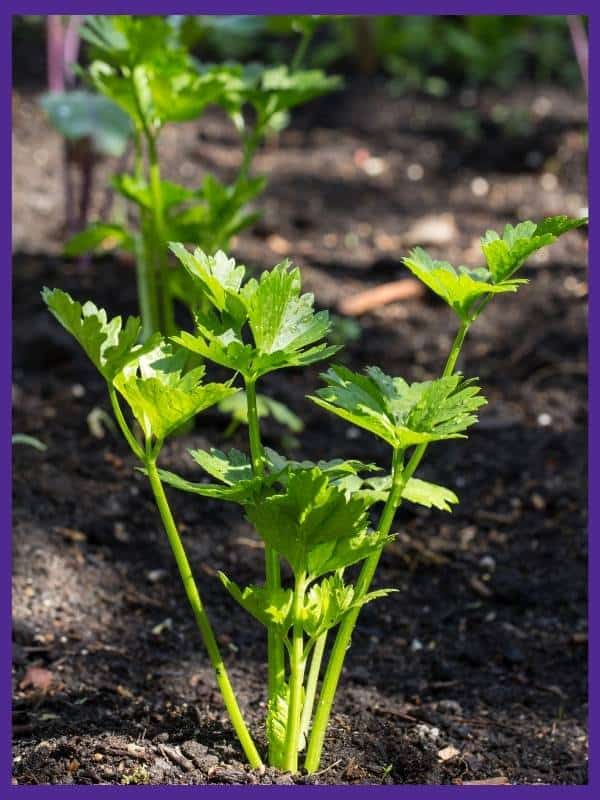
How to Harvest Celery
You can harvest celery stalks any time after they get about 8” tall. Pick them when they reach the size you want. (If you’ve never tried them, younger celery stalks are often even more intensely flavored than older ones, even though they are smaller.)
One of the best parts about growing your own celery is that you can harvest stalks any time you want and let your plants continue to grow and produce more. Always harvest the outer stalks first and allow the center of the plant to keep growing.
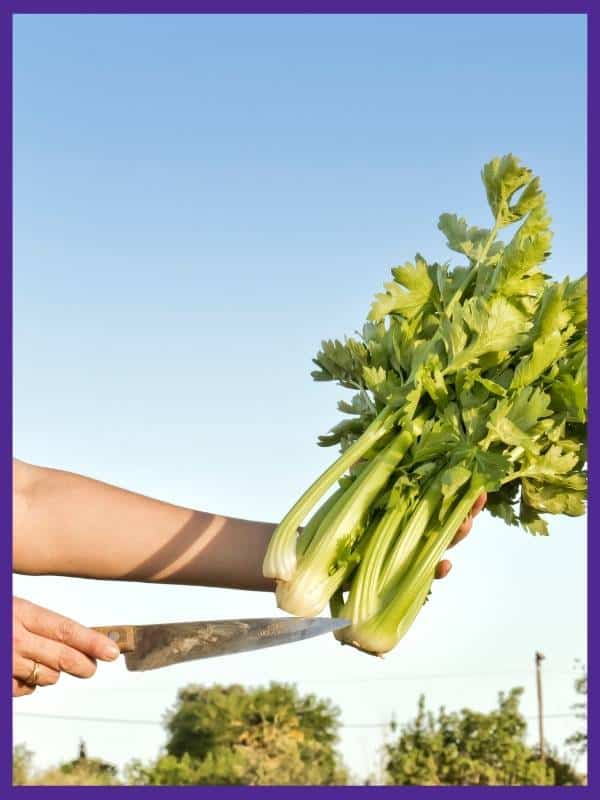
You can break stalks off of your plants (carefully) or use a clean knife to slice them off at the base. Cutting is a much better choice that’s less likely to damage your plants. You can use a specially-shaped celery harvesting knife with an L-shaped, angled blade. You can also use a sharp “regular” knife. Garden clippers are more likely to crush and damage your plant.

- Zenport K130 celery knife features a 420 stainless steel 8.5-Inch long L-shaped blade
- The L-shape blade allows the harvester to utilize a perfectly angled forward facing 4-Inch wide blade to accommodate the rapid harvesting of celery
- This knife can also be used for use on a variety of thicker-stemmed plants
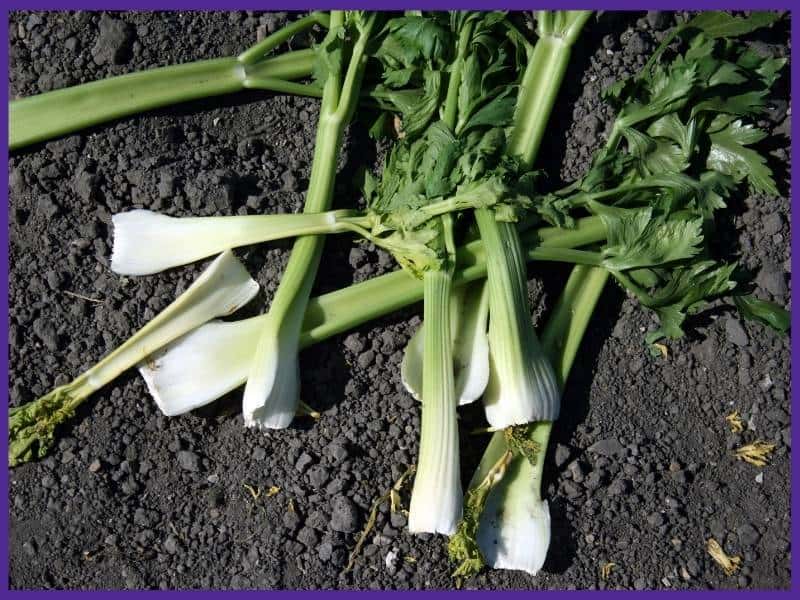
At the end of the season, or if you want a large bunch of celery, you can harvest whole plants by cutting them off right at ground level. Keep in mind that celery can take a light frost but not harder ones, so harvest before freezing weather.
To store celery, place it in a plastic bag in your refrigerator where it will last for several weeks.
Can you Eat Celery Leaves?
Now that you know how to grow celery at home, you can enjoy a special treat – celery leaves. The leaves are often cut off the stalks that are sold in grocery stores, but they are full of flavor and excellent in soups, salads, etc.
Harvest individual leaves during the season whenever you want and save the leaves off of any stalks you harvest. That way, no part of your plants will go to waste!
Celery leaves also make a fresh treat for backyard chickens. Don’t have chickens (yet) or think you don’t have the space? The book Polyface Micro may change your mind. The author, well-known pastured animal advocate Joel Salatin, explains how to raise healthy, happy chickens, even in a small space. Even just a pair of hens will take care of a small family’s kitchen scraps, produce less poop than a dog, and provide you with fresh eggs.
We used to swear we’d never have chickens…then we discovered how useful and hilarious they are. Now we can’t imagine not having chickens.
But enough about chickens. Whether or not you have them, I hope you enjoy growing, and eating, your own celery! Be sure to check out these additional grow guides here on Together Time Family:
Cool Weather Crops to Grow
Spring, fall, and even winter can be a fantastic time for gardening. Discover these delicious cool weather crops for your year-round vegetable garden!

How to Plant & Grow Beets for a Successful Harvest
Beets are easy to grow and love cooler weather. The roots and tops are edible and they taste even better after a frost.
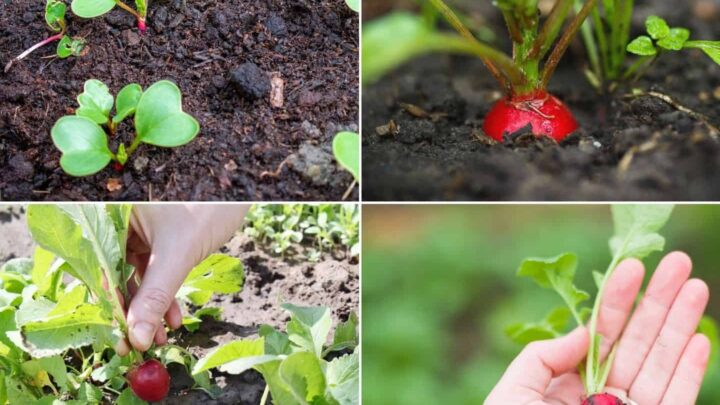
How to Plant and Grow Radish from Seed
Radishes are one of the fastest-growing vegetables. Both the greens and roots are edible and can be ready to harvest in just 3-4 weeks.
How to Plant and Grow Cabbage
Cabbage is a little more challenging to grow, but homegrown cabbage is so delicious that it's worth the effort. Discover how to plant and grow cabbage (plus how to combat annoying cabbage pests).

How to Plant and Grow Arugula
Arugula is quick and easy to grow. Discover how to plant and grow this salad favorite!


Growing Fennel - How to Plant and Grow Fennel from Seed
Discover how to plant and grow fennel from seed in your cool weather garden.