Chamomile tea is a calming and soothing beverage with a long history of use. It can ease stress, encourage sleep, calm digestive upset, and is even gentle enough for children to enjoy.
Chamomile is also a delightful herb to grow in your garden. Roman chamomile (Anthemis nobilis) tends to be a low-growing perennial, and German chamomile (Matricaria recutita) is typically a taller, self-seeding annual. They can both be used interchangeably to make tea!
If you’re growing either in your garden, here’s a guide to when and how to harvest chamomile so that you can enjoy the perfect cup of herbal tea.
This post includes affiliate links. If you make a purchase using one of these links, Together Time Family will receive a commission at no additional cost to you.
Table of Contents
Which Part of Chamomile Should You Harvest?
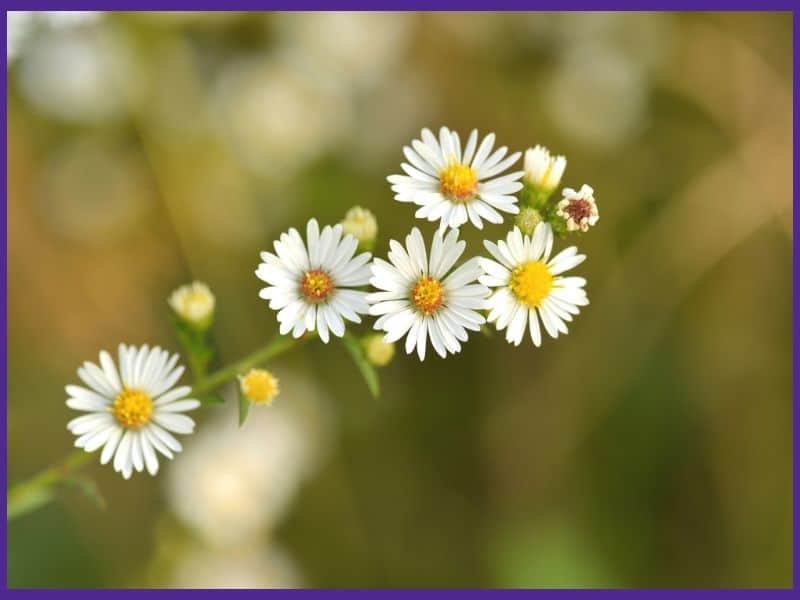
Many herbs are grown so that their leaves can be harvested and used, but with chamomile you want to harvest the flowers. It’s the bright daisy-like blossoms that contain the volatile oils and plant compounds that make chamomile so beneficial (and delicious).
You can also harvest the seeds at the end of the season if you want to try growing plants from seed next year.
Chamomile seeds are easy to find so you can start your own tea garden. Get a chamomile seed set so you can try both Roman and German to see which you prefer!
When to Harvest Chamomile Flowers
Chamomile flowers can be harvested all summer long, starting as soon as they bloom. In fact, you’ll want to harvest regularly for a few months, since the blossoms won’t all open at once.
To pick flowers at their peak, wait until they are either in full bloom or just about to fully open. You can still harvest blossoms that are past their prime, but they may not be as potent as those picked a bit earlier.
The best time of day for harvesting is in the morning, after the dew has dried but before the sun gets too hot.
The second best time to harvest chamomile flowers is whenever you have the chance. It’s better to pick prime blossoms at the “wrong” time than to let them go to waste!
How to Harvest Chamomile
Unless you have a massive chamomile patch, the easiest way to harvest the flowers is with your fingers or a small pair of garden clippers. I recommend by go-to Fiskar’s Micro Tips.
There are a few different ways to harvest chamomile, but the idea in all of them is to gently pull or snip the flowers off without pulling up or damaging your plants.
Many gardeners find it easiest to simply pinch individual flowers off and collect them in a basket as they go. You can do this by pinching the stalk just below an open flower with your thumb and forefinger until you break off the flower head.
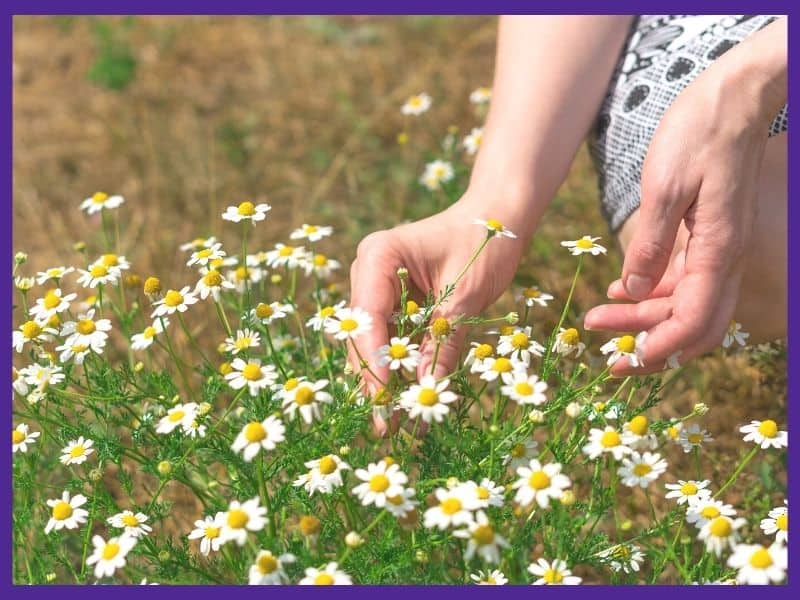
Another, somewhat quicker method is to use your fingers like a rake to grab several flower heads at once. Then, you can hold the stems of the plant with your other hand and pull up on the flowers until they come loose.
Finally, you can also use a pair of clippers or scissors to snip off individual flowers. This tends to be slow going, but it keeps your plants intact and gives you cleanly cut flower heads. I don’t always cut flowers this way, but it’s my preferred method.
Harvesting Chamomile Seeds
If you enjoy starting plants from seed, you might also be wondering how to harvest chamomile seeds.
To do this, you’ll need to leave the flowers on your plants until they dry on the stem. Then, you can snip them off and spread them out on a wire rack to finish drying. Keep them in a warm spot out of direct sunlight.
Once the flower heads are dry all the way through, rub the heads over a bowl to collect the seeds. The seeds are very tiny, so you may need to use a mesh strainer to separate them from the chaff.
Chamomile seeds can be stored in a cool, dry spot and will remain viable for 3-4 years.
Tip: German chamomile reseeds itself often. If you don’t want to collect seeds, let them fall to the ground and transplant the seedlings later. On the other hand, if you don’t want to be overrun by chamomile, be sure to clip off the flower heads before seeds fall.
Drying and Storing Chamomile Flowers
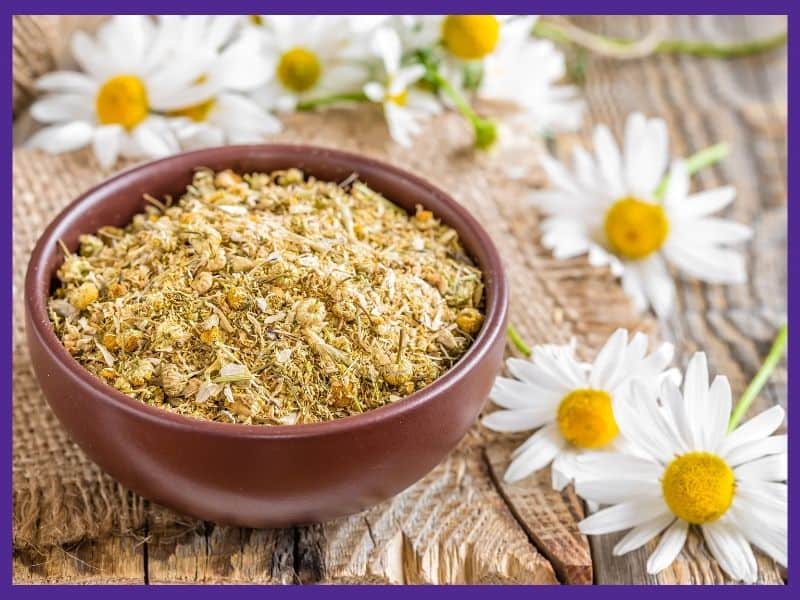
Both fresh and dry chamomile flowers can be used to make tea, but the dry ones tend to be stronger and can be stored long-term.
If you have a large chamomile harvest, it’s very simple to dry the extras.
First, sift through your flowers, looking for any that may be damaged (discard these ones). You can also gently wash the blossoms to get rid of dirt and insects, although some gardeners don’t because it can make them too wet to dry properly.
If you did wash your flowers, pat them dry after draining them to get rid of as much excess water as possible. You can also spin them gently in a small salad spinner.
If you live in a dryer climate, you can air dry chamomile blossoms.
If you decide to check out the essential oil planner linked above, you’ll be taken to a page on my printables blog. I don’t want you confused and wondering what happened to the gardening blog you were reading when you see the url!
How to air dry chamomile flowers
Spread out the chamomile blossoms in a single layer on something like a mesh screen (nothing with large holes because the flowers shrink as they dry and will fall through).
Let them air dry in a warm spot out of direct sunlight. If there isn’t good air circulation, run a fan occasionally to improve that.
Chamomile typically takes about 1-2 weeks to dry fully and can then be stored in airtight containers away from heat, light, and moisture.
How to dehydrate chamomile blossoms
If you live somewhere humid (I do), you’ll want to use a dehydrator to ensure your chamomile dries instead of mildews.
Spread your flowers in a single layer on your dehydrator racks and dry on the lowest setting. It can take anywhere from 12-24 hours for flowers to dry fully, depending on your flowers, the weather, and your dehydrator. Around 18 hours seems typical for dehydrating chamomile flowers for me.
Your flowers can be placed more closely than in the photo below. Just make sure the flowers aren’t all bunched up on top of each other and you’ll be okay.
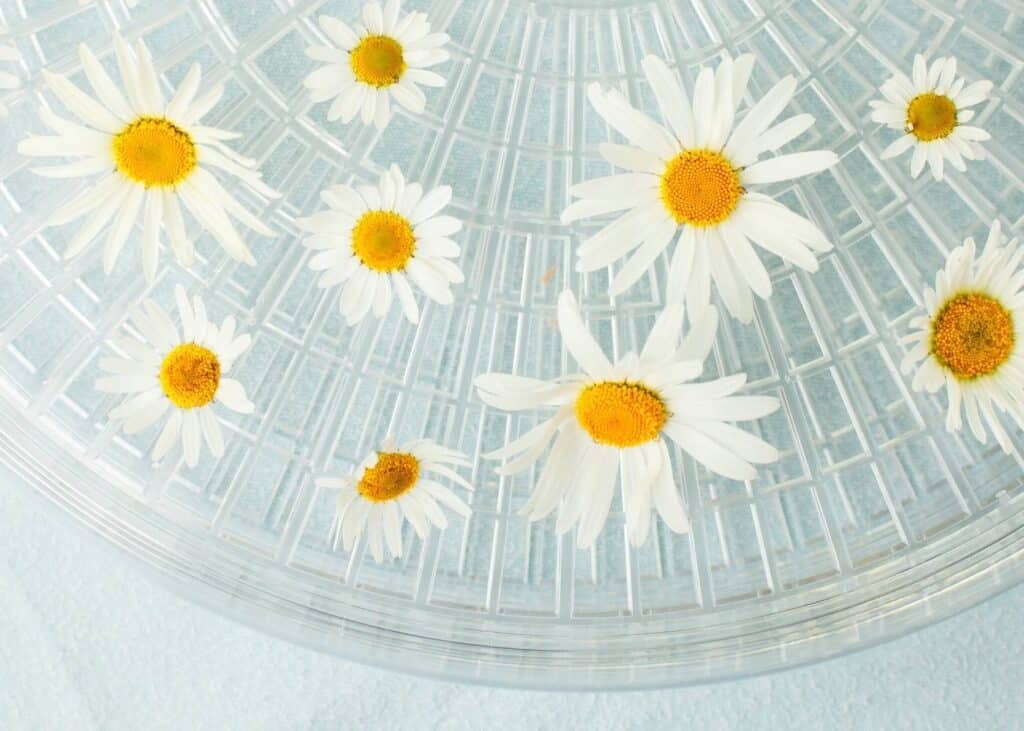
If you don’t have a food dehydrator yet, I recommend this newer Presto! model for dehydrating herbs and flowers. It features trays that flip so you can store them in a much shorter stack. This is a huge improvement over the older model my family used for 20+ years – the newer version takes much, much less space in the pantry. It also has a timer that tells you how long the dehydrator has been running.
How to store chamomile flowers
Like all herbs, chamomile stores best in a cool, dark, air tight container. Glass jars are perfect when you store them in a cool cabinet or corner of your pantry. Of course, you can also use your favorite tea tin!
If you have a large harvest, keep it as fresh as possible by sealing most of your chamomile away and only keeping a portion of it available for regular use. This allows most of your flowers to stay safely sealed up instead of constantly exposing them to air and humidity every time you open your jar.
I seal most of my dry herbs away in jars and use the vacuum sealer attachment for my FoodSaver to seal the jar. I only keep a small portion in my “everyday” use jar.
Simple Chamomile Tea Recipe
Now that you know how to harvest chamomile, you can enjoy it in a freshly made tea!
Here’s a simple, quick recipe:
- 2-3 teaspoons dried chamomile OR 6-8 teaspoons fresh chamomile
- 8-10 ounces hot water
- Add the chamomile flowers to a mug, glass jar, or other heat-proof container.
- Pour the hot water over the herbs and cover.
- Steep for 2-5 minutes before straining out the chamomile. (It will become more bitter the longer it steeps.)
- Enjoy! Add honey or another sweetener if desired.
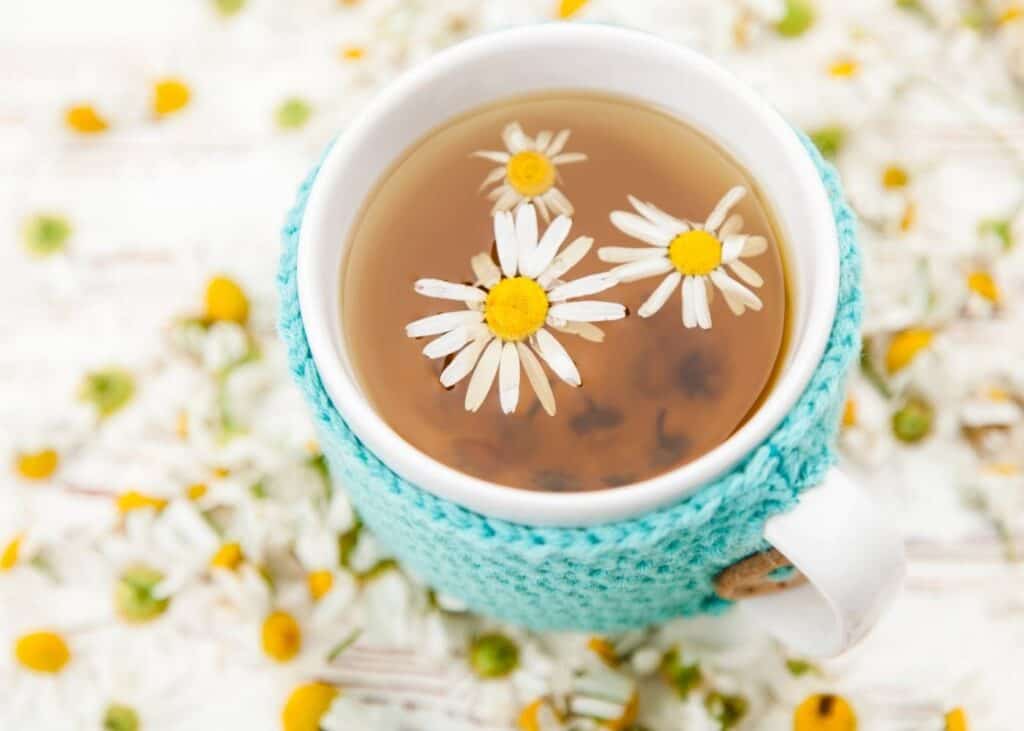
Tip: Chamomile is great on its own but can also be combined with other herbs. Try it with mint for an upset stomach or headache, lemon balm for stress, or lemon and a tiny bit of lavender for sleep.
Enjoying Homegrown Herbal Tea
Being able to enjoy the sweet, floral taste of chamomile grown in your own garden is a real treat! It’s also fun seeing the bright, sunshiny flowers bloom each summer, and you may want to leave some alone for the bees.
Make the most of your fresh harvest all summer long, and remember to dry some chamomile for later. That way, you can enjoy the summer blossoms even in the middle of winter.
Herb Growing Guides
There are many herb growing guides here on Together Time Family.
Individual herbs all have their own light, soil, temperature, and water requirements. Discover what your favorite herbs need to thrive so you can enjoy a bountiful, healthy harvest.
Planting Herbs Together
Companion planting herbs can save you space and increase your yields - if you plant correct. Discover this guide to planting herbs together and basic requirements for many popular herbs.
How to Harvest Parsley (without killing the plant)
Discover how to harvest parsley without killing the plant and how to keep your parsley plant healthy and thriving.
How to Harvest Basil
One basil plant can provide you with bountiful harvests all season long if you know how to grow and harvest basil the correct way.
How to Plant and Grow Dill
Learn how to plant and grow will, plus tips for dealing with dill pest and problems.
How to Harvest Dill
Discover how to harvest and preserve your dill for delicious homemade pickles, fish dishes, and more.
How to Harvest Mint (and what to do with lots of mint)
Discover how to harvest mint and what to do with your abundant mint harvests.
How to Plant and Grow Cilantro
Cilantro is easy to plant and grow...if you plant it at the right time.
Natasha Garcia-Lopez is an avoid home-gardener and proud owner of 88 acres of land in rural West Virginia. She was a member of the Association for Living History Farms and Agricultural Museums for many years and is currently enrolled in the Oregon State University Master Gardner Short Course program so she can better assist you with your gardening questions.She holds a certificate in natural skincare from the School of Natural Skincare.



Chamomile tea is my family’s favorite tea as well as peppermint! I cant wait to grow my tea garden! Thank you so much for your help!