Dill is a very aromatic herb used for flavoring fish, vegetables, bread, sauerkraut, and, of course, pickles. It’s also a very easy going herb to grow in your garden or in pots on a porch.
Two parts of the plant can be used in cooking and baking: the feathery leaves and the seeds. Both are packed with flavor, although the seeds are often used for pickling, sauerkraut, and bread when more intense flavor is desired.
Here’s a guide on how to plant and grow dill in your garden so that you can enjoy it fresh all summer. If you’re interested in growing herbs, be sure to check out this guide on which herbs to plant together so you can have a thriving herb garden.
Table of Contents
All About Dill
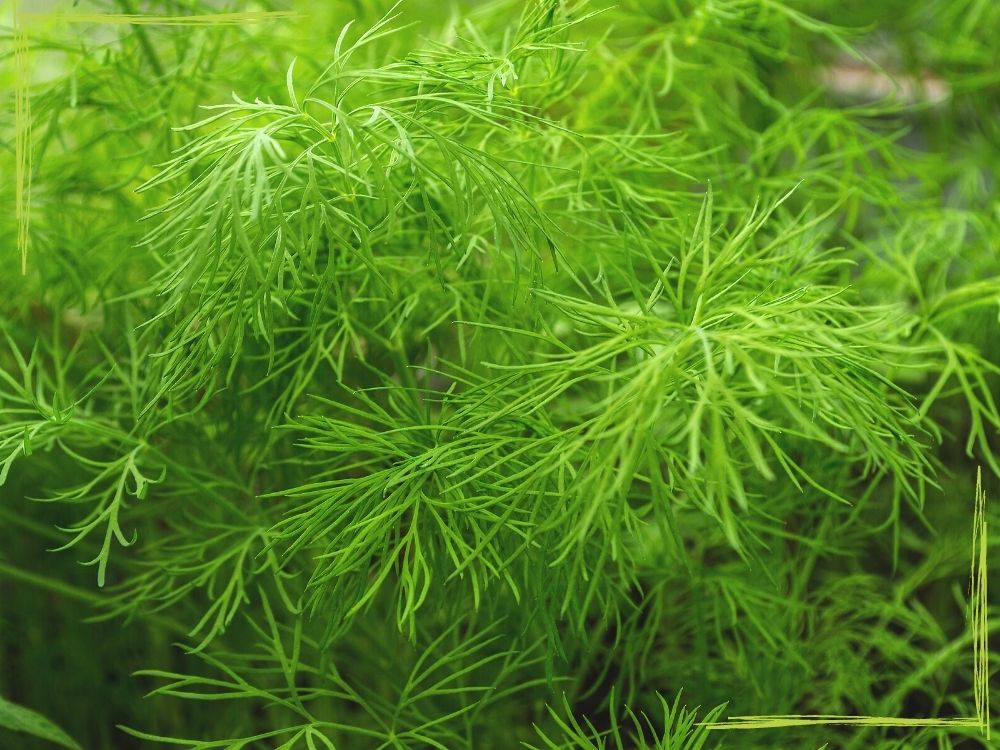
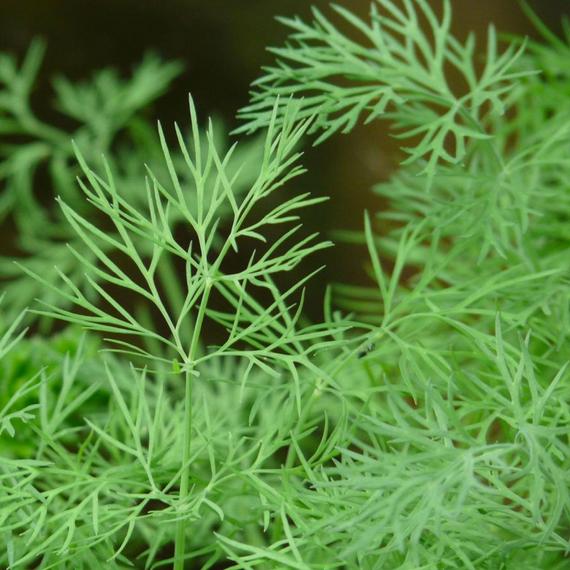
Dill (Anethum graveolens) is closely related to other familiar herbs like parsley, cilantro, and caraway. It grows 2-4’ tall with blue-green, fragrant, feathery fronds that closely resemble fennel plants.
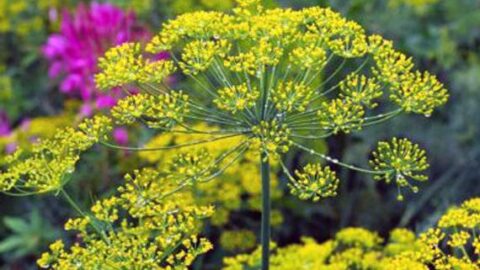
Flower heads are a greenish yellow and look like upside down umbrellas when they form in summer. Normally, you don’t want herbs to flower because they start to lose flavor, but dill flowers are edible and will produce seeds that you can add to recipes.
You can grow dill as an annual in almost any region. It will grow and be productive in USDA hardiness zones 2-11. Despite being an annual, dill reseeds easily and will pop in your garden next year if you let it.
Growing dill is not only delicious but will also draw beneficial insects to your garden and makes a great companion plant for cabbage, onions, tomatoes, and peppers.
Dill Varieties to Grow
This post includes affiliate links, which means I may earn a commission on purchases made at no additional cost to you.
Dill Seeds
It’s hard to go wrong when picking up a packet of dill seeds, but there are a few varieties that stand out.
Organic Dill "Bouquet"
Bouquet is a very popular variety good for harvesting both foliage and seeds. Plants tend to flower early.
This seller, Southern Seed Exchange, is one of my personal favorites. They always ship promptly and have healthy seed.
Dill "Superdukat" Seeds
Superdukat dill tends to bolt more slowly than ‘Bouquet’ for an extended foliage harvest period. Plant both Bouquet and Superdukat for an early and continual harvest.
Mammoth Dill Seeds
Mammoth dill lives up to its name and produces very tall plants for bountiful harvests.
Dill Seeds "Fernleaf"
Fernleaf tends to be quite small. At only 6-8” tall, this is the best variety for container gardens and small spaces.
How to Plant Dill Seeds
Dill plants form long taproots, so they don’t transplant well. The easiest way to grow dill is from seed planted directly in your garden.
Growing Conditions for Dill
- Like many herbs, dill needs full sun to grow well. Plant it where it will get at least 6-8 hours of sunlight each day.
- Dill will grow well even in poor soils but does like to have good drainage. Don’t plant in a spot that often gets soggy, or amend your soil with sand to improve drainage.
- Technically, a slightly acidic pH (5.5-6.7) is best for dill, but it will grow fairly well in anything close to a neutral pH.
- Though it doesn’t need much fertilizer, mixing compost into your soil before planting encourages bushier and more flavorful plants.
When to Plant Dill
Dill isn’t a very picky herb, but planting it in the right spot is important so that it can thrive in your garden. Here are a few guidelines:
You can sow dill seeds anytime after the threat of frost has passed in the spring. The best germination happens when the soil temperature is between 60-70°F.
It’s best to start dill in the cooler weather of spring. It will still grow throughout the summer but bolts more quickly as the temperature gets hotter.
To ensure that you have a continual supply of dill until fall, sow seeds every few weeks until midsummer. You can sow seeds in pots or stagger your plantings in a designated garden area.
How to Start Dill from Seed
Before planting your seeds, prepare an area of your garden by weeding and raking the top few inches of soil so you have a smooth planting surface. Or get some pots ready by filling them up with damp seed starting mix.
Sow your dill seeds shallowly, about ⅛-¼” deep. You can plant seeds just a few inches apart since you’ll be thinning them out later.
Water the area where you planted seeds and keep it moist while they germinate. Germination should happen in 10-14 days at which point you’ll start to see little seedlings poking up out of the ground. Make sure to use a watering wand so you don’t disturb the seeds or fragile seedlings.
About two weeks after your seedlings sprout, you can thin out your plants to their proper spacing. Dill can grow as close together as 4-6”, but a spacing of 12-18” allows for much better airflow.
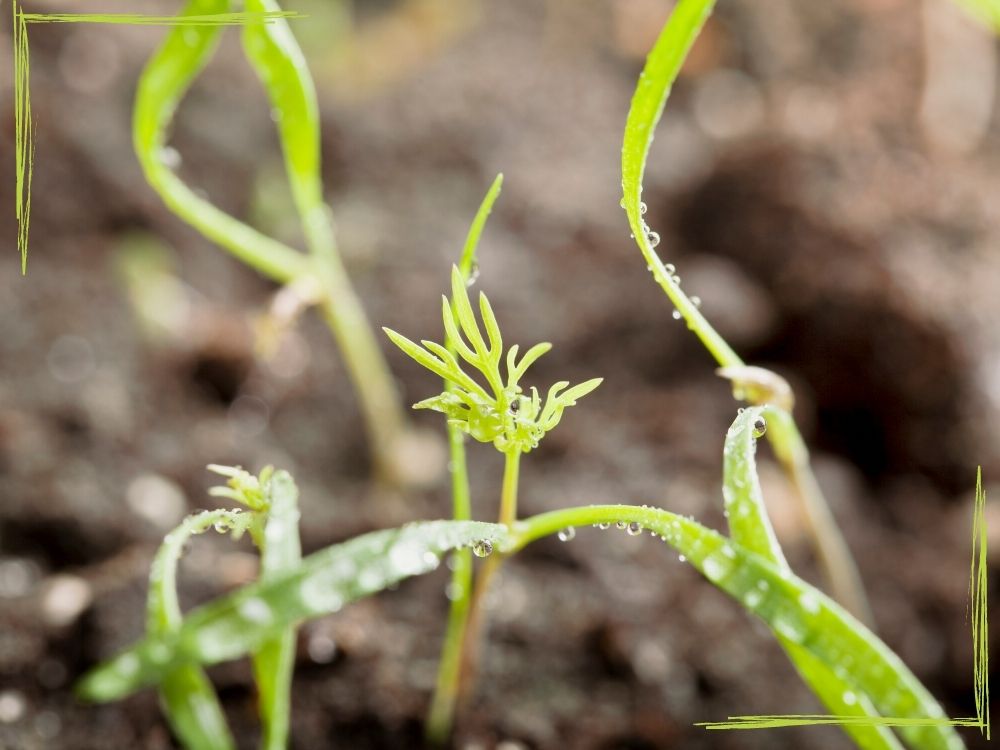
As you can see in the photo below, dill seedlings look somewhat similar to carrots. If you’re prone to forgetting what you planted where, make sure to label your beds or rows as you plant.
Growing Dill
Once you know how to plant and grow dill from seed, caring for it is the easy part.
You’ll want to water your seedlings as they establish their root systems, but full-size plants have fairly good resistance to drought. Watering during dry spells, especially if you’re growing herbs in containers, is still a good idea to make sure your plants stay healthy.
Keep your dill bed well weeded so that there’s no competition for water and nutrients. Weed carefully around seedlings so that you don’t accidentally disturb their roots.
In order to extend the harvesting season for dill leaves, you’ll want to cut flower heads off as they appear and before they open. At some point, you can let the flowers bloom and develop seed heads if you wish to harvest them.
Dill Pest and Problems
Dill will often grow happily through the season without being bothered by pests or diseases. It’s not a favorite of deer, although rabbits may nibble on plants in the garden.
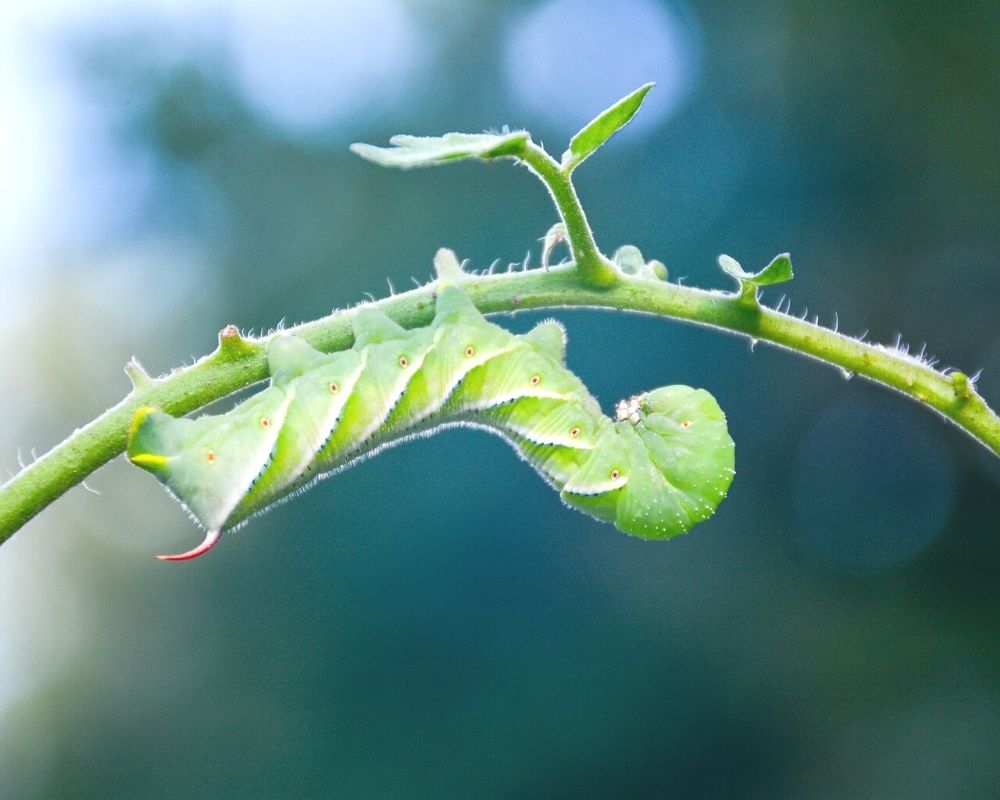
Sometimes dill will attract tomato hornworms that will eat through the plants if not stopped. They are usually easy to control by hand picking them off plants and squishing them (or dropping them in soapy water if you don’t like bug guts).
You can also spray them with BTK, a specialized bacteria that affects several types of caterpillars but is otherwise not harmful to humans, pets, birds that eat affected caterpillars, or other insects. BTK takes several days to work and has to be ingested by the caterpillar, so it’s best to pick off the caterpillars you see and spray to catch the ones you missed.
You’ll know if you have hornworms because they have a distinctive “horn.” This makes them easy to tell apart from beneficial pollinator caterpillars that may want some of your dill.
Planting dill too close together in humid or damp conditions can lead to fungal diseases. Carefully remove infected plants using the method below and plant your dill further apart in the future.
Brett Markham outlines a procedure for controlling fungal diseases in his book Mini Farming. It’s a fantastic resource for any home gardener who wants to grow more food economically and organically.
Many fungal infections can be treated with organic compounds such as copper sulfate, neem oil, baking soda, and garlic oil.
If you need to remove a plant with a fungal disease, you must be careful not to spread the (microscopic and invisible) spores all over your garden when you pull it and take it to the trash. Markham advises spraying plants with a mix of:
- 2 tablespoons of castile soap
- 1 tablespoon of copper sulfate
- 1 tablespoon of lime
- 1 tablespoon light horticultural oil
- 1 gallon of water
Spray the plants until they’re wet, but not dripping, then remove them.
Finally, spray the nearby plants with neem oil, or your favorite organic anti-fungal mixture, to prevent the spread of disease.
Table could not be displayed.Dill Is Pollinator Friendly!
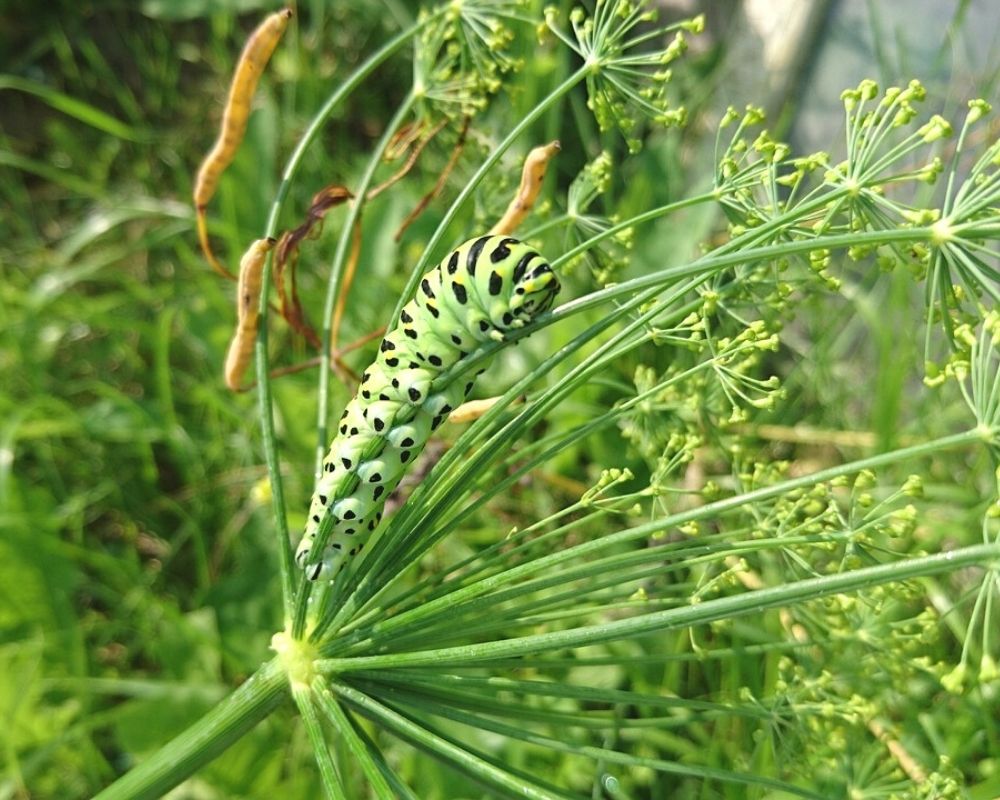
Another hungry critter that is attracted to dill is the black swallowtail caterpillar (also known as the parsley caterpillar). Some call these caterpillars pests, but most gardeners view them as a beneficial insect, since they morph into lovely swallowtail butterflies later on. Swallowtails are important, beneficial pollinators.
You can identify swallowtail caterpillars by their distinctive green and black stripes with yellow or orange dots on the black parts.
Though beneficial, these caterpillars can eat right through your dill. If you really don’t want to share your herbs, find a patch of Queen Anne’s lace growing nearby and transfer the caterpillars there.
Swallowtails also love parsley. We always have more parsley than we can personally use (and, unlike dill, it doesn’t preserve well), so we allow swallowtails to eat as much parsley as they want. Swallowtail butterflies are important pollinators so we believe it’s worth it.
As you can see in the picture below, the swallowtail caterpillar looks very different from the tomato hornworm. They start out unbelievably tiny – they almost look like minuscule bird droppings – but quickly grow to develop their characteristic stripes and colors in just a couple of days.
Harvesting Dill
You can start harvesting from your dill plants quickly, anytime after they reach 6-8” in height.
Snip or pinch off stems as needed, but don’t remove more than ⅓ of the foliage at a time. Let plants regrow before you harvest again.
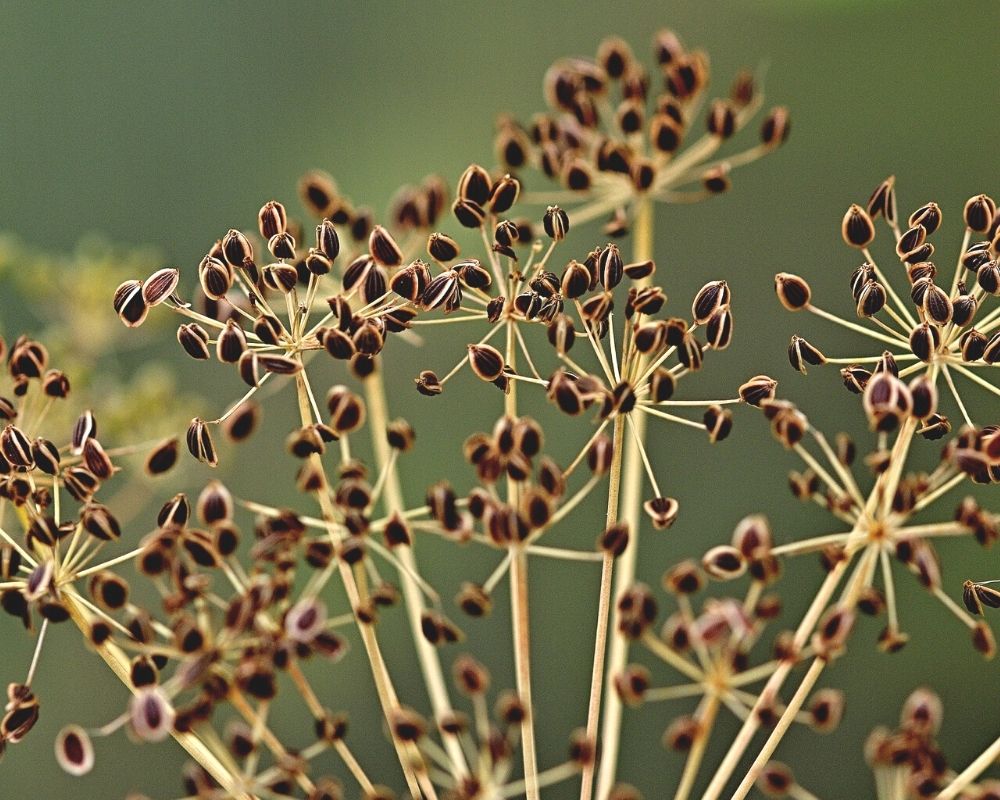
If you want to harvest seeds to use as a spice or to plant in your garden next year, let your plants flower and develop seed heads. Leave the heads on until the individual seeds turn brown.
You can then snip of the dried seed heads and put them upside down in a paper bag. As they continue to dry, the seeds will eventually fall off into the bag.
Whichever variety you choose, dill is a great herb to grow and will quickly become a staple in your garden. Now that you know how to plant and grow dill, you’re all set to enjoy it all summer!
How to Harvest Popular Herbs and Veggies
Are you not sure how to correctly harvest your herbs and vegetables? Or maybe you don't know what to do with your harvest bounty now that it's picked? Discover tips for how to harvest, cure, store, and use popular herbs and vegetables!
Are you harvesting basil the wrong way? Discover how to harvest basil for increased yields!
Are you afraid of killing your parsley? Discover how to harvest parsley without killing the plant and how to keep parsley fresh in your fridge!
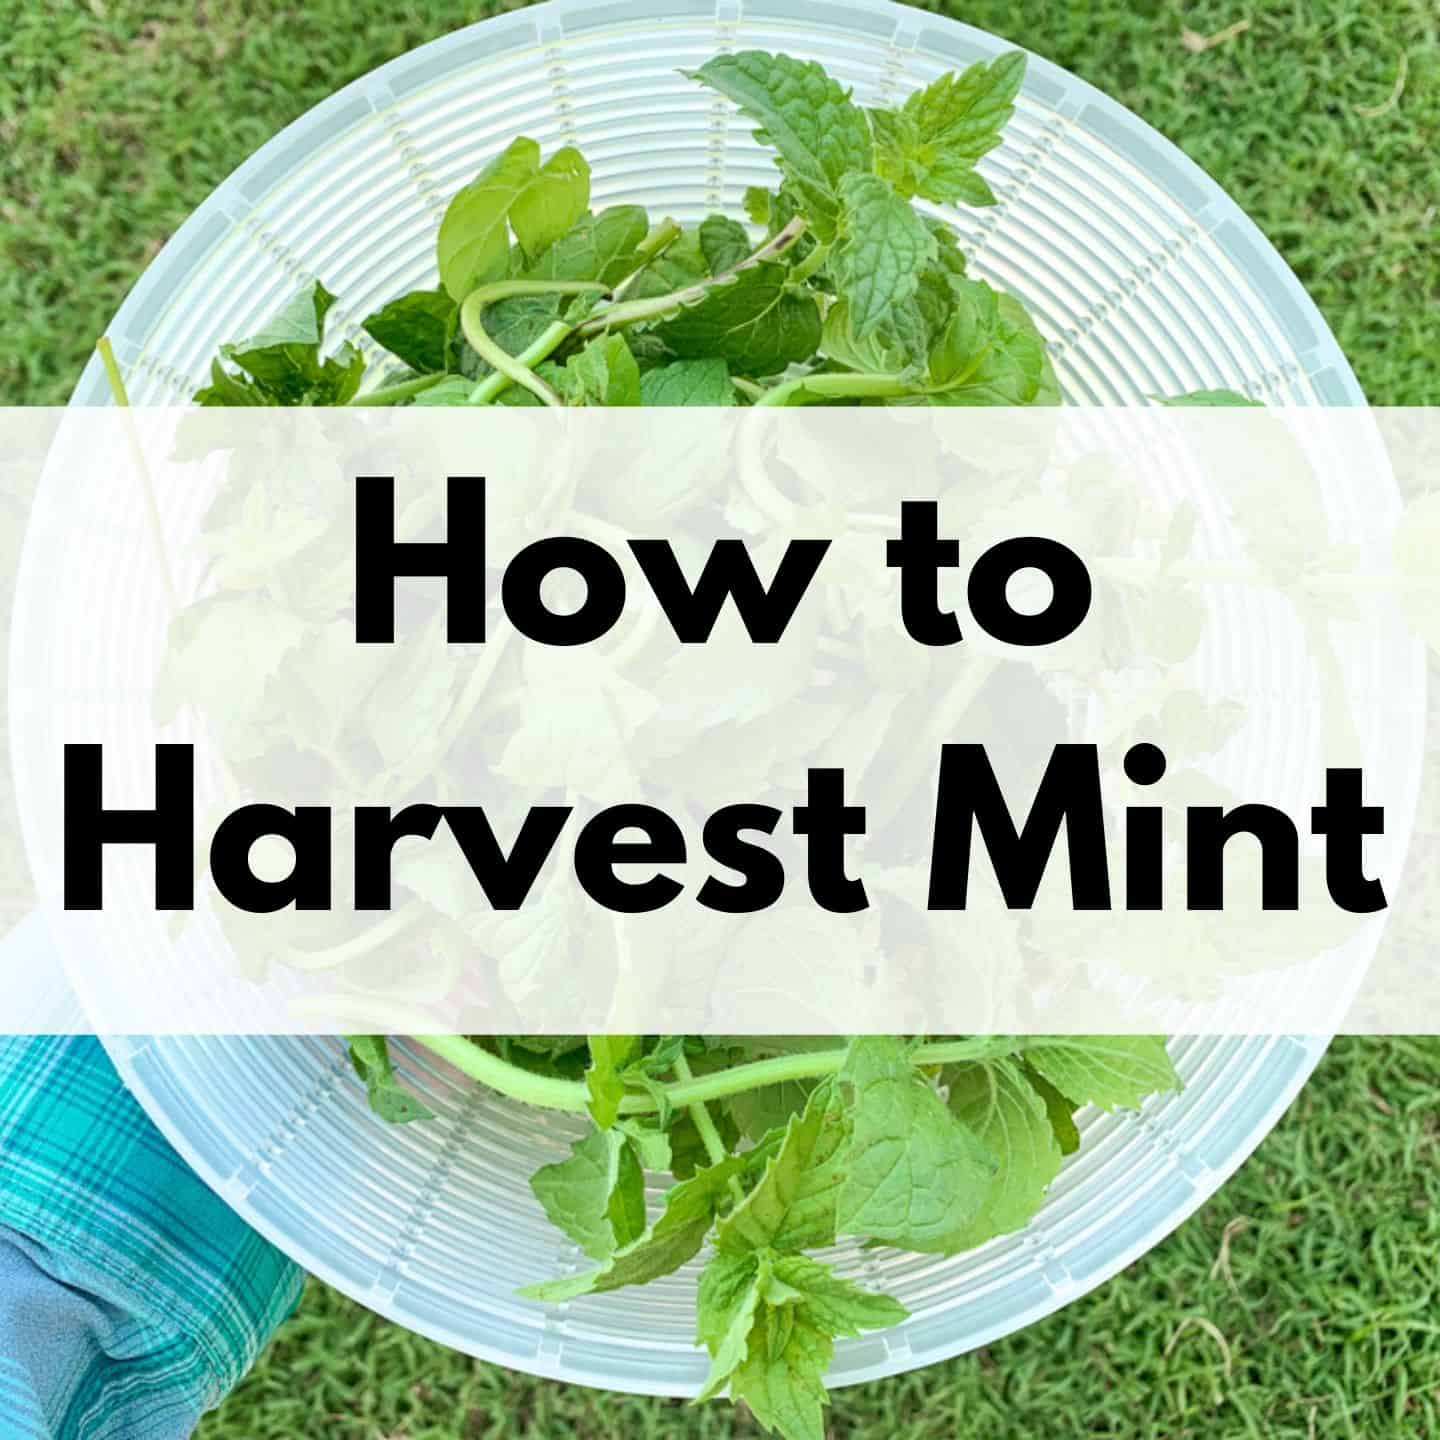
Do you know when and how to harvest mint for the best flavor?
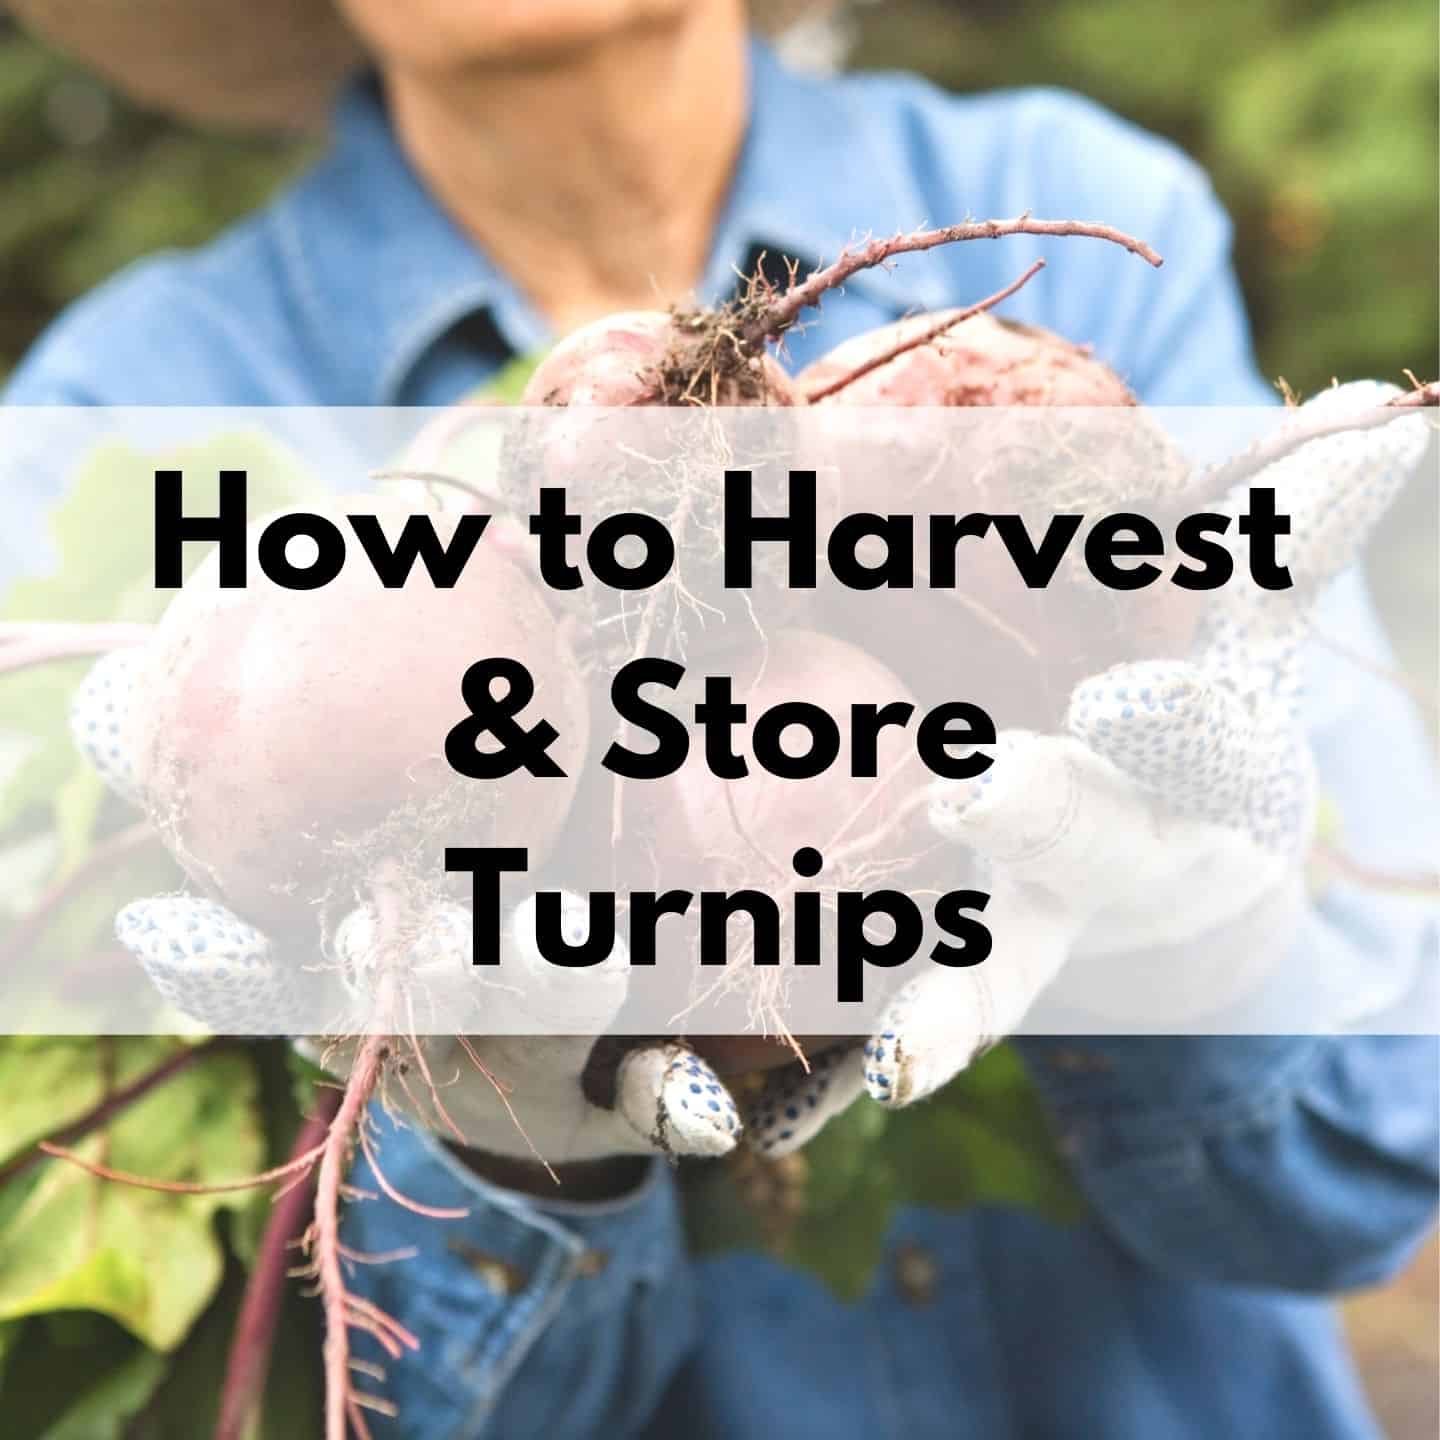
Turnips are quick and easy to grow vegetables you can grow in the spring and fall. Discover how to harvest and store these versatile veggies!
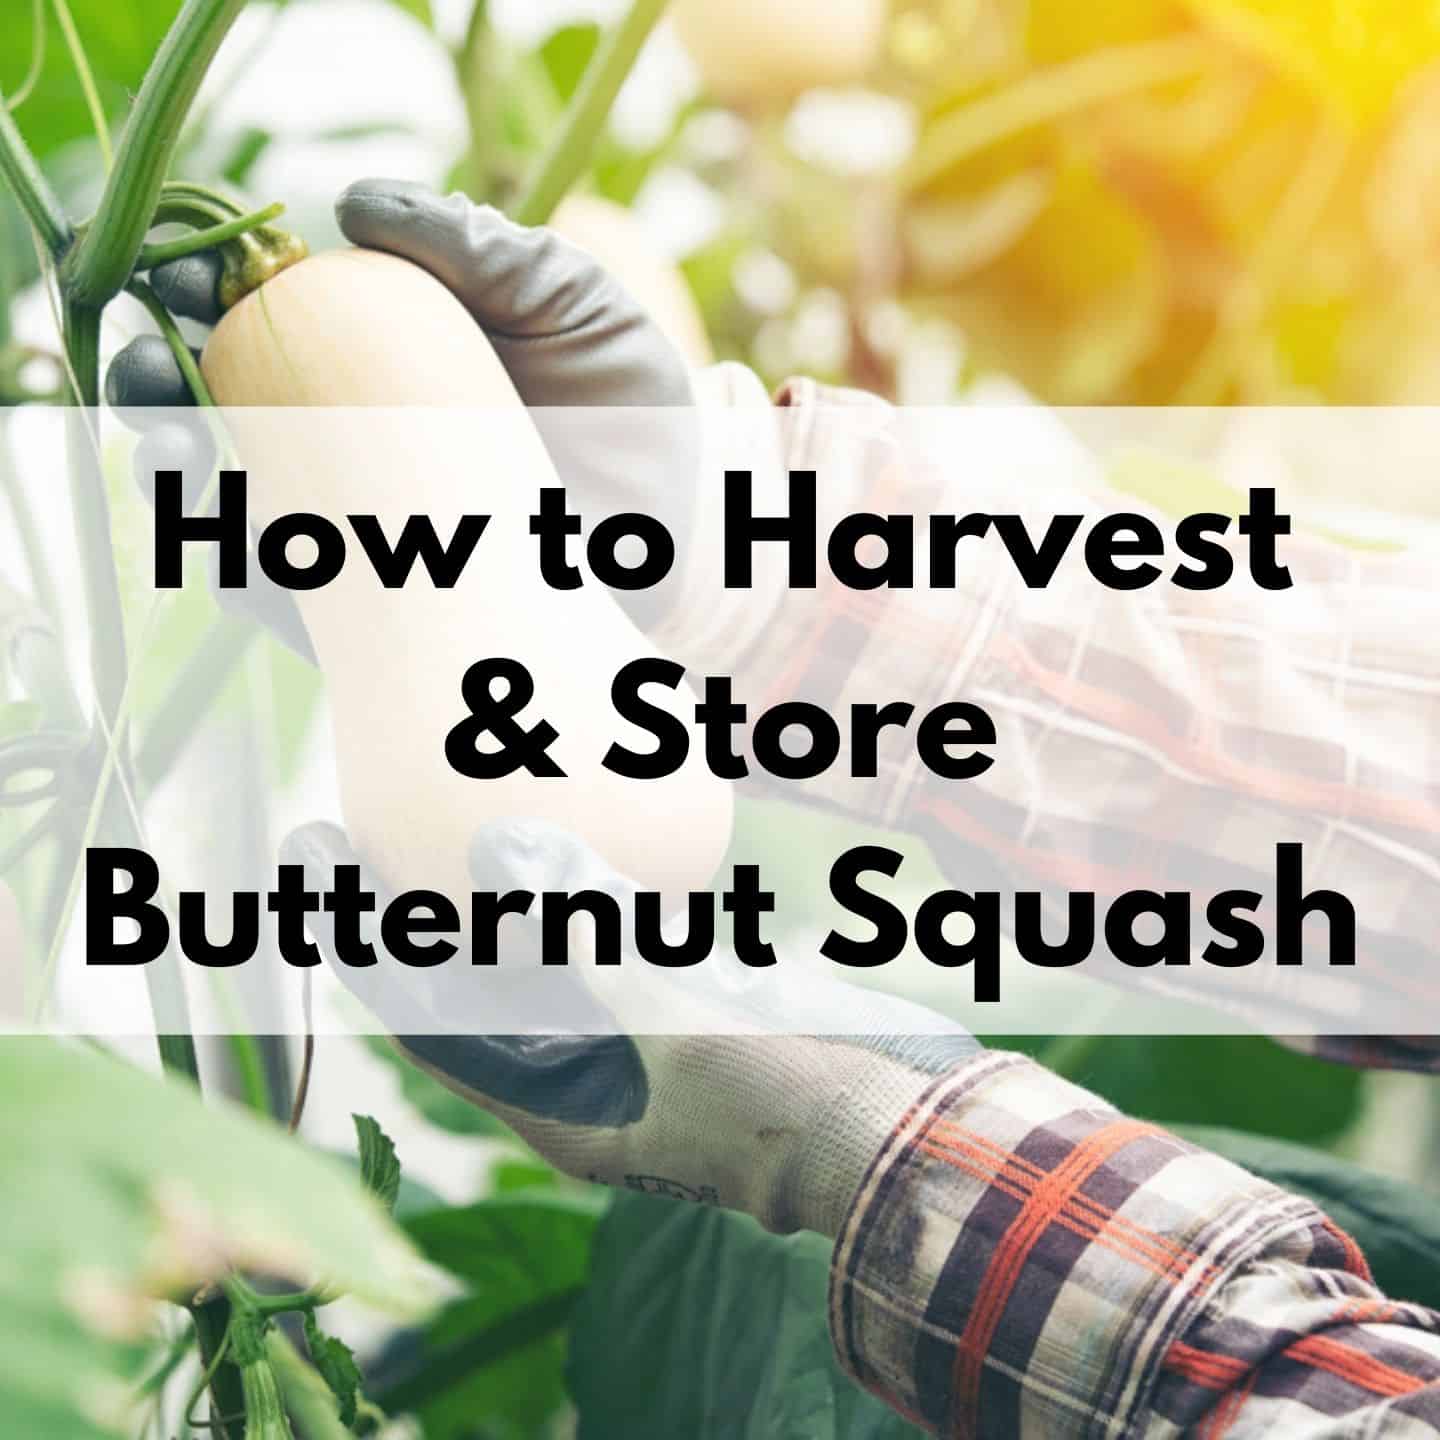
Harvesting squash can be intimidating. Learn how to tell when your butternut squash is ready to harvest.
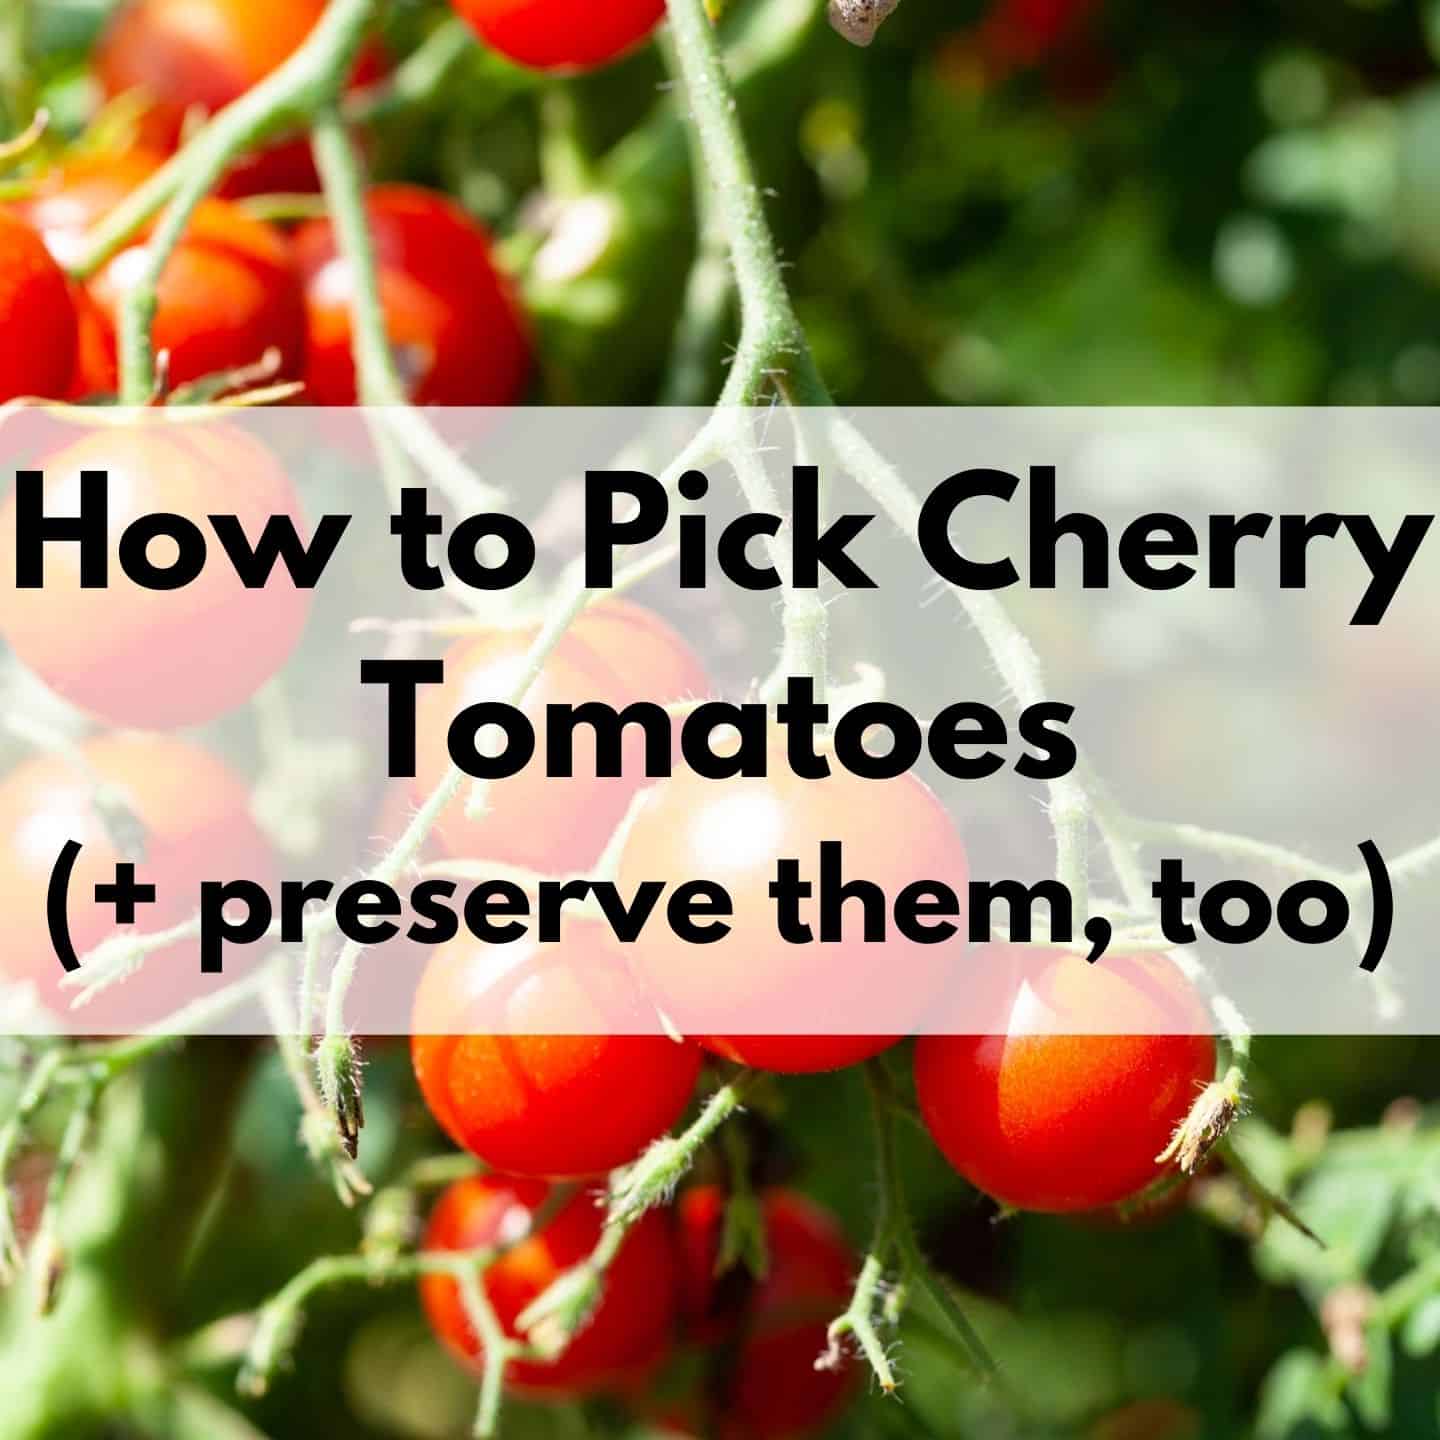
Do you have a bumper crop of cherry tomatoes? Learn how to pick and preserve cherry tomatoes and drool-worthy cherry tomato varieties to try!
Discover how to pick your broccoli crowns and broccoli leaves with this guide to harvesting and preserving homegrown broccoli.
Natasha Garcia-Lopez is an avoid home-gardener and proud owner of 88 acres of land in rural West Virginia. She was a member of the Association for Living History Farms and Agricultural Museums for many years and is currently enrolled in the Oregon State University Master Gardner Short Course program so she can better assist you with your gardening questions.She holds a certificate in natural skincare from the School of Natural Skincare.



Leave a Reply