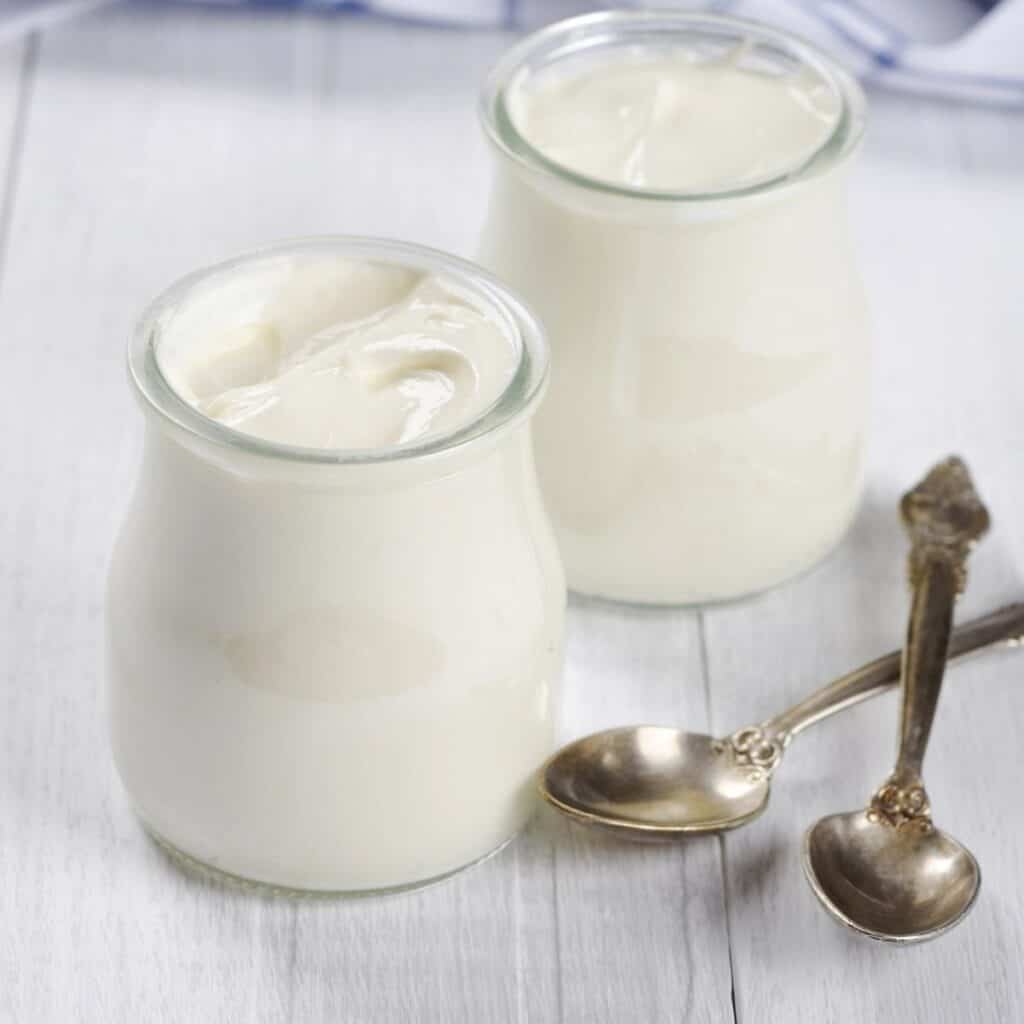
Easy Greek Yogurt Recipe
My family loves yogurt. We eat yogurt every single day! My favorite way to make yogurt is in my Excalibur dehydrator, but friends have been asking how to make yogurt without a dehydrator for incubation.
This recipe shows you how to use an Instant Pot to make yogurt, even if you don’t have a yogurt function.
This post includes affiliate links, which means I may earn a commission on purchases made at no additional cost to you.
This recipe tells you how to make Instant Pot yogurt with a cooker that features a “yogurt” function and how to make yogurt with a DuoCrisp with a “sous vide” function.
Milk is so much cheaper than yogurt, even if you’re buying grass-fed or local. Once you’ve made a couple batches of this delicious, creamy, and smooth Greek Style yogurt, you’ll never want to buy yogurt again!

I recommend using an active culture from plain store bought yogurt to start your yogurt journey. After that you can save a bit from your last batch to make your next batch.
Brown Cow yogurt, Stoneyfield, and Nancy’s are varieties I’ve used as starter for my own yogurt. You can also buy freeze dried yogurt culture.
Ingredients needed to make pressure cooker yogurt
Half a gallon of milk
2 tablespoons of yogurt with live, active cultures cultures
Equipment needed to make Instant Pot Greek Style yogurt
This Greek style yogurt is extra creamy because you strain it through cheesecloth. To make “regular” yogurt, skip the straining.
Electronic pressure cooker with ‘Yogurt’ function
You can also use a cooker with a “sous vide” function like a Duo Crisp.
Instant read digital thermometer
Strainer or colander
Cheesecloth (only needed to make thicker yogurt)
How to make Greek yogurt in an Instant Pot
Add milk to Instant Pot® and select the ‘Yogurt’ function. Select ‘Adjust’ until the screen says ‘boil.”
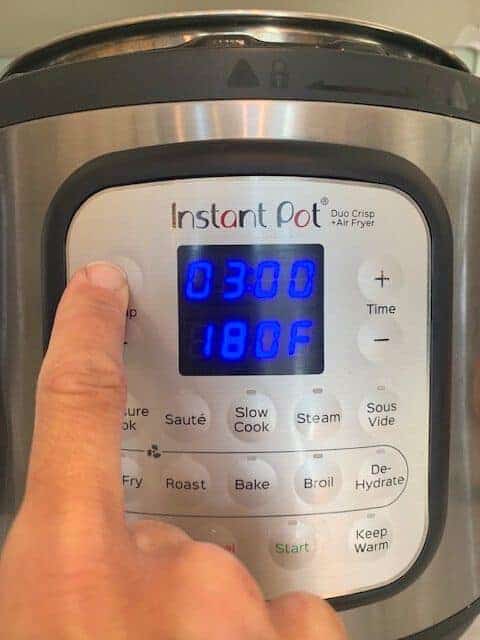
If you have a sous vide function instead of a yogurt function:
Adjust the temperature to 180 and bring the time as low as it will go. Mine lets me go down to 30 minutes. You do not need 30 minutes at temperature.
Place the lid on the cooker.
Keep an eye on it and cancel the function once the yogurt comes to temperature.
I’m sorry the picture is low quality. The digital display flickers and it’s very difficult for the camera to take a picture:
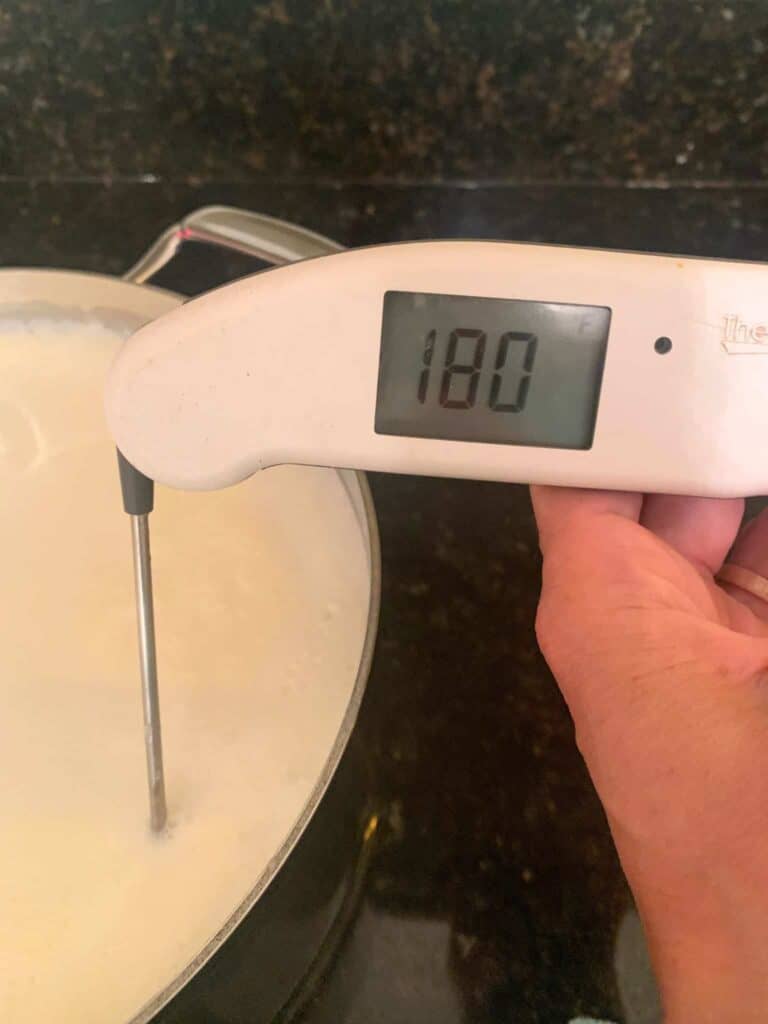
Add lid and wait until the unit beeps to indicate it is finished boiling. The screen will say “YoGt” when done. Insert instant read thermometer into the milk to ensure it has reached at least 180°F.
The picture below is from some my stovetop yogurt, but it shows the temp you’re looking for:
Turn unit off and remove pot to allow milk to cool.
When an instant read thermometer reads 120°F, the milk is cool enough to add the yogurt starter. Gently mix in your yogurt culture or starter.
Return pot to unit and cover with the lid (no need to seal for this function). Select the ‘Yogurt’ function again and make sure the setting is on “Normal’ (NOT “Low” – very important!) and adjust time for 8-10 hours. The longer the incubation period, the tangier the yogurt will be.
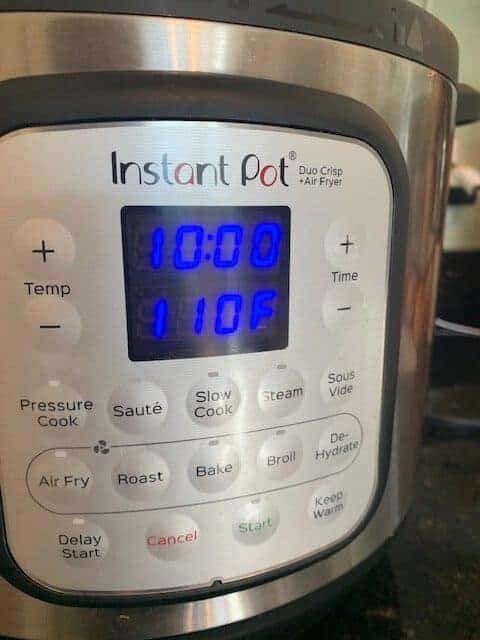
If you’re using the sous vide feature: Set the temperature to 110 and the time to 10+ hours and put the ld on.
Again, I’m sorry for the poor image. The display flicker makes pictures come out poorly.
When the yogurt is done incubating, remove the lid and turn unit off. Allow the yogurt to cool to room temperature. Avoid stirring or disturbing the yogurt until it is cool. This helps the texture remain creamy.
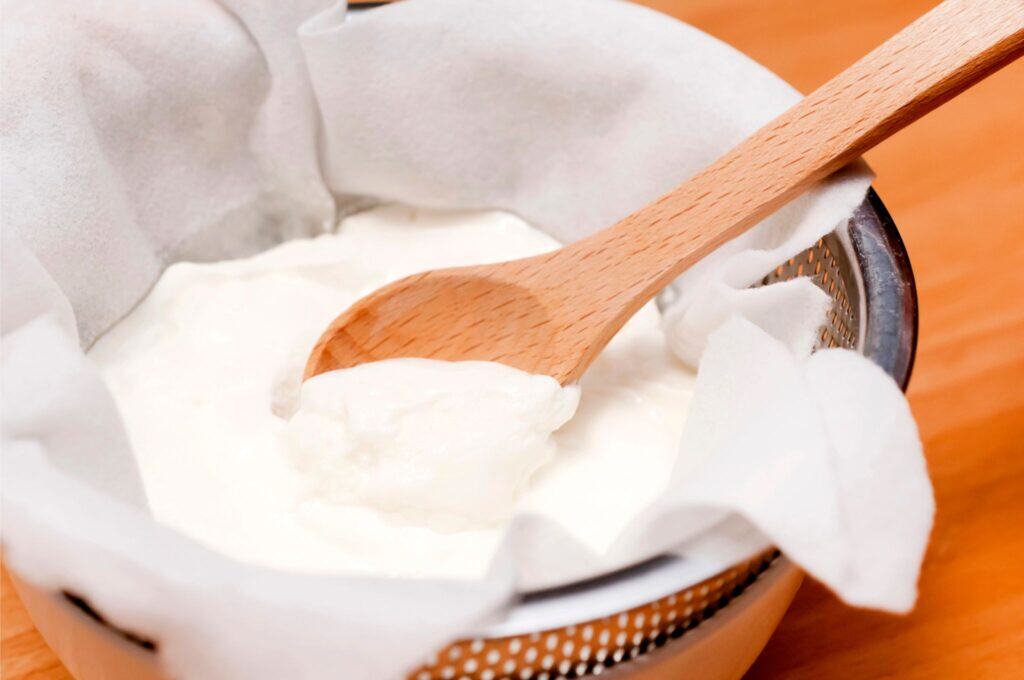
Line a strainer with some cheesecloth and place over a large bowl.
Pour yogurt into the strainer and place in the refrigerator to strain for several hours. The longer the yogurt is allowed to strain, the thicker the yogurt will be. Be careful – you can make it so thick that it becomes yogurt cheese instead of yogurt!
Do not squeeze or press the yogurt. If you drain it excessively, you will make yogurt cheese instead of Greek yogurt. Yogurt cheese is delicious and can be used in place of cream cheese, but it’s not the goal of this recipe!
Once yogurt is strained, discard the liquid whey (or save to use in smoothies) and transfer the yogurt to a bowl. If the yogurt texture is lumpy, process with an immersion blender or hand mixer until creamy and smooth. Chickens also love whey and it can be a great addition to your garden or compost!
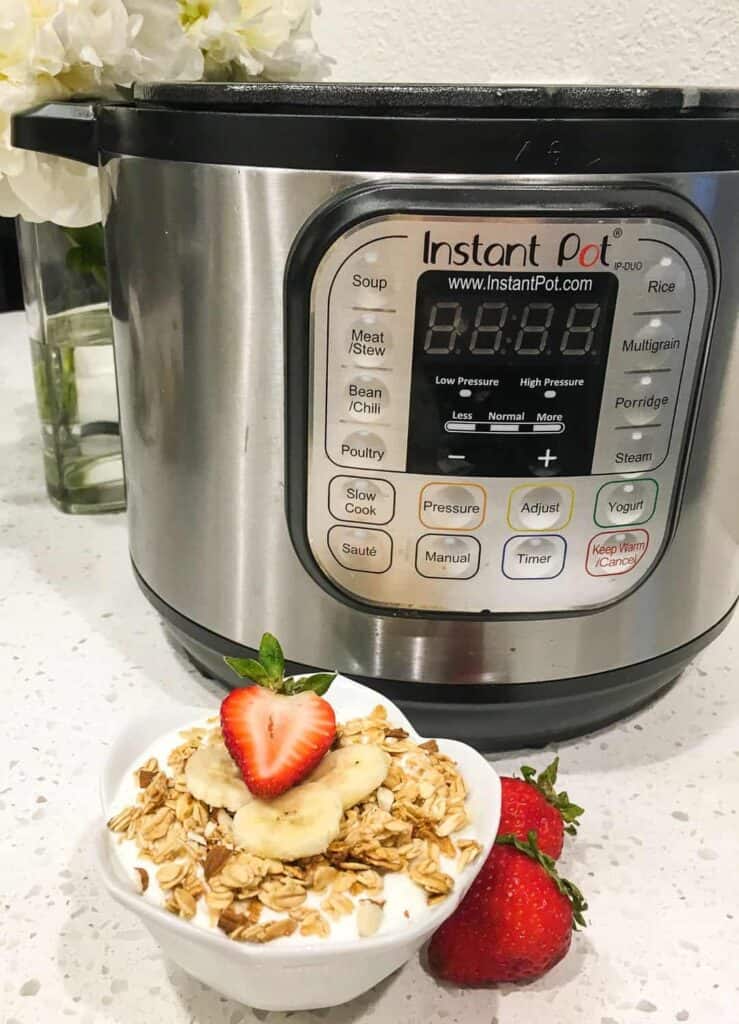
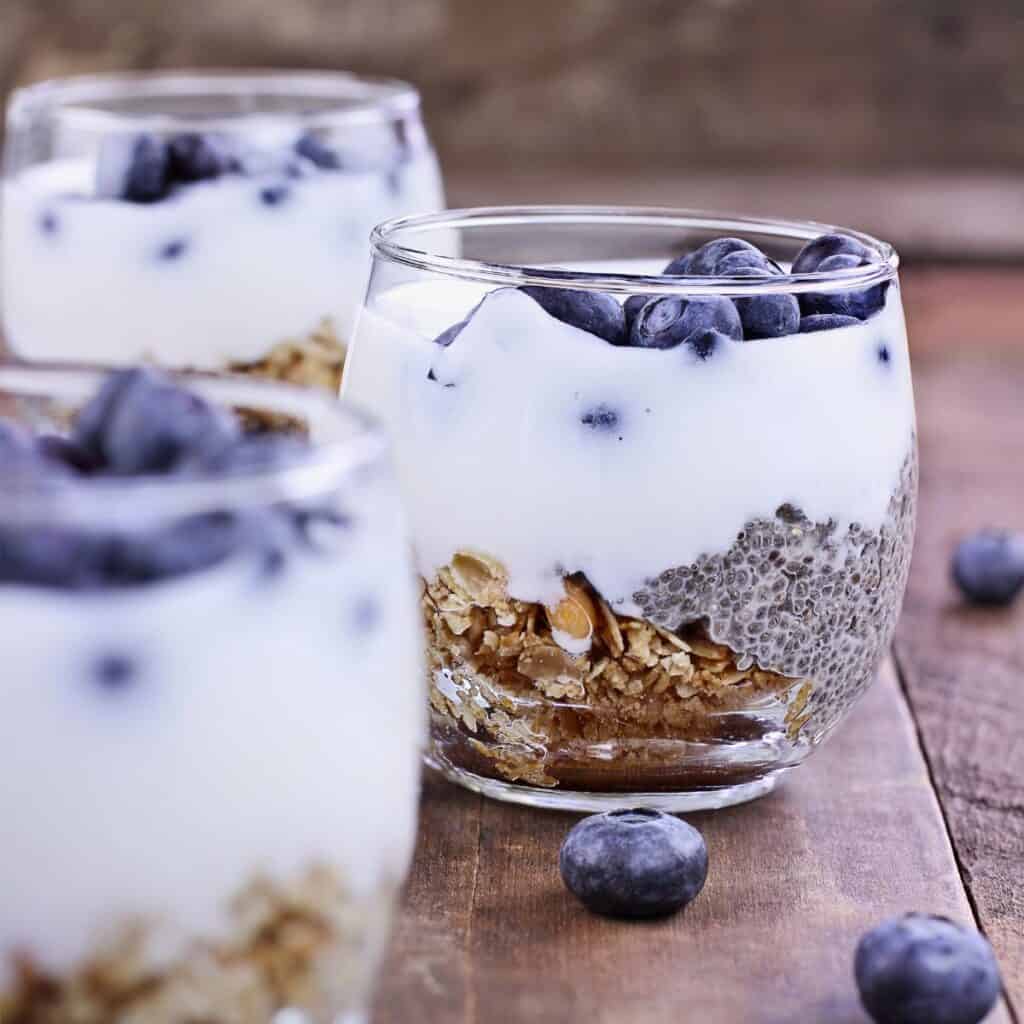
Serve topped with fresh fruit, granola, and a drizzle of honey, use in your favorite recipes, or store in an airtight container in the refrigerator. We use wide mouth mason jars.
This yogurt can be used however you normally use your yogurt, whether that’s eaten plain, as a parfait, in overnight oats, etc.
Easy Instant Pot Yogurt

Ingredients
Ingredients
- Half a gallon of milk (we use local grass-fed mil)
- 2 tablespoons of yogurt with live culture for a starter
Equipment needed
- Electronic pressure cooker with ‘Yogurt’ function
- You can also use a cooker with a "sous vide" function like the DuoCrisp
- Yogurt starter – either plain yogurt with active cultures or yogurt starter
- Instant read digital thermometer
- Strainer or colander
- Cheesecloth
Instructions
Add milk to Instant Pot® and select the ‘Yogurt’ function. Select ‘Adjust’ until the screen says ‘boil.”
If you have a sous vide function instead of a yogurt function Adjust the temperature to 180 and bring the time as low as it will go. Mine lets me go down to 30 minutes. You do not need 30 minutes at temperature. Add the lid.
Keep an eye on it and cancel the function once the yogurt comes to temperature.
If you're using the yogurt function, your screen will say “YoGt” when done. Insert instant read thermometer into the milk to ensure it has reached at least 180°F.
Turn unit off and remove pot to allow milk to cool.
When an instant read thermometer reads 120°F, the milk is cool enough to add the yogurt starter.
Mix in your yogurt culture or starter.
Return pot to unit and cover with the lid (no need to seal for this function). Select the ‘Yogurt’ function again and make sure the setting is on “Normal’ (NOT “Low” – very important!) and adjust time for 8-10 hours. The longer the incubation period, the tangier the yogurt will be.
If you're using the sous vide feature: Set the temperature to 110 and the time to 10+ hours Put the lid on.
When the yogurt is done incubating, remove the lid and turn unit off. Allow the yogurt to cool to room temperature. Avoid stirring or disturbing the yogurt until it is cool. This helps the texture remain creamy.
Line a strainer with some cheesecloth and place over a large bowl. Pour yogurt into the strainer and place in the refrigerator to strain for several hours. The longer the yogurt is allowed to strain, the thicker the yogurt will be.
Do not squeeze or press the yogurt. If you drain it excessively, you will make yogurt cheese instead of Greek yogurt.
Once yogurt is strained, discard the liquid whey (or save to use in smoothies) and transfer the yogurt to a bowl or into jars.
If the yogurt texture is lumpy, process with an immersion blender or hand mixer until creamy and smooth.