Nativity Manger Wood Carving Tutorial
This wood carved nativity set manger is a delightful carving to make for Christmas. Use it in your own Christmas display, gift it to friends, or even sell your own creations!
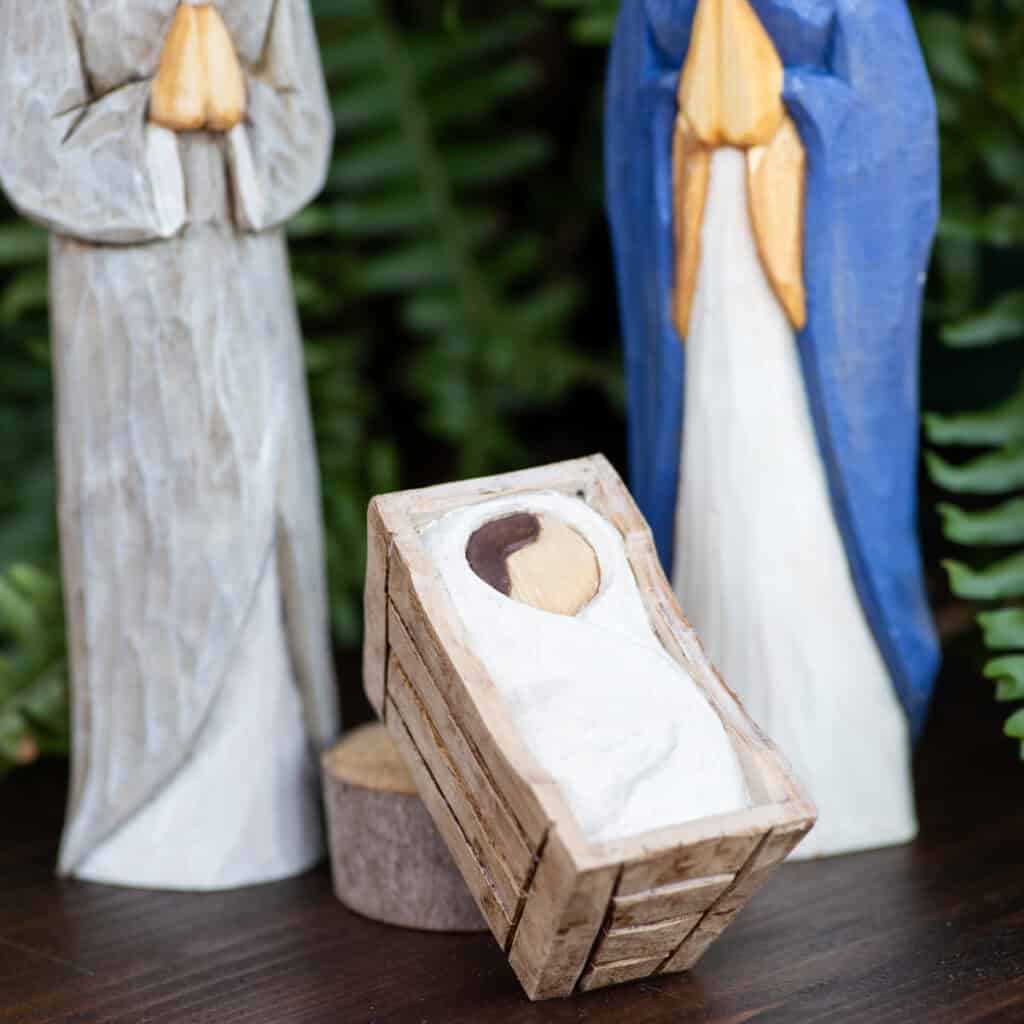
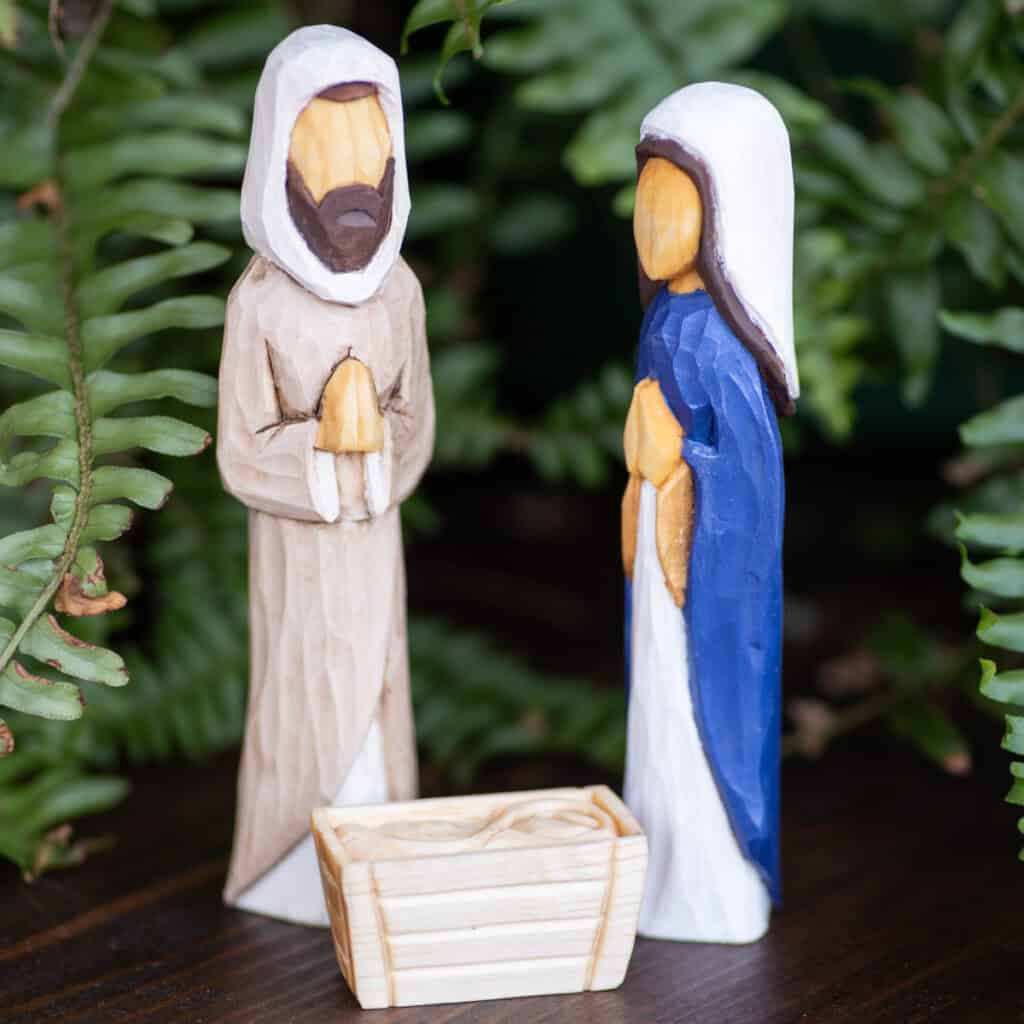
This manger was designed to accompany this Mary carving and this Joseph carving to complete the Holy Family set.
This post includes affiliate links, which means I may earn a commission on purchases made at no additional cost to you.
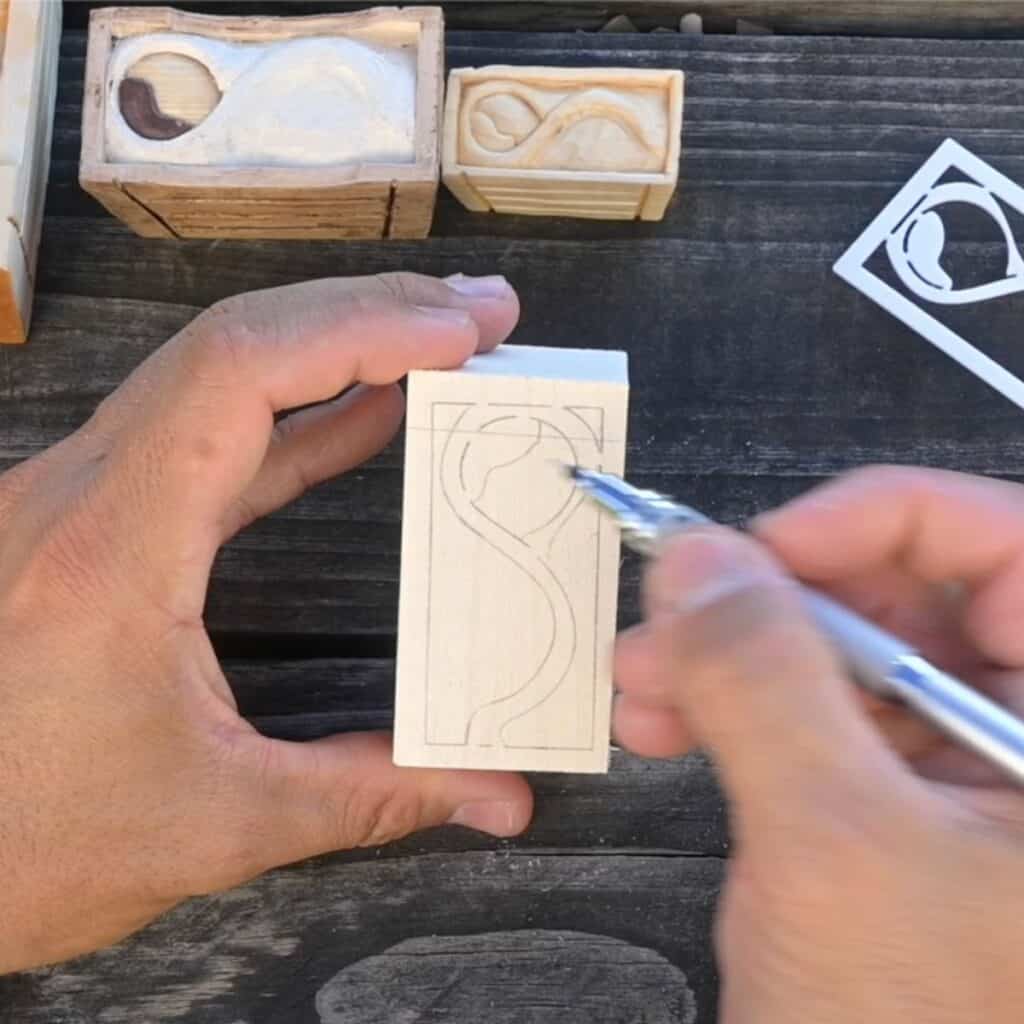
All three carvings for the three piece Nativity set use layout stencils to make creating a symmetrical design faster and easier so you have more time to carve! Get your manger carving stencil here.
Materials needed to carve a wood manger
– Basswood block. The stencil is available in 1″, 1.5″, and 2″ sizes.
– Manger stencil, optional but reccomended. You’r welcome to sketch out the design and follow this wood carving tutorial without using a stencil.
– Your favorite carving knives. I use a Flexcut roughing knife.
– A chisel or 1″ gouge, optional but helpful and various gouges.
Flexcut #11/ 1/8”. I use a Pfeil #11/3mm but the Flexcut version of the tool works just as well. Pfeil does not have all their tools available on Amazon.
Bench hook, optional but helpful
Cut resistant gloves. I use the No Cry brand.
No products found.
How to carve a manger
I’ve created an entire step by step wood carving tutorial video for you, but here are the basic steps. Please scroll past the steps to watch the full video.
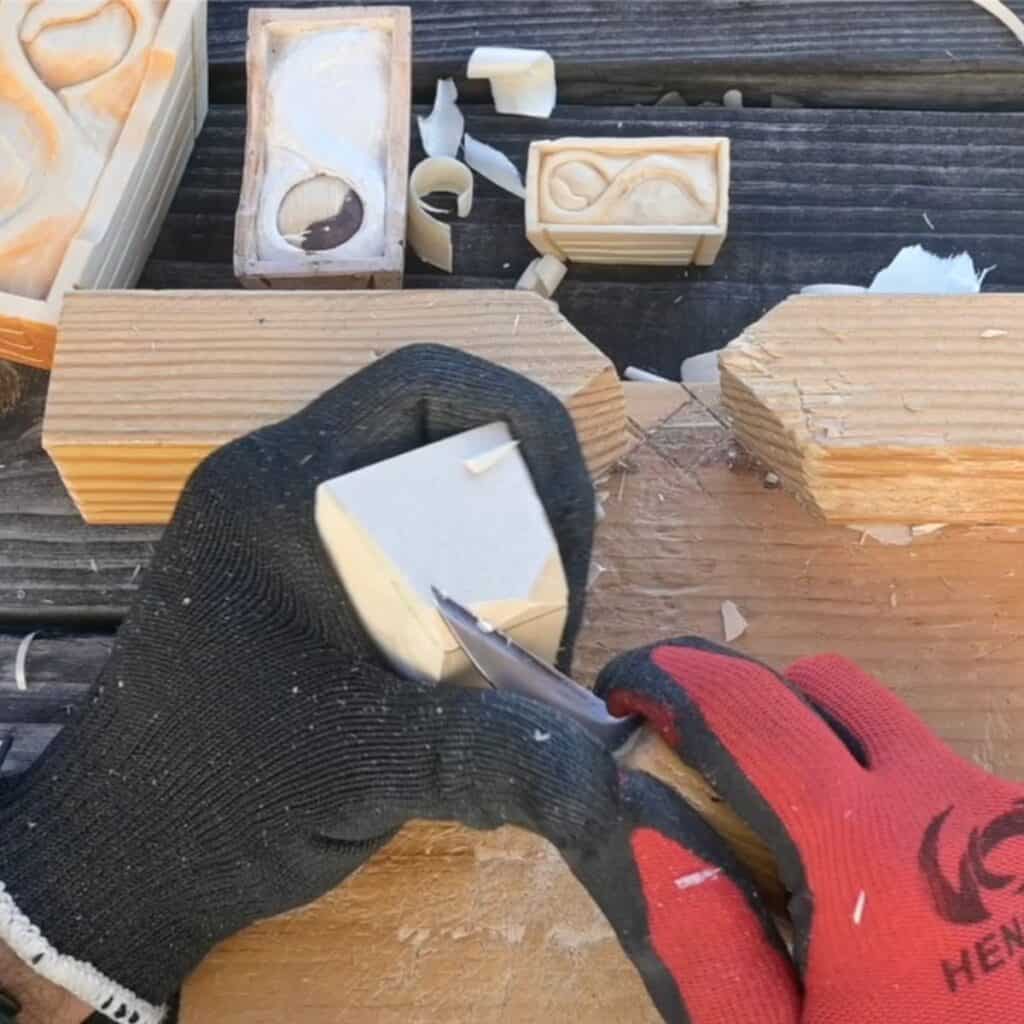
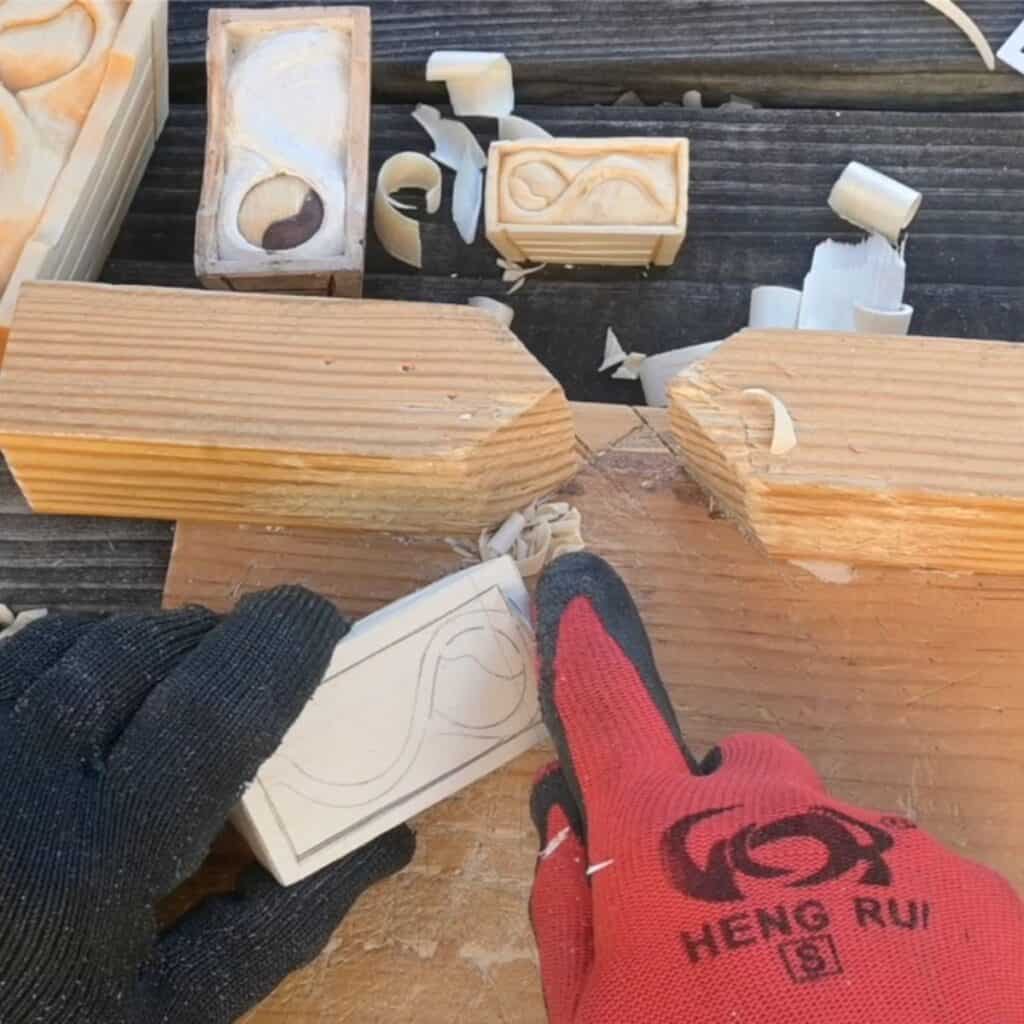
First, trace or draw your design. I’m showing the 1.5″ stencil in this post.
Remove material along the long sides to create the sloped manger sides. I used a bench chisel and bench hook, but this can be done with a knife or #1 gouge. You could also use a band saw.
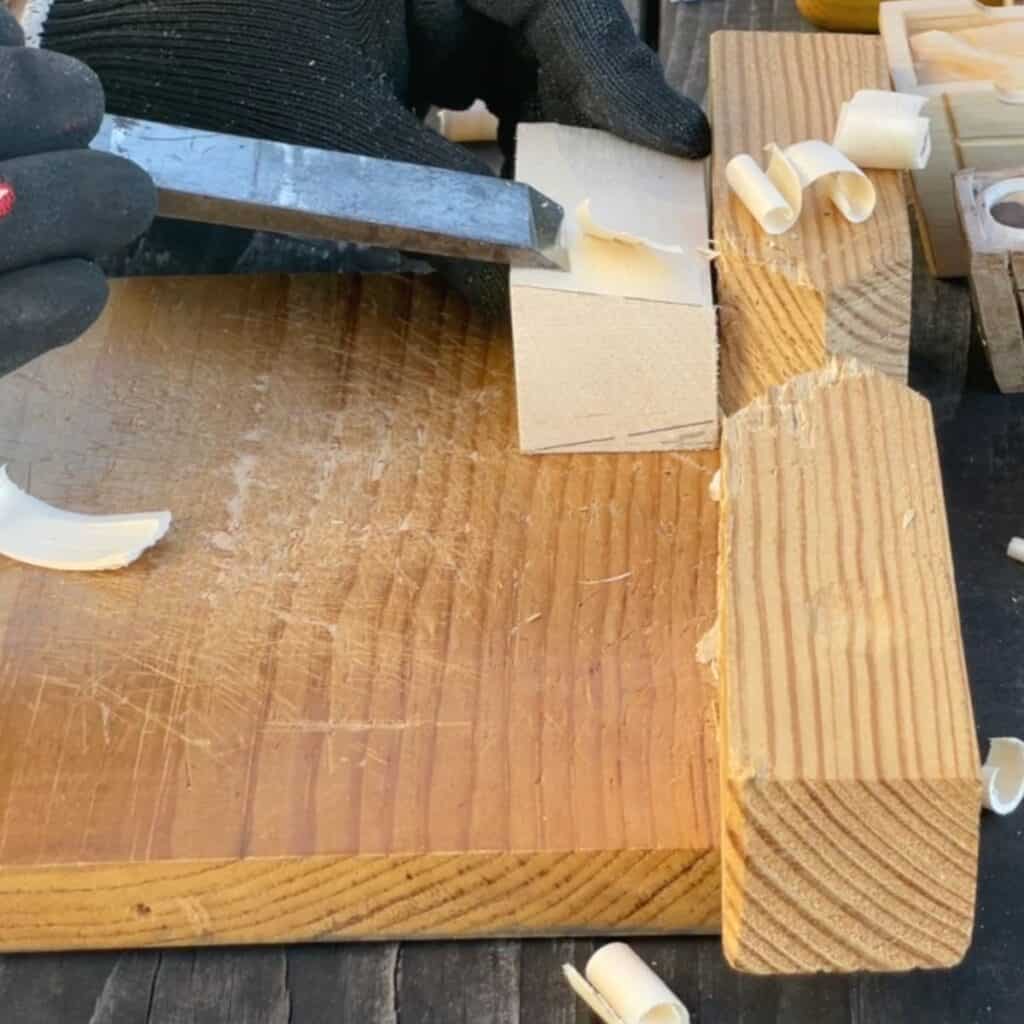
Next, pair down the end grain sides to the lines. End grain is harder to work with. By doing the long grain first, you’ll have less end grain to work with.
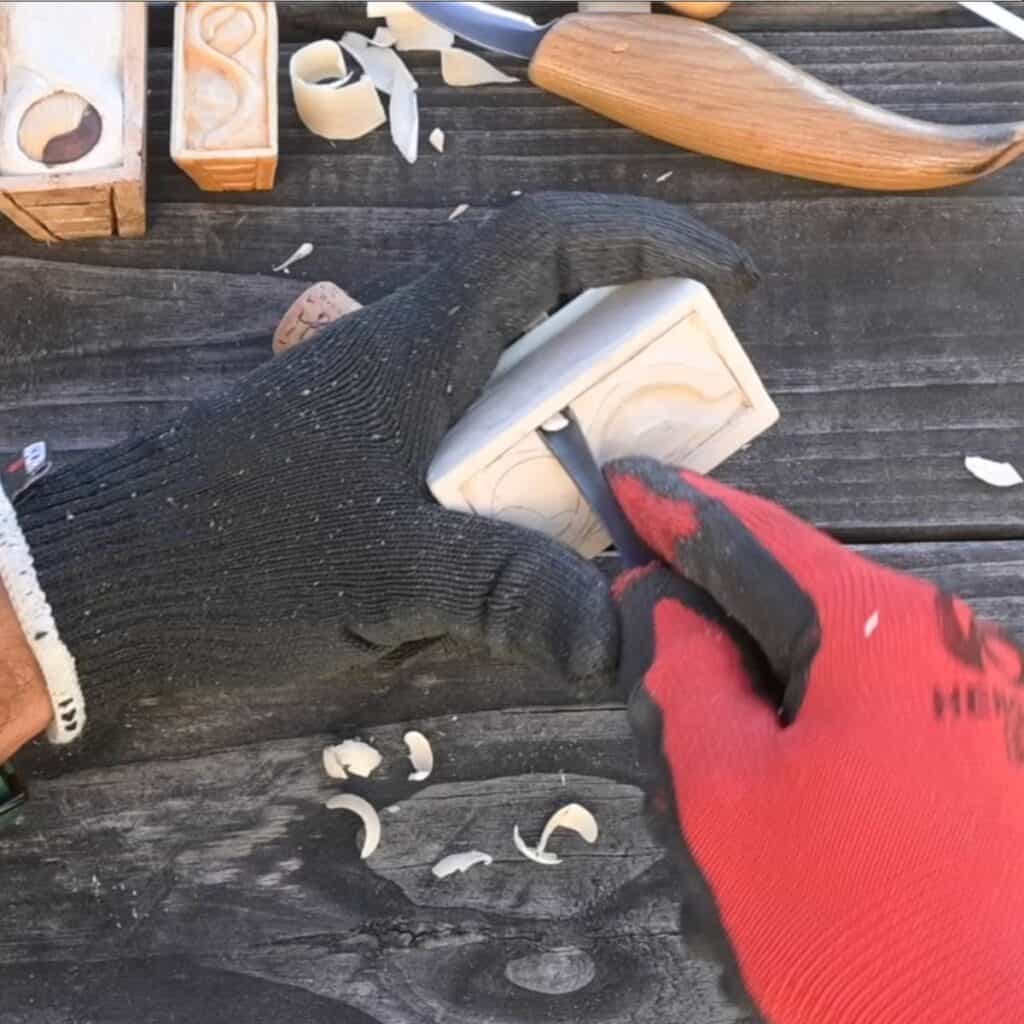
Re-center the baby and blanket design, if needed.
Carve out the baby and blanket. I used various gouges to add texture to the blanket.
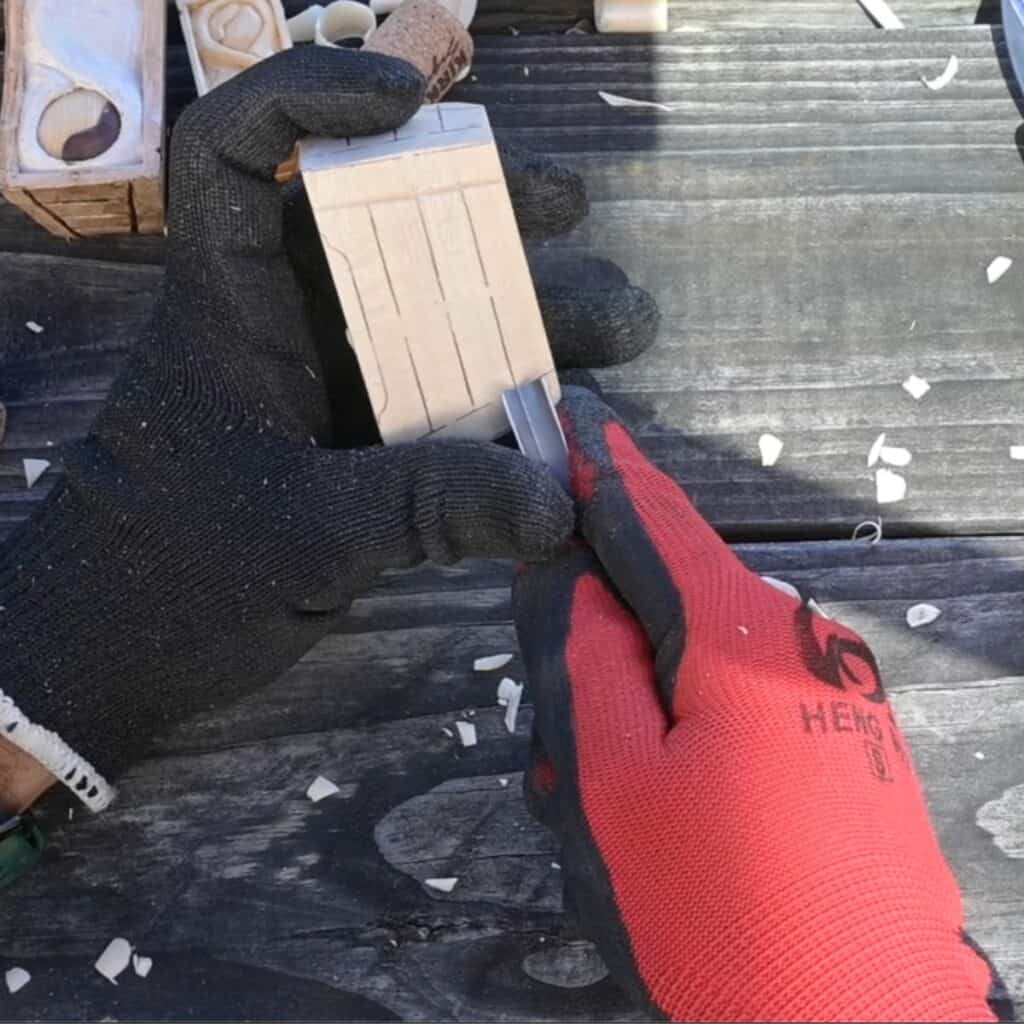
Use a V tool to make grooves for the manger’s wood planks. This is also the point where you can take down the sides of the manger to reveal the baby a bit better. I don’t do this on the 1″ size.
At this point, you should just have a bit of clean up to do. I use a stiff brush (it’s actually a shoe cleaning brush) and a sanding pad.
The best way to learn how to carve this piece is by watching the video:
How to paint a wood carved manger
How you finish your manger is up to your personal preference. I use boiled linseed oil and then hand it over to my wife for painting.
We don’t have a light brown paint color right now, so she used Folk Art Linen paint to paint the manger sides. She used Antique White on the blanket and Burnt umber on the baby’s hair.
After the paint was dry, she used water down clear acrylic poly and let that dry for a day. Finally, she applied two coats of Chestnut gel stain over the manger sides only, wiping away slightly between coats. This makes the planks really stand out.

I hope you’ve enjoyed carving your own wood Nativity set! Please join my woodcarving community on facebook to share your questions and carvings.