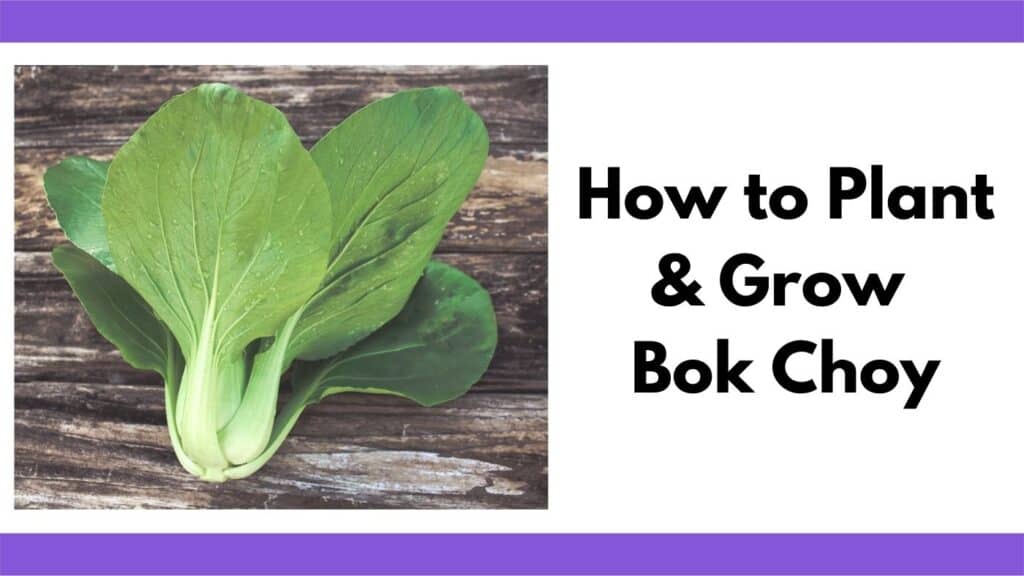
Bok choy is a vegetable of many names. It’s sometimes referred to as Chinese cabbage and has quite a few variations as far as spelling goes: bok choi, pac choi, pac choy, bak choy, and so on.
No matter how you spell it, bok choy is a tasty cool-season green with crisp, edible stalks and leaves. The plants are easy to grow as long as you plant them at the right time of year and will be ready to pick in just a month or two.
Here’s more about how to plant and grow bok choy in your home garden, including how to keep pests away and the best way to harvest your crop.
This post includes affiliate links, which means I may earn a commission on purchases made at no additional cost to you.
Table of Contents
A Closer Look at Bok Choy
Bok choy (Brassica rapa subsp. chinensis) is a member of the cabbage family and closely related to other greens like kale, collard greens, and mustard greens. The plants are originally native to China, which is where the name is derived from.
Typically, bok choy is a fairly small plant that grows about 6-10” tall and wide, although some of the larger cultivars may get close to 2’ tall. The plants put up celery-like white stalks and wide green leaves.
The most important planting tip for bok choy is that it needs about a two-month period of cool weather to grow in.
Like other cabbage family members, bok choy does not like hot temperatures and will quickly bolt and go to seed when the weather gets too warm. Fully grown plants can tolerate temperatures close to freezing, but anything below 50°F while the plants are young will also cause bolting. (Yes, plants will bolt both when the temperature is too high and too low!)
The best plan for most gardeners is to start seeds indoors and transplant the seedlings in spring when temperatures are consistently above 50°F. Seeds can also be sown in late summer for a fall harvest. Fall bok choy does better in hot, Southern climates while spring bok choy is a wise choice in cooler areas.
Cultivars to Consider
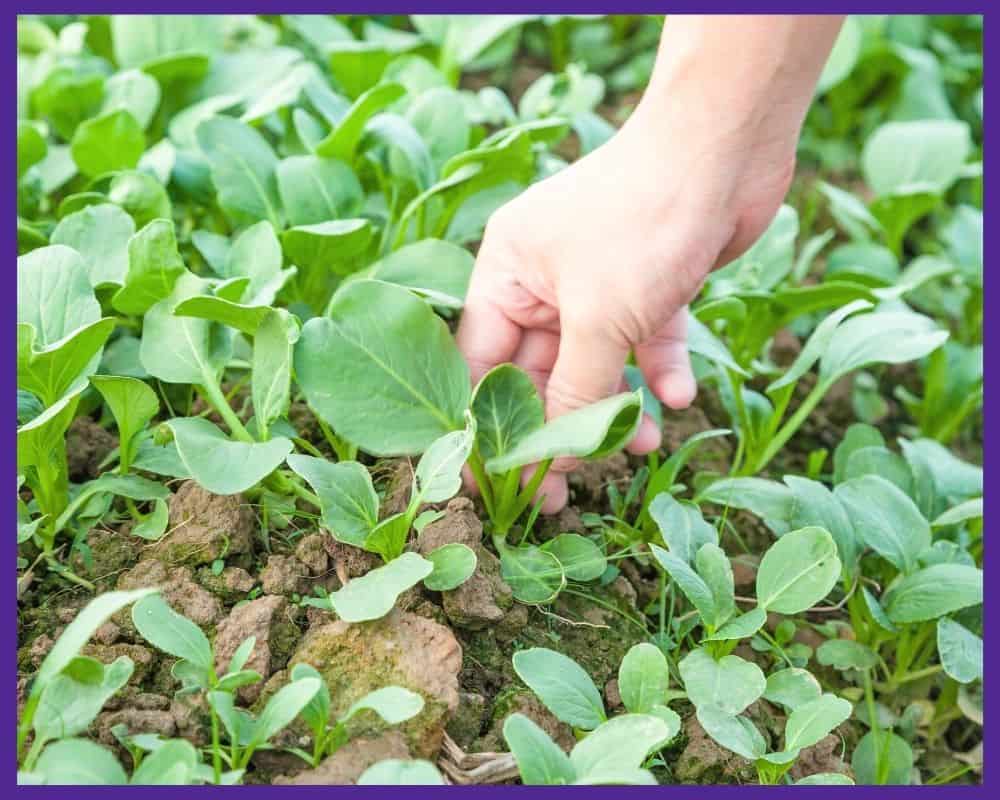
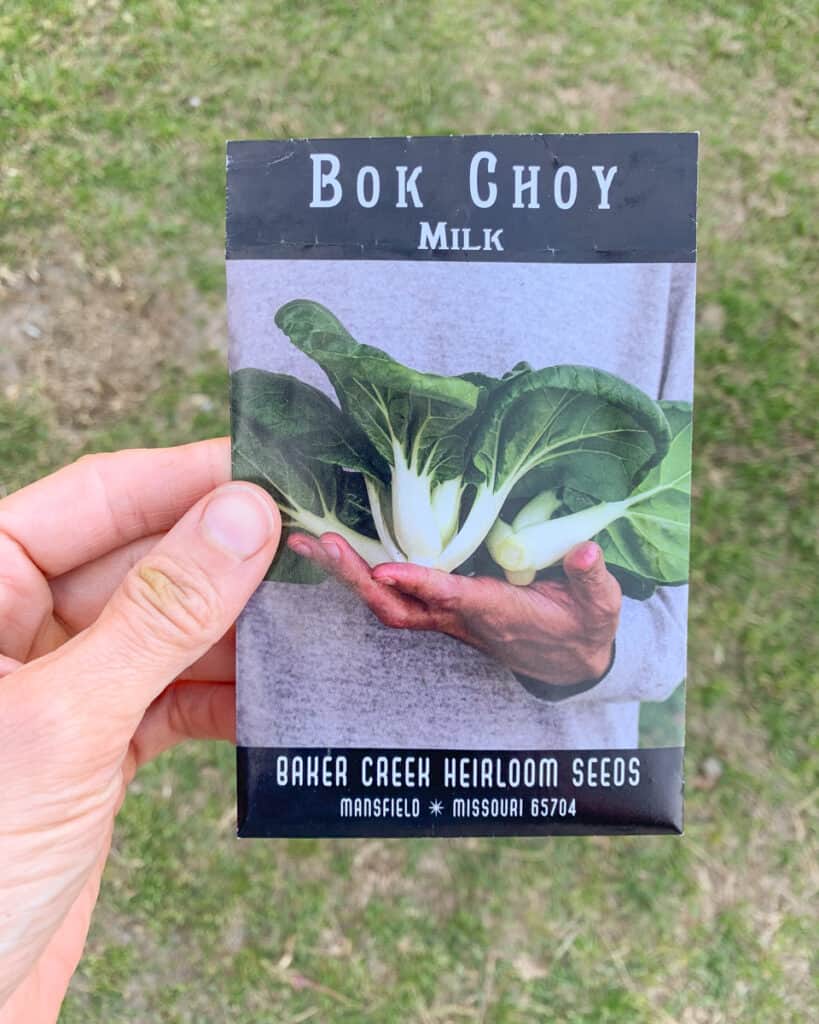
You’ll likely find seed packets that are simply labeled “Bok Choy” with no cultivar listed. However, to have the best success learning how to plant and grow bok choy, you may want to look for somewhere that offers several varieties to find one suited to your area and garden. I do almost all of my seed shopping online, either on Etsy or with online retailers like High Mowing Seeds.
Here are a few to consider:
- ‘Vivid’ – This versatile pak choy has stems that vary from light pink to vivid purple. It is both cold hardy and slow to bolt.
- ‘Bopak F1’ – This hybrid bok choy is sturdy and upright, large (up to 15″!), and extremely bolt resistant. This makes it a good choice for people with unreliable spring or fall weather that can be randomly hot at any time.
- ‘Shanghai’ – Shanghai is delicious, open pollinated baby bok choy. Open pollination means you can save the seeds from your plants and expect your next generation of plants to be true to their parents’ characteristics.
- ‘Canton’ – This is a classic bok choy variety with thick white stems. It is tasty in stir fries and is fairly heat resistant.
Starting Bok Choy from Seed
Bok choy is easy to start from seed, and most gardeners get good results when doing so. Of course, you can also look for transplants at your local nursery in the spring.
I recommend avoiding big box store seedlings, unless you’ve inspected them carefully and have no other choice. I was shopping at the orange brand of big box home improvement store recently and almost bought some bok choy and rhubarb seedlings. Luckily, my daughter noticed that virtually every plant on display was infested with aphids! Most plants at home improvement stores have not been well cared for. They are also frequently varieties that look nice as seedlings, but don’t necessarily perform well in your garden. You should have better luck shopping with local farmers or at a farmer’s market.
Starting Bok Choy Indoors
For spring planting, start bok choy seeds indoors about 4 weeks before your last average frost date. For a summer-fall crop, get your seeds going about 6-8 weeks before the first expected fall frost. Plants grow more slowly in the fall and need more time to reach maturity.
Fill seeding trays or cell packs with a damp, good quality seed starting mix. I typically use organic potting soil instead of a sterile seed mix because I inoculate soil with beneficial microbes whenever possible. Brassicas are non-mycorrhizal, which means they can’t really partner with fungi (though they can be inoculated with specific mixes that contain trichoderma).
Plant the seeds about ¼” deep and one per cell. Water the seeds, cover the containers with a plastic dome (if you have one), and set them somewhere safe to germinate. I typically use cheap little trays like this set inside of larger, sturdier trays:
Germination can take as little as 4-8 days. Some varieties may take longer. Once your seedlings are up, remove any coverings and place them under grow lights or by a very sunny window. I use these inexpensive clip on grow lights for small numbers of seedlings. They have trouble providing adequate light for an entire 10×20 tray, but do well enough for smaller trays. Water consistently before the soil dries out and provide the seedlings with good air circulation. I use this clip-on, rechargeable fan to keep my seedlings happy and healthy.
About a week before transplanting to your garden, harden your seedlings off by gradually getting them acclimated to outdoor weather. Hardening off isn’t just about getting them used to the temperature changes. It also acclimates your plants to sunlight and wind. Don’t skip this step if you want healthy plants! Learn more in this guide to preparing your seedlings for transplanting.
Starting Bok Choy Outdoors
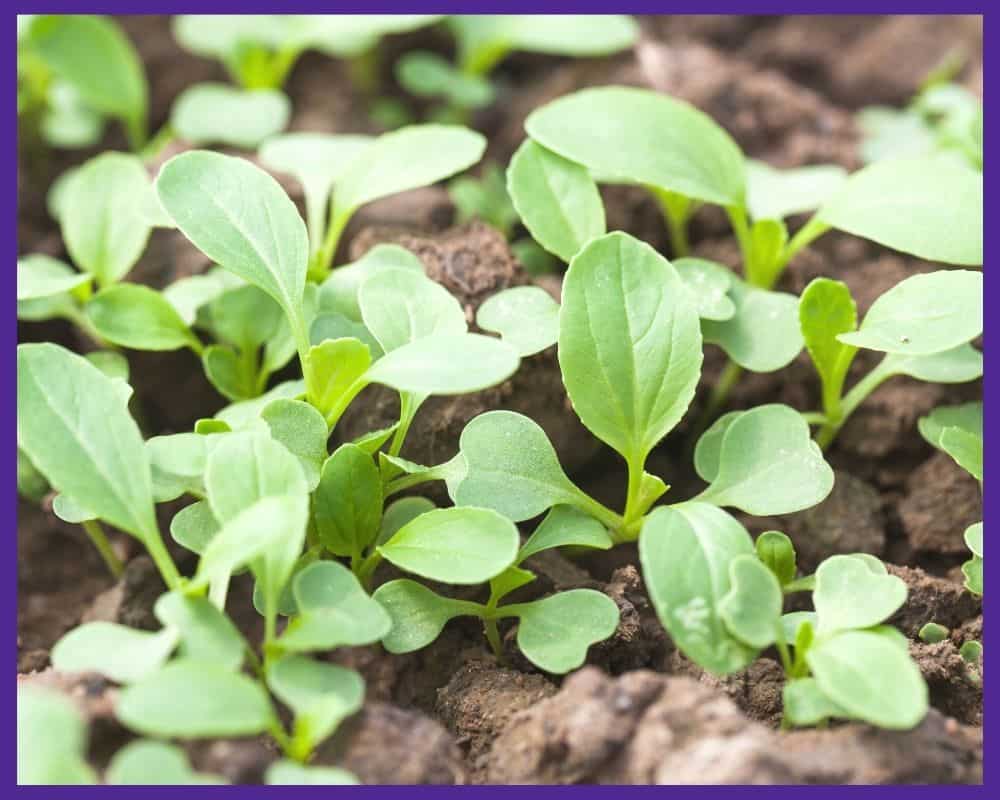
Bok choy usually does better when started indoors, but if you live somewhere with consistently mild and cool weather, you can start the seeds directly in your garden. For spring planting, sow seeds right around your last average frost date.
Prepare your soil first by weeding, getting rid of debris, and raking the top inch or two to provide a loosened area for the seeds to germinate in. If you have it, add some compost to enrich your soil. I purchase OMRI certified compost on Etsy when I don’t have enough of my own.
Once this is done, plant the seeds about ¼” deep and 1-2” apart. Water the area well and don’t forget to mark it so that you remember where your seeds are!
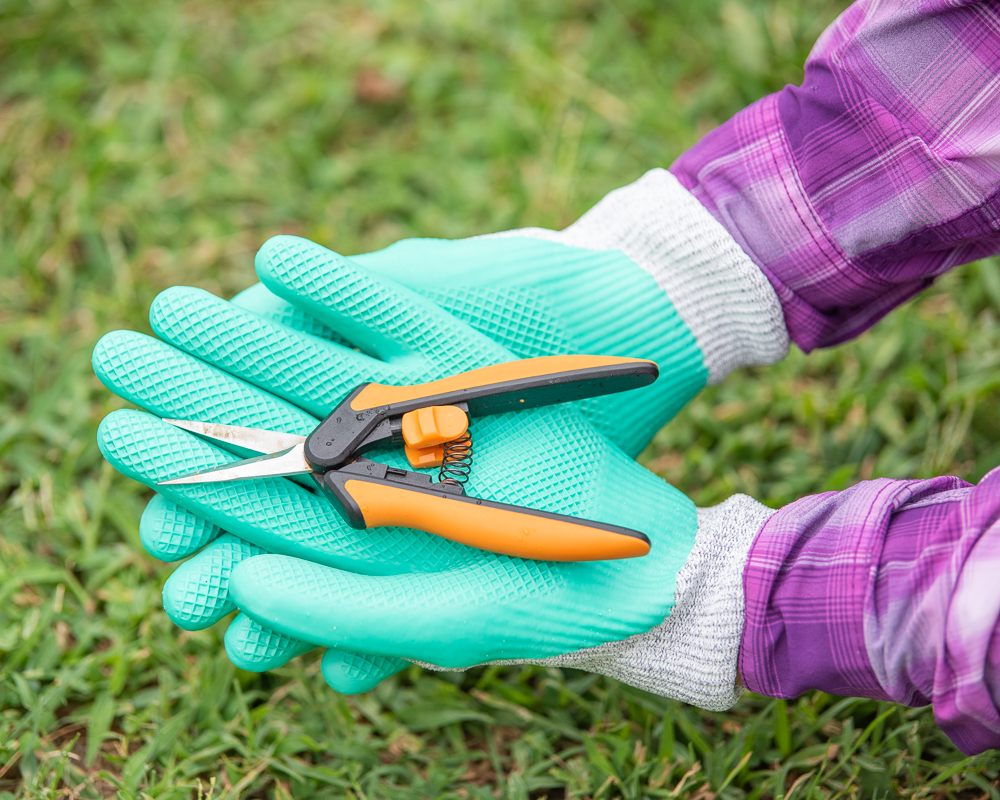
When your seedlings are a few inches tall, thin them to a spacing of at least 6” apart by snipping off extras at soil level. You can eat your clippings as baby greens. Do snip the seedlings instead of pulling them. Pulling seedlings to thin them can damage the roots of plants you plan to keep. I use these Fiskars Micro Tips.
How to Plant and Grow Bok Choy
When and Where to Plant
Bok choy is best transplanted to the garden when nighttime temperatures are consistently above 50°F in the spring. This helps to limit cold swings that may cause your plants to bolt.
For a fall harvest, transplant in late summer, about 4-6 weeks before your first frost.
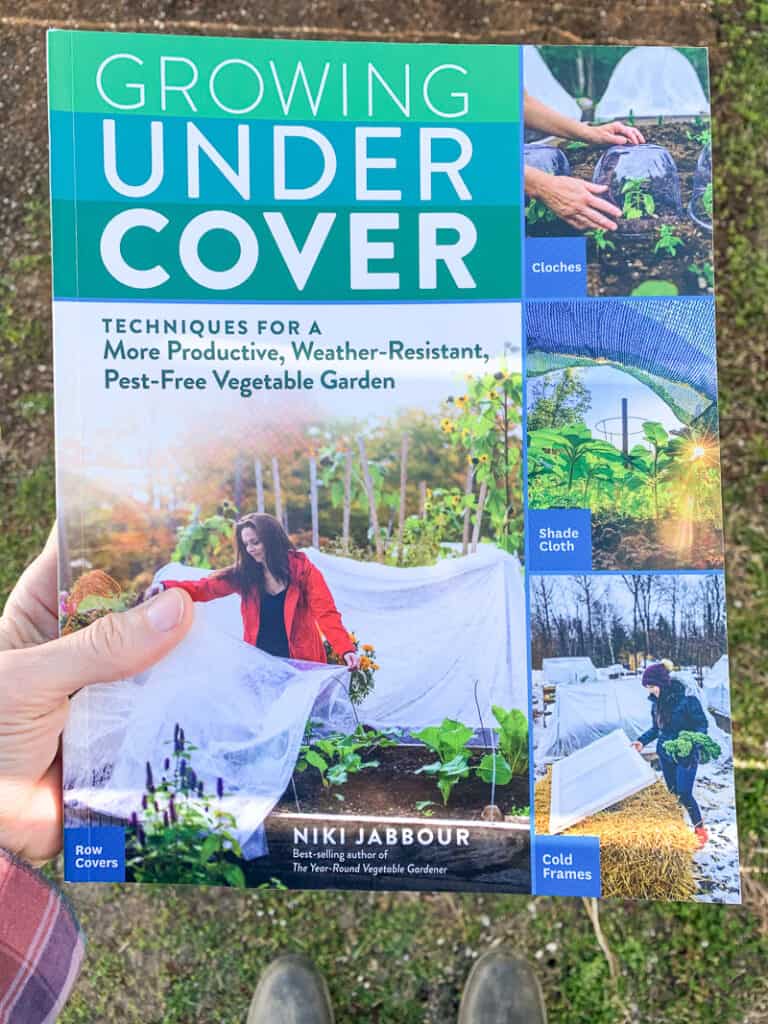
Your plants will grow best in an area that gets full sun. However, if they are going to be growing through hot weather (particularly with a spring-summer planting), plants will tolerate partial shade and will do better if they are shielded from the afternoon sun. Shade cloth can provide shade, if needed. To learn more about inexpensive, all-season gardening techniques, be sure to read Niki Jabbour’s Growing Under Cover. It has lovely pictures and do-able solutions for gardening year round without spending thousands of dollars on a greenhouse.
Bok choy prefers fertile, well-drained soil, but it adapts better than other vegetables to soil on the heavy or clay side. Add in compost, rotted manure from a trusted source, or a slow release fertilizer before planting to enrich the soil. (Many manures are contaminated with herbicides. Only use manure from animals that you are certain haven’t eaten contaminated feeds.)
I love adding micronutrients, too, for healthy plants that taste better. Azomite and Sea90 are two good trace mineral sources that are allowed in organic production. The Azomite linked is not the same as the one pictured because 1) the smaller bag is easier to hold for a photo and 2) the larger box linked is a better value.
Table could not be displayed.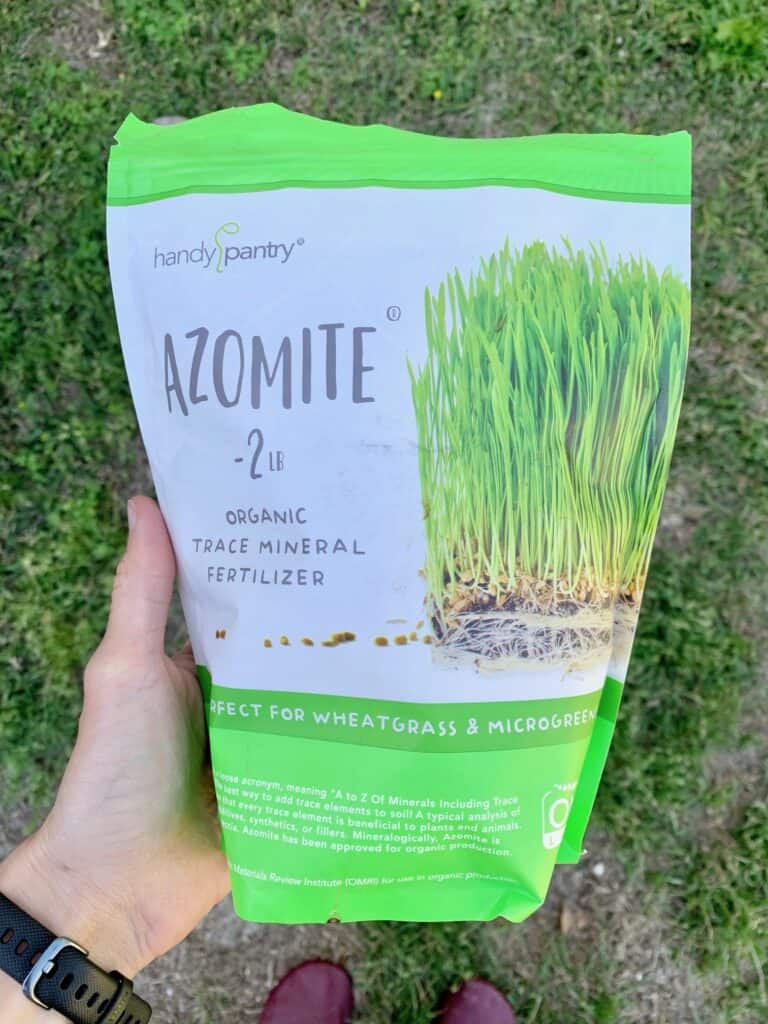
Conventional wisdom says not to plant bok choy where any other members of the cabbage family have been in recent years. If you’re short on space, it grows very well in containers. You may also want to investigate JADAM, which practices growing the same crops in the same location repeatedly, with special considerations.
Bok Choy Planting Information
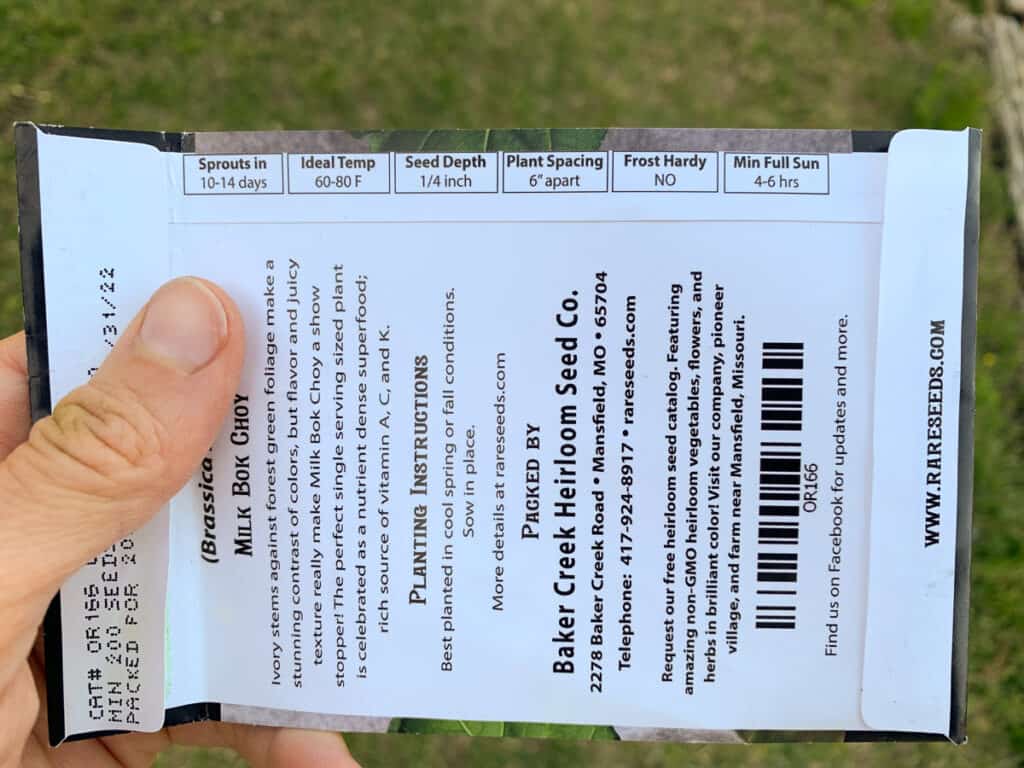
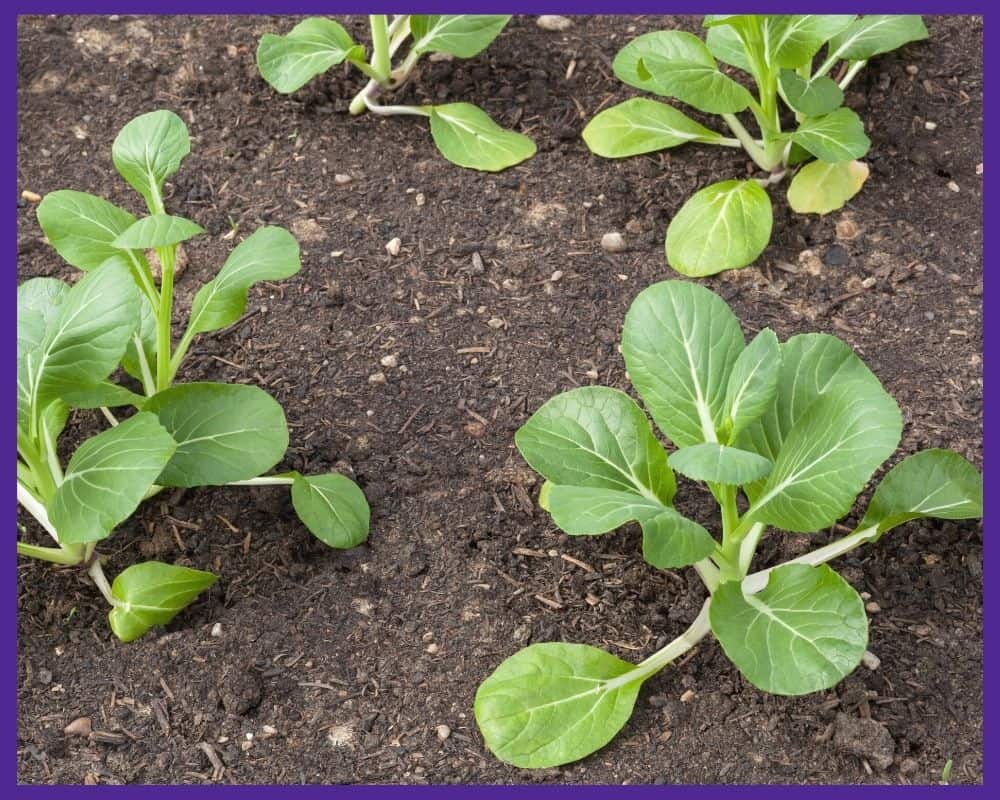
Depending on the variety you are growing, bok choy should be spaced anywhere from 6-12” apart. Some varieties grown for miniature heads can even be spaced as closely as 3” apart. Make sure to consult your specific seed package.
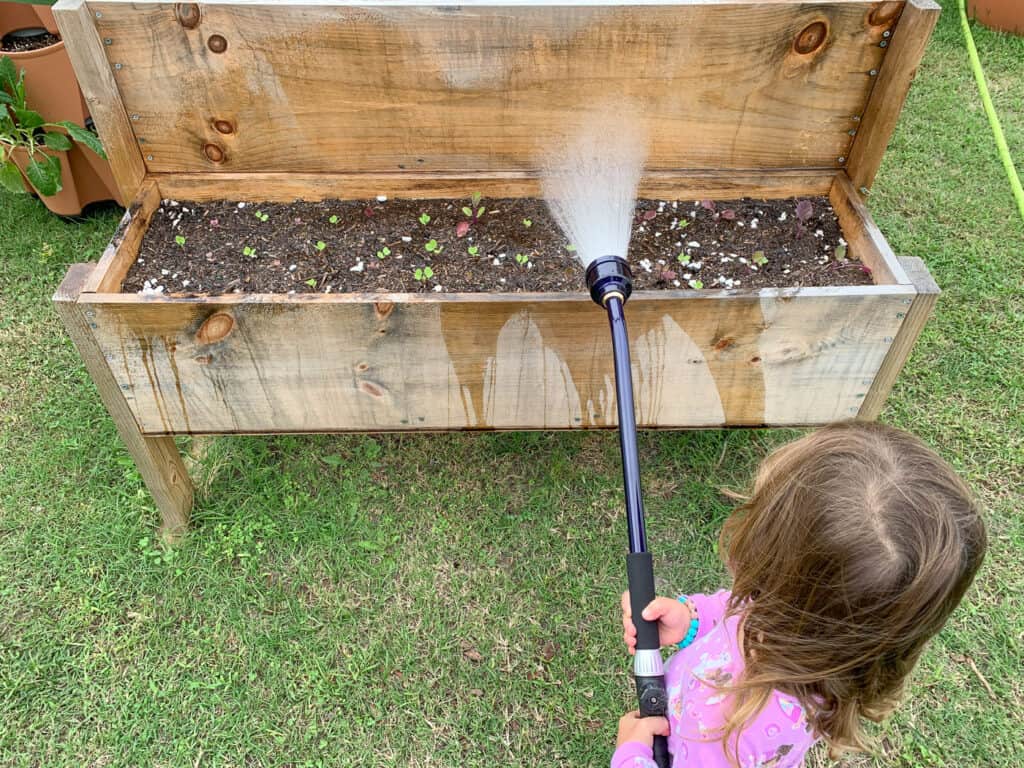
Plant each seedling so the roots are fully covered and water them well when you are finished. I use a hose watering wand because it has a more gentle shower than a regular hose nozzle. Discover more about hose nozzles in this post.
If you want to plant in containers, choose a wide planter that is at least 12” deep. Make sure it has drainage holes, and fill it with a good quality potting soil that has compost added to it. Place it where it will get 3-5 hours of sunlight each day. Do not add gravel to the bottom. Gravel makes your plants more likely to have soggy roots and does not improve drainage.
Large grow bags are great for growing bok choy. I’ve grown kale, a larger relative of bok choy, in bags many times.
You can plant multiple bok choy in each container as long as they can be spaced at least 6” apart (3” for miniature cultivars). Water the soil well after planting.
Bok Choy Plant Care
Now that you know the basics of how to plant and grow bok choy, caring for your plants until harvest time is key.
Watering is the biggest maintenance task. You don’t ever want your plants sitting in soggy soil, but bok choy does need consistent moisture to thrive. Otherwise, you’ll end up with tough leaves or plants that go to seed too early.
In the garden, a deep watering once or twice a week is usually enough. Containers and raised beds will need to be watered more frequently, sometimes daily in hot and dry weather.
Apart from watering and pulling out any weeds that pop up, you don’t need to do much else for your plants. You can feed them once or twice with compost tea, but compost or fertilizer added at planting time is usually sufficient for the whole season.
Common Bok Choy Pests and Problems
Bok choy isn’t prone to any diseases, even those that commonly affect members of the cabbage family. However, it can be munched on by a number of pests.
Flea beetles are one of the most common leaf-eating pests to attack bok choy. They are very tiny black insects that leave pinprick holes all through the leaves. Cabbage loopers, cabbage worms, and slugs can also be a problem, especially for spring crops.
The best way to deal with these pests is to put floating row covers over your plants. Row covers let in light and water but keep out flea beetles and the moths responsible for cabbage loopers and cabbage worms. I’ve had mixed success with row covers. Once I accidentally covered kale that already had moth eggs on it…and didn’t discover the issue until several days after the caterpillars hatched. For the best results, put row covers on immediately after transplanting. This is the netting I use:
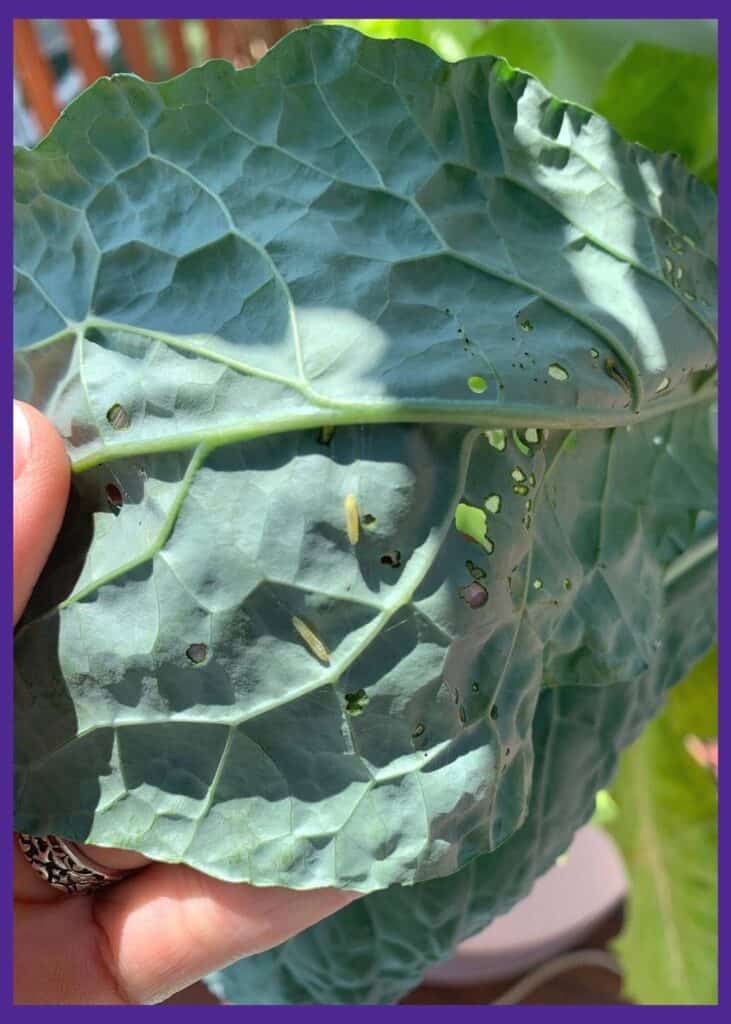
I keep a close eye on my brassicas and check them for caterpillar holes daily. If I see new holes, I examine the underside of the leaf to find and squish newly-hatched caterpillars. The little ones can be very difficult to spot. If any escape my notice and become large caterpillars (this happens very quickly), I pick them off and feed them to the chickens. You can drown them if you don’t want to squish and don’t have animals eager for a treat. The photo below shows caterpillars that are a few days old on a kale leaf:
Slugs can (theoretically) be deterred by placing crushed eggshells around your seedlings or using traps. I’ve tried various slug deterrents and haven’t been super pleased with any of them. Keeping mulch away from your plants can help precent slug damage. The best slug control is probably having guinea fowl or ducks that patrol your garden.
How to Harvest Bok Choy
Now for the fun part of how to plant and grow bok choy: harvesting.
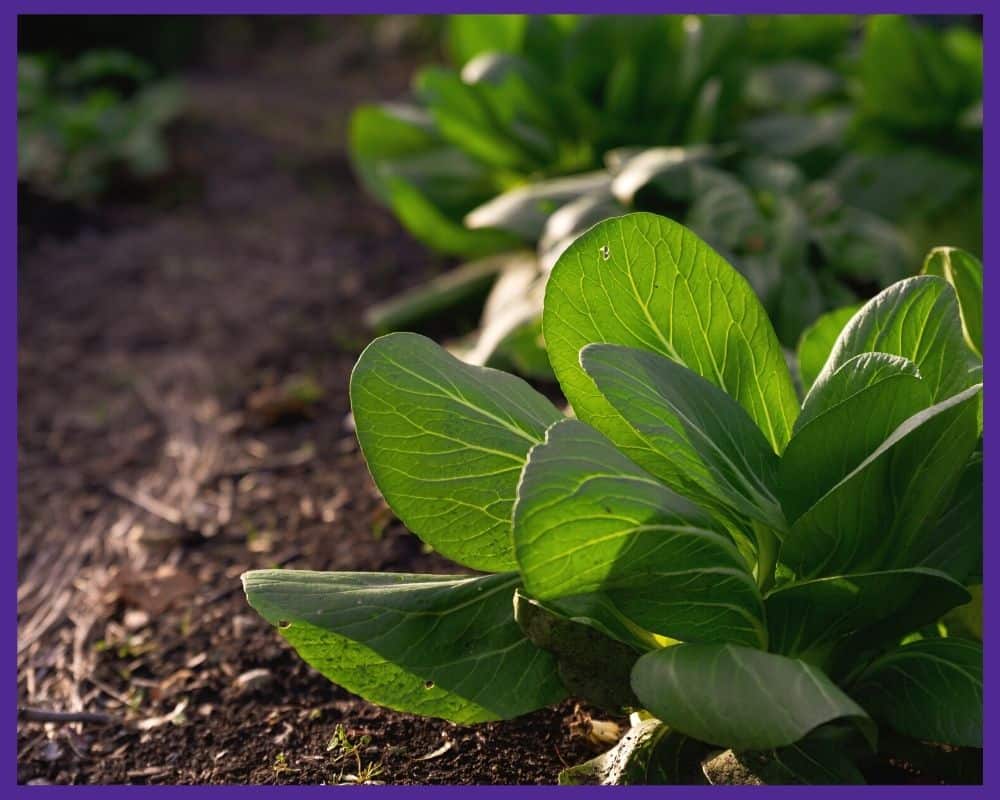
You can harvest from your plants one of two ways. The first way is to pick individual leaves and allow the rest of the plant to keep growing— much like you would with leaf lettuce. Or you can wait until the bok choy head has fully formed and harvest it all at once.
To use the first method, simply wait until the outer leaves of the plant are a good size for eating and break or cut the stem at the base of the plant. Allow the inner leaves to keep growing, and don’t harvest more than half of the plant at one time.
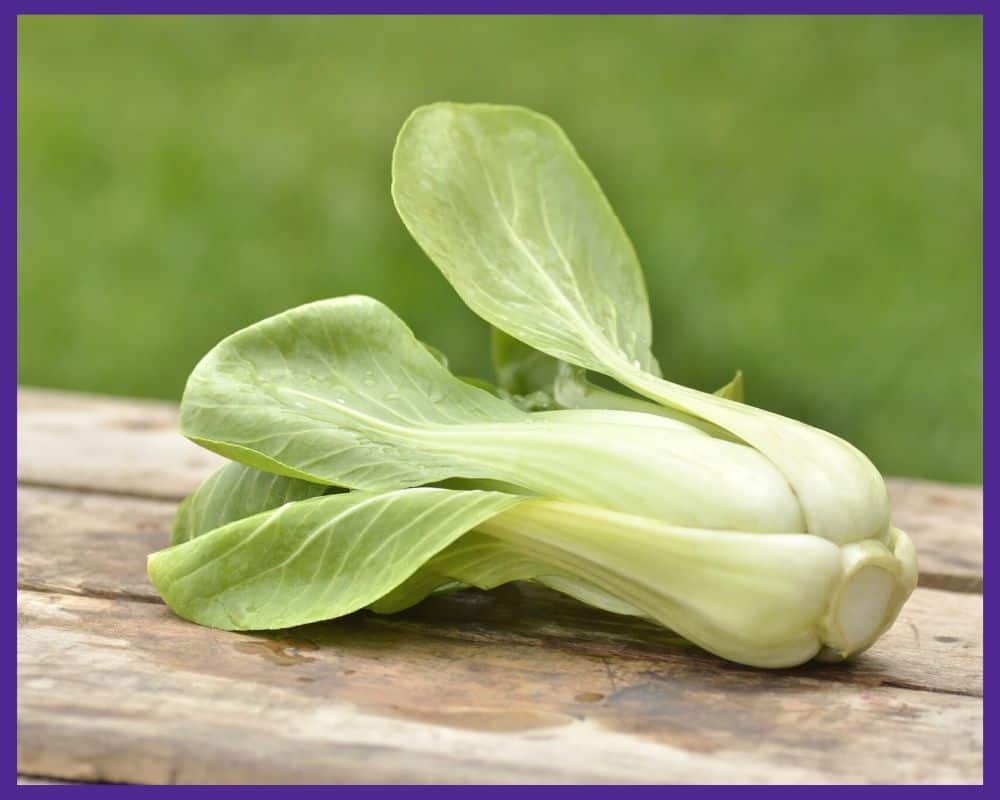
To harvest full heads, wait until they are their mature size (which varies by cultivar) and firmly packed. Then, use a sharp knife to slice each head off right above ground level. Leave the roots of the plant in the ground and watch for them to re-sprout with a tinier crop of bok choy leaves. Bok choy is fantastic when picked as a whole, small head and used in various stir fry and roasted vegetable recipes. Like any cabbage, you will want to peel off the outer leaves and wash away any soil that’s trapped inside your bok choy before eating it.
For a continuous harvest, plant bok choy every two weeks in spring and again in late summer for fresh greens until the first hard frost!
Popular summer vegetables and herbs
Discover how to grow popular vegetables and herbs in your backyard garden or container garden with these in-depth vegetable growing guides.
7 Easiest Vegetables to Grow for an Abundant Harvest (and 5 to avoid!)
Discover the easiest vegetables to grow for beginners so you can have a healthy, successful garden.
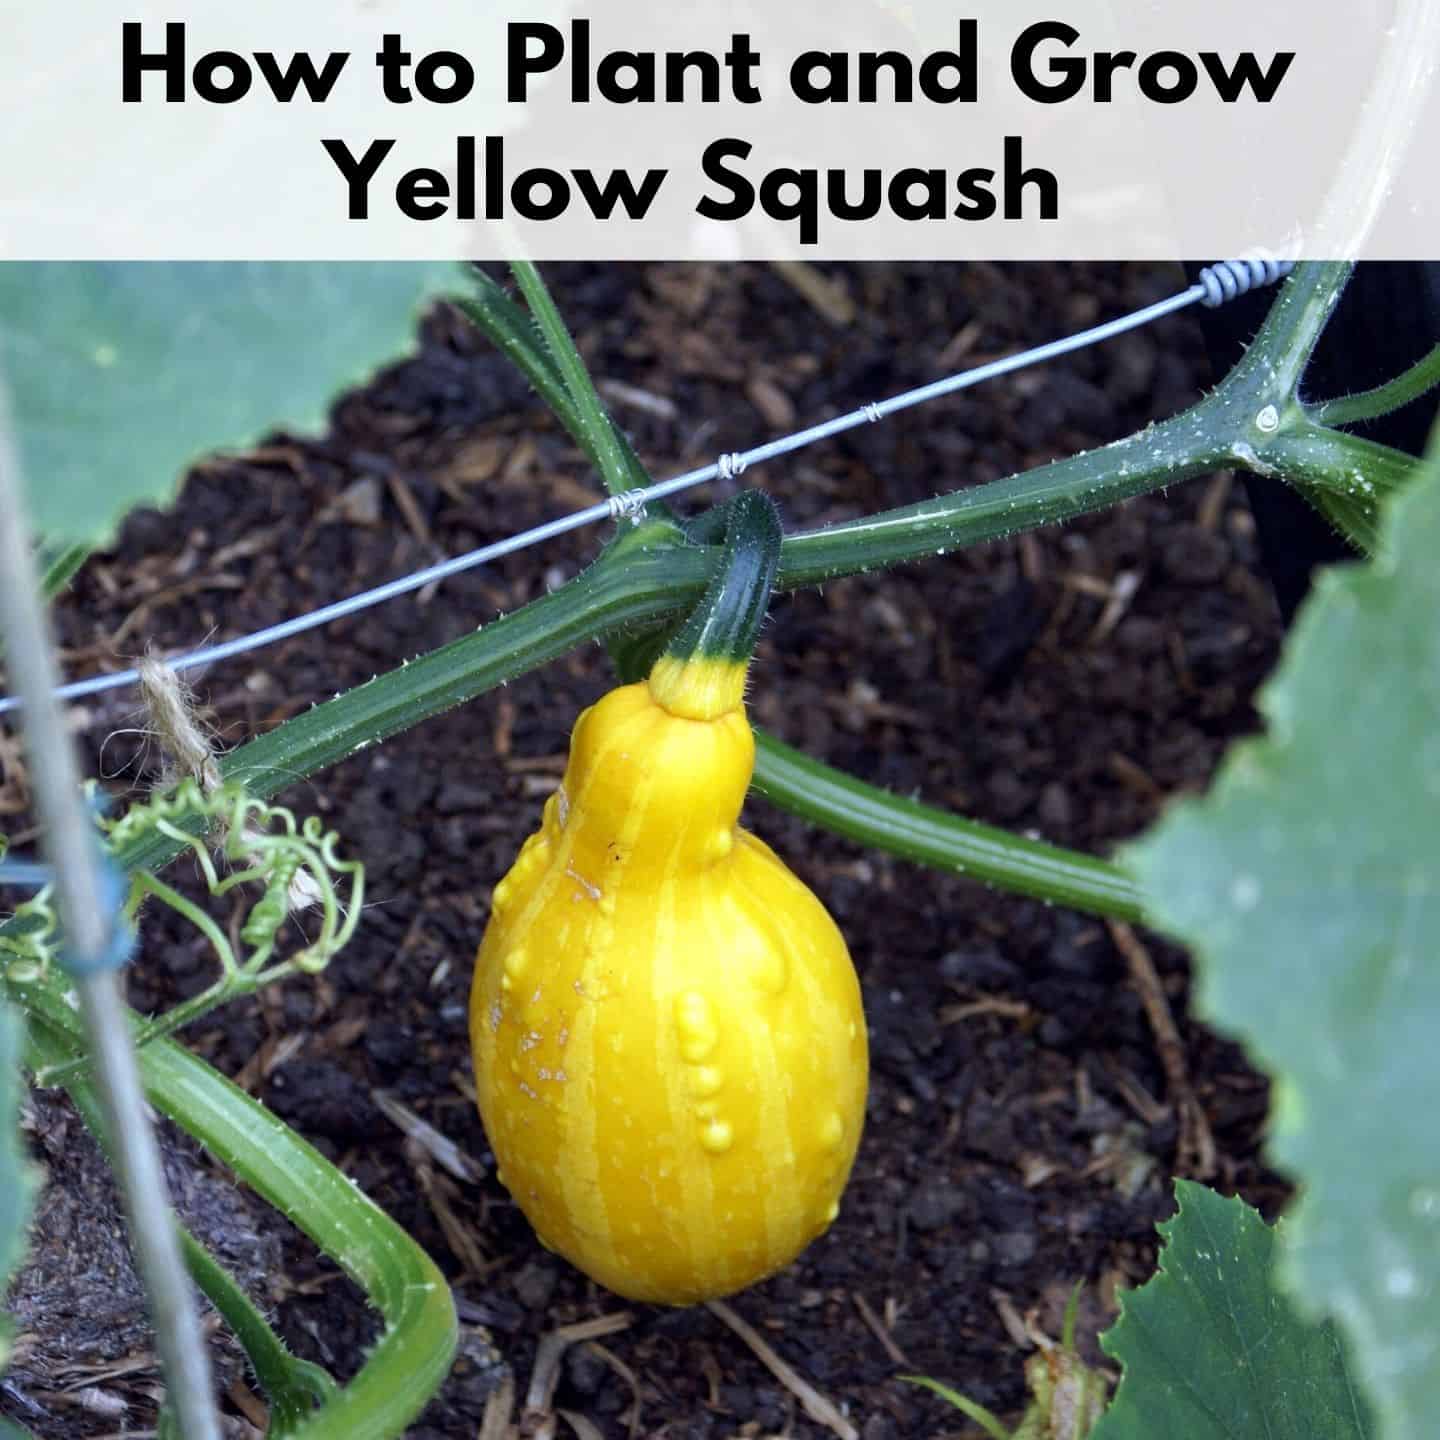
Discover these must-know tips for planting yellow squash and common squash growing mistakes and problems.
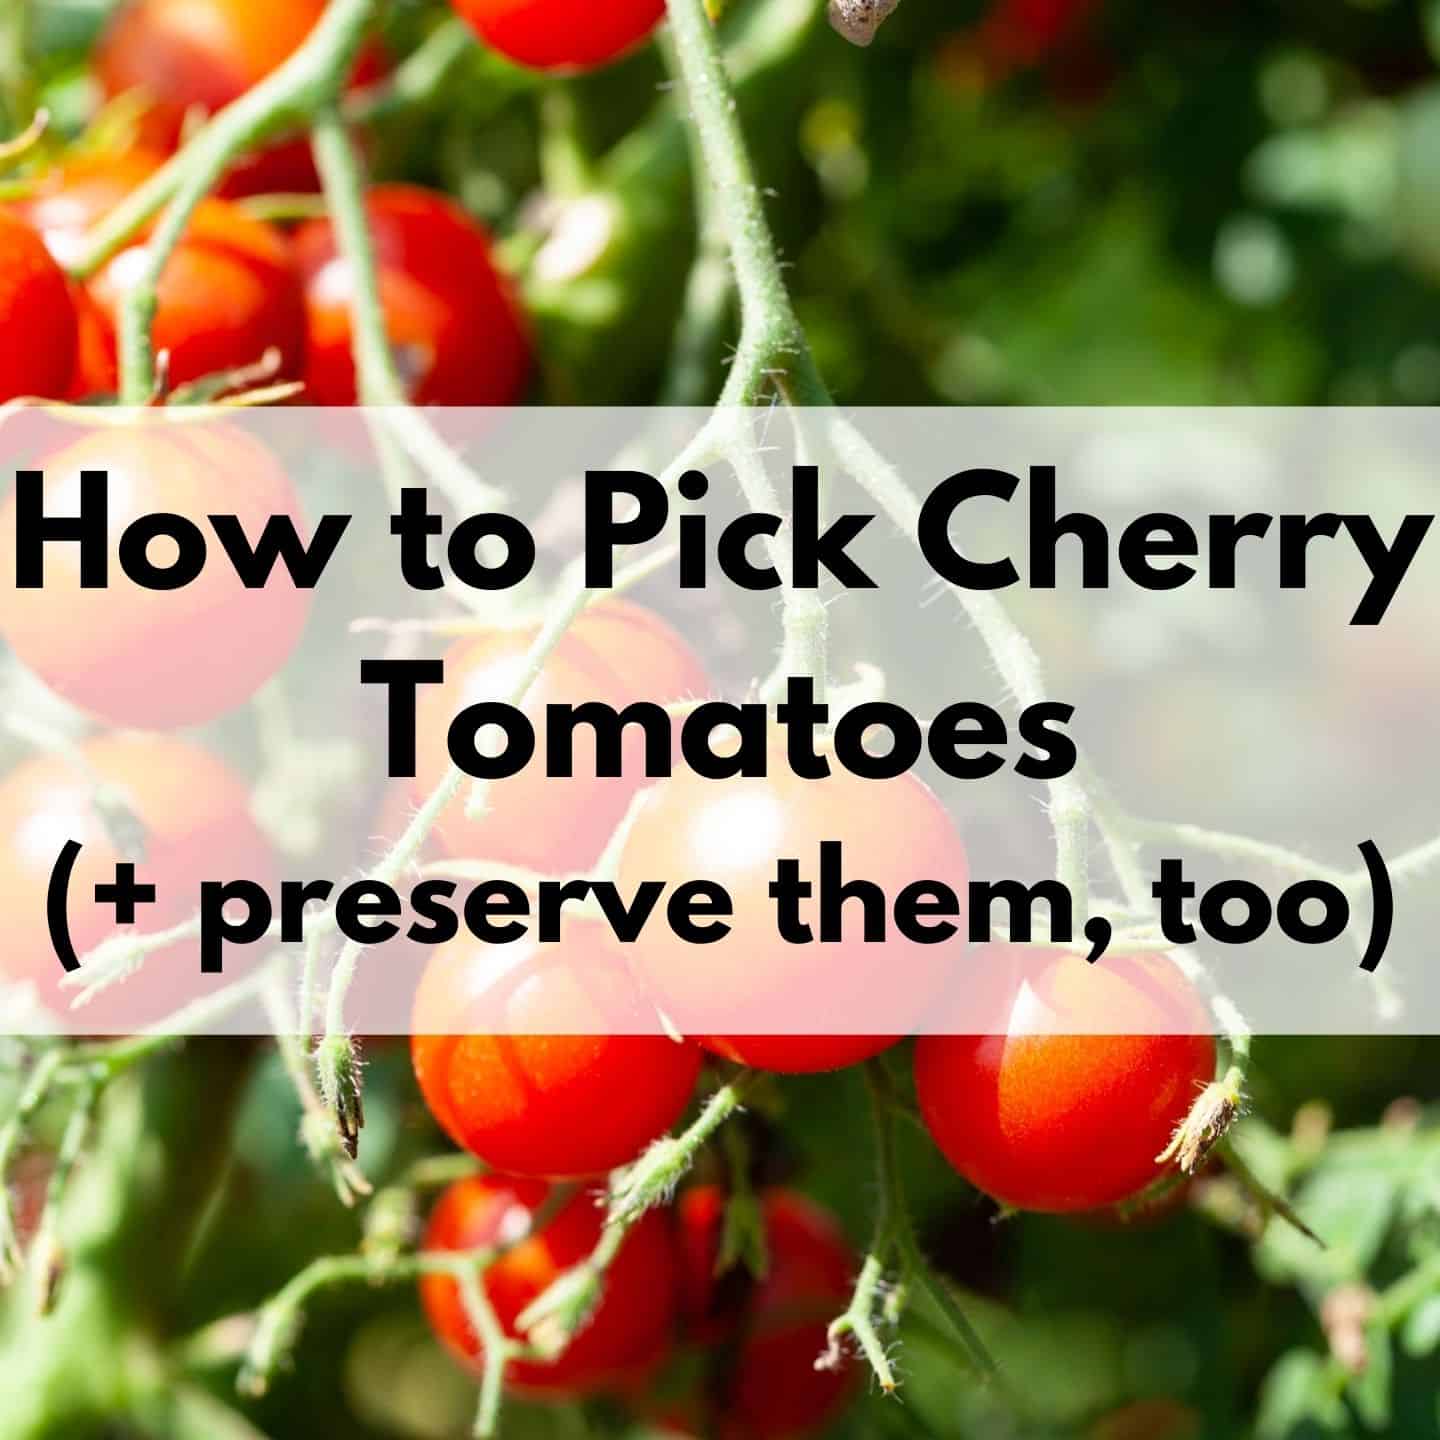
How to Pick and Preserve Cherry Tomatoes (plus drool-worthy cherry tomato varieties to try)
Discover how to pick and preserve delicious cherry tomatoes.
Must-Know Zucchini Companion Plants (and 5 plants to avoid)
Zucchini are a summer garden must-have. Learn how to companion plant them for a healthier, more productive garden.
How to Harvest Basil (Must-know tip for an abundant harvest!)
One basil plant can provide you enough for fresh eating and drying for homegrown basil all winter long when you discover how to harvest basil the correct way.
How to Harvest Parsley (without killing the plant)
One parsley plant can provide you with an ample harvest all season long...if you know how to pick it the correct way. Discover how to harvest parsley with this comprehensive guide and video!
Harvesting Tomatoes - How and When to Pick your Tomatoes
Discover how to harvest tomatoes and how to tell when they're ready to pick - even heirloom varieties with different colors.
Natasha Garcia-Lopez is an avoid home-gardener and proud owner of 88 acres of land in rural West Virginia. She was a member of the Association for Living History Farms and Agricultural Museums for many years and is currently enrolled in the Oregon State University Master Gardner Short Course program so she can better assist you with your gardening questions.She holds a certificate in natural skincare from the School of Natural Skincare.


Leave a Reply