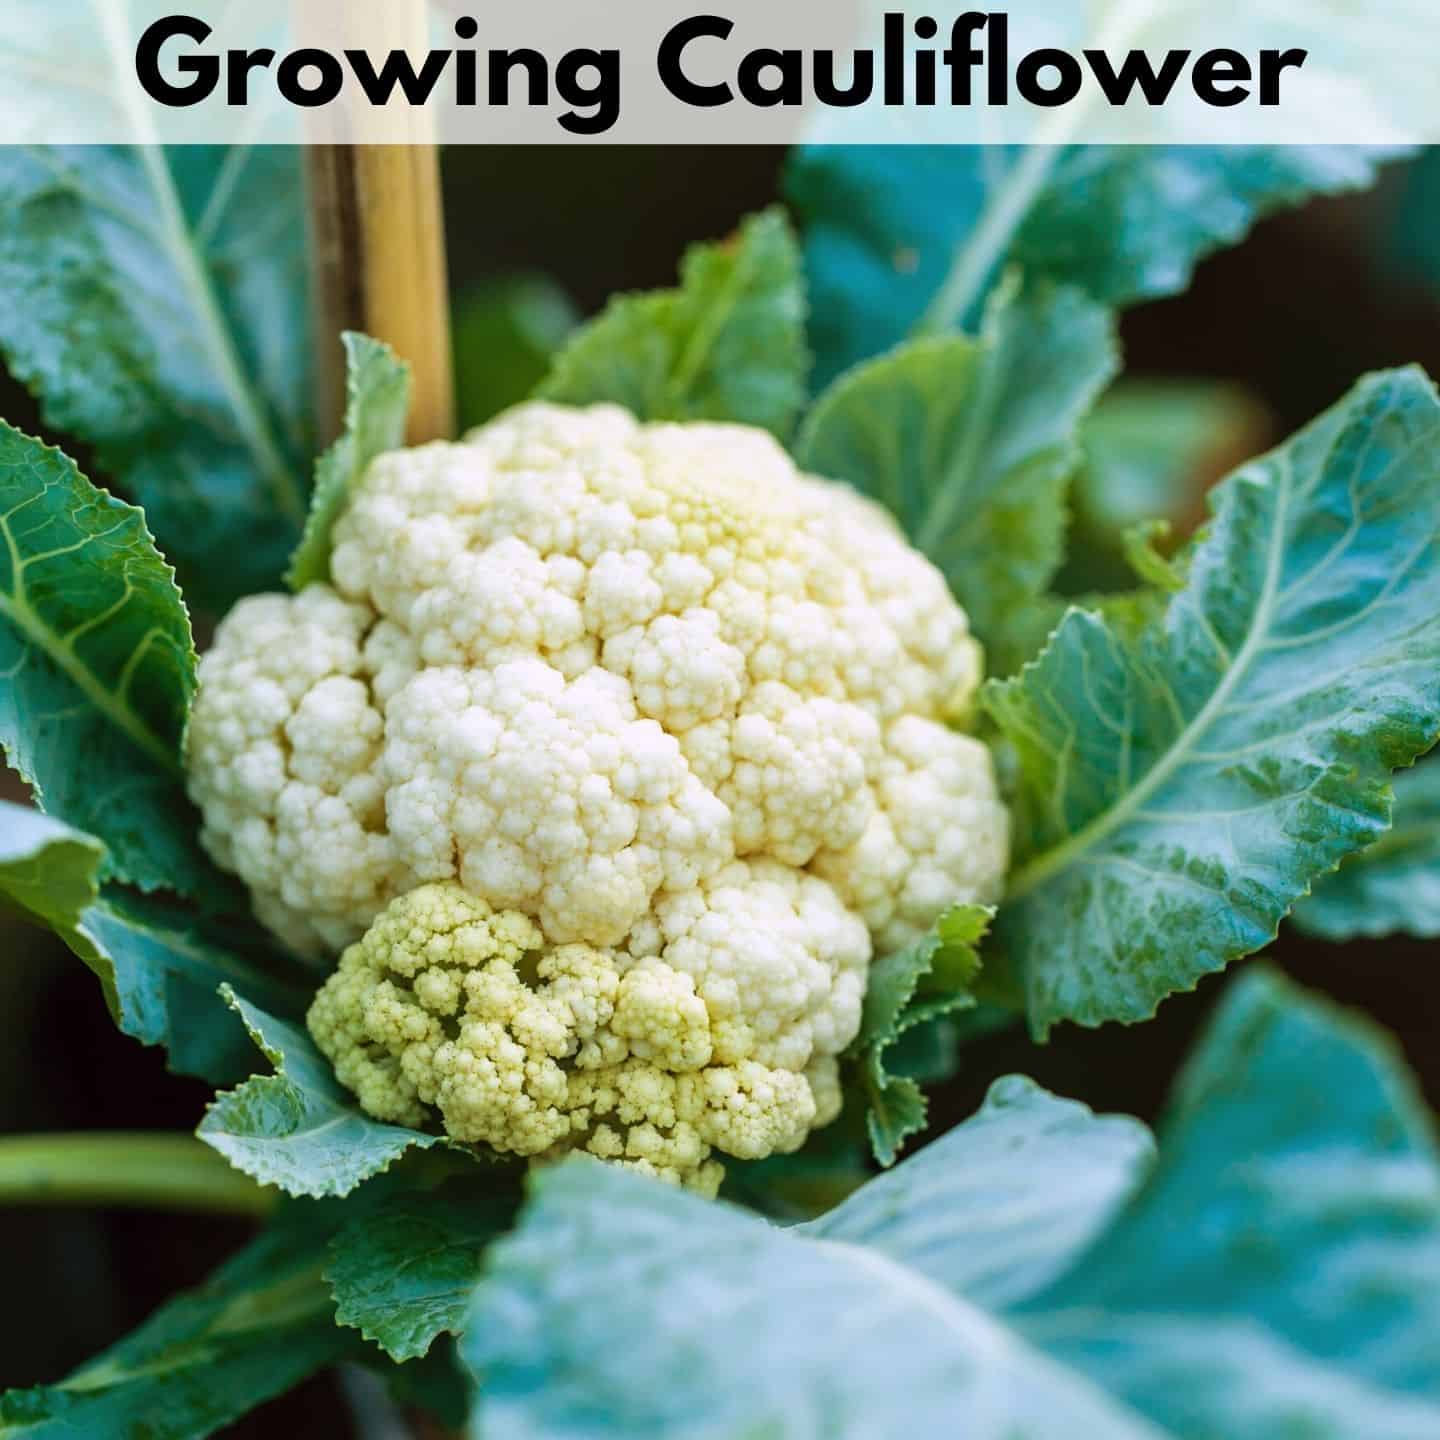
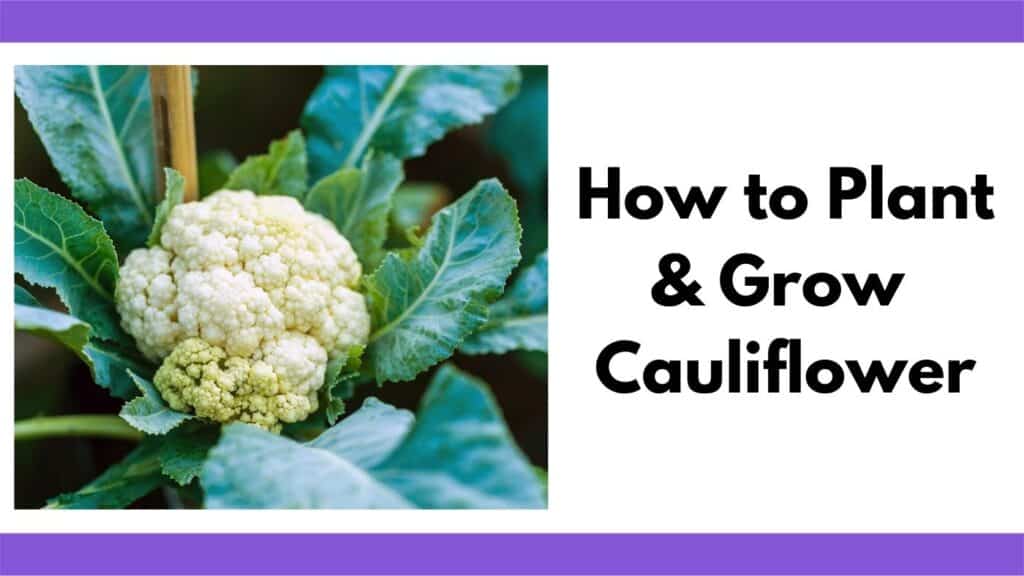
How to Plant & Grow Cauliflower from Seeds
Cauliflower is a cabbage-family member that contains tons of nutrients in its (usually) white, densely packed heads. Growing this nutritious vegetable isn’t as easy as some of its relatives (like cabbage or broccoli), but you can have success if you pay attention to the specific needs of this picky plant.
Here’s more on exactly how to plant and grow cauliflower so that you have a successful, delicious harvest.
This post includes affiliate links. If you make a purchase using one of these links, Together Time Family will receive a commission at no additional cost to you.
All About Growing Cauliflower
Cauliflower (Brassica oleracea) is a crop that loves cool weather and sunlight. In the right conditions, it will form tightly packed florets connected to a central core. This is what we call a cauliflower “head” and is the part most people want to harvest, though the leaves are also edible.
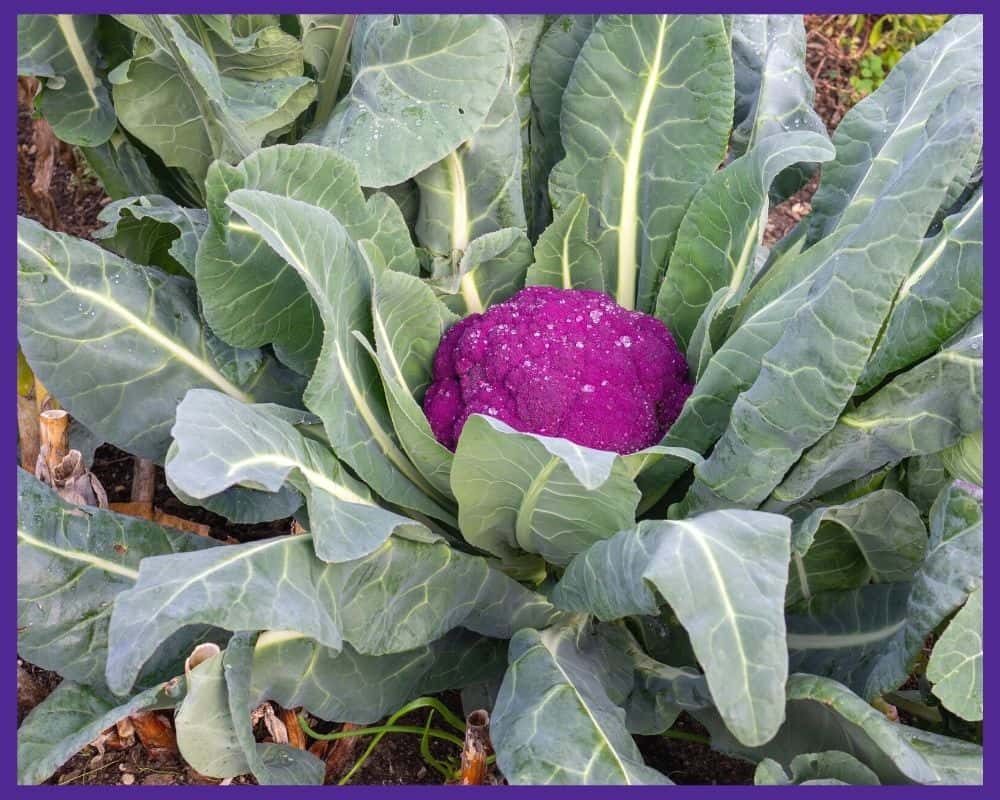
While the most familiar cauliflower varieties are white, you can also grow purple, orange, or green cauliflower. They all taste very similar, but colored varieties are a novelty. Purple cultivars can also have a higher antioxidant content, like other purple vegetables. Also, purple cauliflower looks really neat in your garden:
In order to grow any color of cauliflower successfully, you’ll need to provide it with consistently cool temperatures for 2-3 months. It grows best in 60-70°F weather and will struggle once the temperature rises above 80°F.
In fact, cauliflower doesn’t really like change of any kind. Any type of stress (hot or cold weather, dry soil, pest damage, etc.) can cause the plants to “button”, which means they form numerous small heads instead of one large one.
To avoid buttoning and get a decent harvest, you’ll need to plant at the right time and check on your cauliflower almost daily.

Top Varieties
Whether you want a classic white variety or a brightly colored one, there are lots of great cauliflower cultivars to choose from.
Purple varieties contain high amounts of pigments known as anthocyanins, while orange varieties are high in beta-carotene. Green varieties are thought to be a cross between cauliflower and broccoli.
Cauliflower Cultivars
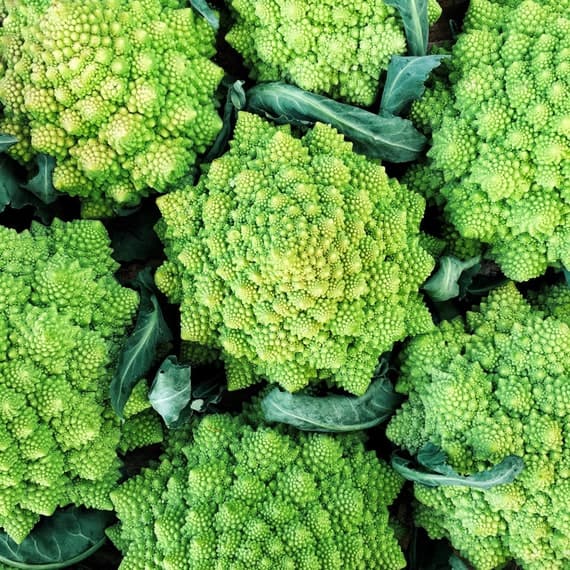
Romanesco Cauliflower
Romanesco is a striking green cauliflower known for its fascinating fractals.

Purple Cauliflower Seeds
Purple cauliflower contains higher levels of anthocyanins and looks amazing on a crudité platter.
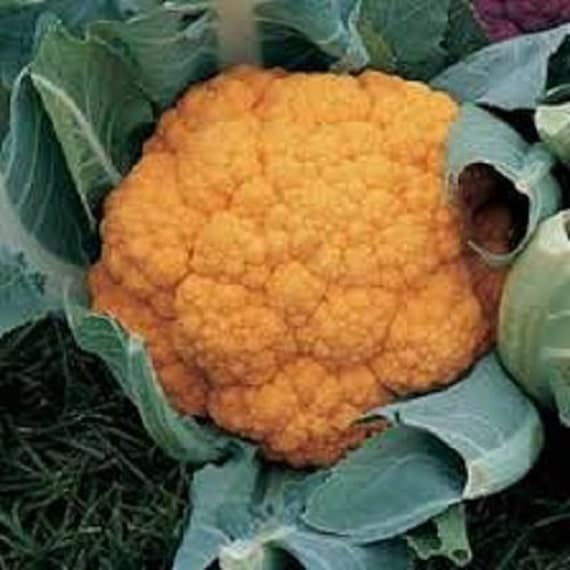
Cheddar Orange Cauliflower
Orange cauliflower has more beta carotene than white cauliflower and looks fun in your garden.

Cauliflower Snowball Y Improved
Snowball is a hardy, classic white cauliflower. This particular seller, Southern Seed Exchange, is one of my favorite stores to shop with. They always ship quickly and include instructions.
Getting Your Cauliflower Started
Buying Transplants
Every part of how to plant and grow cauliflower is trickier than most other vegetables, including starting it from seed. If you’d like to skip the hassle, look for cauliflower plants at a local nursery, farm, or garden center. I recommend shopping local and purchasing from a nearby nursery or farmer’s market while avoiding big box stores. The seedlings in large home improvement stores and hardware stores frequently haven’t been treated well and are less likely to thrive. We were recently checking out seedlings at the store when my daughter noticed virtually every one was covered with aphids.
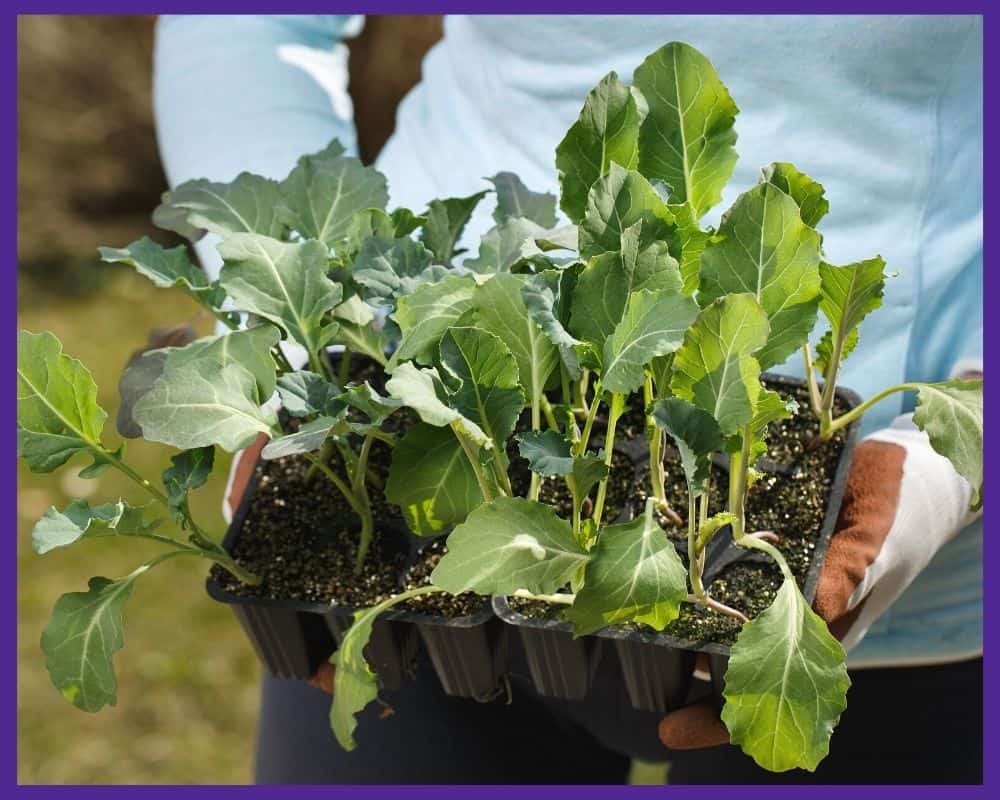
It’s important to buy your seedlings right before you want to plant them. Cauliflower may form buttons if it gets left in the seedling packs too long, so look for smaller (but healthy) seedlings, and get them in the ground as soon as you can.
Starting Cauliflower from Seed
If you don’t mind the extra work, you can start your own seeds indoors prior to planting.
For a spring planting date, start the seeds 4-6 weeks before your last spring frost date. For an end of summer planting date (and fall harvest), start seeds 8-10 weeks before your first fall frost.
Because cauliflower plants are sensitive to the transplanting process, it’s best to start them in peat pots or another biodegradable option. Fill the pots with a good quality, damp seed-starting mix and sow the seeds about ½” deep.
If you can, keep the seeds at a temperature of 65-70°F while they germinate. When the seedlings sprout, give them plenty of light and water regularly. A temperature range of 60-65°F is ideal for the seedlings to grow in.
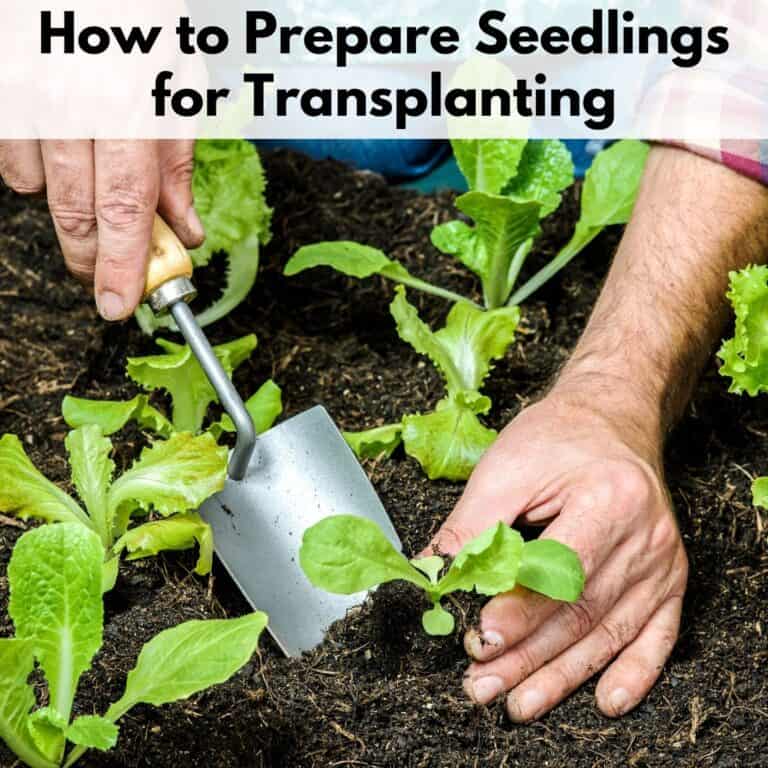
When your seedlings have two sets of true leaves, they can be transplanted into the garden. Make sure to follow a hardening off schedule to keep your seedlings happy and healthy.
I place my smaller trays of seedlings into a heavy duty 10×20 tray so I can carry it back and forth from inside to outside without cracking the tray and dropping my seedlings. I’ve learned the hard way that carrying plants in flimsy trays can crack the tray and send your precious seedlings crashing to the ground. Yes, the heavy duty trays do cost more, but they last for years and will save your seedlings.

- END ANNUAL TRAY REPLACEMENT: Formed from 1.8-2.0mm thick, BPA-free #5 polypropylene plastic that resists cracking and warping. Stop buying flimsy,...
- CONFIDENTLY CARRY 50+ LBS: The rigid, thick-walled construction prevents buckling when transporting a full tray of saturated soil. Eliminate the risk...
- FITS STANDARD 1020 CELL TRAYS: Outer dimensions of 21.1” x 11.0” x 2.5” create a watertight base for bottom-watering seedling inserts and soil...
How to Plant and Grow Cauliflower
When to Plant
There are two main planting times for cauliflower.
Spring Planting— The goal of planting cauliflower in the spring is to give it 2-3 months of cool weather before the heat of summer comes. Harvest time is typically early to midsummer.
Spring cauliflower works best for those who have mild weather for a long period of time. Gardeners whose weather jumps from cold to hot may find their cauliflower buttons more often than not. Pests also tend to be heavier in spring and early summer. In my 8a location, spring cauliflower typically does not do very well.
To plant in spring, transplant your cauliflower to the garden 2-4 weeks before your last frost date. Be prepared to protect your seedlings with milk jugs, blankets, or row covers if the temperature drops below freezing. I keep several of these mid-weight row covers on hand. They work fine alone for quick forays into freezing temps, but your plants will need an extra layer, like a blanket or tarp, for harder freezes.

- 🍀Powerful Function: It not only allows air and water to enter the plant, but also protects plants from UV rays, other animals. It is the perfect...
- 🌲Breathable Fabrics: The plant cover is made of high-quality polypropylene fiber fabric, with anti-ultraviolet function, good air permeability,...
- 🥦Super-Size: Covering an area of 8x24 feet, the plant-covered cloth is easily cut to any size you need. By covering it with steel rods or sticks,...
Fall Planting— For many gardeners, cauliflower is easier to grow as a fall crop than a spring one. Planting later in the season allows the plants to grow into the cool weather of fall instead of the hot weather of summer. The pest load also tends to be lower at this time of year.
Even though it’s called “fall planting”, your plants should go in the garden 6-8 weeks before your first fall frost date, which usually works out to mid or late summer. If the temperature is still above 75°F, use row covers or shade cloth to shield your seedlings from the hot sun. If you’re unfamiliar with shade cloth, be sure to read Niki Jabbour’s Growing Under Cover. She has actionable, affordable advice for growing under covers all year.
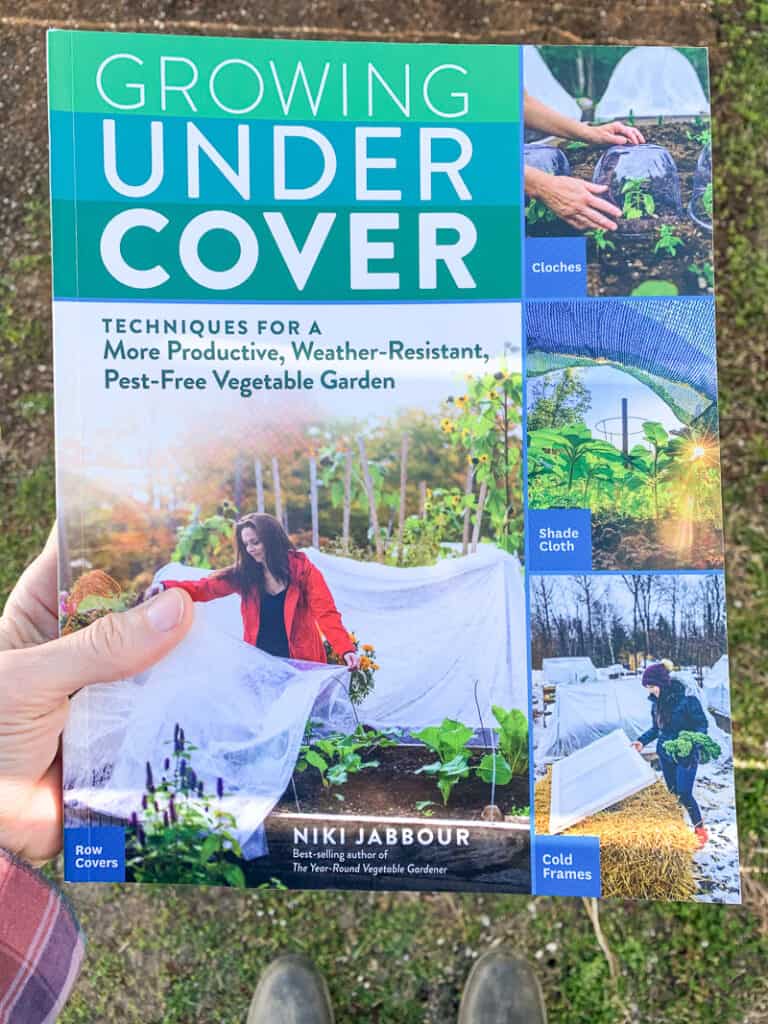

- Jabbour, Niki (Author)
- English (Publication Language)
- 216 Pages - 12/22/2020 (Publication Date) - Storey Publishing, LLC (Publisher)
If temperatures rarely drop below freezing where you live, you have the flexibility to plant cauliflower any time from September to February for a winter/early spring harvest.
Where to Plant Cauliflower + Planting Tips
Cauliflower grows best in full sun, although the plants can take partial shade in hot weather. Choose a location that has well-drained soil, ideally with a pH between 6.0-7.0. Brassicas are closely related to weeds and can also grow in slightly alkaline soil.
One of the best tips for how to plant and grow cauliflower successfully is to add lots of compost and organic matter to your soil before planting. Cauliflower needs rich, fertile soil to thrive in, and good soil fertility also means a better moisture balance for plant roots. Don’t have compost of your own? You can order certified organic compost from Etsy!
Be sure to gradually harden off your seedlings before planting them. Remember, cauliflower is very sensitive to change, so carefully adjust them to outdoor conditions over a period of 1-2 weeks.
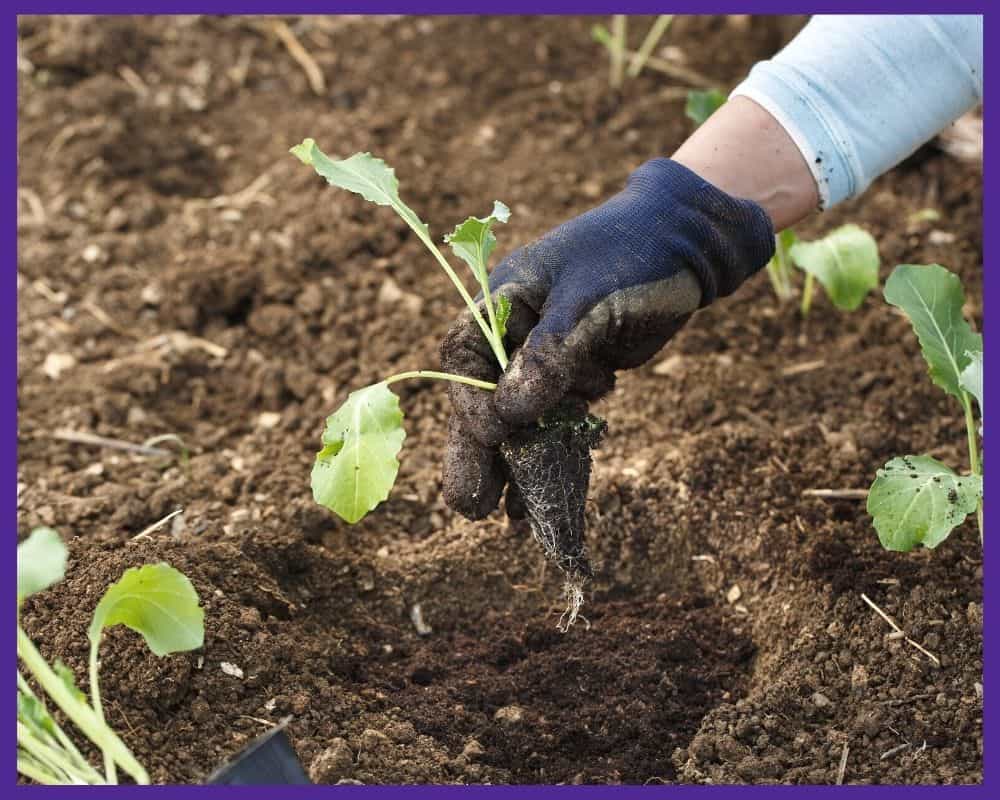
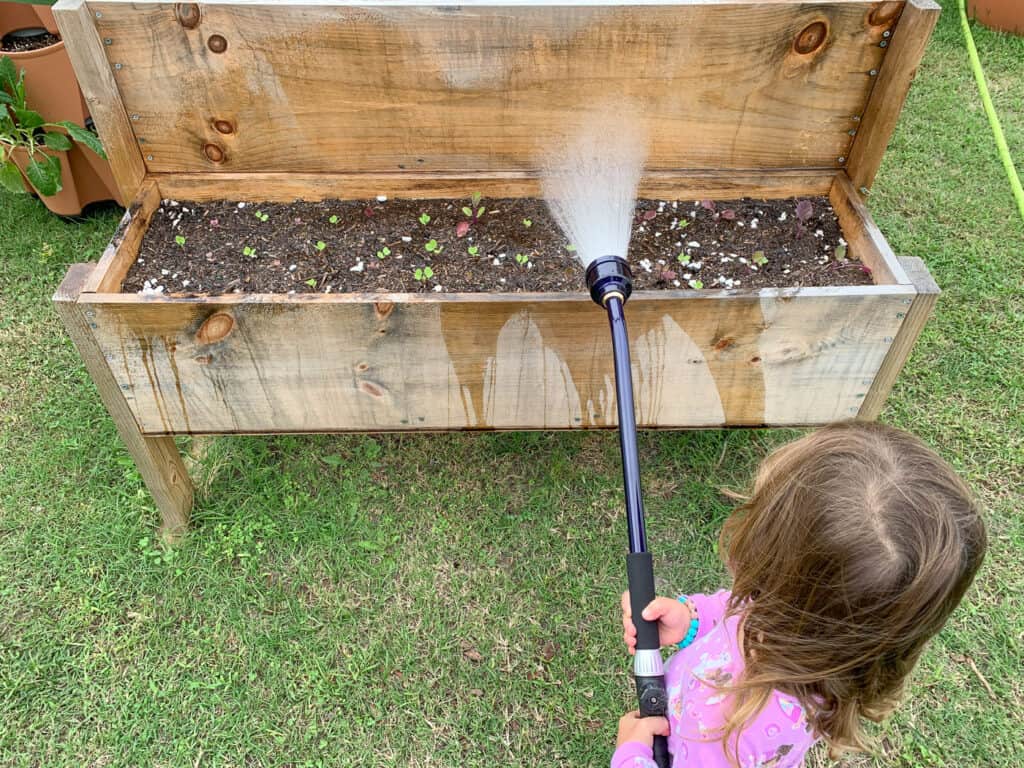
Once they are ready, plant the seedlings 18-24” apart and water them well. I recommend using a watering wand for a gentle shower that won’t blast your seedlings out of the ground. Learn all about watering wands in this complete guide to garden hose wands.
Cauliflower Plant Care
Cauliflower plants need a consistent supply of water, more so than most other vegetables. Without it, the heads will grow loose and grainy instead of tightly compact and will become bitter.
Try to supply your plants with about 2” of water every week. Water deeply so that the moisture reaches the top 6-8” of soil (at least). When slugs are no longer a problem, mulch around your cauliflower to help with moisture retention.
Cauliflower also does best if you fertilize it regularly. Use compost tea, liquid seaweed, fish emulsion, or a high nitrogen fertilizer every 2-4 weeks. (Decrease the nitrogen after heads form.)
I brew compost tea using my Tea Lab bubble snake and this OMRI listed compost.

- Easy to clean, easier to use! Made by a gardener for gardeners.
- Sized for 5 gallon Bucket, clip your brew bag to the neck ring, and you're brewing!
- Elegant Design Solves Problems, No more messy air stones, or expensive machines!
Blanching Cauliflower
If you are growing a white variety of cauliflower that does not say self-blanching on the label, you’ll need to blanch the heads shortly before harvest.
Blanching is a process that whitens the heads and increases their sweetness. It’s not strictly necessary, but you’ll end up with yellow-brown cauliflower if you don’t do it.
When the heads are about 2-3” in diameter, pull up enough of the outer leaves to completely cover the head and fasten them with twine or a rubber band. The idea is to not let any sunlight reach the head but leave enough room under the leaves for it to keep growing.
Keep the leaves tied in place until harvest time, which should be about 7-12 days after blanching.
Common Pests and Problems
Unfortunately, cauliflower is not a problem-free, or pest-free crop. Keeping plants free of cabbage loopers and cabbage worms can be one of the hardest parts of how to plant and grow cauliflower.
The best way to exclude most pests is to use floating row covers over your plants. They allow light and water to get in but keep most insects out. Always make sure to check your plants carefully before covering them, or (even better) keep them covered from day one. One time I accidentally covered up some kale that already had caterpillar eggs on it. I didn’t check on it for several days, at which point it was covered in caterpillars I hadn’t seen underneath the cover!

- 【Ultra-Fine Mesh Netting】Ultra Fine Garden Netting has a 0.8mm x 1mm ultra fine mesh, effective protect vegetable plants fruits flowers crops and...
- 【Air, Water & Light Through】Unique oblong hole construction creates a very fine protections for great results, and others while allowing air and...
- 【All-Purpose Garden Netting】Garden netting covers are widely used in pastures, orchards and gardens, protect your veggie investment with this...
I check my brassica plants daily and squish or remove any caterpillars I find. (Large ones get fed to the chickens, small ones get squished.) You can also treat your plants with BTK, a naturally occurring bacterium that kills cauliflower pest caterpillar but does not harm beneficial insects. The only problem is that the caterpillar must ingest the bacterium in order to be affected, so it is not an instant solution.

- INSECT KILLER - Designed for use on caterpillars and worm type insects, such as cabbage looper, bagworm, gypsy moth, fall cankerworm, elm spanworm,...
- FOLIAGE PROTECTOR - Designed for use on a variety of plants, including broccoli, celery, cabbage, turnip greens, mustard greens, cauliflower, melons,...
- FOR ORGANIC GARDENING - OMRI Listed for Organic Gardening. Organic Material Review Institute reviews products to ensure a product complies with all...
Cauliflower can also be susceptible to diseases like clubroot and black rot. The best prevention is to always practice crop rotation and never plant cauliflower where any cabbage-family members have been in the past few years.
If you notice the heads turning brown, this could be a boron deficiency. You can fertilize with liquid seaweed fertilizer to help. I like to use Neptune’s Harvest. Warning – it smells like low tide. Your cat may be very interested in your garden for a day or two after you apply this fertilizer.

- Combined for Maximum Growth: Neptune’s Harvest Fish & Seaweed organic fertilizer is an organic all-purpose liquid plant food formulated with 75%...
- Power of Fish & Seaweed: This fish & seaweed organic plant fertilizer uses hydrolyzed fish and seaweed to supply essential nutrients in a balanced,...
- How to Use: This organic all-purpose liquid plant food is easy to use and highly efficient, requiring only 1 oz. per gallon of water; the liquid...
A pink tint to white cauliflower varieties may indicate too much sunlight or temperature fluctuations. Try shading your plants during the hottest part of the day and mulch deeply, if that’s something that works i your area. Many gardeners in the Pacific Northwest do not like mulch because it can exacerbate slug problems.
How to Harvest Cauliflower
Cauliflower can take anywhere from 50 to 100 days to mature from transplanting, depending on the variety. White varieties are typically ready to harvest 7-12 days after you start the blanching process.
Check the heads regularly when harvest time approaches. Mature heads will usually be 6-8” in diameter, although some varieties can be harvested when they are smaller than this. Each head should be compact, firm, and either white or fully colored.
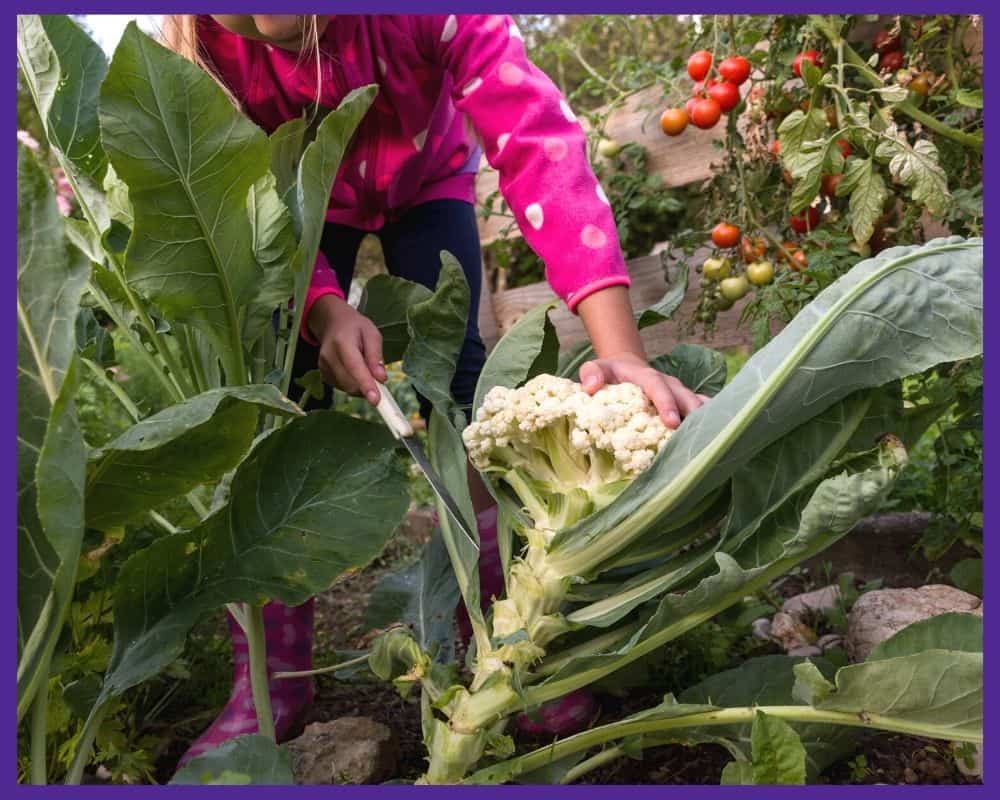
When a head is ready, cut it off with a sharp knife, leaving a few leaves intact to help protect it.
If a head is small but has florets that are starting to open, harvest it immediately because it will continue to lose its texture.
Storing and Cooking Cauliflower
Now that you know how to plant and grow cauliflower, you can store any extra you end up with for later.
The whole heads can be placed in loosely sealed or perforated plastic bags and stored in the refrigerator for a week or two. For long-term storage, wash and chop the cauliflower heads, then blanch and freeze the pieces.
When you go to cook your cauliflower, keep in mind that the colored varieties (particularly purple) may lose their color after being cooked. They will still taste fine, but use them raw for the brightest color.
If you get your planning right, you can enjoy stored cauliflower almost until it’s time to plant this finicky vegetable again!
Popular summer vegetables and herbs
Discover how to grow popular vegetables and herbs in your backyard garden or container garden with these in-depth vegetable growing guides.

7 Easiest Vegetables to Grow for an Abundant Harvest (and 5 to avoid!)
Discover the easiest vegetables to grow for beginners so you can have a healthy, successful garden.
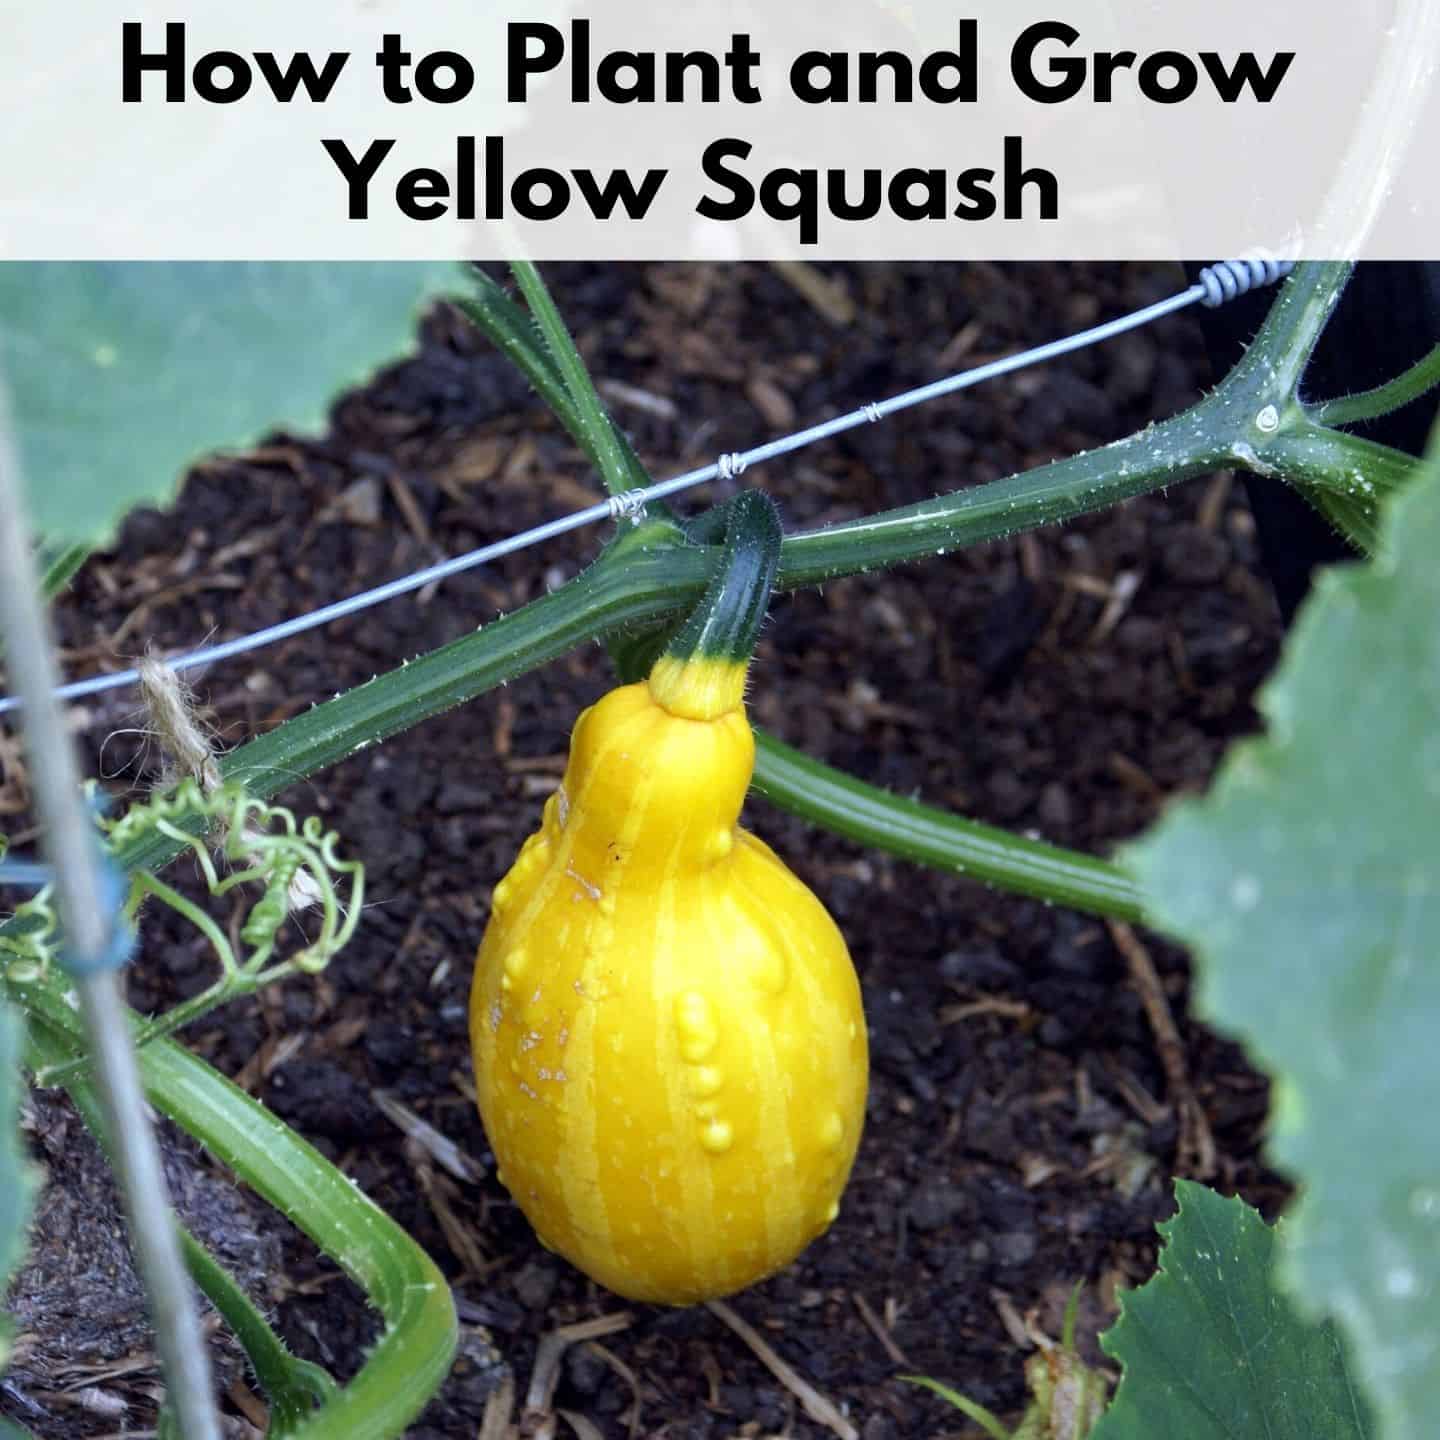
Discover these must-know tips for planting yellow squash and common squash growing mistakes and problems.
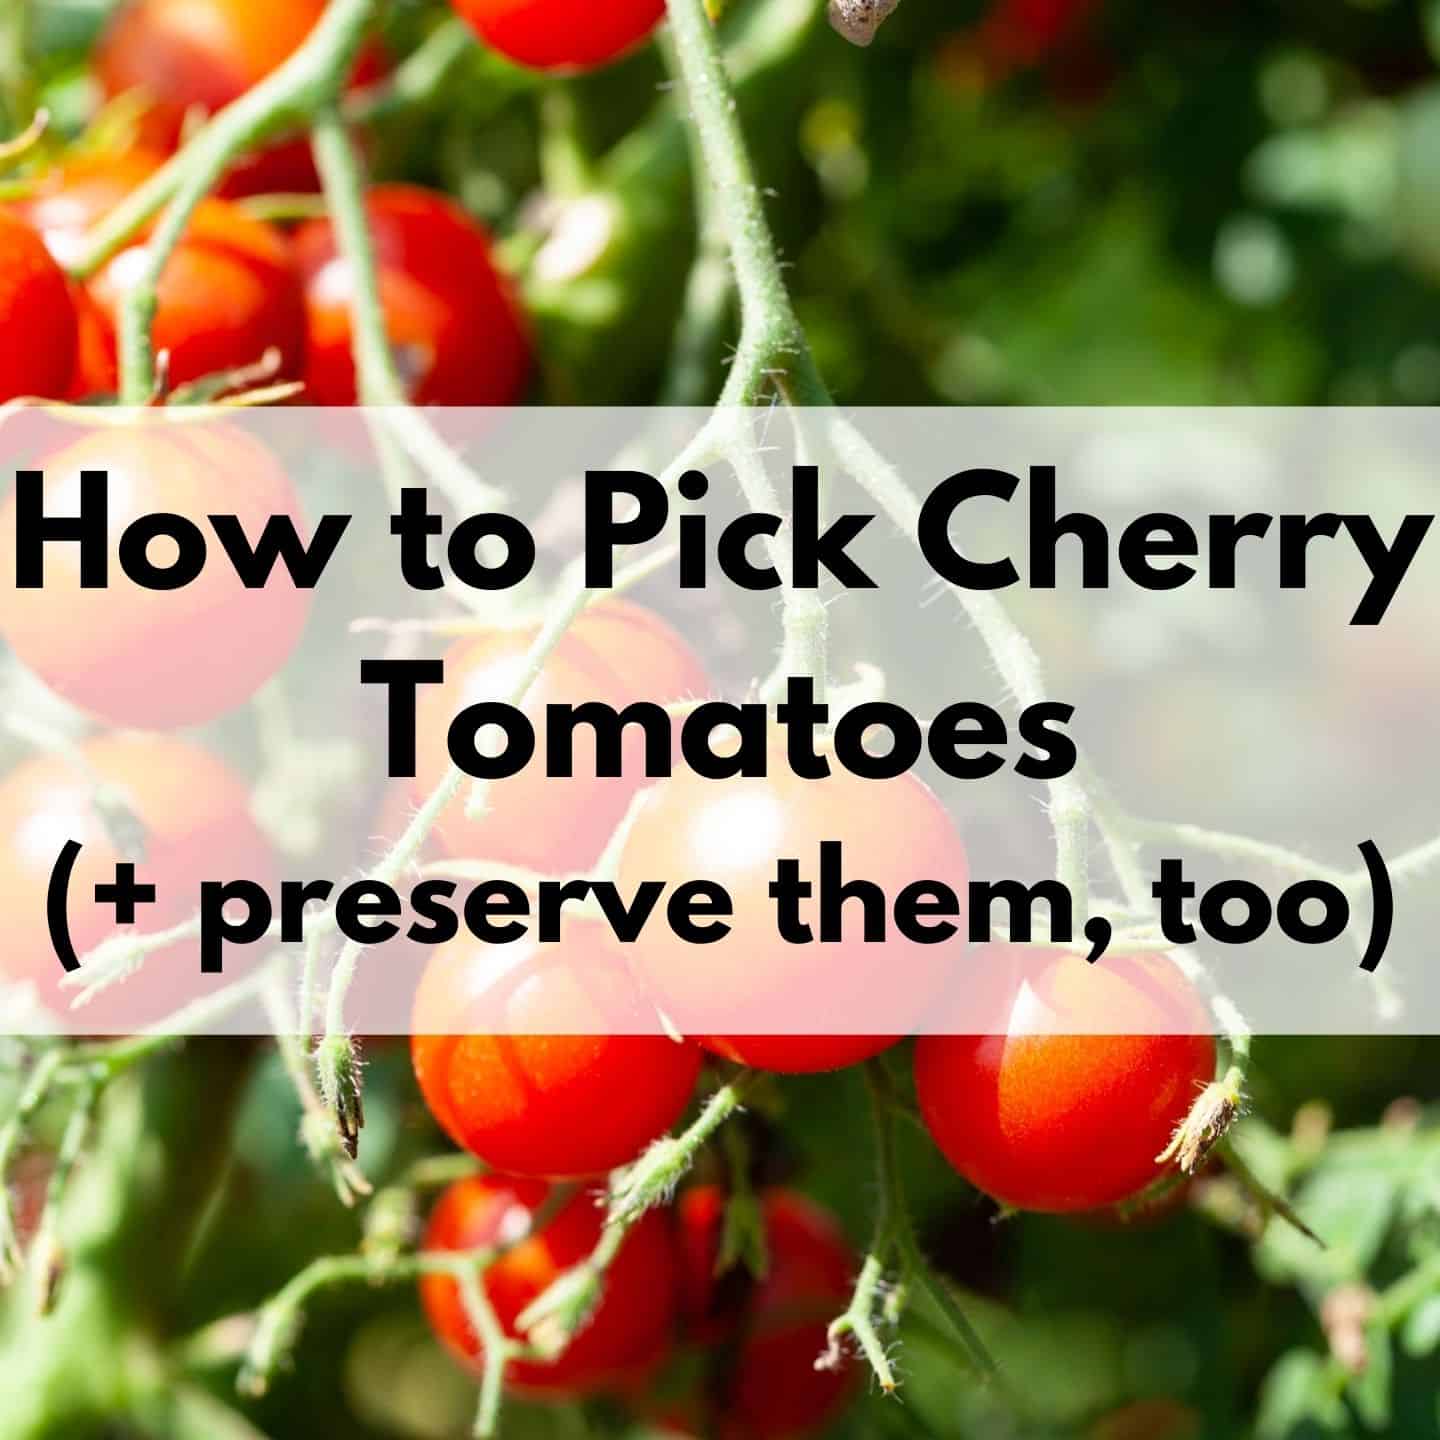
How to Pick and Preserve Cherry Tomatoes (plus drool-worthy cherry tomato varieties to try)
Discover how to pick and preserve delicious cherry tomatoes.
Must-Know Zucchini Companion Plants (and 5 plants to avoid)
Zucchini are a summer garden must-have. Learn how to companion plant them for a healthier, more productive garden.

How to Harvest Basil (Must-know tip for an abundant harvest!)
One basil plant can provide you enough for fresh eating and drying for homegrown basil all winter long when you discover how to harvest basil the correct way.

How to Harvest Parsley (without killing the plant)
One parsley plant can provide you with an ample harvest all season long...if you know how to pick it the correct way. Discover how to harvest parsley with this comprehensive guide and video!


Harvesting Tomatoes - How and When to Pick your Tomatoes
Discover how to harvest tomatoes and how to tell when they're ready to pick - even heirloom varieties with different colors.