Garlic is typically planted as a fall crop. The cloves put down roots early, winter stimulates bulb production, and the plants mature throughout spring and summer.
However, if you missed the fall planting window, there’s no need to give up on having garlic in your garden! You can still plant it in spring, although you’ll want to get it in as soon as you can, and you may need to take an extra step to get good results.
Here’s what you need to know about planting garlic in spring, including two ways to harvest it.
This post includes affiliate links. If you make a purchase using one of these links, Together Time Family will receive a commission at no additional cost to you.
Table of Contents
Spring vs. Fall Garlic Planting
One question people often have is whether spring is too late to plant garlic. The short answer is no, spring is not too late, but there are some differences between spring- and fall-planted garlic.
Garlic is typically planted in the fall because the cloves need a period of cold in order to form bulbs, and winter supplies this naturally. Without this chilling time, each clove will simply swell up into a large clove (known as a round) instead of forming a bulb with multiple cloves.
This means that if you choose to plant in spring, you’ll have to either mimic the chilling period if you want full garlic bulbs or choose to harvest your plants as “green garlic” without a bulb.
Even with a chilling period, expect spring-planted garlic to be smaller than fall-planted. You also shouldn’t plan to store the garlic bulbs because they don’t have enough time to fully mature for decent storage.
However, you can expect garlic planted in spring to be just as tasty as the fall-planted kind!
Types of Garlic for Spring Planting
There are two main types of garlic: hardneck and softneck.
Hardneck garlic is the hardier of the two. It’s very cold tolerant and absolutely needs a period of cold in order to form bulbs. This is why it’s favored by northern growers who deal with long, cold winters.
Softneck garlic is not as hardy, but it is a little more flexible. It may not survive through the coldest of winters, but you’re more likely to get bulbs from it even without a cold period. This makes it the best choice for southern areas and anywhere with a mild climate year-round.
When it comes to planting garlic in spring, you can choose either variety.
Softneck may be the better choice if you are pressed for time and can’t chill your garlic. However, you can also have success with hardneck varieties, either giving them a chilling period before planting or growing them as green garlic.
Chilling Your Garlic Before Planting
If you have your heart set on harvesting garlic bulbs, the best way to achieve this is by chilling your garlic before you plant it. If you are content with harvesting just the leaves and a tiny bulb (called “green garlic”), you can skip this step.
Giving your garlic cold treatment is a process technically known as vernalization. Essentially, it mimics what the cloves would go through if they were planted in the fall.
You can do it one of two ways: the refrigerator or the great outdoors.
- Refrigerating Garlic: Place all the garlic you plan to plant in a perforated plastic bag and refrigerate it for 4-8 weeks. Check it occasionally to make sure there is no mold growing. Take it out right before it goes into your garden.
- Late Winter Planting: If you live somewhere with cold winters, you may be able to skip refrigeration by planting in late winter or very early in the spring. This will only work if you can give your garlic at least 4 weeks of temperatures close to freezing— and if you get a window of time where the ground can be worked enough to plant.
In general, chilling garlic is most essential for hardneck varieties. If you are planting a softneck type, it may form bulbs without a chilling period. However, to be on the safe side, refrigerate softneck varieties for 2-3 weeks before planting.
Planting Garlic in the Spring
When to Plant
The key to growing garlic in the spring is to get it in the ground as early as possible. This is known in the gardening world as planting as soon as the soil is workable.
The exact timing of this will depend on where you live. You don’t want to plant while the soil is still partially frozen or waterlogged. Wait until it becomes soil-like, not mud-like, and crumbles easily in your hand. Or just kind of sifts through your hand if you have sandy soil, like we do in our 8a winter location. This is usually a few weeks before your last spring frost date.
Raised beds can be a big help for spring-planted garlic because they can be ready to be worked sooner than the soil in the ground.
Where to Plant + Soil Preparation
Garlic grows best if it gets at least 8 hours of sunlight each day, so be sure to pick a sunny location in your garden. Well-drained soil is also key, and you should not plant where any Allium members (onions, garlic, chives, etc.) have been in the last few years.
For the home gardener, raised beds are usually the most popular choice for garlic because they have improved drainage and are easy to amend. You can even plant in large, deep containers if you are short on space.
Before you plant, add lots of compost or safe, aged manure to the bed. Although they aren’t as potent, worm castings are another safe, gentle option. Garlic is a heavy feeder, and adding more nutrients to the soil will help your spring planting to mature in time.
Be very careful if you use manure in your garden. It has become increasingly contaminated with herbicides that can negatively impact your garden for years. The only manure I use is rabbit poop from my bunnies that only receive organic, un-sprayed foods (I actually purchase speciality hay from Etsy for them to make sure their poop is safe!). I could compost my chicken manure separately, but I chose not to. I just add it in to my regular compost pile Backyard chickens fed an organic diet can provide great nitrogen for your garlic. For more home grown fertilizer options, make sure to read David the Good’s guide Compost Everything.
How to Plant Garlic
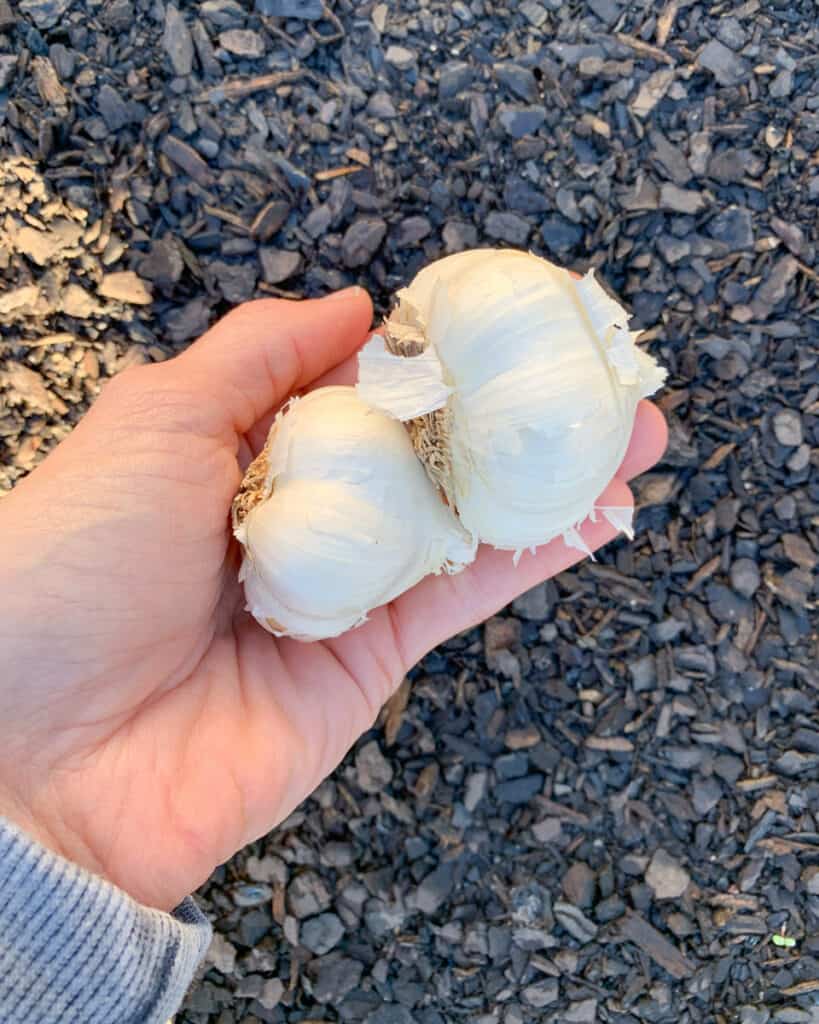
Right before you are ready to plant, separate each garlic bulb into individual cloves. Try to keep the papery husk intact as much as possible on each clove because this helps protect them once they are in the ground.
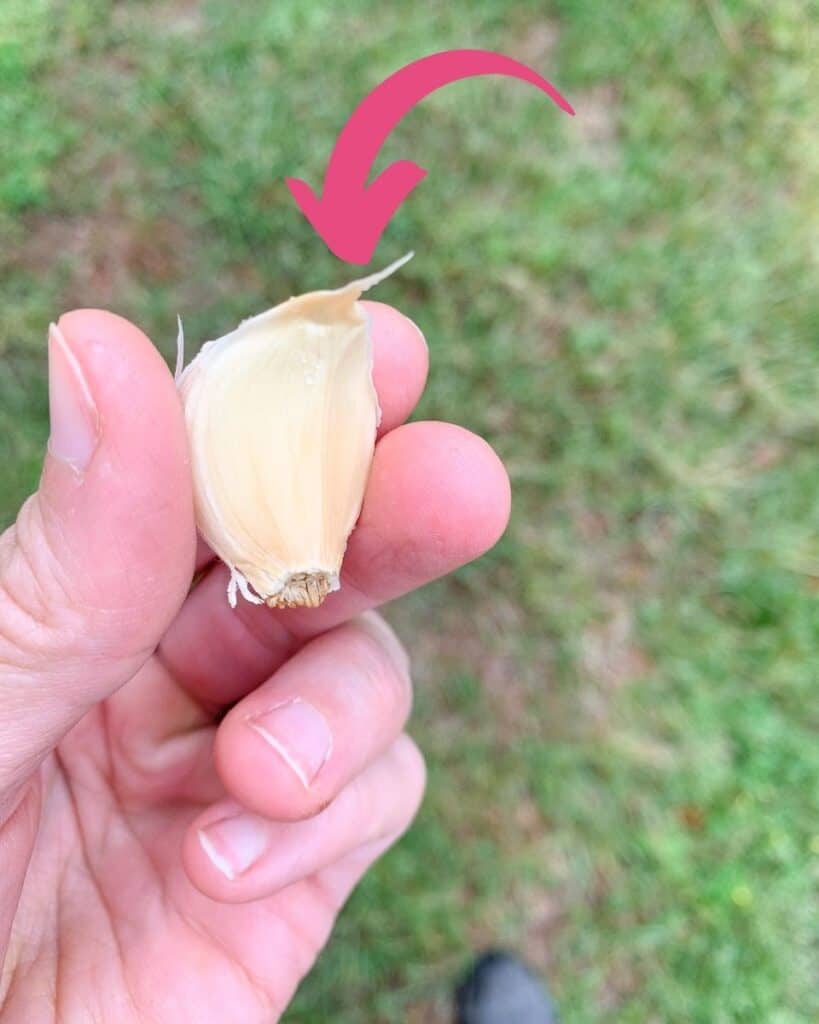
Dig holes (or a row) that are 2-3” deep. Place each clove in the soil with the flat end down and the pointed end sticking up. The pink arrow in the photo below is pointing to the end that needs to be up. You’ll also notice that the bottom, flat end looks like it has tiny roots.
If you want to grow green garlic for an early harvest, the cloves can be spaced fairly close together— about 2” apart. For a normal bulb harvest, space each clove 4-6” apart. Some people like to set their cloves in the ground to get an idea of spacing, then come back and make a small hole for each clove.
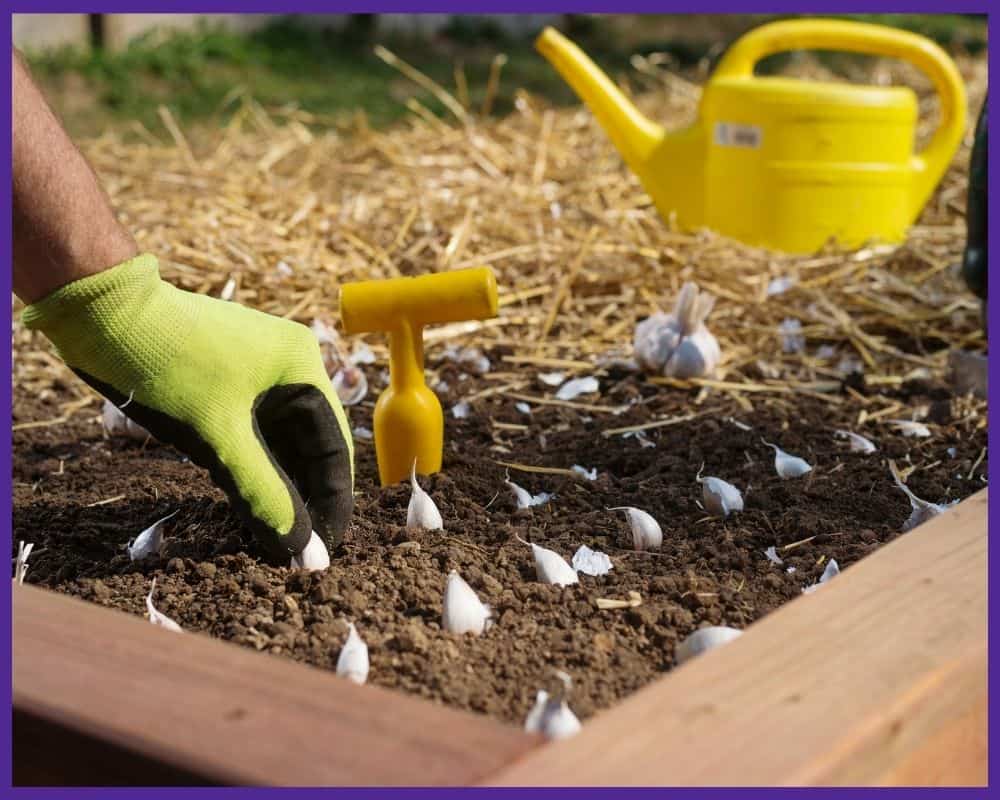
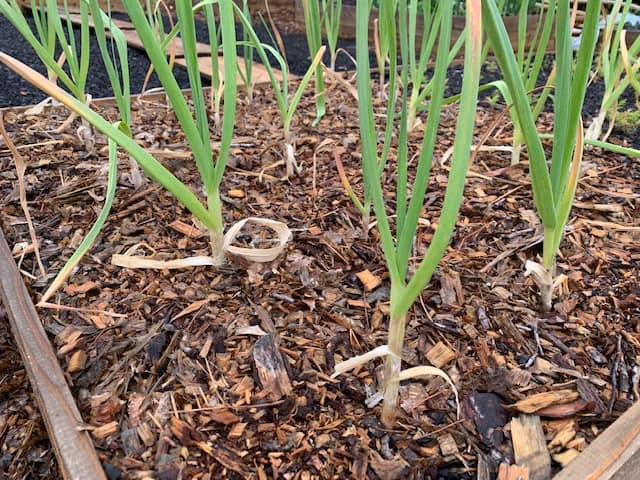
Once all the cloves are in, cover them with soil and water the entire area. (If rain is in the forecast, you can allow nature to do the work.) Then, add a 2-3” layer of a light mulch like straw, leaf compost, or pine needles. This will help with temperature fluctuations without suffocating the garlic. I actually typically use ramial wood mulch (small sticks, leaves, etc) on my garlic.
Garlic Plant Care
Caring for garlic planted in the spring is exactly like caring for fall-planted garlic. Your two biggest maintenance tasks are to water and weed regularly.
As far as watering goes, garlic will need a deep watering about once a week when the weather is hot and/or dry. Mulch can help keep the soil moisture even, although you may need to temporarily remove it in early spring when conditions are soggy to prevent rot.
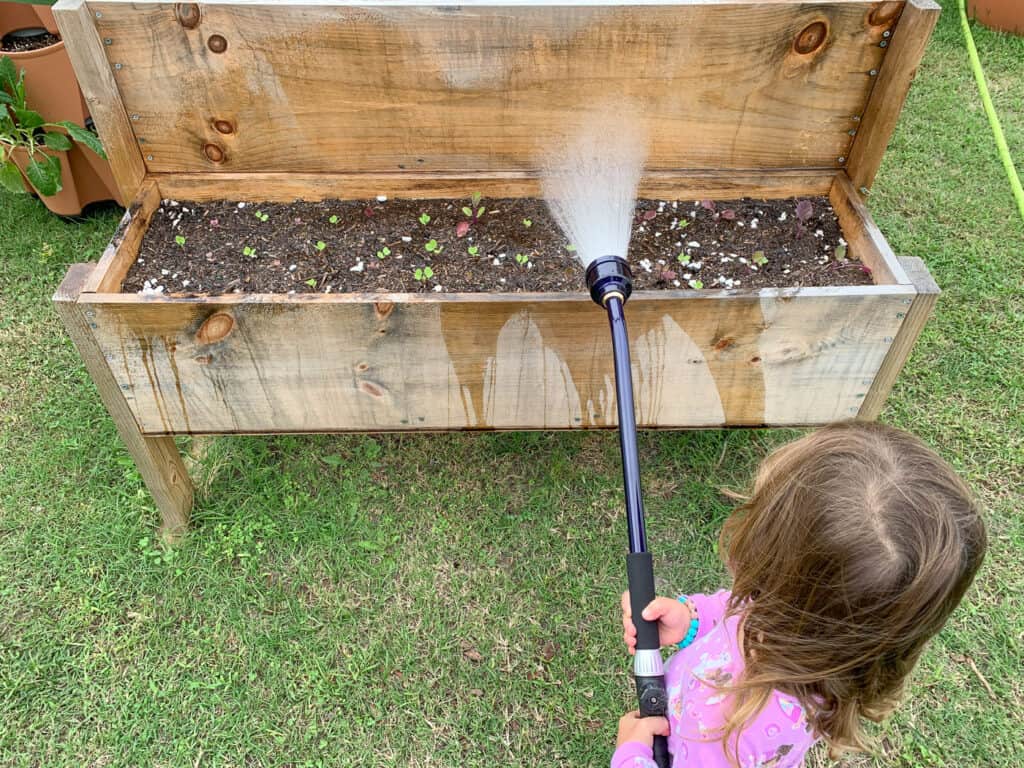
I prefer to water with a hose wand because it provides a gentle shower that doesn’t blast your garlic out of the ground. Not familiar with watering wands? Be sure to check out our guide to garden hose wands. They’re so easy to use that you can hand your watering chore off to even very young family members! If they’re anything like our daughter, they will love the opportunity to water.
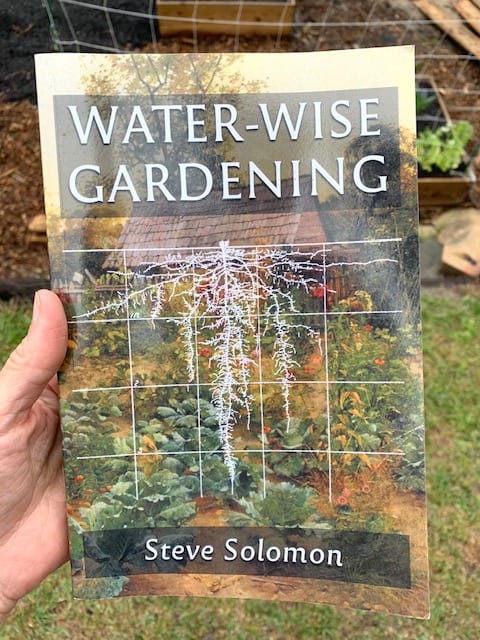
If you cannot water, or prefer not to water, you need Steve Solomon’s Water-Wise Gardening. Wide spacing helps your plants thrive, even with less water. Increasing your garlic spacing to 12 inches, or even 24 inches, dramatically reduces the amount of watering you will need to do. This is helpful if you have a large area you could plant that’s outside of irrigation range. It’s less practical in a smaller, raised bed situation.
Try to pull weeds out while they are small, since garlic does not compete well with other plants. A good layer of mulch will help with this as well. If your back doesn’t like weeding, be sure to check out our guide to the best weed pullers. It includes tool that allow you to weed from a standing position.
Your plants will also appreciate being fed regularly. Wait until plants are up and growing, then fertilize with compost tea or a liquid solution every 2-3 weeks. If you added a slow-release fertilizer at planting time, you can wait a month or two before fertilizing again. I brew aerobic compost tea and fertilize with Neptune’s Harvest organic fertilizer because it contains important micronutrients.
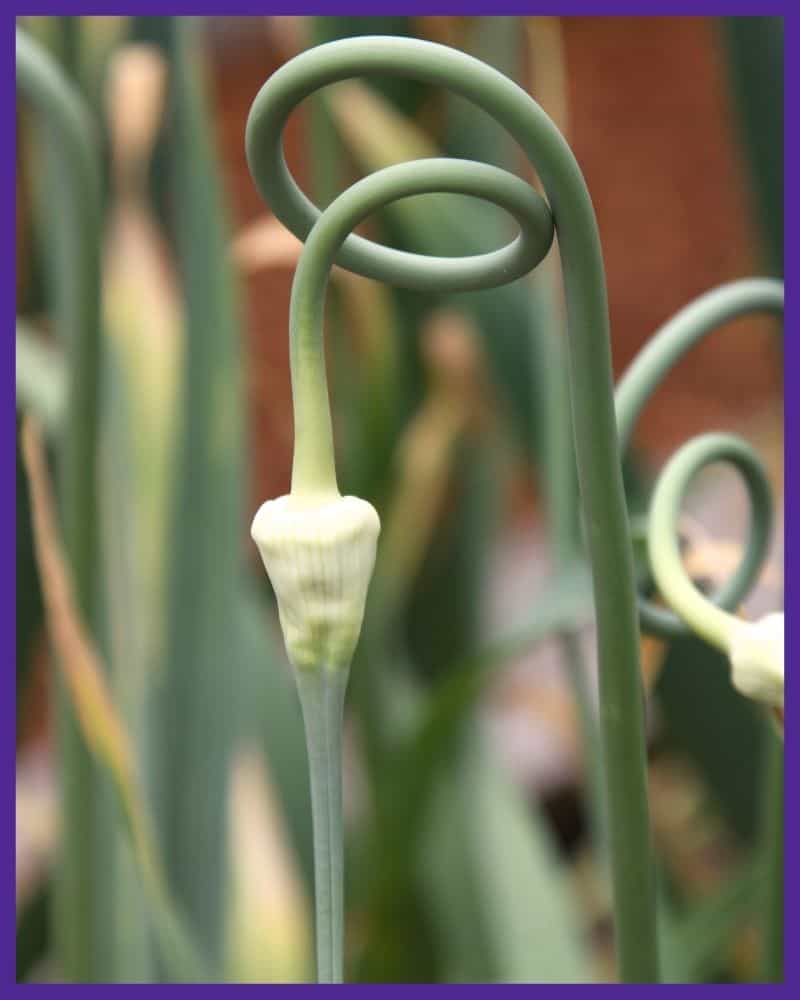
Hardneck garlic develops scapes in early to midsummer. You’ll see them as long stalks that emerge from the middle of your plants. Cut them off as soon as they start to curl, and cook with them for delicious, early garlic flavor.
Garlic Pests and Problems
Garlic is not prone to many pests or diseases. In fact, you can use garlic as part of your natural pest control program when you plant garlic near more bug-prone plants. Occasionally, rot can be a problem if soil conditions are soggy, so be sure to provide your plants with good drainage.
Other than that, always practice crop rotation, and you should be able to avoid any diseases that affect Allium plant members.
How to Harvest Your Garlic
Planting garlic in the spring means it will be a little behind the fall-planted kind. However, you should still be able to harvest by late summer.
In fact, there are two different harvest windows depending on what type of garlic you want to harvest.
The first window is for green garlic (tender leaves and a tiny bulb). It can be harvested in mid to late spring or early summer, as soon as the leaves are a good size for chopping (think scallion size). All you need to do is pull up the whole plant and take it to your kitchen.
The second window is for traditional garlic bulbs. Wait until 3-4 leaves have turned brown on your plants and dig up a test bulb. If it seems to be fully formed with distinct cloves, you can carefully dig up the rest of your bulbs. I’m sorry that I don’t currently have a personal photo to share. At the time of writing, it’s early spring and my garlic is not ready to harvest.
Enjoying Spring-Planted Garlic
As mentioned earlier, garlic planted in the spring usually doesn’t store very well because the bulbs don’t have enough time to fully mature and develop thick skins. It’s best to eat the garlic fresh and refrigerate any extra.
However, if you do end up with some large, vigorous bulbs, you can cure them for two weeks in a warm spot and store them somewhere cool, dark, and dry — just like you would with a fall harvest.
Either way, planting garlic in spring has just as delicious a result as planting it in the fall! I hope you enjoy your homegrown garlic. Be sure to read up on other plants you can grow while you wait to plant your next crop of garlic in the fall:
Popular summer vegetables and herbs
Discover how to grow popular vegetables and herbs in your backyard garden or container garden with these in-depth vegetable growing guides.
7 Easiest Vegetables to Grow for an Abundant Harvest (and 5 to avoid!)
Discover the easiest vegetables to grow for beginners so you can have a healthy, successful garden.
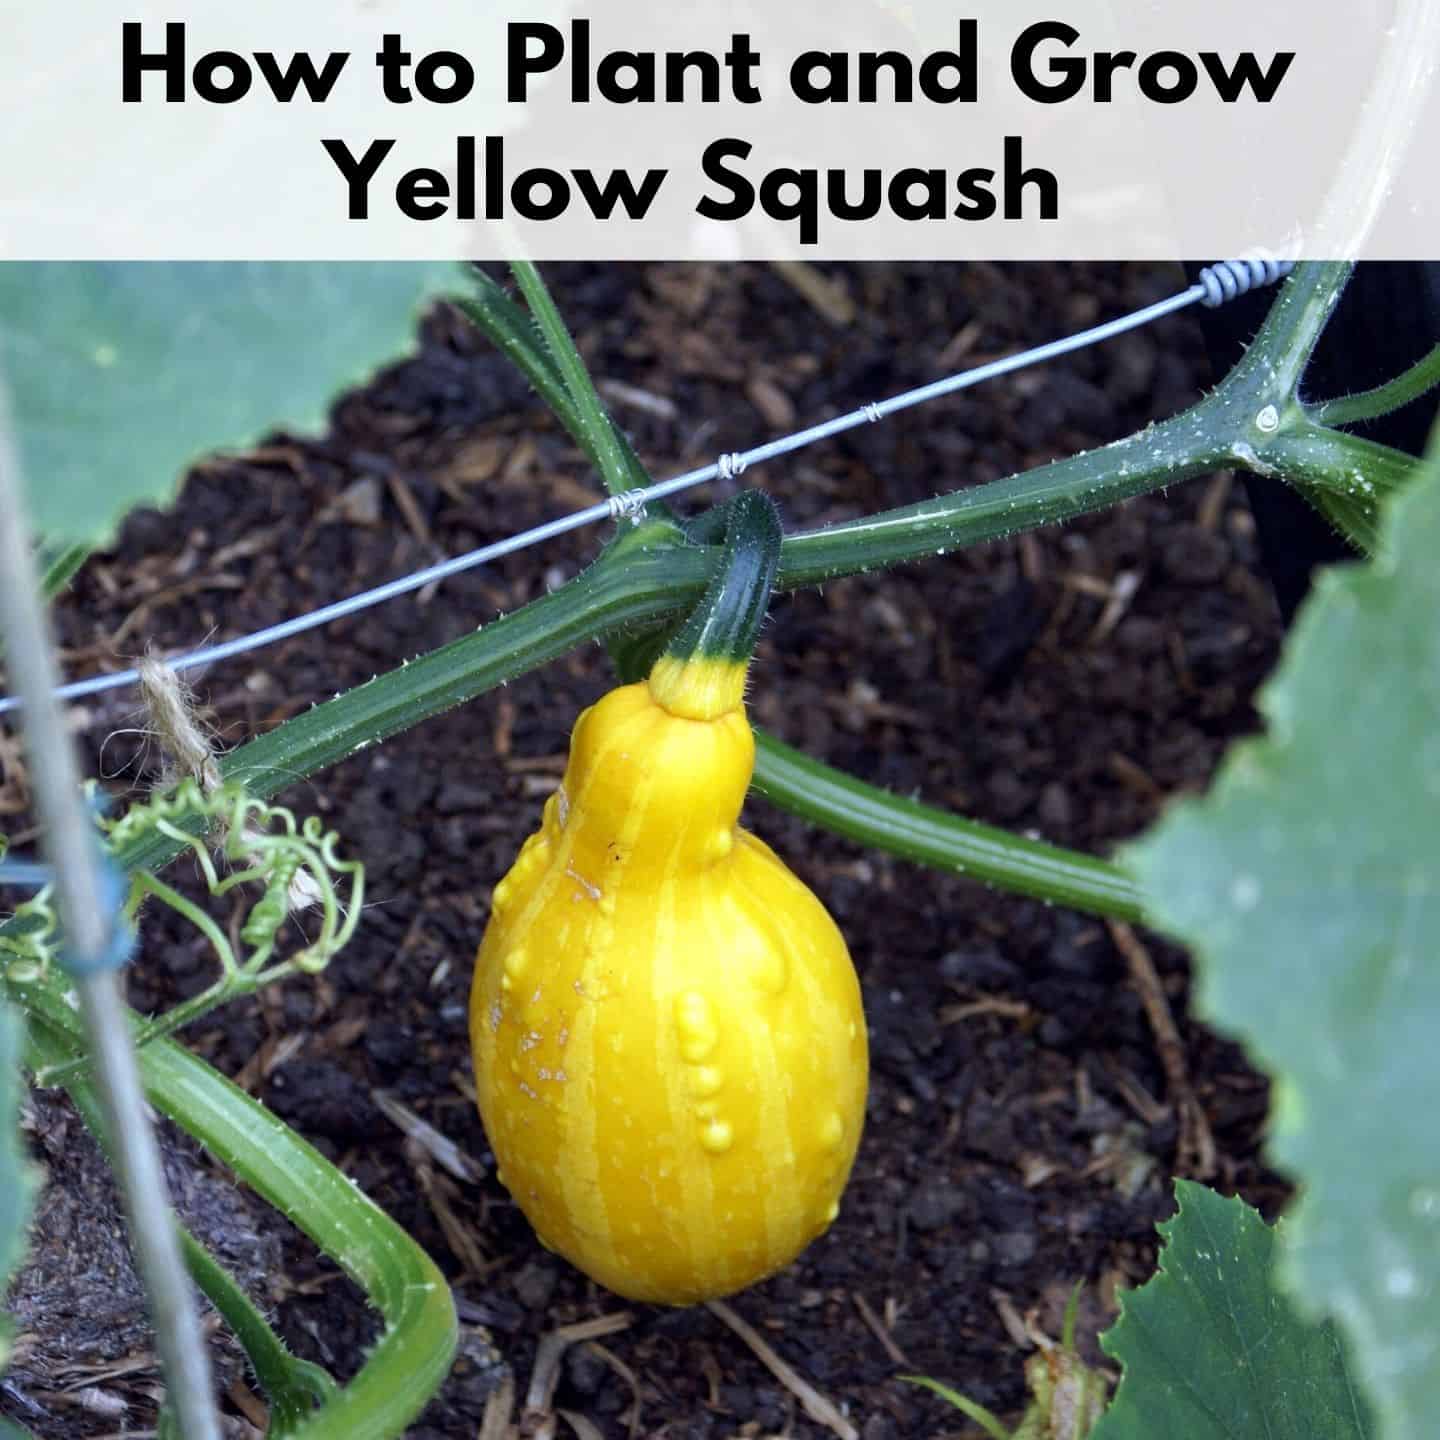
Discover these must-know tips for planting yellow squash and common squash growing mistakes and problems.
How to Pick and Preserve Cherry Tomatoes (plus drool-worthy cherry tomato varieties to try)
Discover how to pick and preserve delicious cherry tomatoes.
Must-Know Zucchini Companion Plants (and 5 plants to avoid)
Zucchini are a summer garden must-have. Learn how to companion plant them for a healthier, more productive garden.
How to Harvest Basil (Must-know tip for an abundant harvest!)
One basil plant can provide you enough for fresh eating and drying for homegrown basil all winter long when you discover how to harvest basil the correct way.
How to Harvest Parsley (without killing the plant)
One parsley plant can provide you with an ample harvest all season long...if you know how to pick it the correct way. Discover how to harvest parsley with this comprehensive guide and video!
Harvesting Tomatoes - How and When to Pick your Tomatoes
Discover how to harvest tomatoes and how to tell when they're ready to pick - even heirloom varieties with different colors.
Natasha Garcia-Lopez is an avoid home-gardener and proud owner of 88 acres of land in rural West Virginia. She was a member of the Association for Living History Farms and Agricultural Museums for many years and is currently enrolled in the Oregon State University Master Gardner Short Course program so she can better assist you with your gardening questions.She holds a certificate in natural skincare from the School of Natural Skincare.


Leave a Reply