Sunflowers may just be the brightest and most cheerful flowers of summer. Their huge golden heads follow the path of the sun throughout the day, attract pollinators, and simply look beautiful. As one of my mom’s neighbors told her “Your sunflowers are so cheerful! I love driving by and seeing them.”
Sunflowers are much more than just an ornamental plant. They provide tasty seeds for animals and humans alike, and these seeds can also be planted in your garden the following year for another round of flowers.
Here’s what you need to know about harvesting sunflower seeds to eat, plant, or feed the birds with. I’m not just talking about wild birds – homegrown sunflowers also make a tasty, nutritious treat for your pampered backyard chickens!
This post includes affiliate links. If you make a purchase using one of these links, Together Time Family will receive a commission at no additional cost to you.
Table of Contents
Sunflower Seeds
Sunflowers are a perfect flower to save seeds from because they are easy to collect. If you plan save seeds for planting next year, plant an heirloom variety. You can save seeds from hybrids, but your plants next year won’t be the same as the parent plants. Of course, if you’re planning to eat all of your seeds, it doesn’t matter if you select a hybrid or not.
When you look at a sunflower in full bloom, you’ll see bright yellow petals (or red, orange, etc.) that surround a densely packed brownish center.
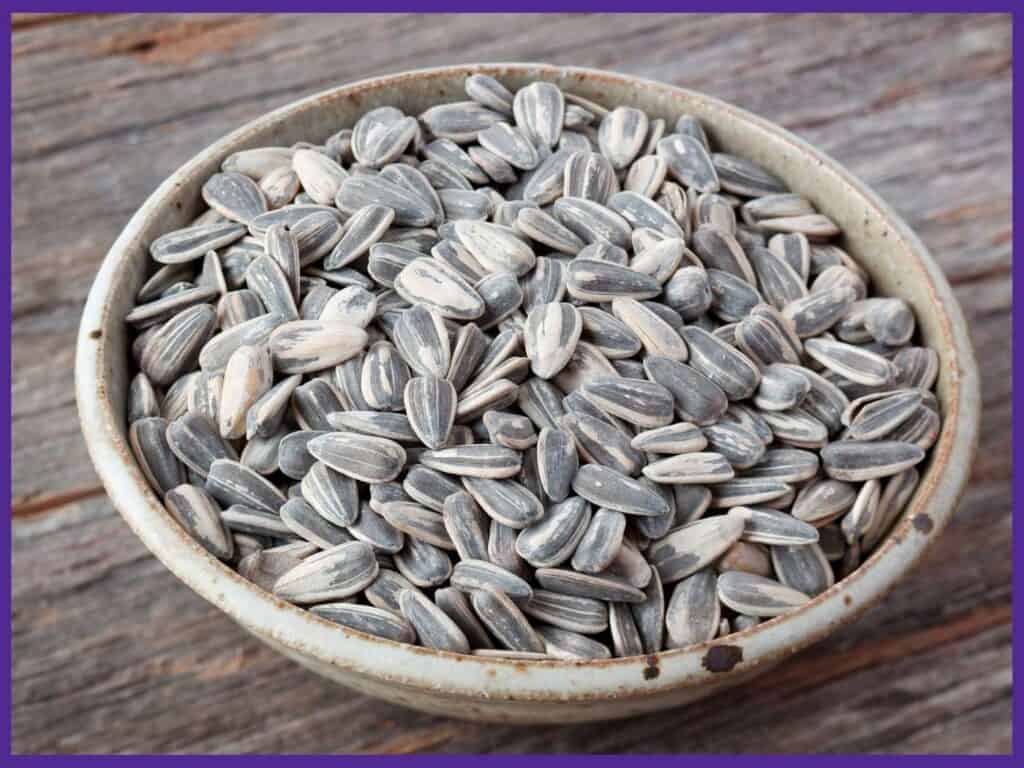
This central disk is made up of tiny florets that are self-pollinating. As the season goes on, each individual floret will produce one seed in a tough outer hull that is either black or striped. These, of course, are the sunflower seeds we’re so familiar with.
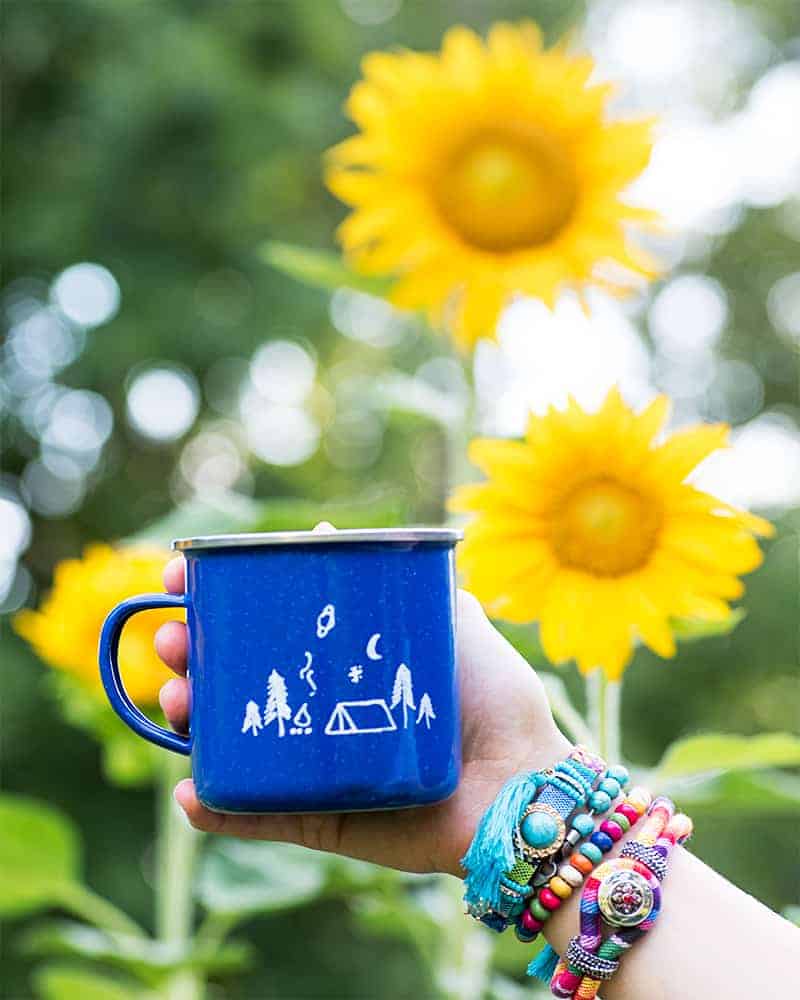
While you’re waiting for your sunflowers to ripen, they’ll provide beautiful photo opportunities. In the photo below, I used some unripe sunflowers as background to highlight a DIY decorated camp mug I created. Sunflowers are always popular backgrounds for family photos, portraits, and social media snaps.
At the end of the season, you can collect the ripe seeds and store them or use them as food. Sunflowers are a fantastic food for wild birds, backyard chickens, and people.
As an added bonus – sunflower crop residue (the leaves and stems) can be added to your compost pile. If you’re growing a larger variety with tough stems, you can also use the dry sunflower stalks to make a trellis:
Sunflowers to Grow for Seeds
When it comes to harvesting sunflower seeds, all varieties of sunflowers are edible.
However, many of the most showy varieties have been bred to look stunning and bloom for a long period. A “side effect” of this is that they typically have very few or poor quality seeds. Some have even been bred to be pollen-less and won’t develop seeds at all.
If you want to grow sunflowers specifically for seeds, look for an heirloom cultivar or a hybrid bred for seed-production. Here are some great options:
- ‘Mammoth Gray Stripe’– Grows up to 12’ tall and produces tons of seeds.
- ‘Mammoth Russian’– Gets 12-15’ tall and produces lots of seeds with thin shells.
- ‘Sunspot Dwarf’– Sunflowers aren’t just for big spaces anymore with this variety! These flowers grow 10″ heads on stalks just 2-3′ tall. These flowers are perfect for young gardeners, small spaces, and even container gardening.
- ‘Hopi Black Dye’– Reaches about 9’ tall and has dark blue-black seeds once used as dye.
- ‘Sunzilla’– Hybrid that can grow 14’ tall with 2’ flower heads.
Sunflower pests and problems
As you wait for the seeds to fully ripen, one of your biggest challenges may be keeping birds and other small critters away. They love to snack on the seeds and won’t wait for them to be fully ripe.
One thing you can do is place a paper bag over each flower head you want to harvest after it has finished blooming and has started to dry out. Of course, your bag won’t hold up well to rain. If you’re expecting rain, you can cut up insect netting and tie it around each flower head. I like this netting because it’s lightweight so your plants don’t bake and it comes in a huge section so you can cut whatever sized pieces you need.
Harvesting the heads early is another option. If you want to harvest early, harvest, when the back of the head turns from green to yellow (rather than waiting for it to get brown). You’ll need to do an extra step to process heads that are harvested early (which we’ll cover in a bit), but it’s easy.
This sunflower could be harvested early to protect it, then dried indoors:
House finches and lesser goldfinches will sometimes eat sunflower leaves, not just the seeds. You can try various scare tactics, like hanging pie pans or twirling spinners to discourage birds. You can also drape netting over your entire sunflower crop, but that keeps you from seeing their cheerful flowers whenever you look at your garden.
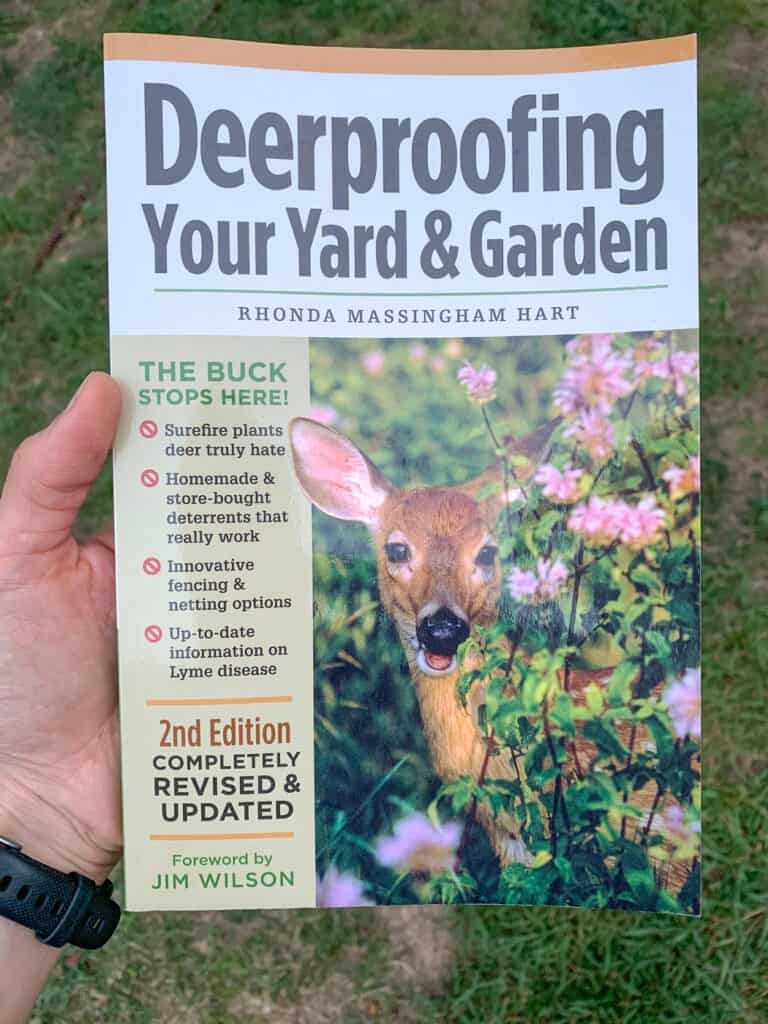
Deer will also eat sunflowers. They’ll nibble leaves, but they’ll also chomp young sunflower plants and take the top completely off. Fencing can mitigate deer damage, as can deer repellants. Taste repellents discourage additional snacking after a deer catches an unpleasant mouthful. I’ve used Deer Out with decent success to defend garden plants from deer predation. If you really want to know how to deal with dear problems, read the book Deerproofing your Yard and Garden.
When to Harvest Sunflower Seeds
As soon as the seeds are fully formed and have turned black, you can pull individual seeds out of the head at any time and snack on them. The shells will likely still be soft and the seeds may not be full-size, but they’ll still taste good.
However, if you want to harvest seeds to store, roast, or make into bird food, plan to do most of your harvesting once they are fully ripe.
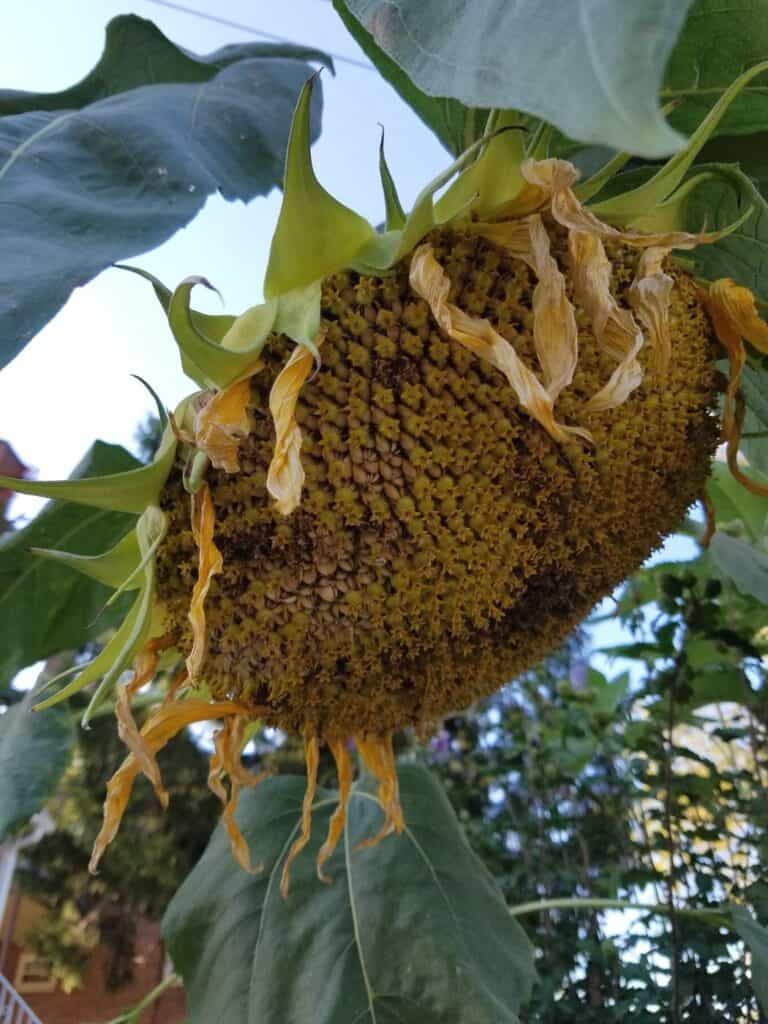
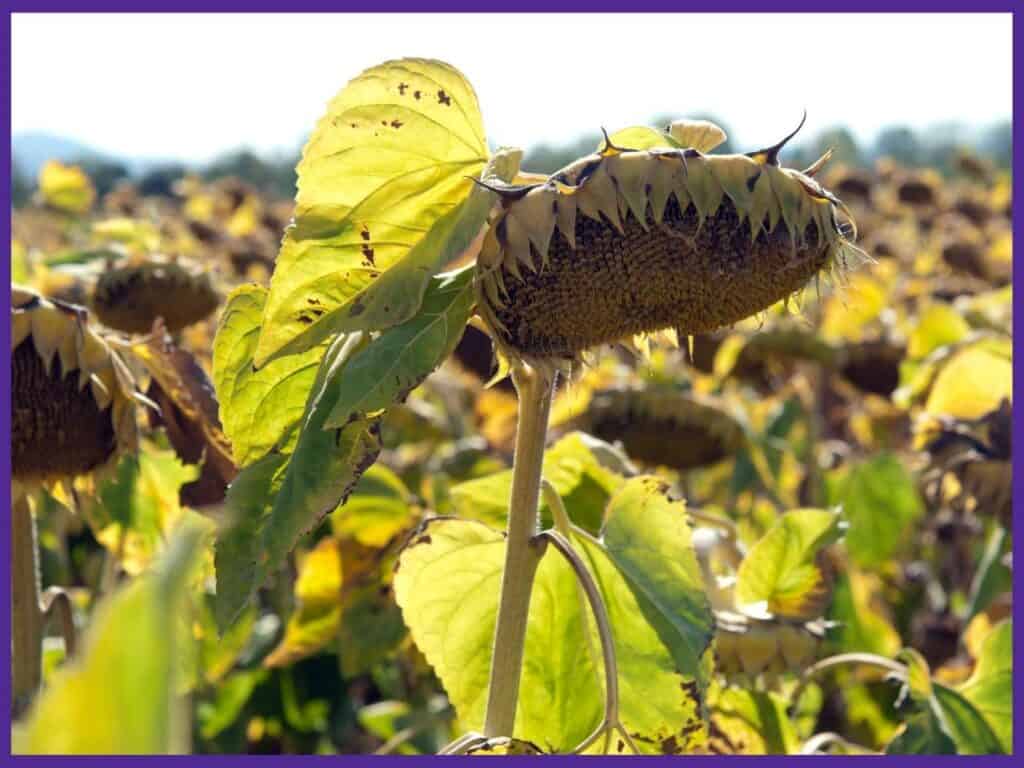
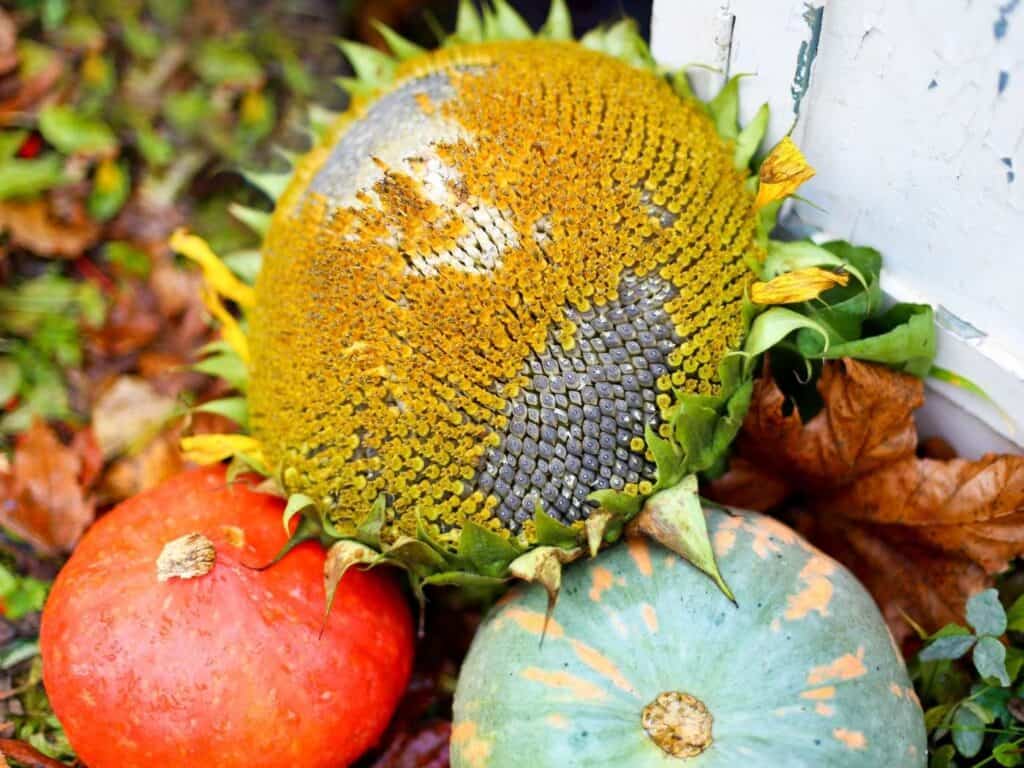
You’ll know it’s almost time when the sunflower heads start to droop and the leaves and petals turn a yellow-brown color and start to drop. At this time, you can check the heads for two specific signs to know the seeds are ready:
- The back of the sunflower head should have turned from green to a brown or yellow-brown color.
- The seeds should look plump and be somewhat loose. If you pull on one, it should come out easily.
The heads should look something like this:
If you’re ever in doubt, just pull out an individual seed, crack it open, and test-taste it.
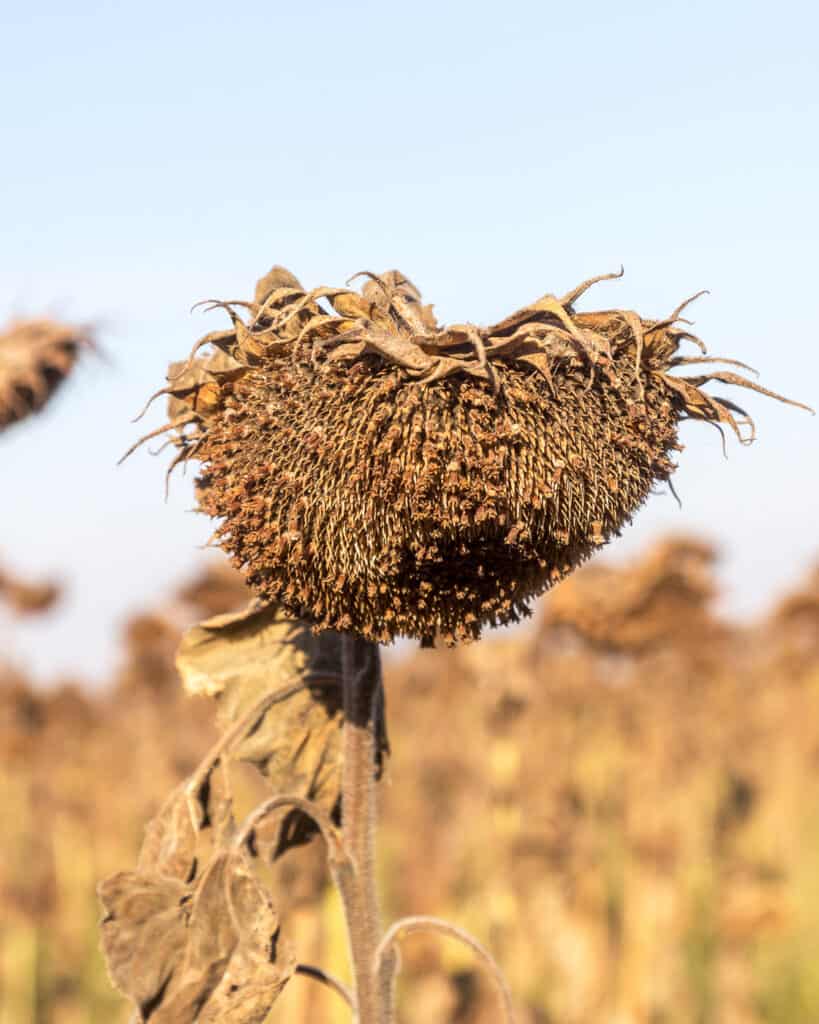
You can wait too long to harvest and ruin the head. Don’t wait until the heads are completely withered. The seeds may rot, fall to the ground, or be eaten if you wait too long. You do not want the heads to look like this:
Harvesting Sunflower Seeds: How To
Cut and Dry Sunflowers
You can pull the individual seeds right off the flower without cutting the flower down, but this is time consuming and wears your arms out quickly. Taste-test a few, then cut the heads off so you can harvest the seeds easily.
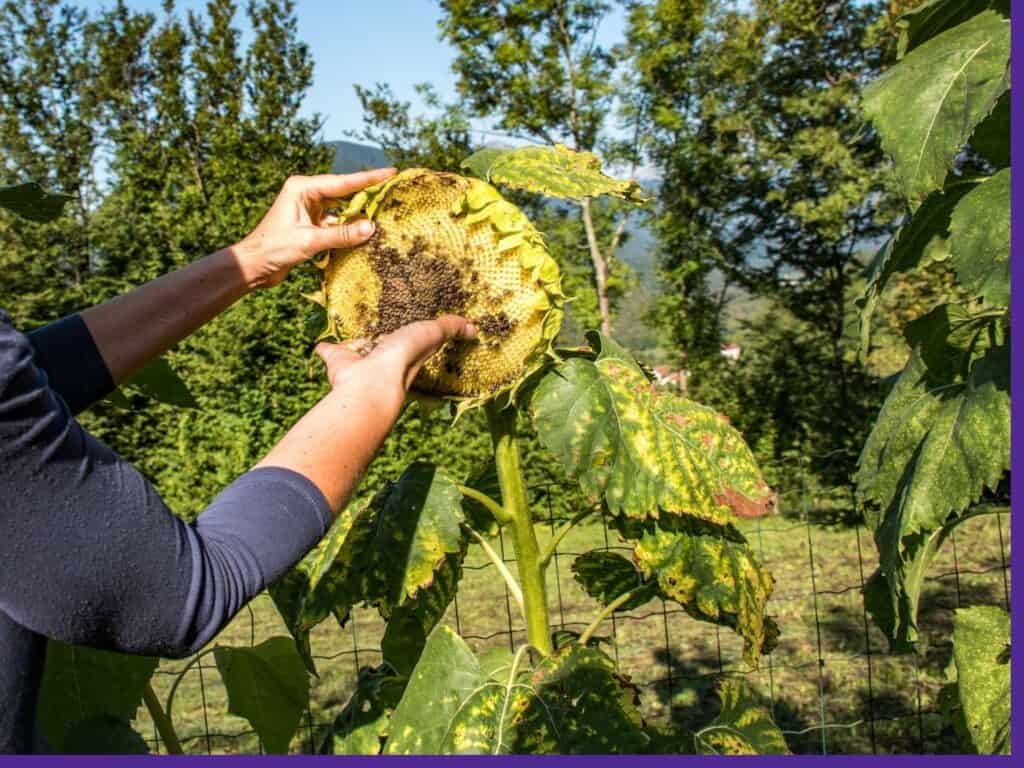
The first step to collecting sunflower seeds is to cut off the flower heads when they are ready. Use a sharp pair of pruners or a knife to clip off each head with about 8-12” of stalk on it (this will give you a good handhold later). If you’re tired of your old, rusty loppers that never make a clean cut, stop by this post to discover the best garden shears.
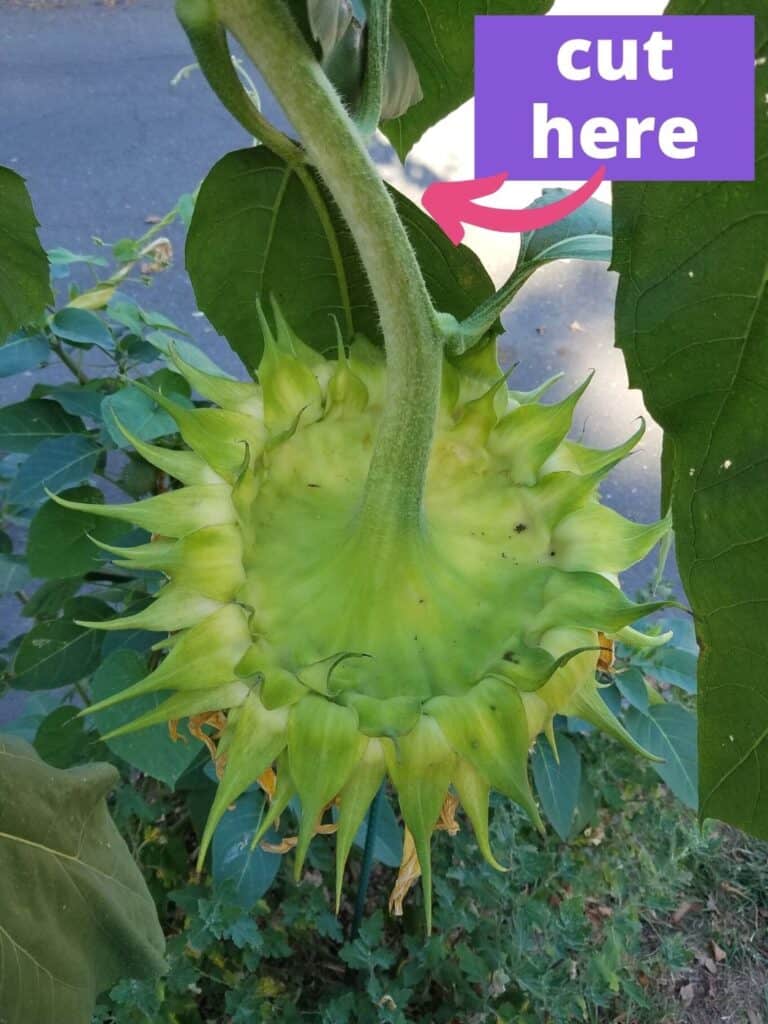
It’s a good idea to cut the heads off over a tray, bucket, or other container to catch any seeds that fall off.
If you’ve allowed the heads to fully dry and turn brown on the plants, you can skip the next step. However, if you harvested early to beat the birds or have a few heads that are still yellow in color, you’ll need to dry them before taking out the seeds.
You can do this by tying a few together at the stem and hanging them upside down in a warm, dry place for several days. When they are fully dry, the seeds can be harvested. If you keep a bag or netting over the heads as they dry, any seeds that fall off will be collected in the bag/netting.
Do not let the heads hang for an extended period of time or somewhere damp. Your heads may grow mold or mildew, which spoils your harvest. I’ve learned this lesson the “hands on way.”
Collect Sunflower Seeds
The final step is to actually separate the seeds from the head.
Start by getting a clean bucket or container that your seeds can fall into. If the seeds still have the tiny florets attached, try to scrape them off with a knife first. Then, hold each head over the bucket and rub your hand over the seeds so that they start falling off. If you have sensitive skin, you may want to wear gloves. Make sure to check out this post with the best cut resistant gloves (including brands that actually fit smaller hands).
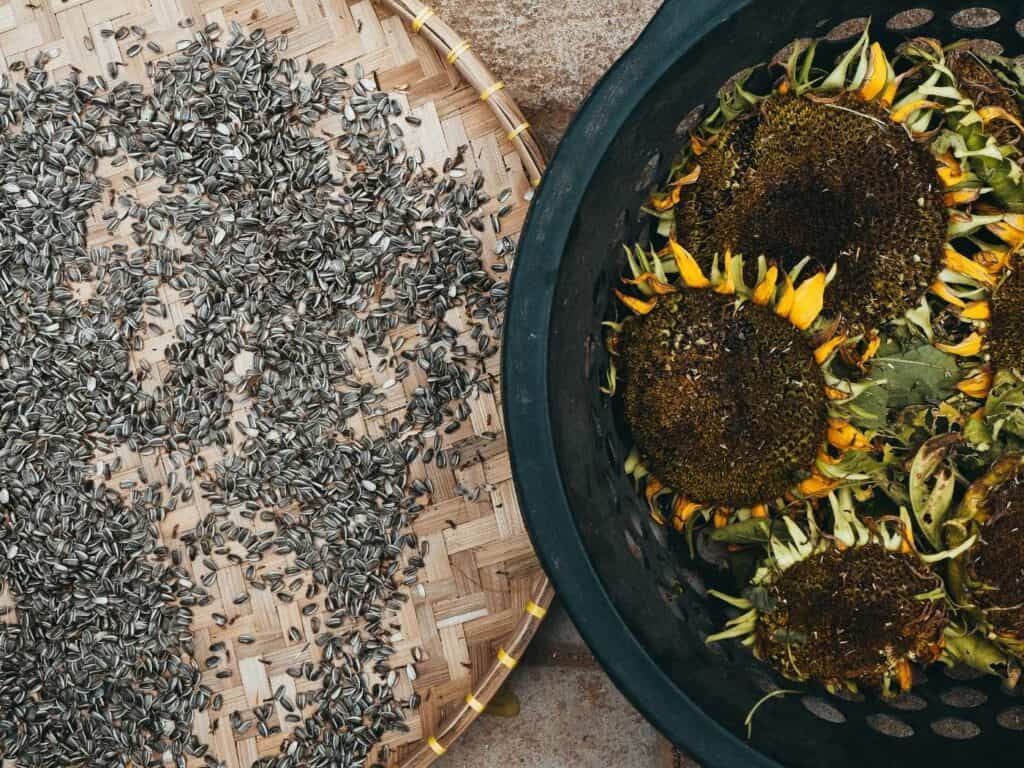
If any are seeds are stubborn, you can use something sturdier, like a fork, to pry them out. If the seeds are very difficult to remove, this is a sign they aren’t fully dry. Sunflower seeds are typically pretty easy to pull out when dry, but difficult to remove if they aren’t fully dry.
You now have your very first batch of sunflower seeds!
Storing and Eating the Seeds
After harvesting sunflower seeds, you’ll need to decide what you want to do with them.
If you want to save some seeds to plant next year, first rinse them off thoroughly to get rid of all the extra flower pieces that are mixed in with them. Then, lay them out in a single layer to dry for several hours or overnight. A stacking dehydrator on low heat can help dry seeds if you live in a humid climate.
Once the seeds are completely dry, store them in airtight containers until you need them. They can last for a few years if kept somewhere cool, dry, and dark.
If you’d like to roast your sunflower seeds for eating, first soak them in warm water for a minimum of four hours. Adding a mineral rich salt, like Celtic sea salt, purportedly increases the nutritional benefit of eating sunflower seeds and helps neutralize enzyme inhibitors that occur naturally in nuts and seeds. According to Sally Fallon (Morrell) in Nourishing Traditions: “Salt in soaking water activates enzymes that neutralize enzyme inhibitors.” Add 1 tablespoon of salt per 4 cups of nuts or 1 scant teaspoon per cup of nuts.
After they are done soaking, drain the seeds and let them dry on a layer of paper towels for several hours. For a more nutritious, raw food, dehydrate them in a dehydrator at 115ºF or less. 115ºF is considered the maximum temperature for “living”/raw foods.
According to my Excalibur manual, living foods should be dried at 105º, as shown in the photo below. The book that came with my dehydrator instructs Excalibur users to soak sunflower seeds for 6 hours, then dry at 105ºF for 18-24 hours (until fully dry). See pages 101 and 106 of your Excalibur Preserve it Naturally guide for more information.
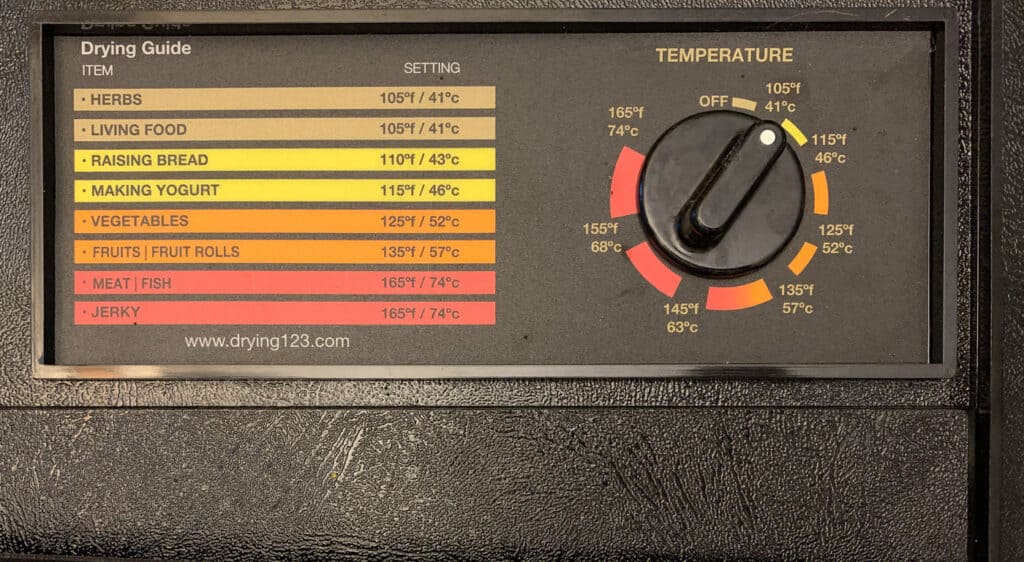
Dehydrating seeds works best with a higher powered dehydrator with trays, such as an Excalibur. However, sunflower seeds usually can be dried in a stacking dehydrator, too.
You can roast your sunflower seeds in the oven. Most recipes you’ll find call for roasting at 325º or 350º. However, for maximum nutritional benefit, use 150ºF or lower, if your oven allows. 115ºF is ideal if you want to maintain the seeds’ natural enzymes. Stir the nuts several times during the drying/roasting process. At 350º, your seeds may be ready in just 15-20 minutes. At 150º, the process will take between 12 and 24 hours.
While they are still warm, you can drizzle oil over them and sprinkle with salt and/or spices, or leave them plain. Olive oil is the typical suggestion, but coconut oil works well, too. Avoid vegetable oils that are actually less healthy for you. (Want to know more? Pick up a copy of Nourishing Fats and prepare to have your mind blown.) Store in an airtight container after they cool.
However you want to use them, enjoy your sunflower seed harvest and start planning for next year!
Popular summer vegetables and herbs
Discover how to grow popular vegetables and herbs in your backyard garden or container garden with these in-depth vegetable growing guides.
7 Easiest Vegetables to Grow for an Abundant Harvest (and 5 to avoid!)
Discover the easiest vegetables to grow for beginners so you can have a healthy, successful garden.
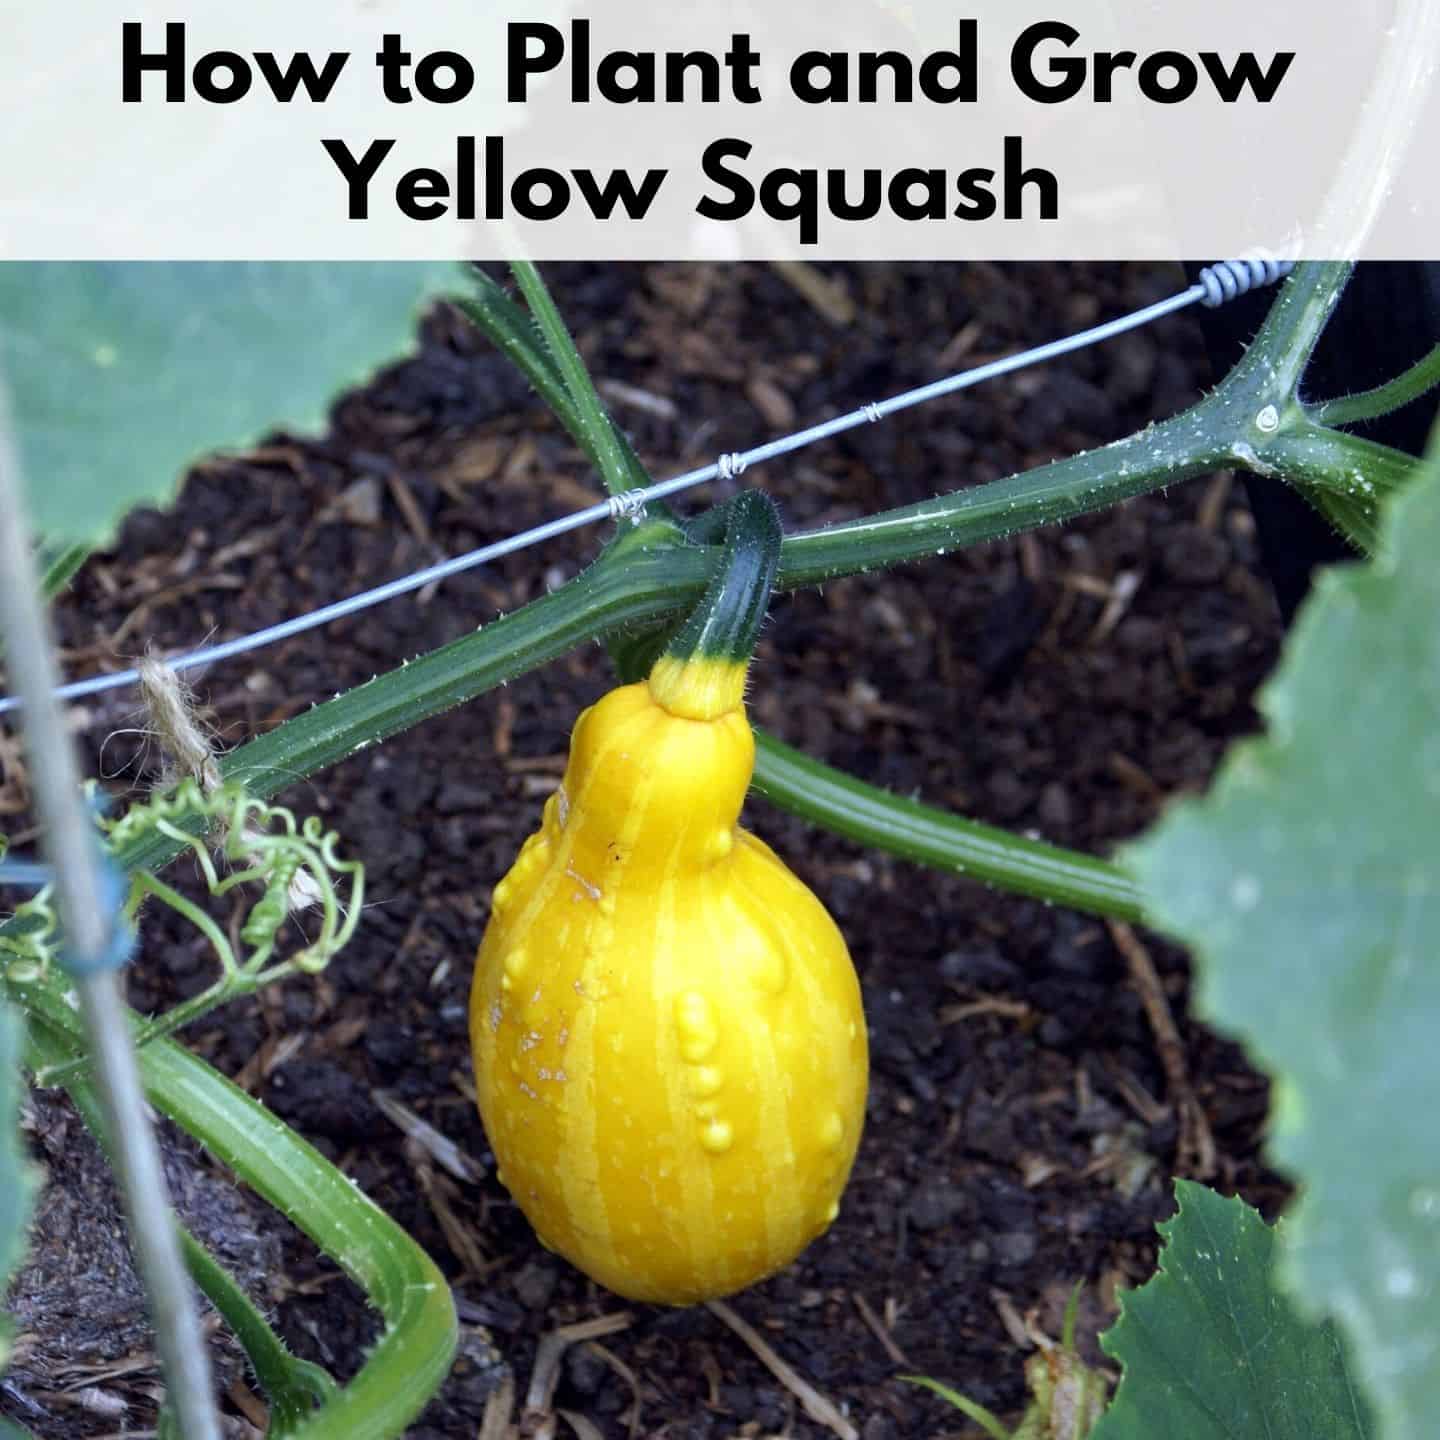
Discover these must-know tips for planting yellow squash and common squash growing mistakes and problems.
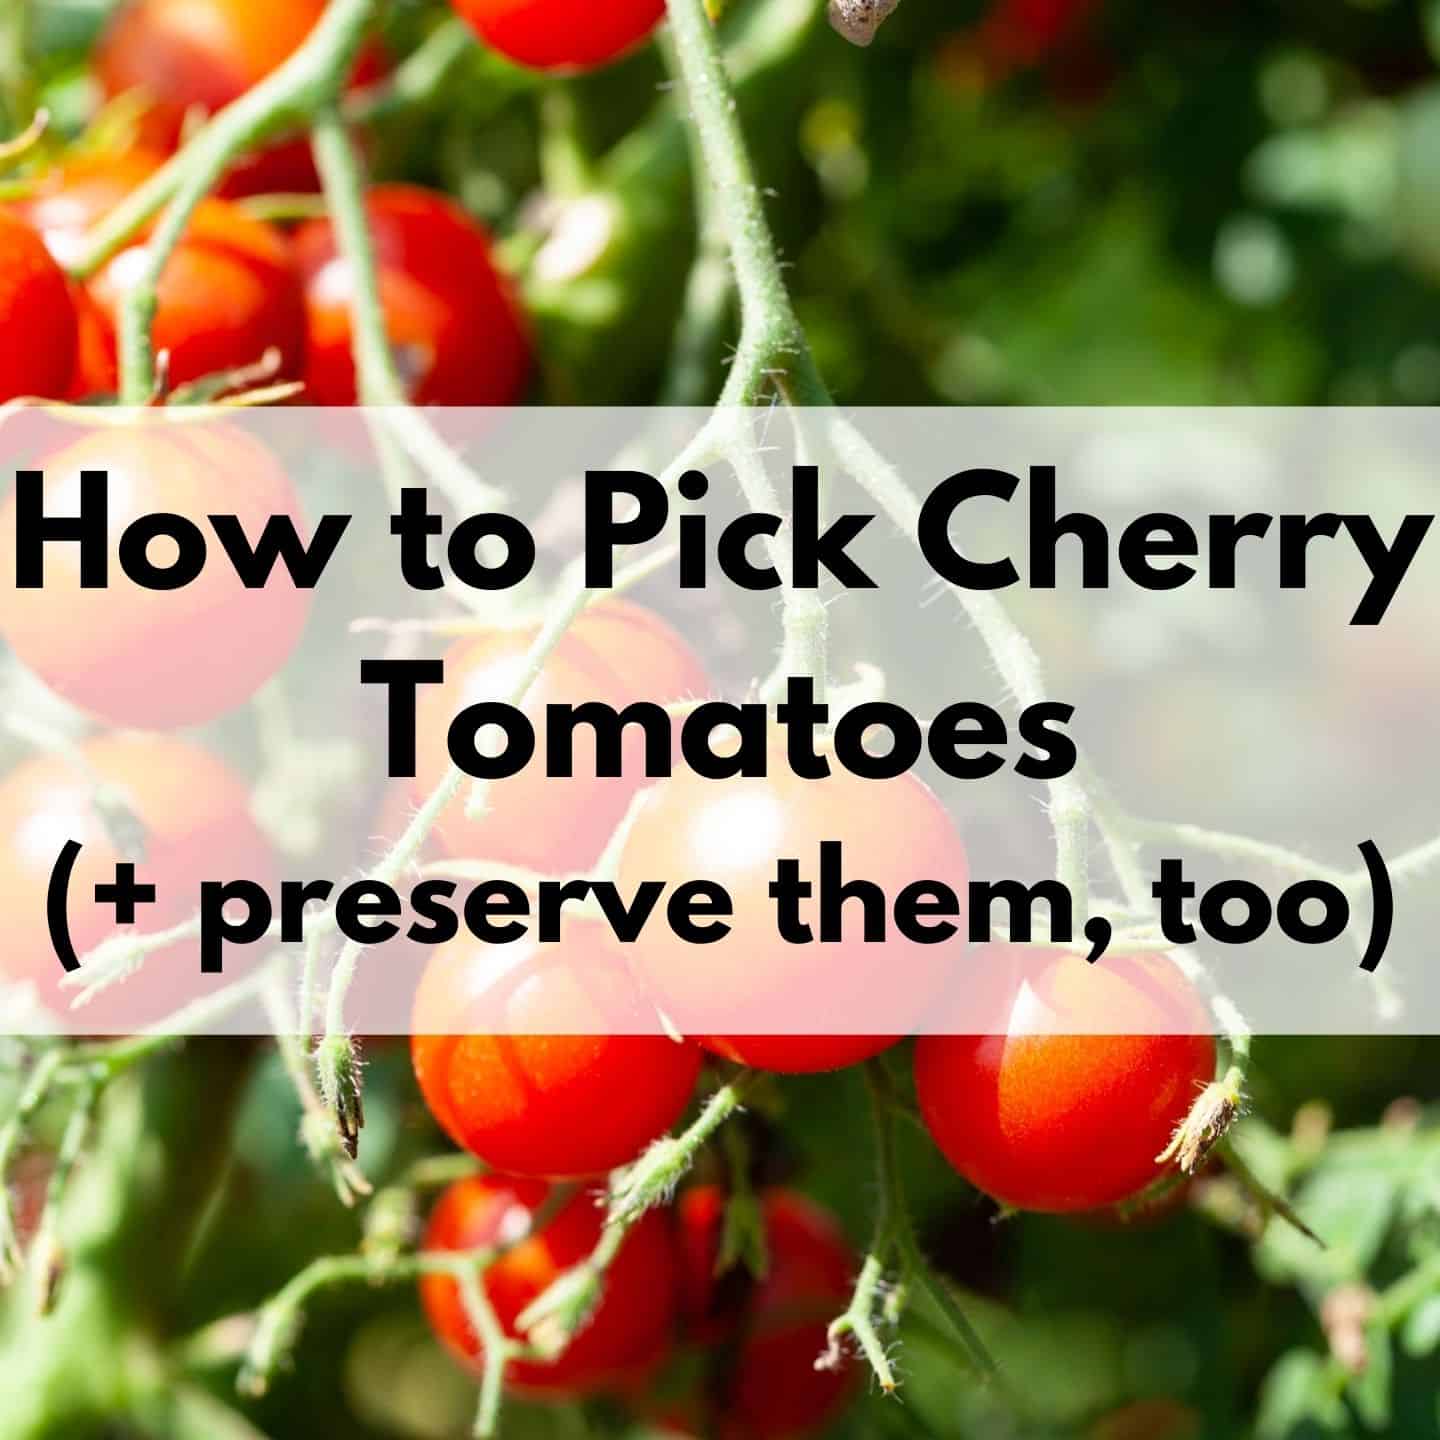
How to Pick and Preserve Cherry Tomatoes (plus drool-worthy cherry tomato varieties to try)
Discover how to pick and preserve delicious cherry tomatoes.
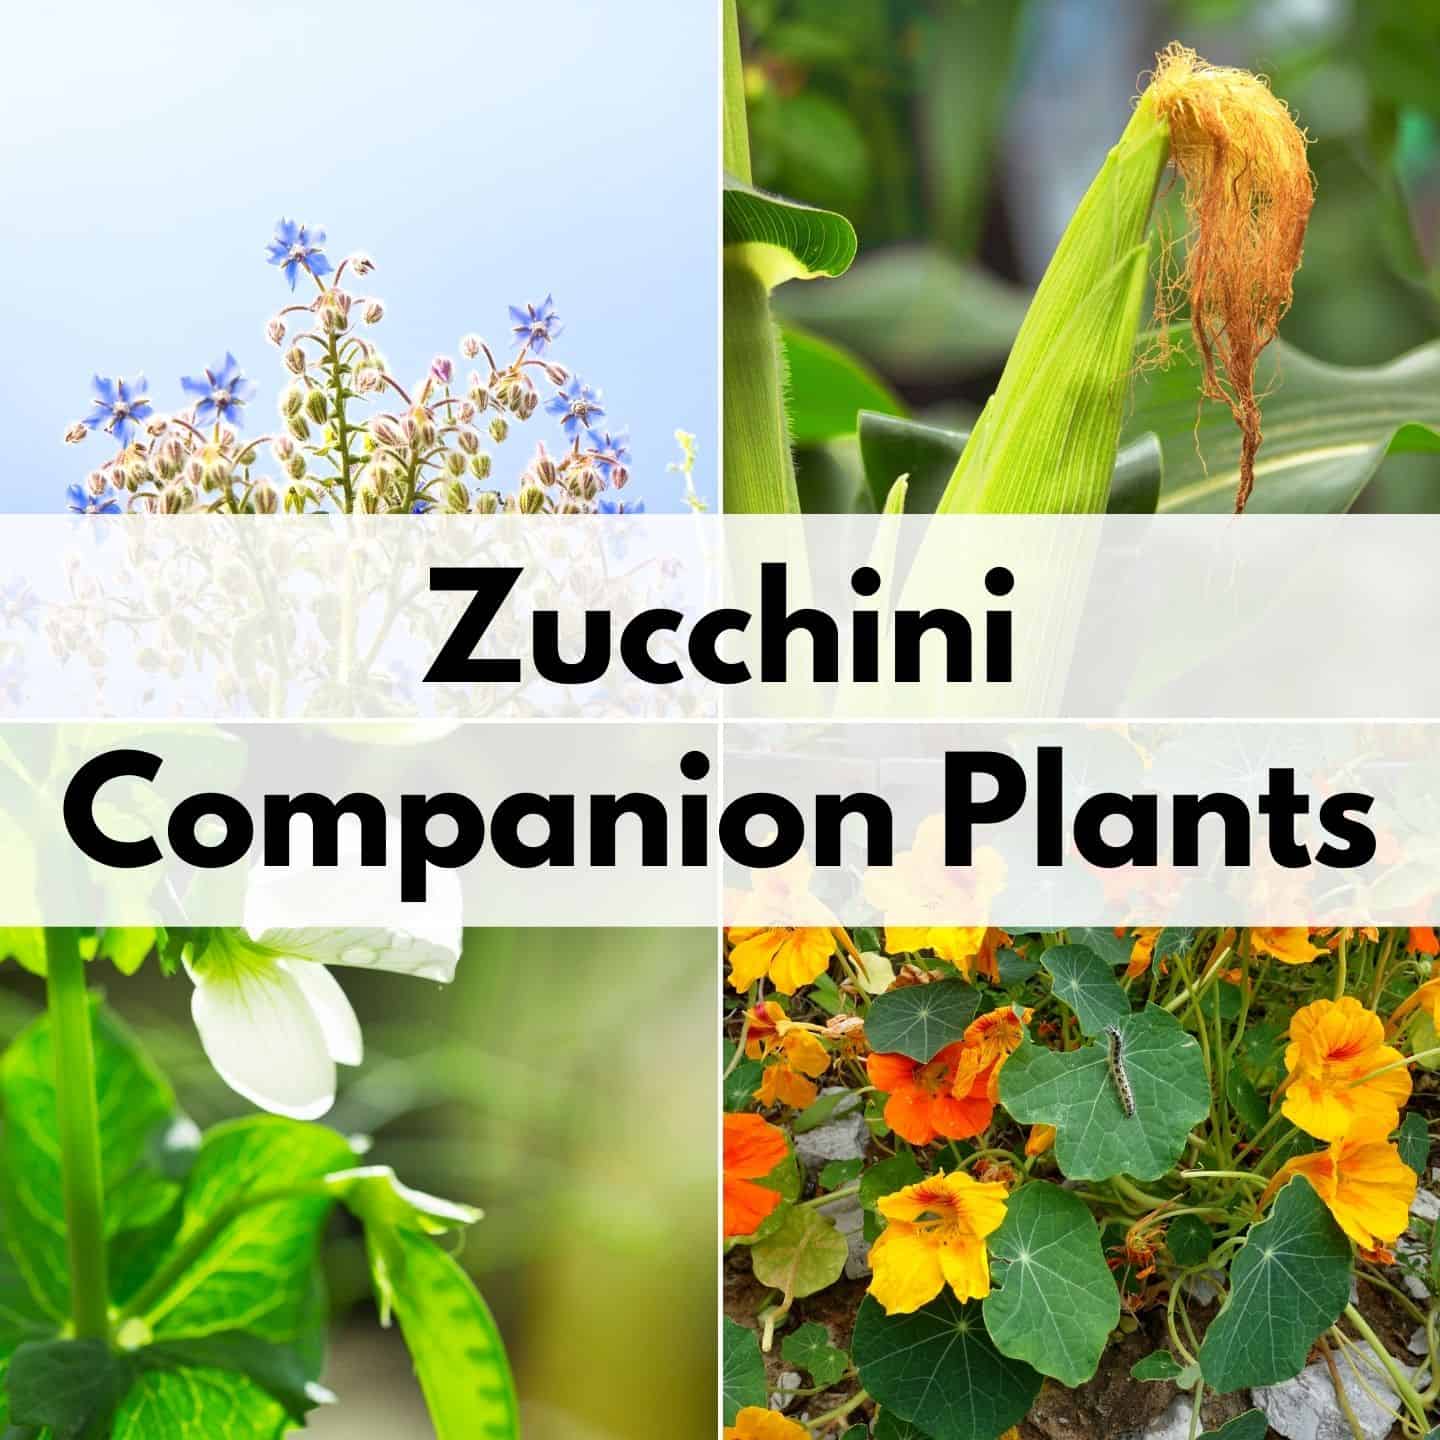
Must-Know Zucchini Companion Plants (and 5 plants to avoid)
Zucchini are a summer garden must-have. Learn how to companion plant them for a healthier, more productive garden.
How to Harvest Basil (Must-know tip for an abundant harvest!)
One basil plant can provide you enough for fresh eating and drying for homegrown basil all winter long when you discover how to harvest basil the correct way.
How to Harvest Parsley (without killing the plant)
One parsley plant can provide you with an ample harvest all season long...if you know how to pick it the correct way. Discover how to harvest parsley with this comprehensive guide and video!
Harvesting Tomatoes - How and When to Pick your Tomatoes
Discover how to harvest tomatoes and how to tell when they're ready to pick - even heirloom varieties with different colors.
Natasha Garcia-Lopez is an avoid home-gardener and proud owner of 88 acres of land in rural West Virginia. She was a member of the Association for Living History Farms and Agricultural Museums for many years and is currently enrolled in the Oregon State University Master Gardner Short Course program so she can better assist you with your gardening questions.She holds a certificate in natural skincare from the School of Natural Skincare.


Leave a Reply