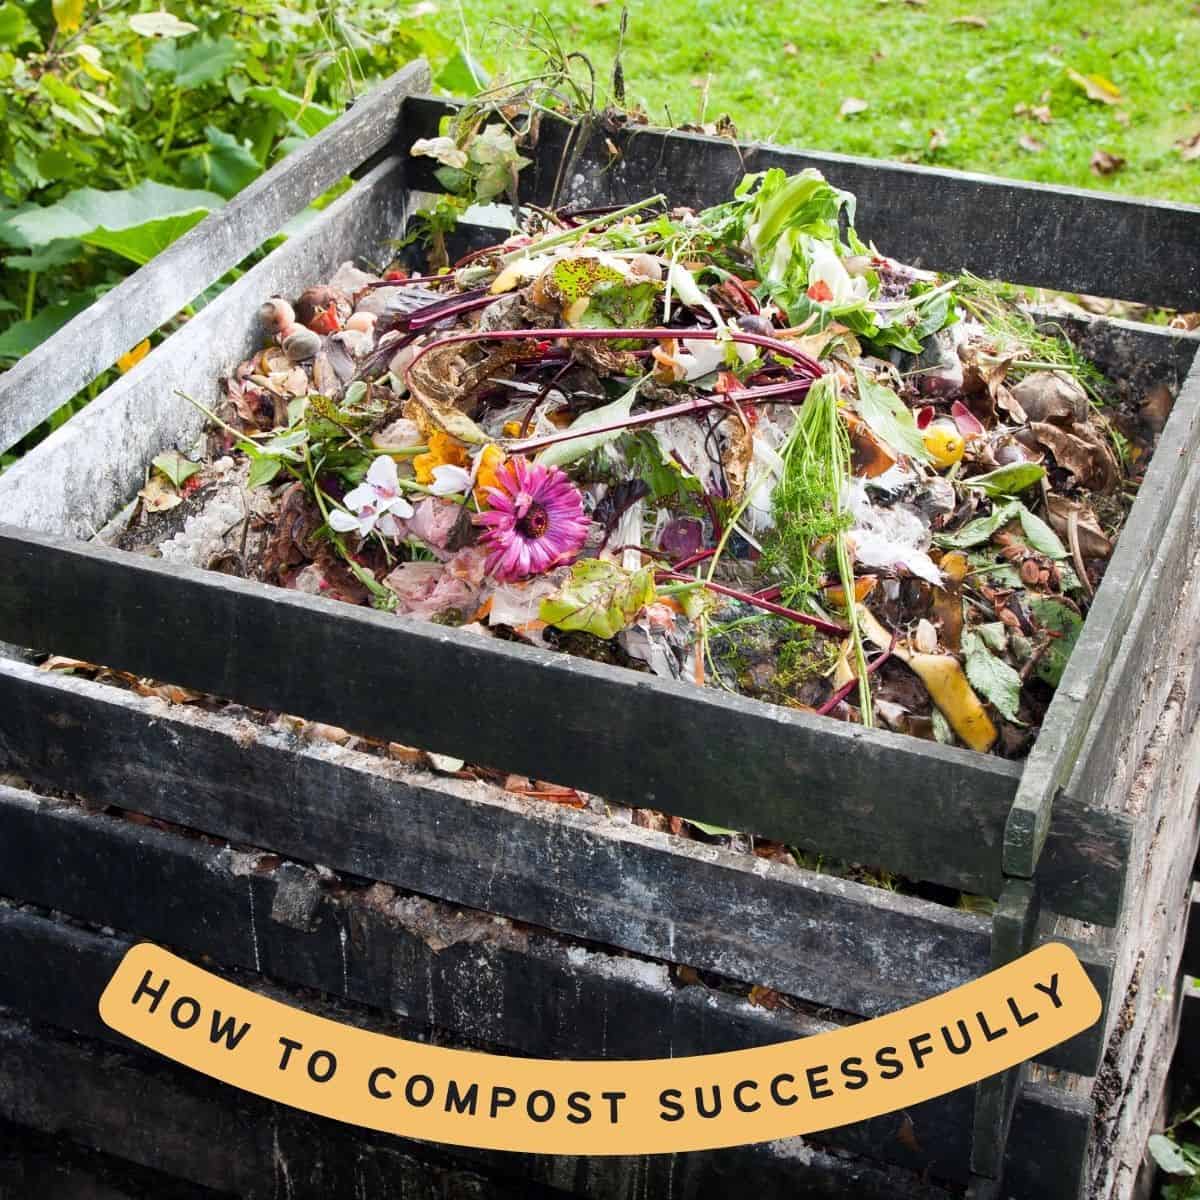
How to Start Composting for Beginners
I had a lot of failed compost piles before I learned how to make good compost more quickly and effectively. Learn from my failures and discover how to start composting for beginners!

This post includes affiliate links, which means I may earn a commission on purchases made at no additional cost to you.
Many home compost piles suffer from two fatal flaws: they are too dry and don’t have enough matter.
For a compost pile that gets hot and decomposes quickly, you must have adequate brown feedstocks and greens added at the same time.
Yes, you can add new materials and throw your kitchen scraps on top, but you need to put in the extra work of gathering adequate materials to get the pile started.
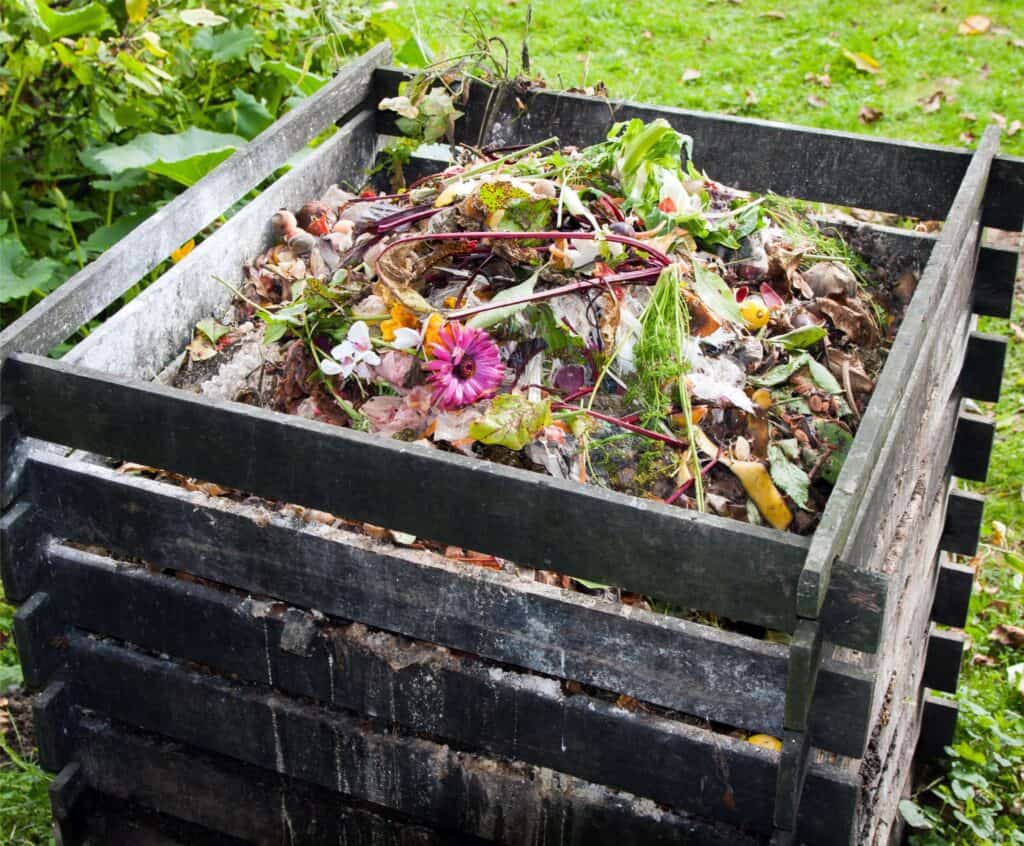
Ideally you’ll want about a cubic yard of material to start your pile. Less is okay, but you need enough to make a decent “heap.”
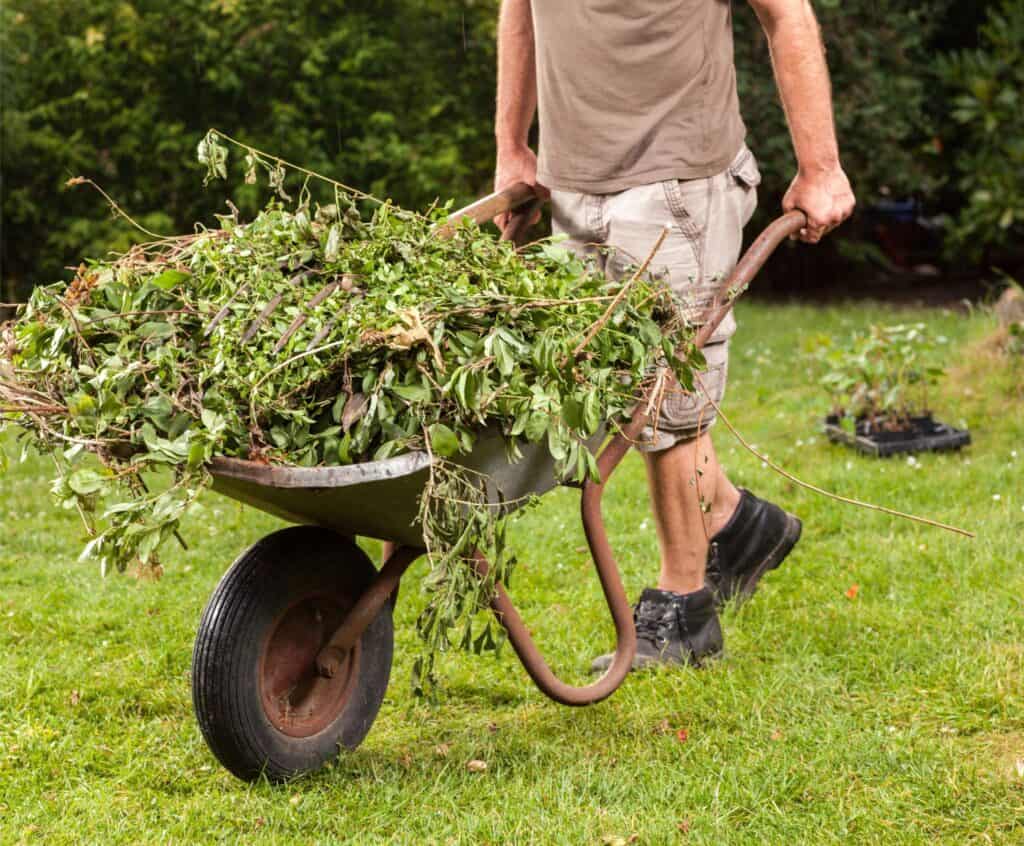
This is easier to do than you might think. Let your grass grow a bit longer than usual, then gather up all your clippings.
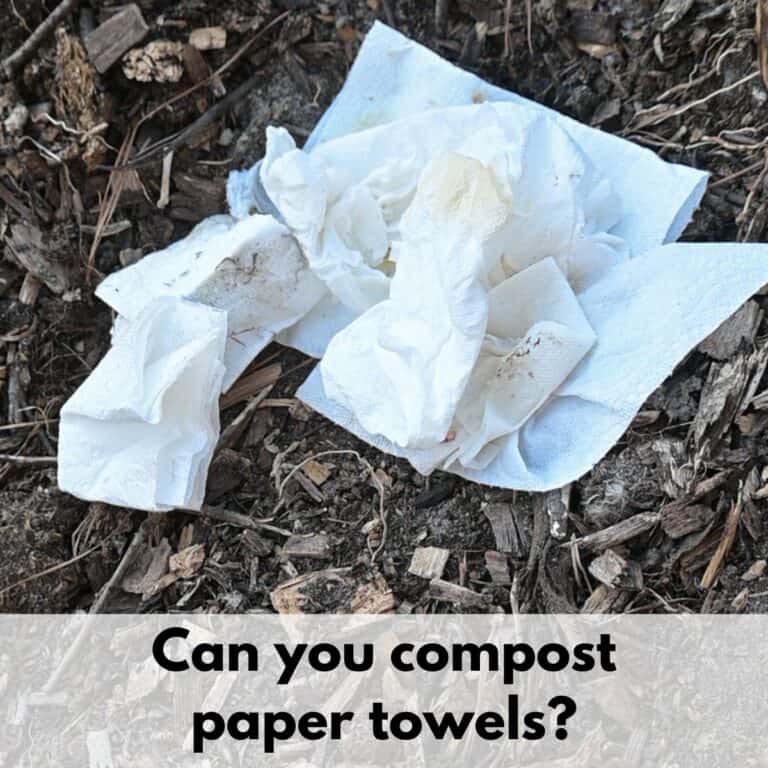
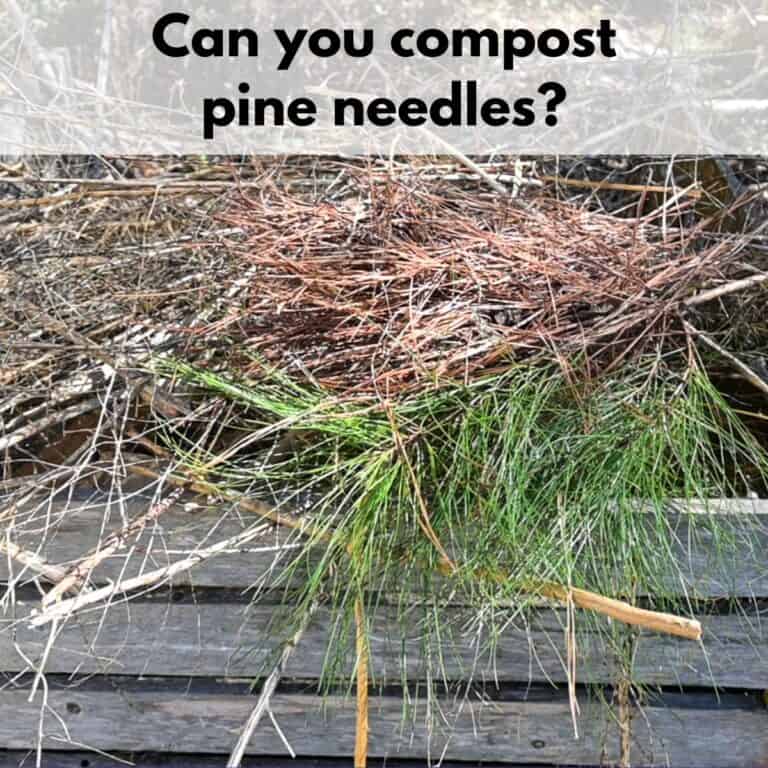
Rake up some dry pine needles or pull out a bag of leaves from the fall. You can also ask neighbors for their leaves and grass clippings. Most people are more than happy to let you pick up their yard “waste.”
Do not dump everything into a big heap and call it a day. Your grass clippings will get weird and slimy while your pine needles don’t break down.
You need to “lasagne” your compost. Alternate layering browns and greens. I also recommend layering in bonus materials, like a bit of kelp meal and EM-1 microbes, to boost the nutritional content of your compost and accelerate decomposition with beneficial microbes.
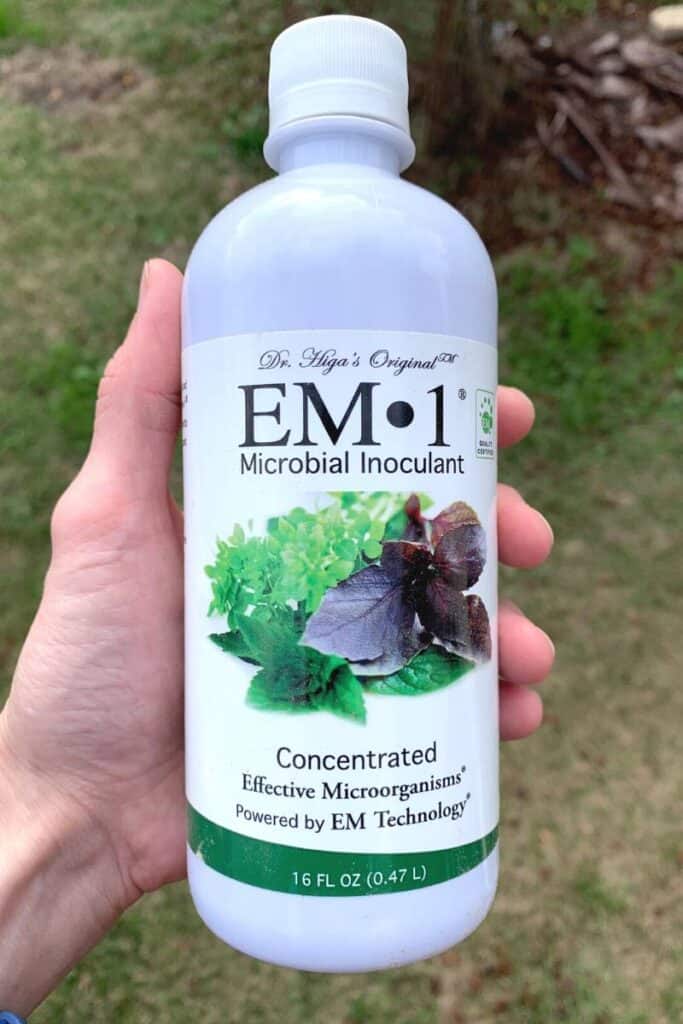
EM-1 is pricey to buy initially, but the company supplies instructions on how to make your own by using your purchased EM-1 as a starter culture.

- ALL NATURAL ORGANIC PROBIOTIC for your plants and soil is finally here to improve texture and drainage for soils, while promoting growth for your...
- IMPROVE WATER QUALITY IN YOUR PONDS AND AQUARIUMS with our non-toxic and safe TCM microbial inoculant. This non-GMO, user-friendly probiotic inoculant...
- 1 MILLION COLONY-FORMING UNITS OF LACTIC ACID BACTERIA will help eliminate foul odors (pet, smoke, garbage or paint smell) while conditioning your...
Even though it’s physically brown, fresh manure counts as a “green” because of the high nitrogen content. It can be added to your pile, too, as long as you’re confident it isn’t contaminated with herbicides.
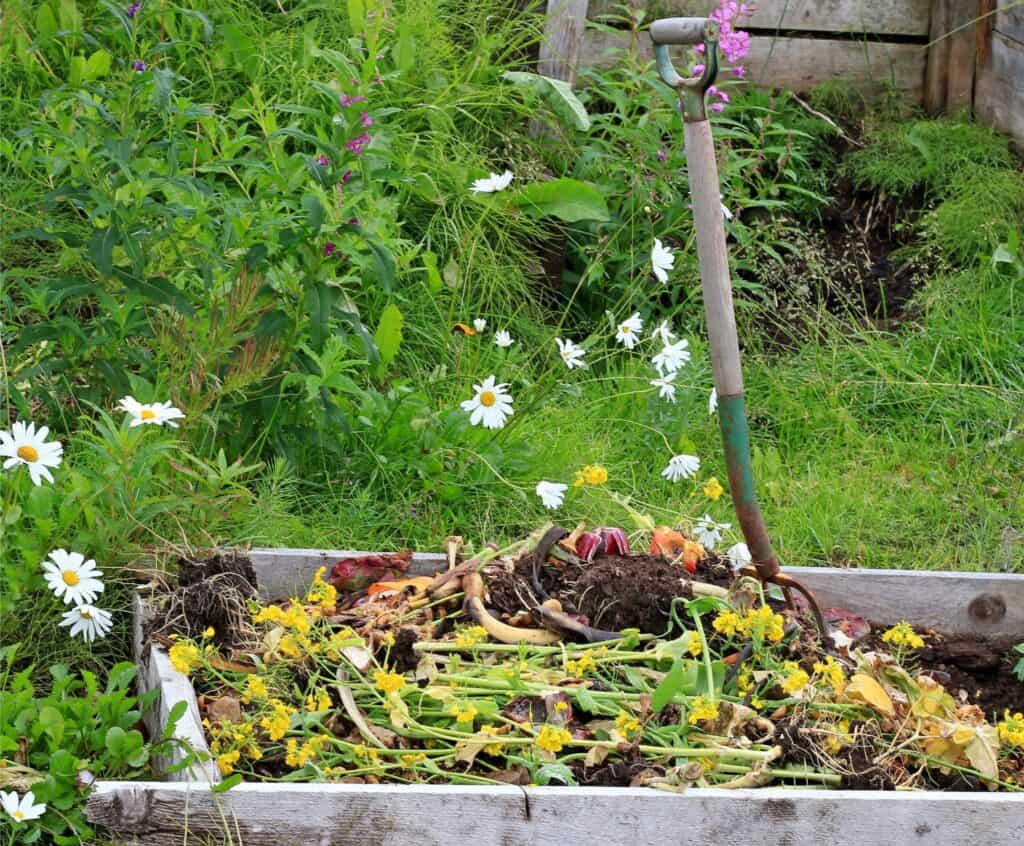
Once your pile is stacked up, water it. Water until the water flows out of the bottom of the pile. Then you may want to tarp your pile. This is optional, but helps retain heat and moisture.
The chemical reactions that need to take place use water, so you’ll nee to continue watering your pile regularly. Once a week is usually adequate.
It’s a good idea to grab a garden fork and turn your pile once a week, then water it and tarp it again.
When you follow this method, you’ll have a balanced compost composition and compost that’s ready to use more quickly than if you make a mouldering pile that never really gets hot.
Compost made with this method can be decomposed in as little as 4-6 weeks (though many soil experts recommend letting it age for a couple more months before applying it to your plants).
You’ll know your pile is working well when you see steam when you turn it!
And there you have it – my hard learned secrets to a successful DIY compost pile. Happy gardening!
Compost Tips
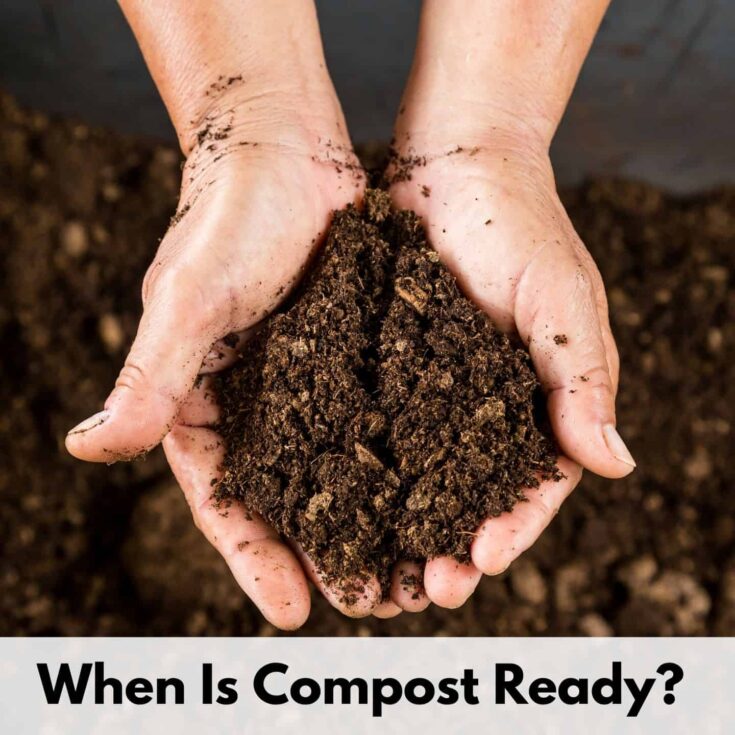
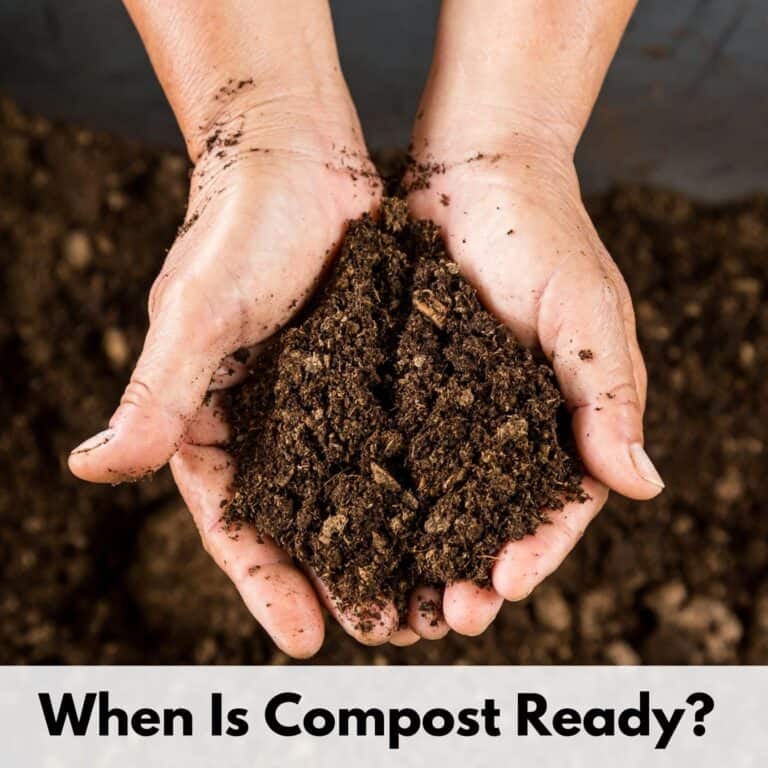
Do you know how to tell when your compost is ready to use? And how long does compost take, anyway?


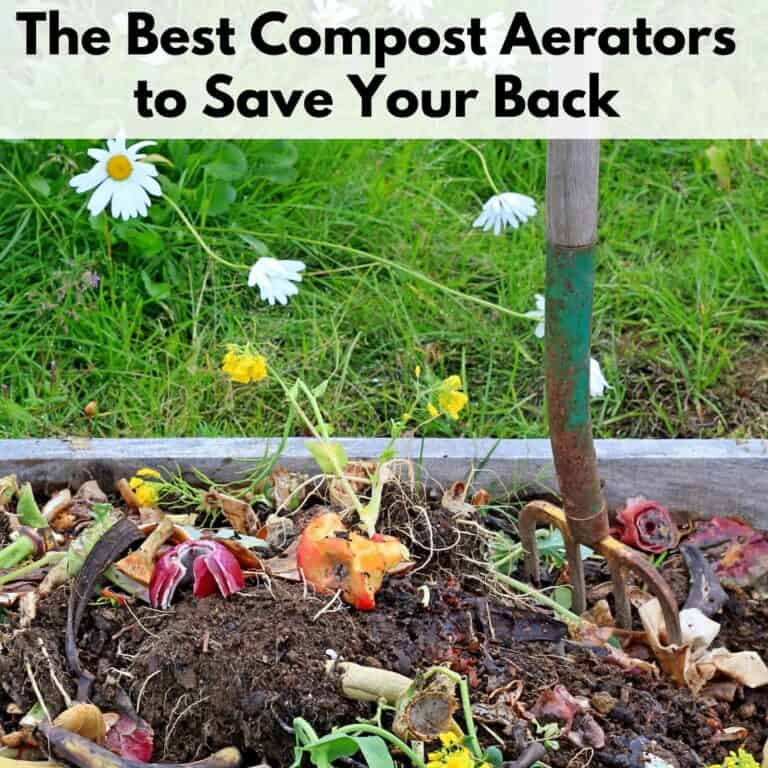
You know your compost needs to be turned, but you're tired of breaking your back. Discover the best compost aerators to make aerating your compost easy.

Discover how to attract more earthworms to your garden for healthy soil and bountiful yields.