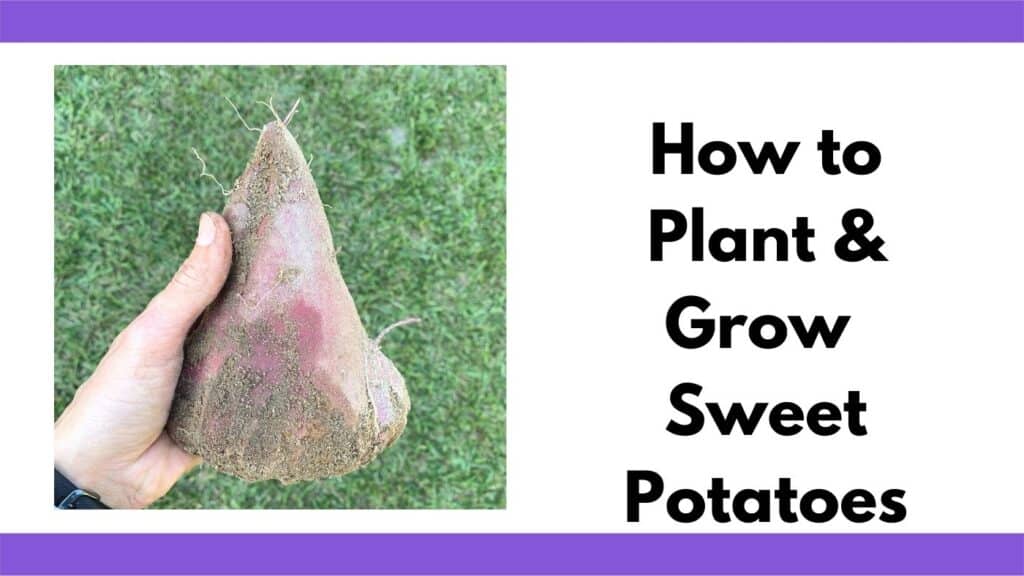
How to Plant and Grow Sweet Potatoes
Sweet potatoes are tropical tubers that have become popular all over the world. They are packed full of potassium, fiber, and other nutrients, plus they have a sweet flavor that both adults and children love. They’re also a calorie-dense crop that’s easy to grow in your garden.
If you’ve ever wondered whether you could grow these tasty tubers in your own garden, the answer is yes! If you grow in the South, sweet potatoes practically grow themselves. Northern gardeners will have a few challenges to overcome, but almost anyone can have success.
Here’s what you need to know about how to plant and grow sweet potatoes at home.
A little background about us and our gardening situation will help you understand this post. As you see in our “about us” page, we have a unique growing situation. Our “real” home is in sandy South Carolina, but we also spend the summer on our property in clay-y West Virginia. I grow sweet potatoes in both locations. It is definitely easier in the sandy South, but it is absolutely possible to grow sweet potatoes further north, too.
This post includes affiliate links. If you make a purchase using one of these links, Together Time Family will receive a commission at no additional cost to you.
All About Sweet Potatoes
Sweet potatoes (Ipomoea batatas) are closely related to morning glories and ornamental sweet potato vines. They are not related to the common potato (Solanum tuberosum) and have different growing requirements.
Because they have tropical origins, sweet potatoes thrive in warm weather with lots of sunshine.
For a while, they were mostly grown by southern gardeners who had at least 4 months of frost-free weather. However, newer varieties have arrived that mature in closer to 90 days, which means they can be grown in northern areas.
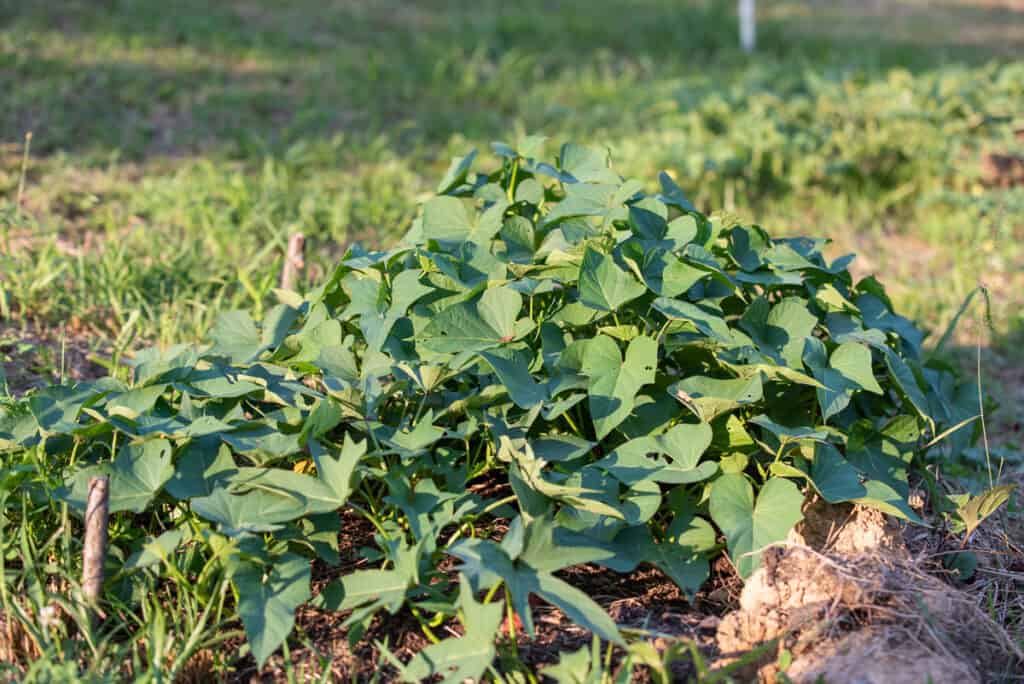
The good news is that if you plant sweet potatoes in the right spot, they are very easy to care for and will do most of their growing without you. You can expect them to form vines that grow 7-10’ long (and up to 20’!), so you’ll need some space to grow them – either horizontal or vertical. I don’t even try to contain my vines – I just let them do their thing.
Sweet potatoes also do fairly well if planted in deep containers as long as the vines have room to spread out. This is a good option if you are short on ground space. The one drawback to growing in containers is that they will need more frequent watering. I have used large grow bags for sweet potatoes.

- Sturdy & Garden-Ready Material: Made of 300g of thickened nonwoven fabric, these pots are moderately permeable, environmentally friendly, and...
- Great Drainage: Nonwoven fabric means the pots do not retain excess water, allowing your roots to breathe for healthier, more vigorous growth
- Durable, Reinforced Handles: While the competition uses flimsy handles that are merely strips of the same fabric the pot is made from, we use serger...
Top Varieties of Sweet Potatoes
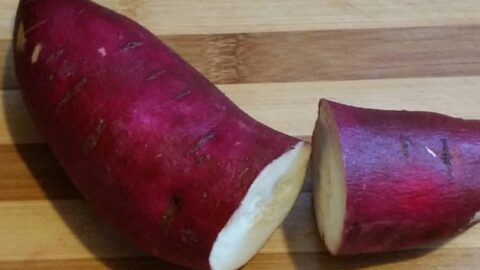
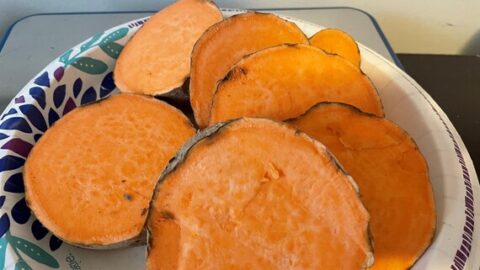
The most common sweet potato varieties have deep orange flesh (like you would see in the grocery store), but you can also find white, yellow, and purple varieties. The varieties do taste different from one another, so experiment to see which you prefer. I personally do not like orange sweet potatoes, but I enjoy the less sweet white-flesh and purple-fleshed varieties. Be sure to choose a variety that will mature before the first fall frost where you live.
Here are some top options:
Sweet potatoes to try

Purple Molokai Sweet Potato 6 Cuttings/slips
These sweet potatoes are an all-star performer in my SC garden. They withstood significant neglect (no watering or weeding for 3 months) and insect damage and still produced abundant harvests.
This seller is an excellent choice for tropical plants like cassava and sugar cane.
Japanese Sweet Potato Slips
These Japanese sweet potatoes with white flesh and garnet skin were my favorite to eat when we lived in Hawaii.

White Sweet Potatoes Bonita/Hannah
These white-fleshed sweet potatoes are one of my favorite varieties to eat. They have a milder, less sweet flavor than orange sweet potatoes.
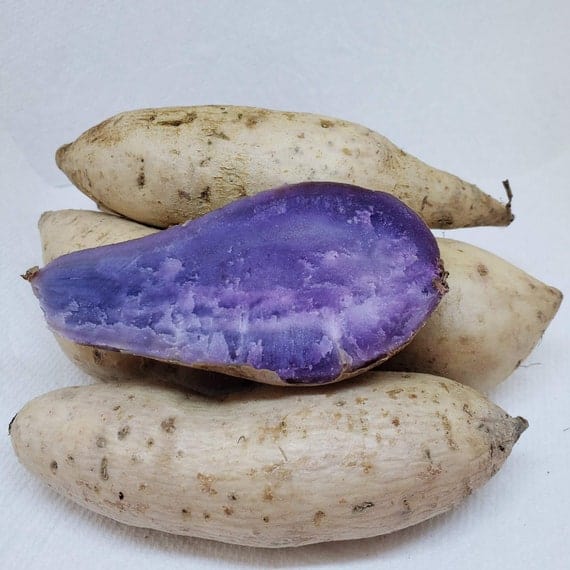
Hawaiian Okinawan Purple Sweet Potatoes
These stunning little sweet potatoes have bright purple flesh. They are the smaller, whiter sweet potatoes seen in photos in this post. I typically experience less yield per plant with these, but they're pretty and I always plant a few.
Beauregard Sweet Potatoes
Beauregard sweet potatoes are the "classic" orange fleshed sweet potato you're probably used to seeing at the grocery store.
O'henry/ White Flesh Naturally Grown Sweet Potatoes
O'Henry has yellow flesh and a milder taste.
Buying (or Growing) Sweet Potato Slips
The first step of how to plant and grow sweet potatoes is buying or growing slips.
Unlike “regular” potatoes, sweet potatoes are not grown by planting cut up pieces of a tuber. Instead, they are grown from sprouts known as slips. The slips come from sprouting a previously harvested sweet potato and have their own root system by the time they get planted.
The easiest way to get sweet potato slips is to buy them from a local nursery or online garden store. There are many options for variety – just take a look at the list above!
Grow Your Own Sweet Potato Slips
If you’re feeling more adventurous, you can also try growing your own slips, although it will take much longer. Once you have grown sweet potatoes for a year, save quality specimens from your favorite varieties to grow slips from for next year. Over the generations, this will select for plants that thrive in your environment and meet your particular tastes.
First, you’ll need to buy a few sweet potatoes (or grab a few of your best tubers). Look for organic, unblemished sweet potatoes. Check farmers’ markets or online sites like Etsy if you’re having trouble finding appropriate tubers at the grocery store.
Either buy them about 90 days before your last spring frost date, or store them in a dark place until this time. If your tubers start to sprout too early, that’s fine. I’ve kept sweet potatoes that sprouted the previous fall and kept the slips happy until the following spring.
If your potato isn’t already sprouting, cut each sweet potato in half lengthwise so that you end up with two long pieces. Place each half cut side down on a tray filled with damp potting soil and cover with about 3” of soil. Repeat this process for all of your sweet potatoes.
Keep the trays somewhere that is consistently 75-80°F (use a heat mat as needed) and water them enough to keep the soil damp but not soggy. Seed heating mats are inexpensive and will make your tomato seedlings super happy.
No products found.
After several days, you should see roots and shoots start to develop. Eventually, leaves will also form, and the slips should grow about 6-12” long in 4-6 weeks. Once they get to this length, carefully remove each slip with roots attached and plant it in a small pot.
If you pull off a slip and it doesn’t have any roots, place it in a glass of water for 1-2 weeks until a good root system forms. Then, put it in a pot with potting soil.
If your sweet potatoes sprout straight off the tuber before it’s sitting on soil, that’s fine. Break the sprout off gently and place it in water until roots form.
Keep your potted slips in a sunny location and water as necessary until it’s time to plant them in your garden.
How to Plant and Grow Sweet Potatoes
When to Plant Sweet Potatoes
One of the tricks to growing sweet potatoes is getting them planted as early as you can without letting them get killed by a late frost or cold weather.
For most gardeners, this means planting about 3-4 weeks after the last average frost date in the spring. Nighttime temperatures should be in at least the upper 50’s, and the soil temperature should have warmed considerably.
Also, whether you bought slips or grew your own, be sure to gradually acclimate them to outdoor weather over a period of 1-2 weeks before planting them. This process is called hardening off. Learn more by reading all about how to prepare your seedlings for transplanting.
Where to Plant Sweet Potatoes + Soil Prep
Sweet potatoes need a spot that gets full sun (the more the better) and prefer well-drained soil that is on the loamy or sandy side.
They do not do as well in clay or compacted soil, so you should consider raised beds if your soil has either of these characteristics. Raised beds (or containers) are also ideal for northern gardeners because the soil in them will heat up more quickly than in the ground.
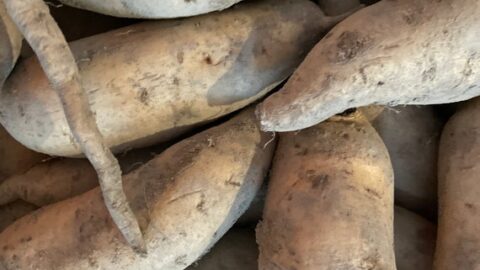
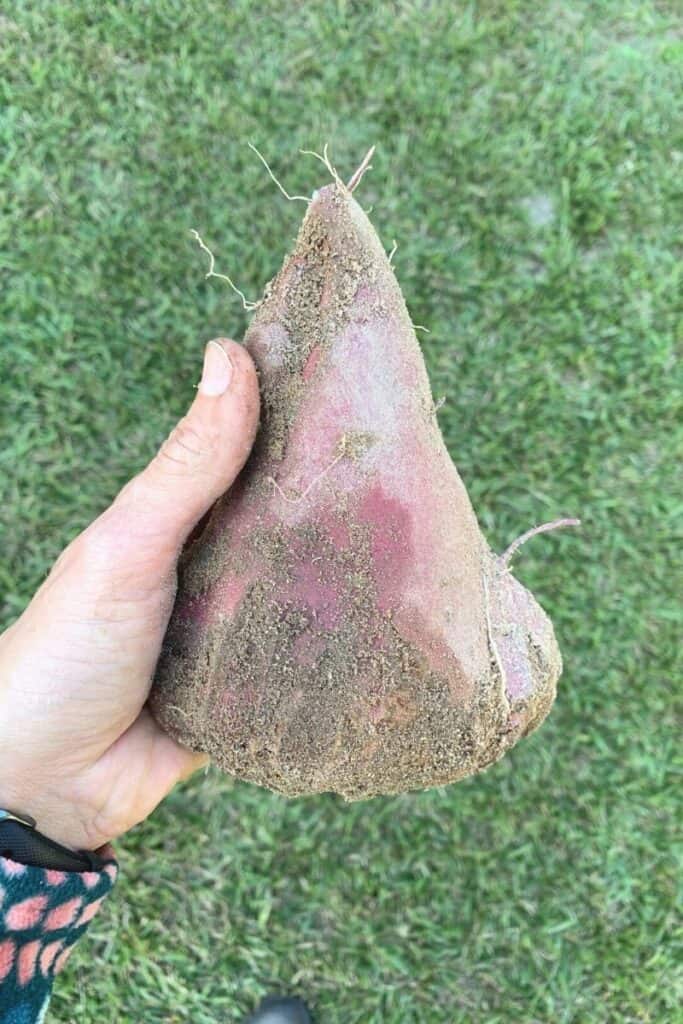
You can plant sweet potatoes in clay, but expect lower yields. These sweet potatoes were harvested from our WV garden with clay soil:

Sorry the photo is so dark and blurry – it was taken in my neighbor’s basement!
The yield and individual tuber size are both considerably lower than our sandy 8a garden yields from that same year. Interestingly, the smaller variety I grew actually grew larger tubers in my WV garden than my SC garden. This illustrates why it’s important to test different varieties in your own garden. Your results may be different from “expected” based on other peoples’ results. These sweet potatoes performed amazingly in SC.
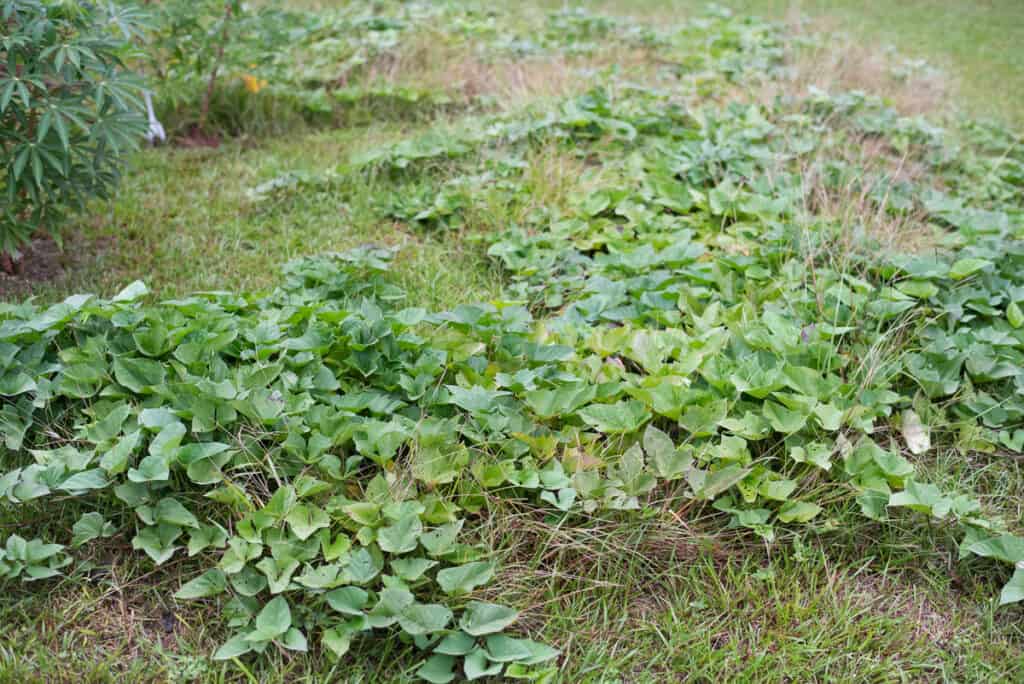
Make sure you choose a spot that allows lots of room for the vines to grow, either horizontally on the ground or vertically up a trellis. Sweet potato vines do not have tendrils and don’t naturally cling to a trellis, but they can be trained to grow up.
A few weeks before planting, get the soil ready by weeding and clearing out rocks and debris. Mix in compost and add some perlite or coconut coir if your soil is on the heavier side. This isn’t mandatory, but it can be helpful.
Make sure to use safe, trusted compost that is herbicide free so you don’t accidentally poison your garden. Read more about this problem, and how to make your own compost, in David the Good’s Compost Everything.
No products found.
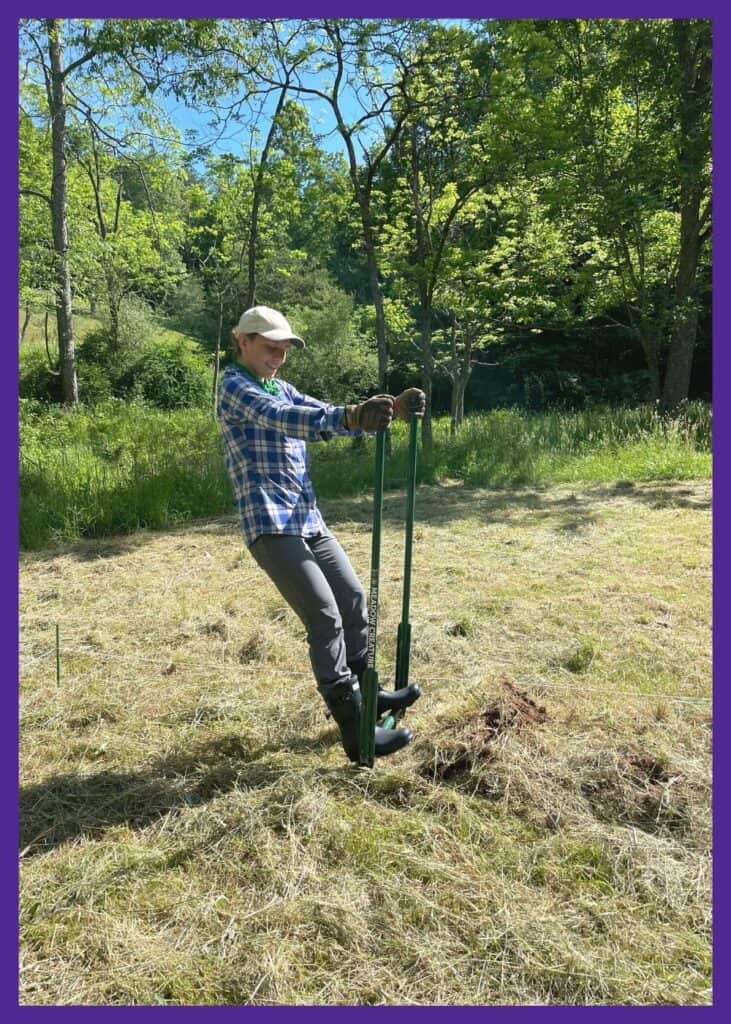
I used my broadfork break ground initially in my sandy 8a garden. I probably will not use my broadfork again next year when I re-plant in the same area. I picked out some random gravel, shook the dirt off the grass clumps, and smoothed everything out a little. Sand does have some advantages!
I used my broadfork to break the clay soil in WV and will use it again next season. A broadfork helps you break up and loosen the soil without inverting your soil layers (like a tiller does). I use the Meadow Creature broadfork from Easy Digging Tools. (I do not have an affiliate relationship with Easy Digging. I own a hoe, a shovel, and a broadfork from them and am impressed by their product quality. “Five stars – highly recommend.”)
If you are growing in a cooler climate, it’s a good idea to cover your planting area with black plastic or black fabric 3-4 weeks before planting to help the soil warm more quickly.
How to Plant Sweet Potatoes
When it’s time, set your sweet potato slips out in your garden about 12-18” apart. If you are planting in rows, leave at least 3’ of space between each row.
To plant a slip, first break off the lower leaves until only the top half is left. Then, plant it deep enough so that the soil is just below the remaining leaves. This allows lots of nodes to form on the buried part of stem that will eventually turn into sweet potatoes.
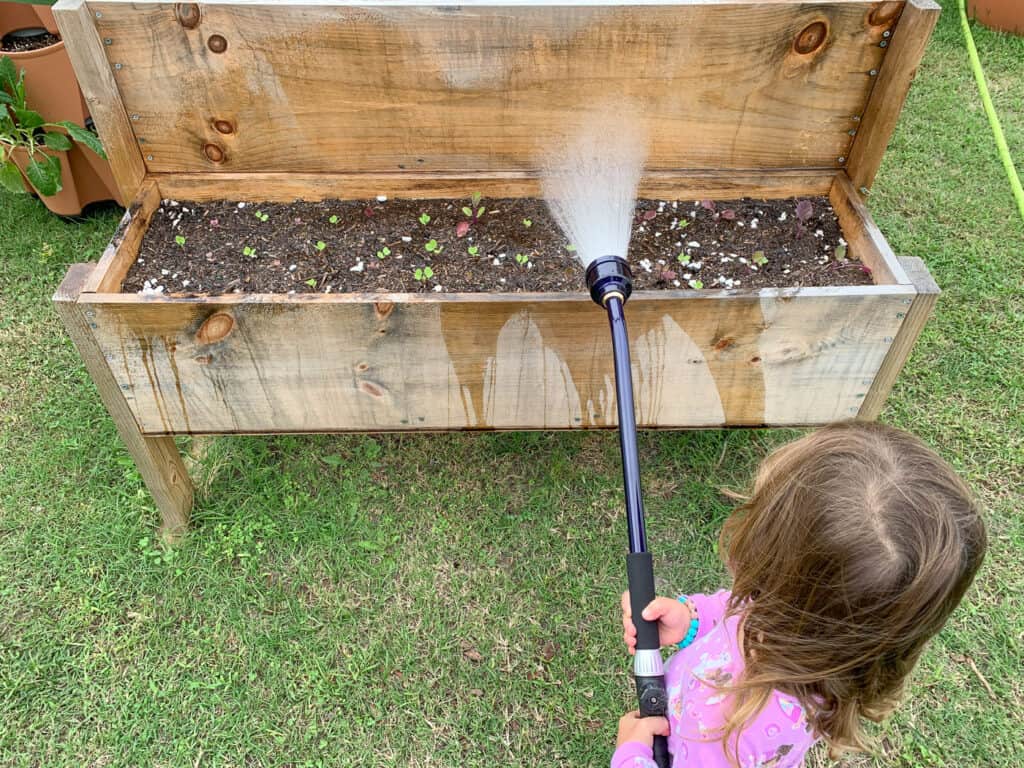
Once you have all the slips planted, water your seedlings well and get ready to watch them grow! Use a watering wand for a gentle shower that won’t blast your slips right out of the ground. The seedlings in the image below are not sweet potatoes, but you can see how easy it is to use a watering wand. Learn all about watering wands in this guide to garden hose wands.
Sweet Potato Plant Care
The easiest part of how to plant and grow sweet potatoes is caring for your plants. Once they get established, sweet potatoes are very low maintenance and both pest and drought-resistant. The one “pest” that may plague your sweet potatoes are deer. I toss a mesh netting over my WV plants to keep the deer from eating all the leaves.
While plants are still small, be sure to water them regularly until they can get their roots down. Many people say your plants will also benefit from an application of a 5-10-10 fertilizer about a month after planting, but I do not use synthetic fertilizers.
You can weed around your sweet potatoes, but be careful not to disturb the roots of your plants. Quite honestly, I don’t bother weeding my sweet potatoes.
Once your plants are larger, you won’t need to water them as much, but giving them a deep drenching during long dry spells will help to increase your yield at harvest time. I did not water my SC sweet potatoes from late May until early September. About 3-4 weeks before harvesting, stop watering altogether to keep the skins of the potatoes from cracking.
As the vines grow, you can train them up a trellis or along the ground, but don’t prune them. Your plants will need all the energy they get from the vines to produce tubers.
Common Pests and Problems
Thankfully, sweet potato plants rarely suffer from serious pest or disease problems. Choose varieties that are disease resistant, and avoid problems like root-knot nematodes by rotating your crop every year. (Or be a weird rebel like me and try the JADAM method of planting things in the same spot each year.)
My biggest pest problem is deer. I throw this mesh netting over my WV plants to protect them from being completely tripped bare by deer. (I use the same netting to protect seedings from dig-happy squirrels in SC.)
No products found.
The biggest problem gardeners are likely to face is a poor crop or root rot due to soggy soil. Avoid planting in clay or poorly drained soil (use raised beds instead) to keep this from being a problem. My clay garden sweet potato spot is on a slope, which helps prevent rot.
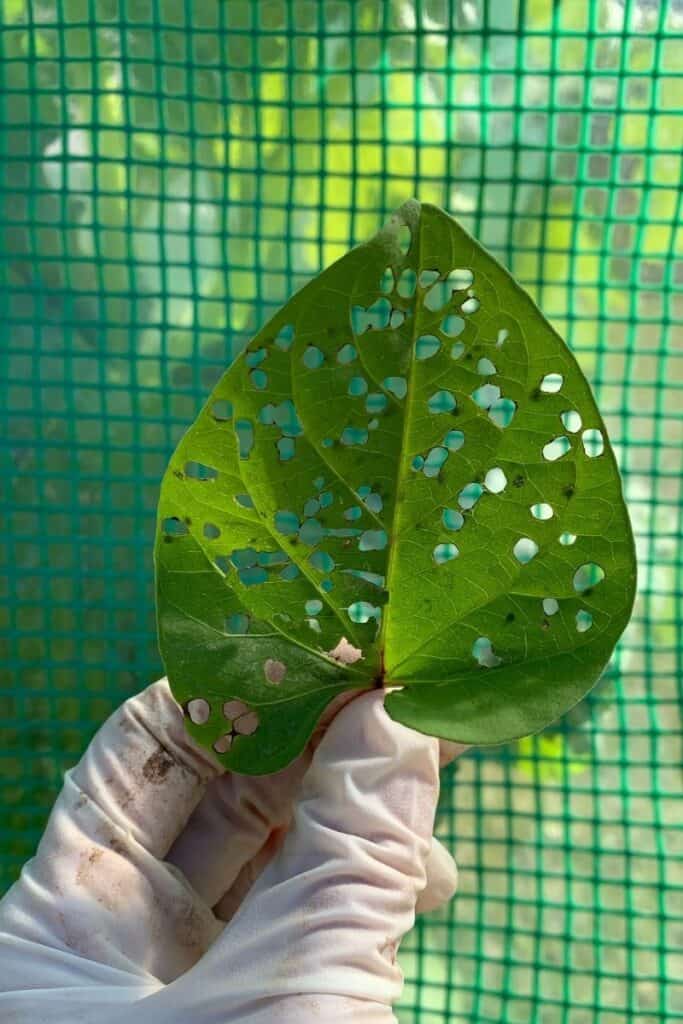
Bugs may eat holes in some leaves, but your plants will probably be just fine. Some of my sweet potato leaves got a lot of holes, but the plants overall were just fine:
How to Harvest Sweet Potatoes
The best way to figure out when to harvest your sweet potatoes is to calculate the date at which they should be mature based on your planting date. Most varieties will be ready in 90-110 days, but be sure to check the specific time for the variety you planted.
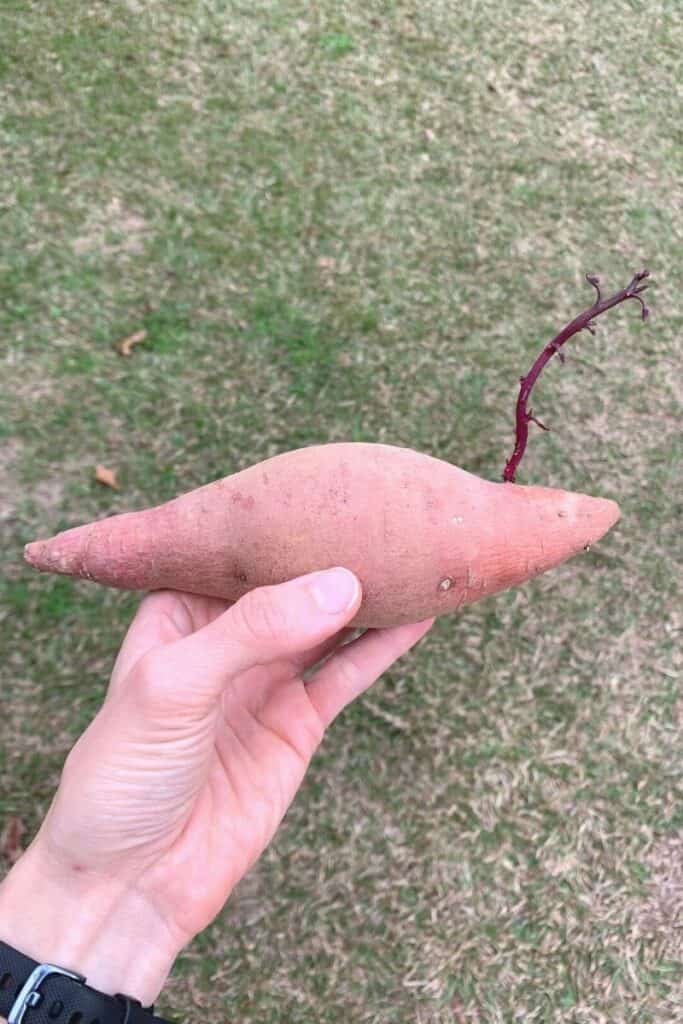
You can also look for the leaves and the ends of the vines to start turning yellow. This tells you that the potatoes are likely full-size and ready to be dug up. I carefully dig down at check one plant to check and see if they’re ready.
The good news is that the harvest window for sweet potatoes is fairly large. If you harvest a little early, you’ll get “baby” potatoes. If you let them stay in the ground after the leaves yellow, they’ll keep growing until you dig them up. You may end up with craggy potatoes with a few splits, but that’s okay.
However, you should always make sure you dig up any remaining sweet potatoes before the first fall frost.
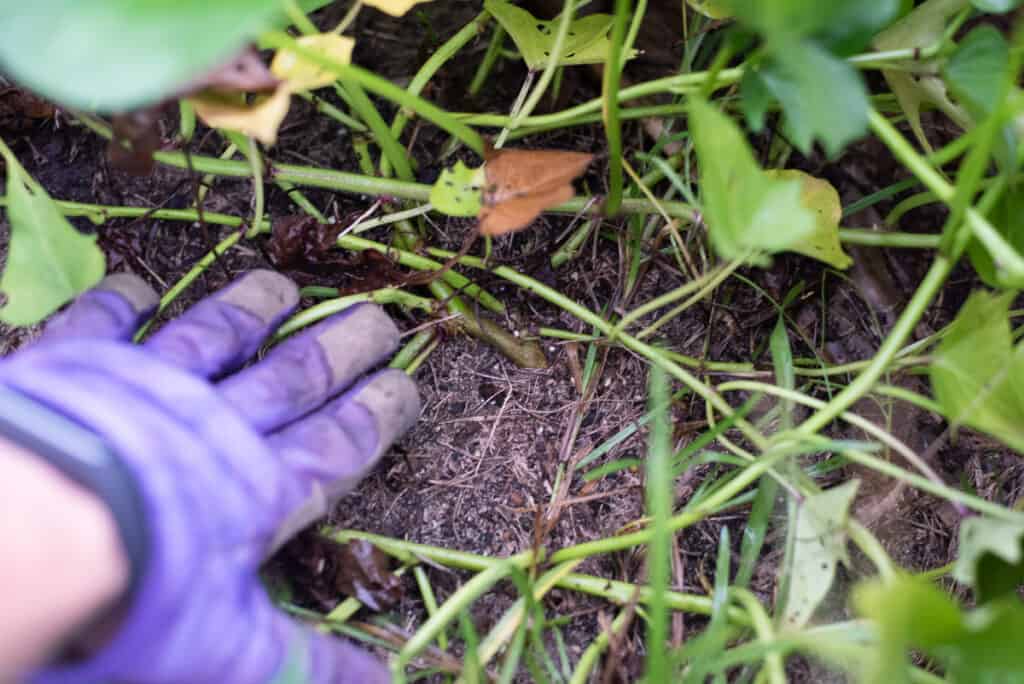
To harvest them, simply dig around your plants, loosening the soil but avoiding the tubers. You can cut away some of the vines to clear your way. You may need to do some exploring to find where the main stem enters the ground. Tubers occasionally form in other spots where the vine has put down roots, but they are usually few and far between. Carefully dig the tubers out by hand. The skins are easily damaged when they’re fresh. You may want to use garden clippers to cut the tubers free from the stems.
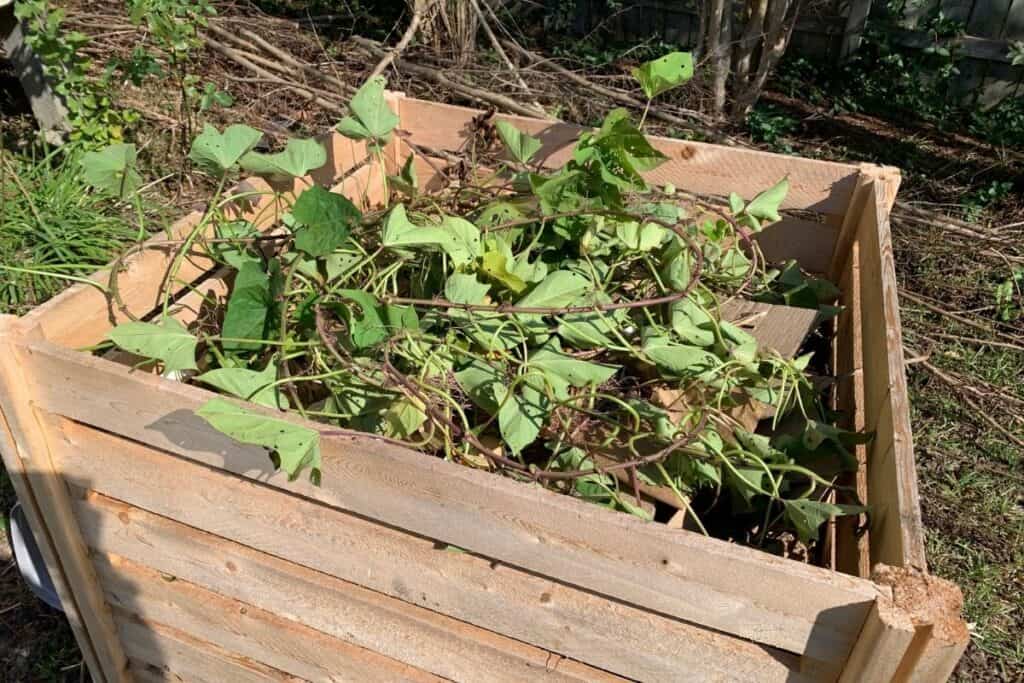
The leaves make a great addition to your compost pile and can be fed to animals like chickens. They are edible for humans, too, but your leaves may not be in great shape by the time your tuber are ready to harvest. The photo below shows part of one plant’s vines and leaves. They produce a lot of biomass! I toss most of my leaves and vines on top of the dug beds to “armor” the soil (in the words of Gabe Brown). Then I run my chickens over the area so they can eat, scratch, and add their fertilizer.
Curing and Storing Sweet Potatoes
Once you know how to plant and grow sweet potatoes, you can go a step further and cure them so that they’ll store for months.
To do this, be sure not to wash them after you harvest – just brush off excess dirt. Leave them in a warm, humid, and shaded spot (around 80-85°F) for about 2 weeks so that their skins can thicken and dry. Make sure they are in a single layer and not touching each other during the curing process.
Once cured, sweet potatoes can be stored somewhere cool (about 55-60°F). Check them regularly and remove any that are bruised or show signs of going bad. Stored properly, your crop could last up to 6 months!
Meeting these ideal conditions is difficult, but even imperfect curing and storage will keep potatoes for several months. Always eat damaged potatoes first.
Sweet potatoes are easy to grow and provide valuable calories for your family. Give them a try this year!
Popular summer vegetables and herbs
Discover how to grow popular vegetables and herbs in your backyard garden or container garden with these in-depth vegetable growing guides.

7 Easiest Vegetables to Grow for an Abundant Harvest (and 5 to avoid!)
Discover the easiest vegetables to grow for beginners so you can have a healthy, successful garden.
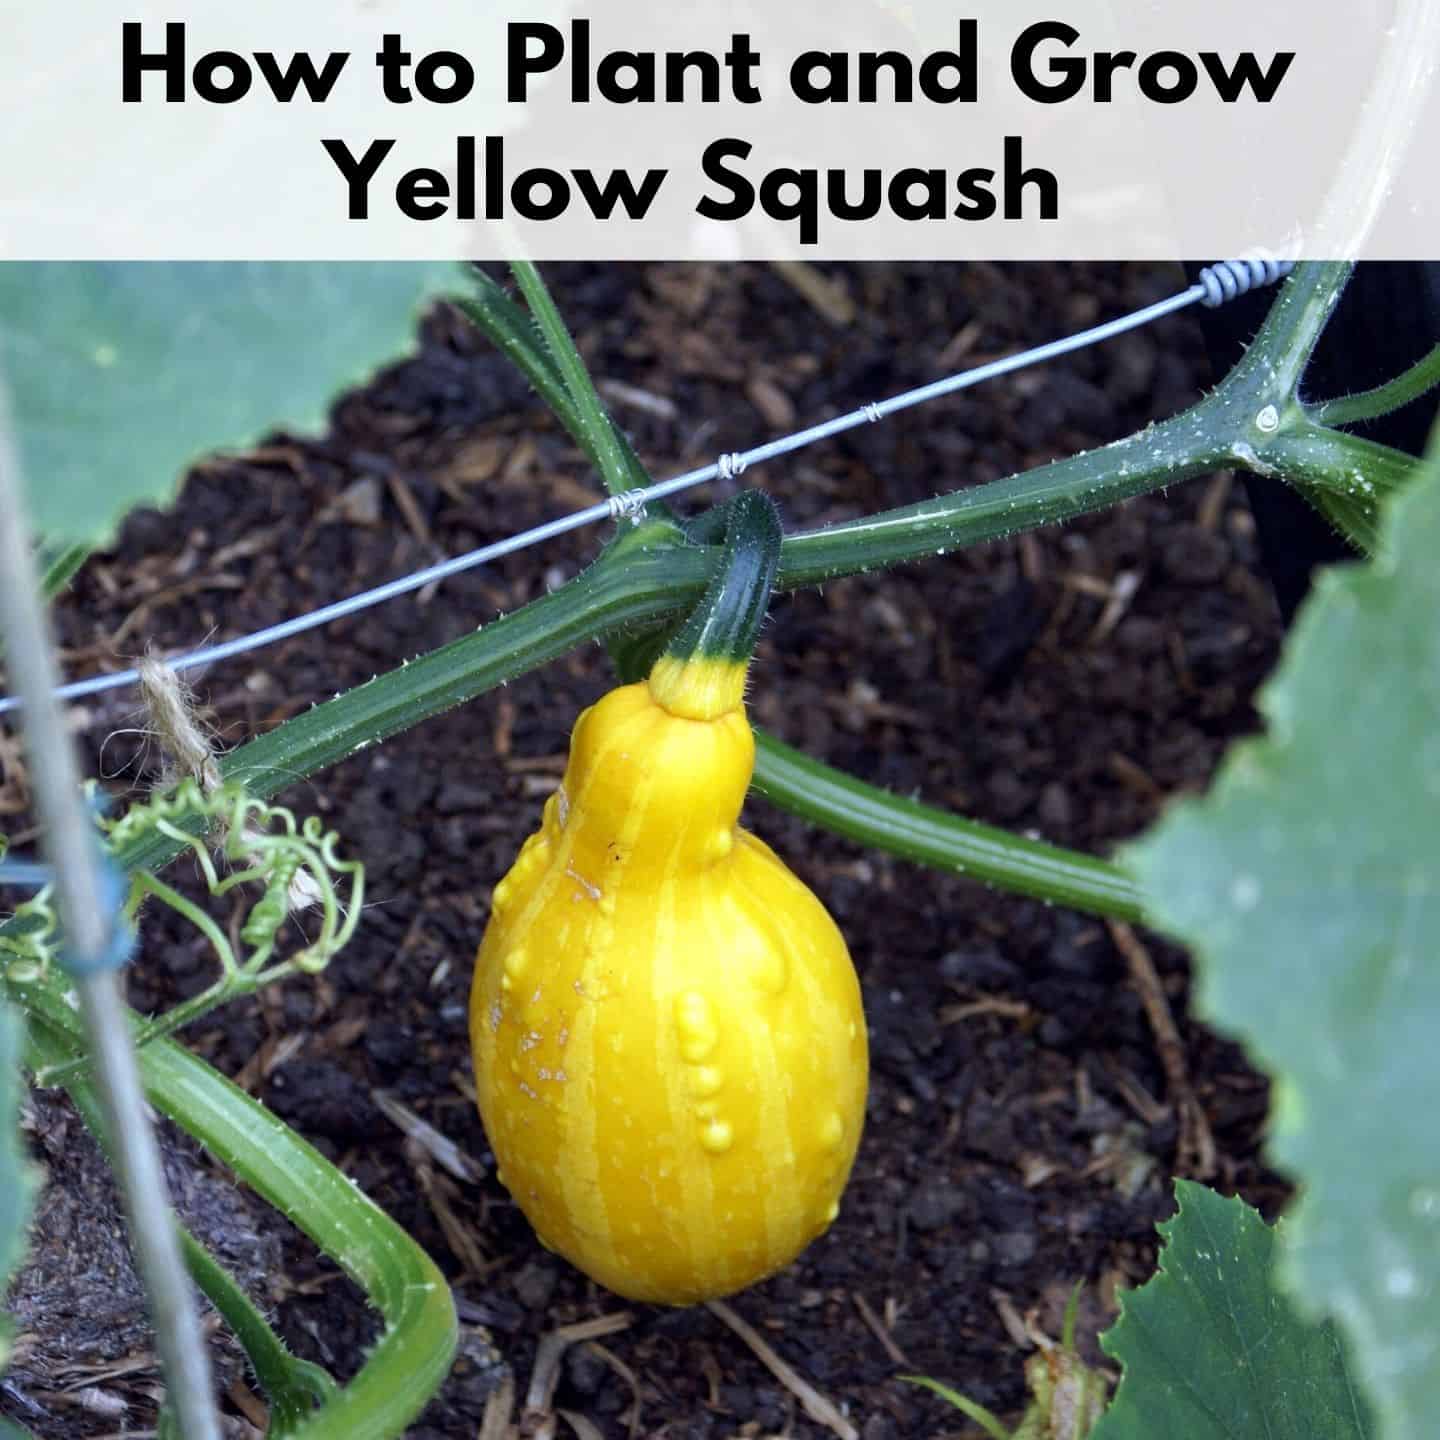
Discover these must-know tips for planting yellow squash and common squash growing mistakes and problems.
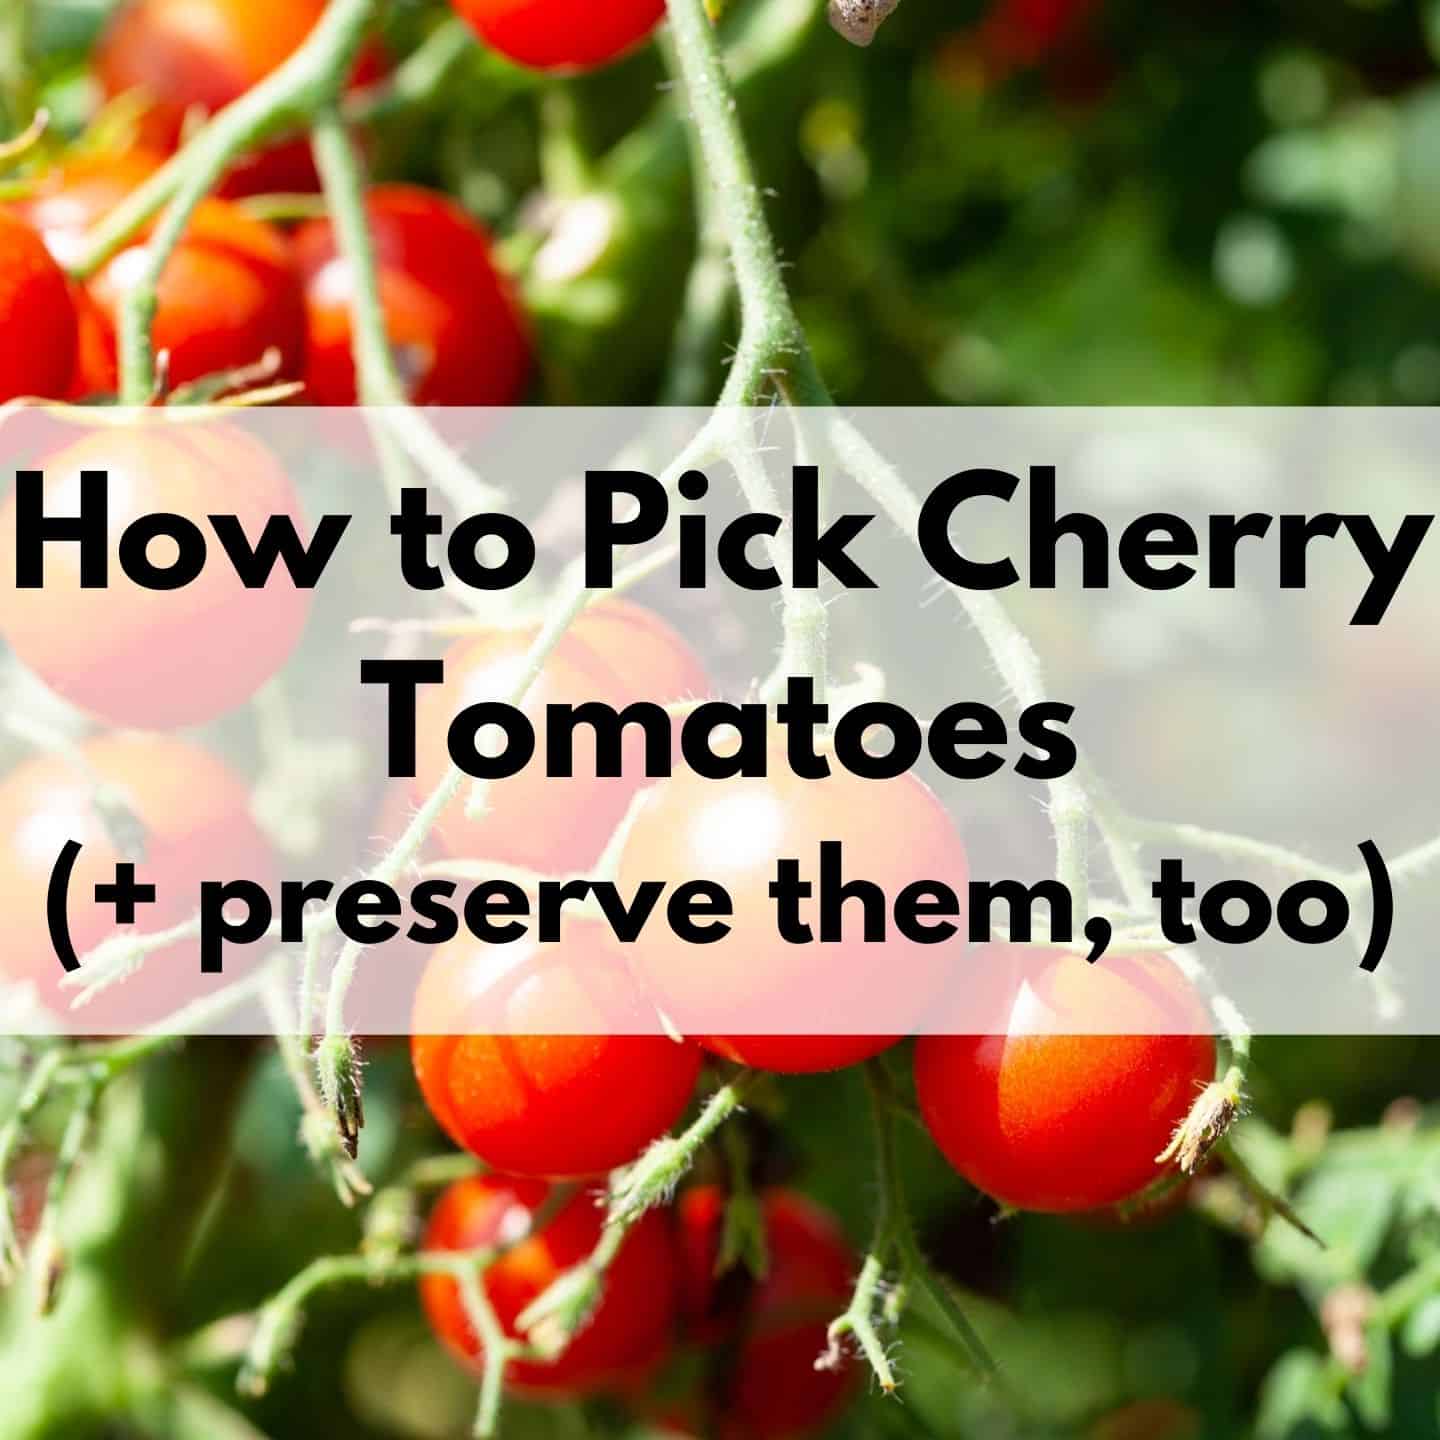
How to Pick and Preserve Cherry Tomatoes (plus drool-worthy cherry tomato varieties to try)
Discover how to pick and preserve delicious cherry tomatoes.
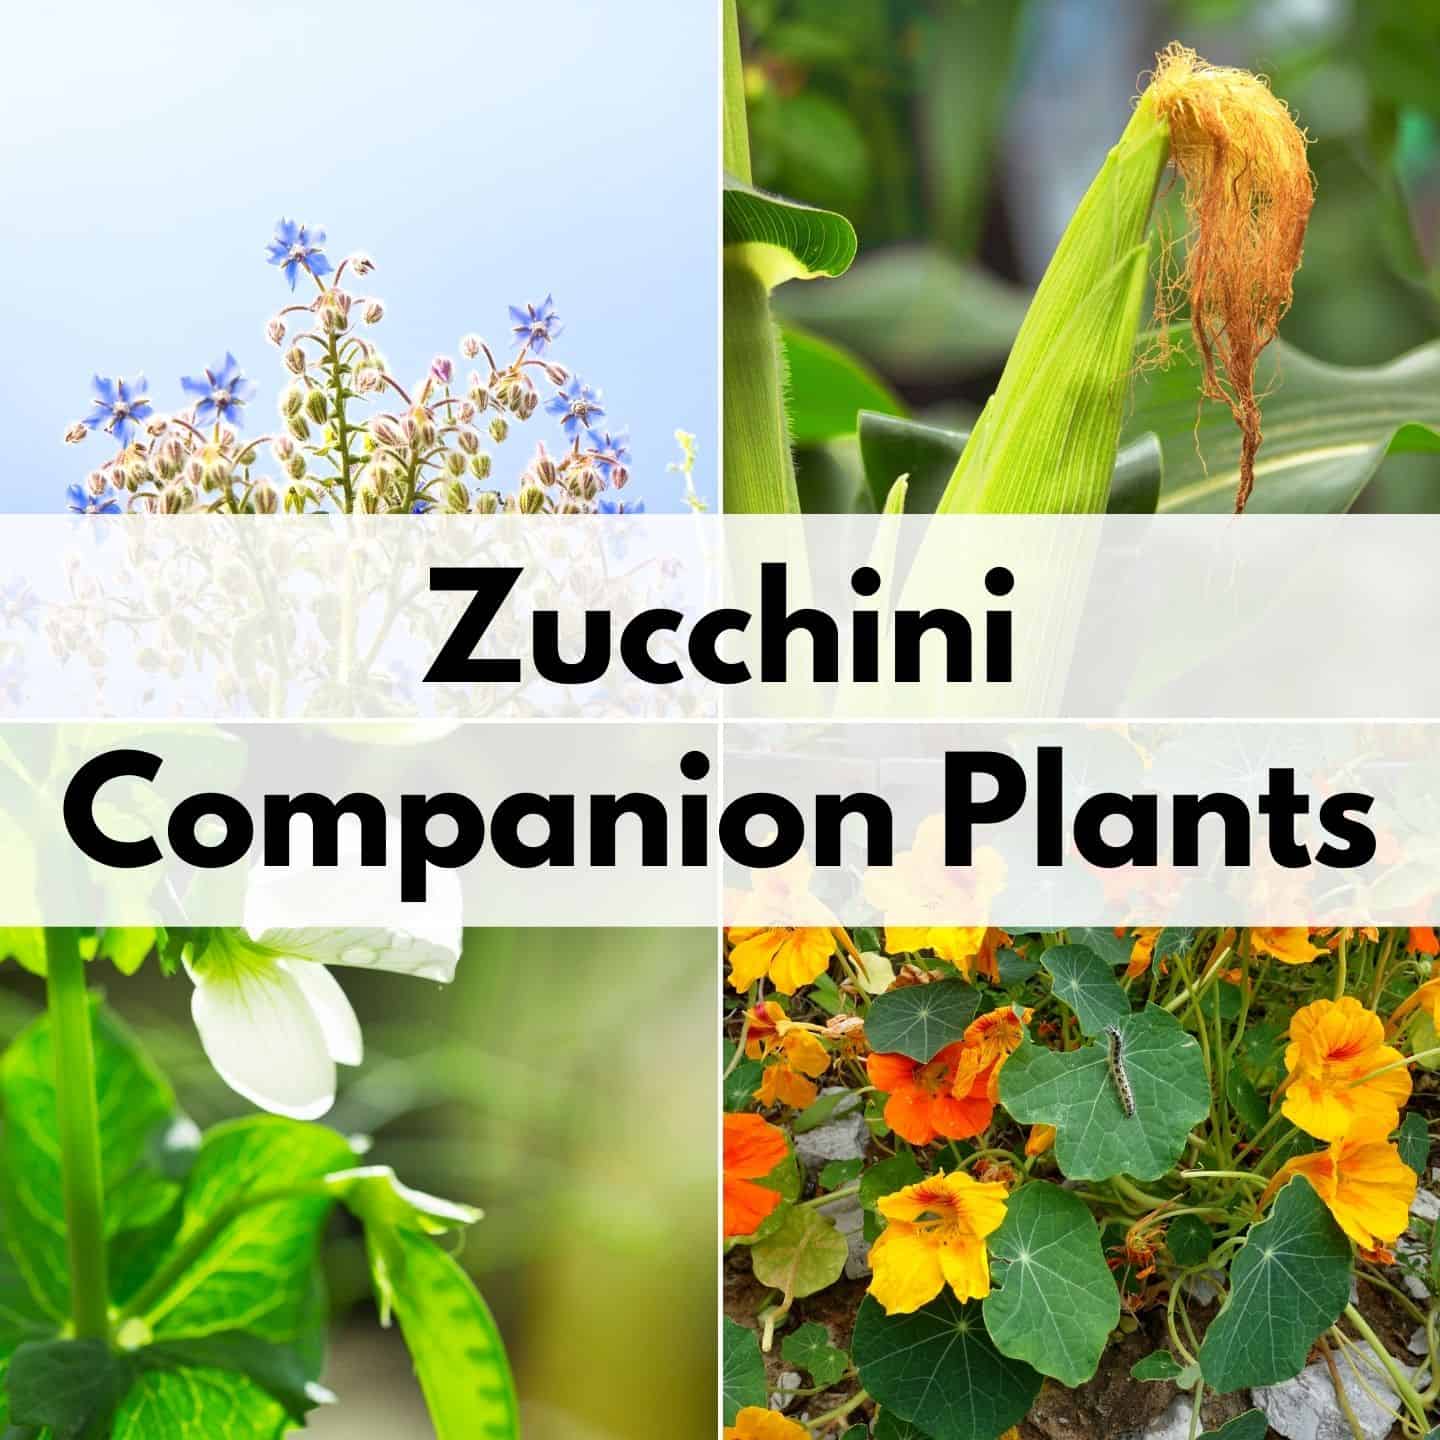
Must-Know Zucchini Companion Plants (and 5 plants to avoid)
Zucchini are a summer garden must-have. Learn how to companion plant them for a healthier, more productive garden.

How to Harvest Basil (Must-know tip for an abundant harvest!)
One basil plant can provide you enough for fresh eating and drying for homegrown basil all winter long when you discover how to harvest basil the correct way.

How to Harvest Parsley (without killing the plant)
One parsley plant can provide you with an ample harvest all season long...if you know how to pick it the correct way. Discover how to harvest parsley with this comprehensive guide and video!


Harvesting Tomatoes - How and When to Pick your Tomatoes
Discover how to harvest tomatoes and how to tell when they're ready to pick - even heirloom varieties with different colors.