
How to Carve a Christmas Tree
Discover how to carve your own Christmas tree with this step by step Christmas tree wood carving tutorial! This is a fantastic whittling project for beginners if you’r looking for an easy Christmas carving project.
This is an easy Christmas tree to carve and it can be made one sided or double sided. It’s perfect as an ornament or a gift for friends and family.
This post includes affiliate links, which means I may earn a commission on purchases made at no additional cost to you.
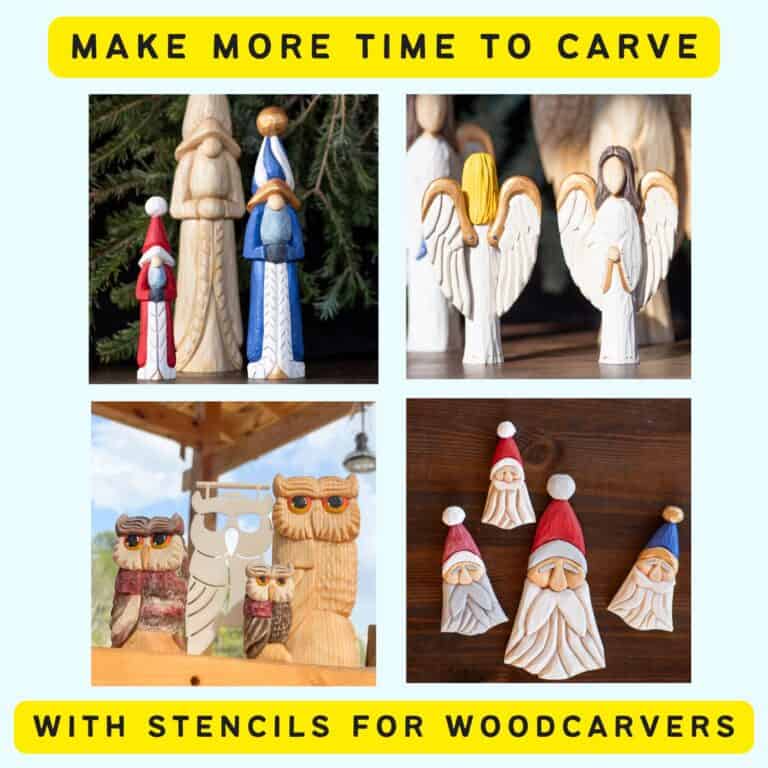
The trees shown in this tutorial were carved using a Christmas tree carving stencil. These stencils make drawing your Christmas tree quick and easy so you can focus on the fun part – carving!
If you want them, you can get your stencils here.
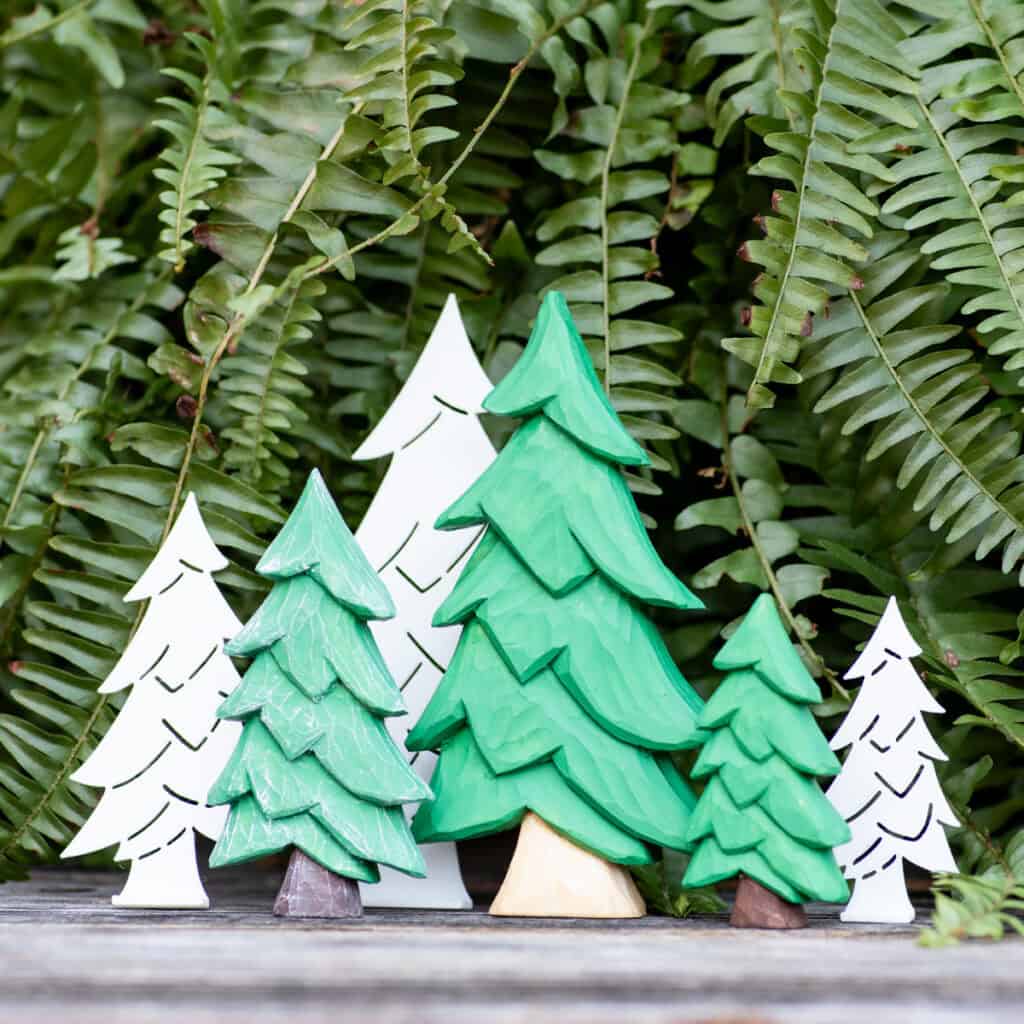
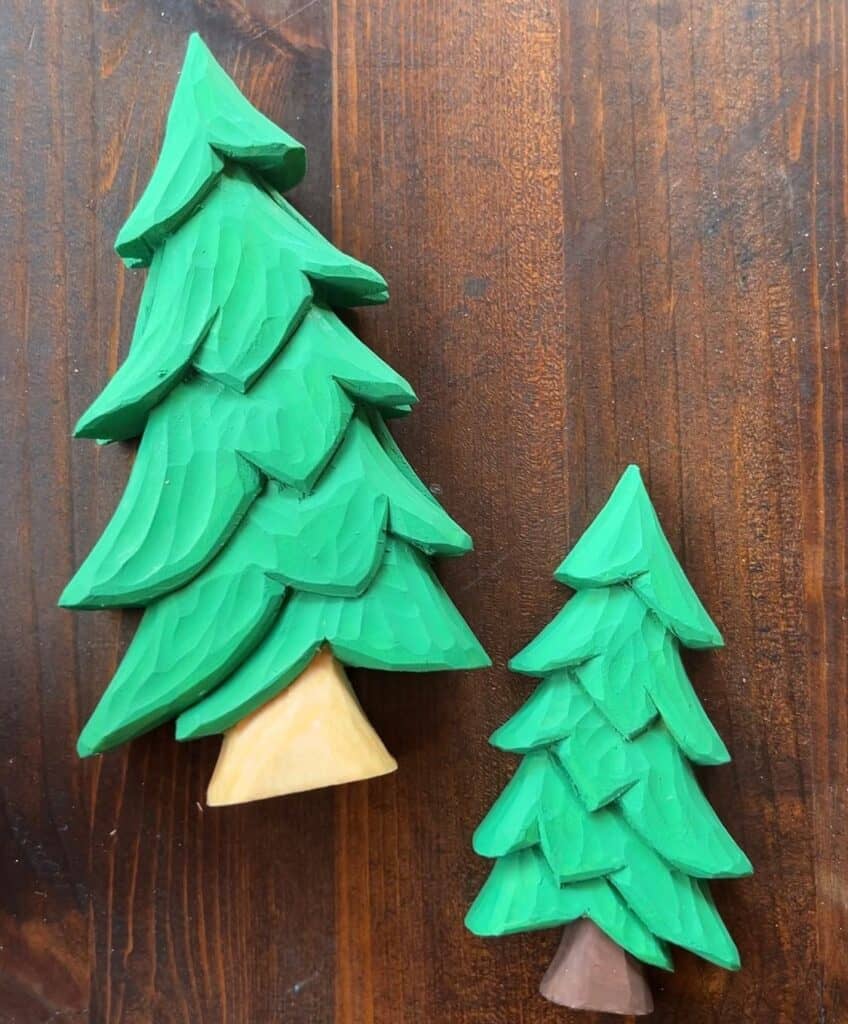
The stencil is reversible so you can make left leaning trees, right leaning trees, or double sided Christmas trees. All three versions can stand up on their own or be used as ornaments.
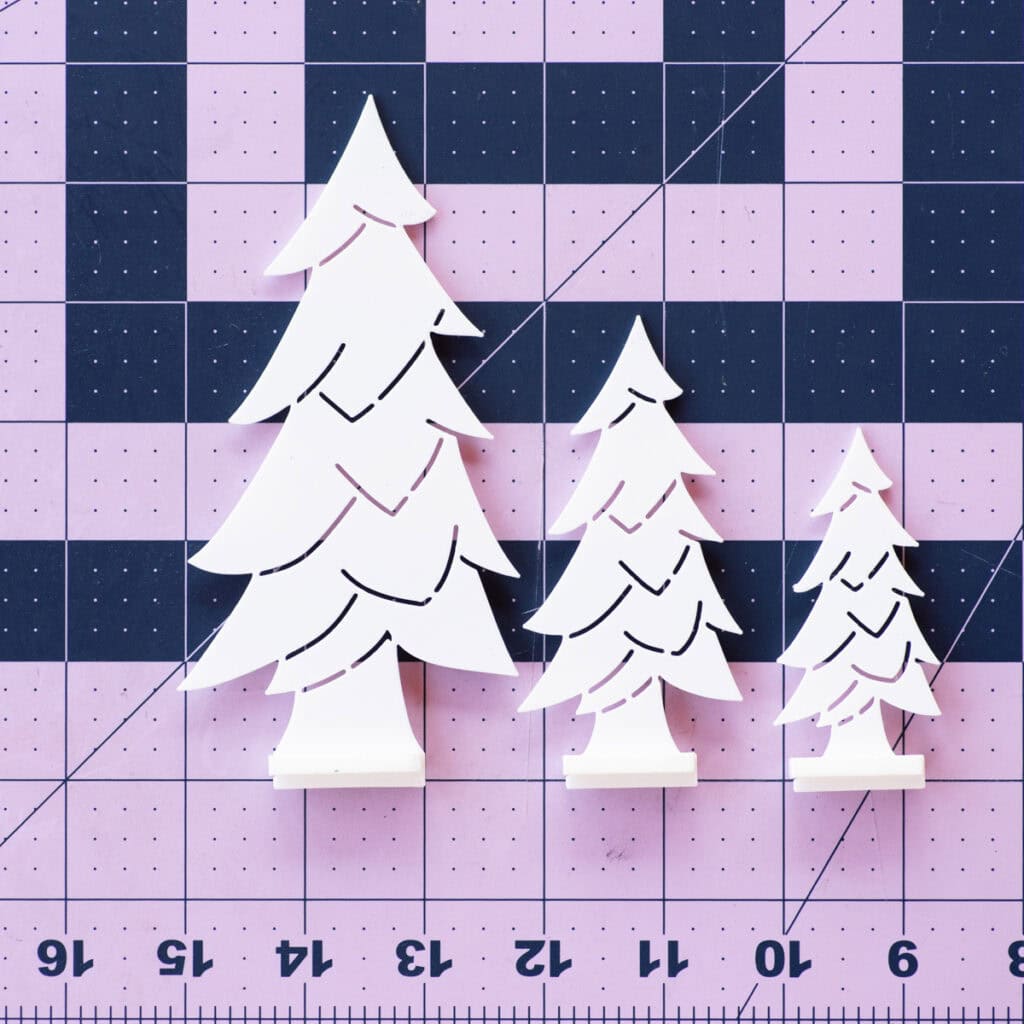
The stencils are available in three sizes – 1”, 1.5”, and 2”. This refers to the width of the wood block, not the height.
This post includes a brief step by step carving tutorial, a full length carving video, and some painting notes so you can bring your wood carving to life.
You can’t trust the algorithm to tell you when something new is released. Please join the carving group on FaceBook and get on the email list to know when new stencils and tutorials are released!
Materials needed to make a carved Christmas tree
Basswood blank. I used a piece approximately 1/4” thick for my one sided trees. The height varies depending on the stencil used. Heights are approximately 5.75”, 4”, and 3”.
Christmas tree carving stencil
A carving knife. I used my trusty Flexcut roughing knife.

- Generous 2″ Straight Blade: Features a 2″ high-carbon steel blade with a straight profile and a 1-3/4″ bevel for efficient, heavy stock removal.
- Flexible Spring-Steel Construction: The blade’s spring-steel design absorbs pressure, giving you smoother, controlled cuts that follow the contours...
- Ergonomic Ash Wood Handle: Built with a sculpted American ash handle that provides a comfortable grip and reduces hand fatigue during long carving...
V tool. I used a 60º
Gouge. I used a 10 mm #7

- 10mm #7 bent gouge
- Square tang handle
- Octagonal hardwood handle
Mechanical pencil. I use a Koru Toga, but most mechanical pencils will work for tracing. Your regular #2 pencil is too thick to fit in the stencil gaps.

- Advanced rotating lead engine ensures 0.5mm nano diamond lead pencil is always sharp and your writing is on point
- A fine 0.5mm #2 lead produces intricate lines for clear text and vivid graphics
- Extra durable diamond-infused lead is stronger than standard lead, delivering strikingly dark marks
Cut resistant gloves. Wearing a glove has saved me from getting stitches before. I never carve without them.

- 4X MORE CUT-RESISTANT THAN LEATHER — Safety gloves made from the highest level of cut resistant material on the market. These mandolin gloves cut...
- 100% FOOD SAFE — Cut gloves food grade with superior grip and a snug fit keep sharp blades securely in your hand so you can prepare food with...
- AMBIDEXTROUS — These cut resistant work gloves can be worn on either hand, making these chef gloves for food prep or knife gloves a top choice for...
Bandsaw. Optional but helpful.
How to whittle a Christmas tree
For a video demonstration, please scroll past the written steps.
First, prepare your blank. This is easiest to do using a band saw.
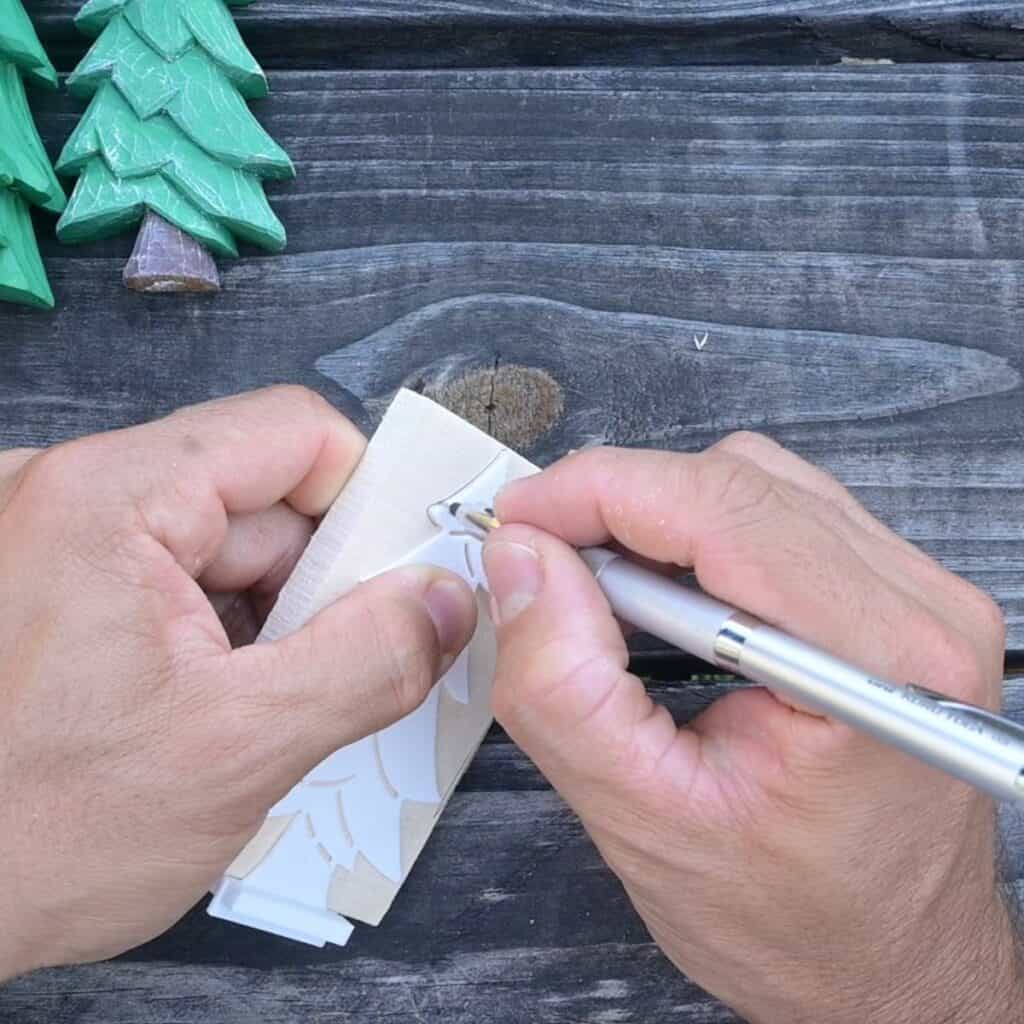
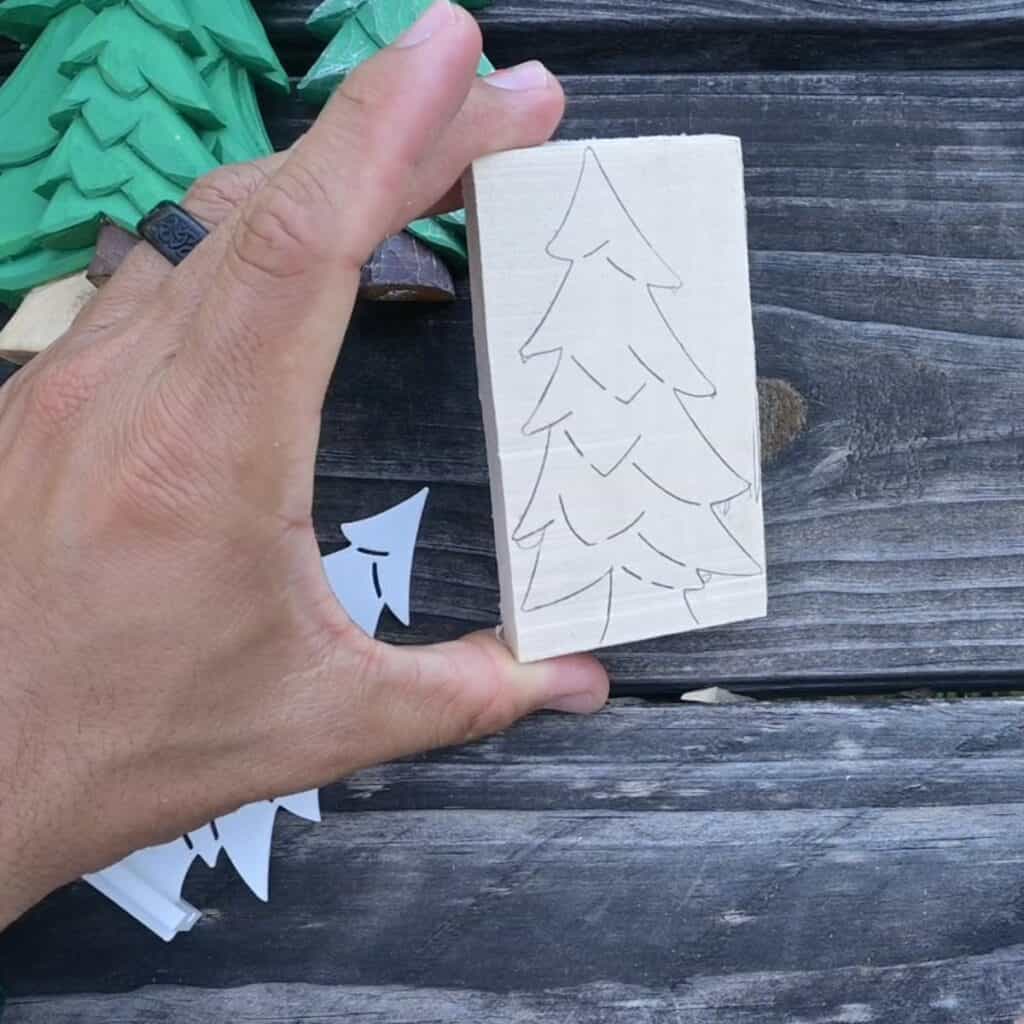
Trace your Christmas tree design. If desired, flip the stencil and trace it on the back of your block, too. This tutorial shows carving a one sided tree.
Rough out the Christmas tree shape by cutting the sides down to the lines. This is way faster to do with a band saw, but can be done by hand.
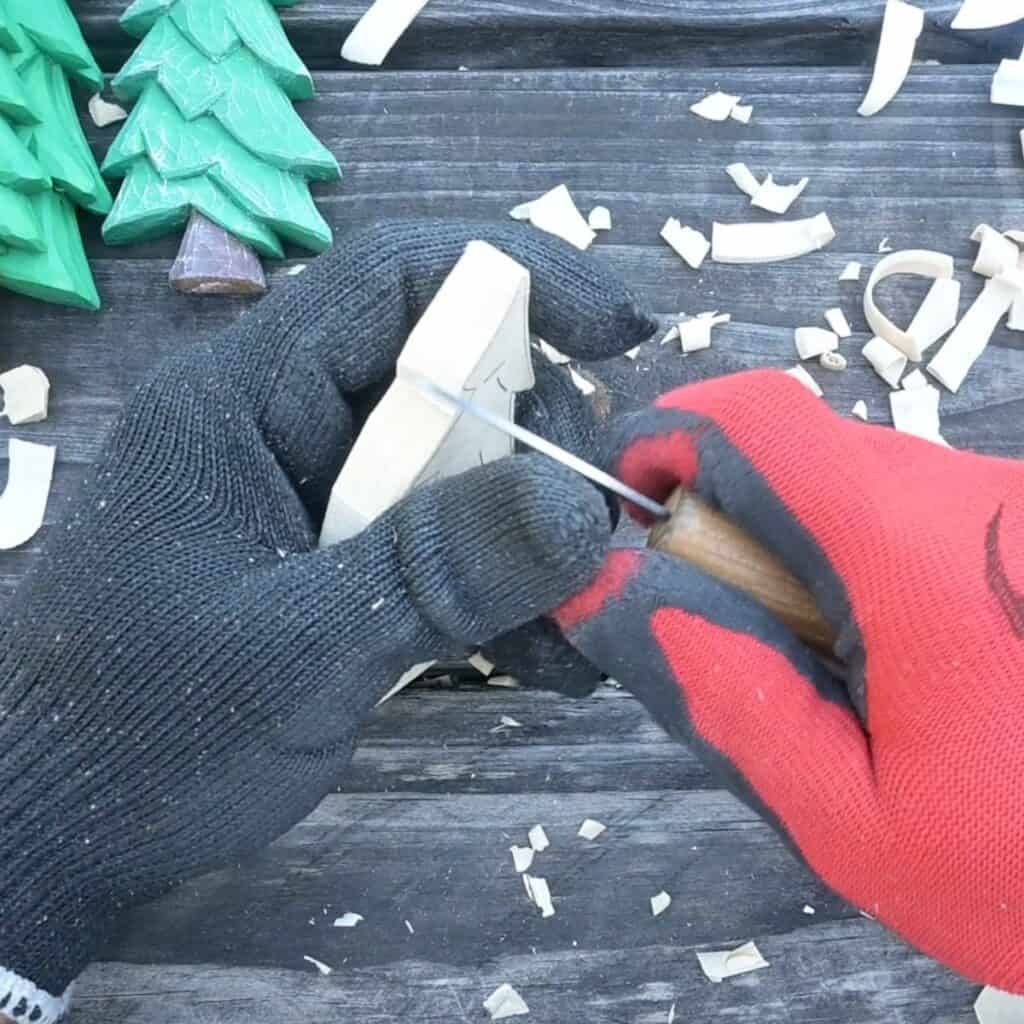
Use a V tool to trace the lines of the branches.
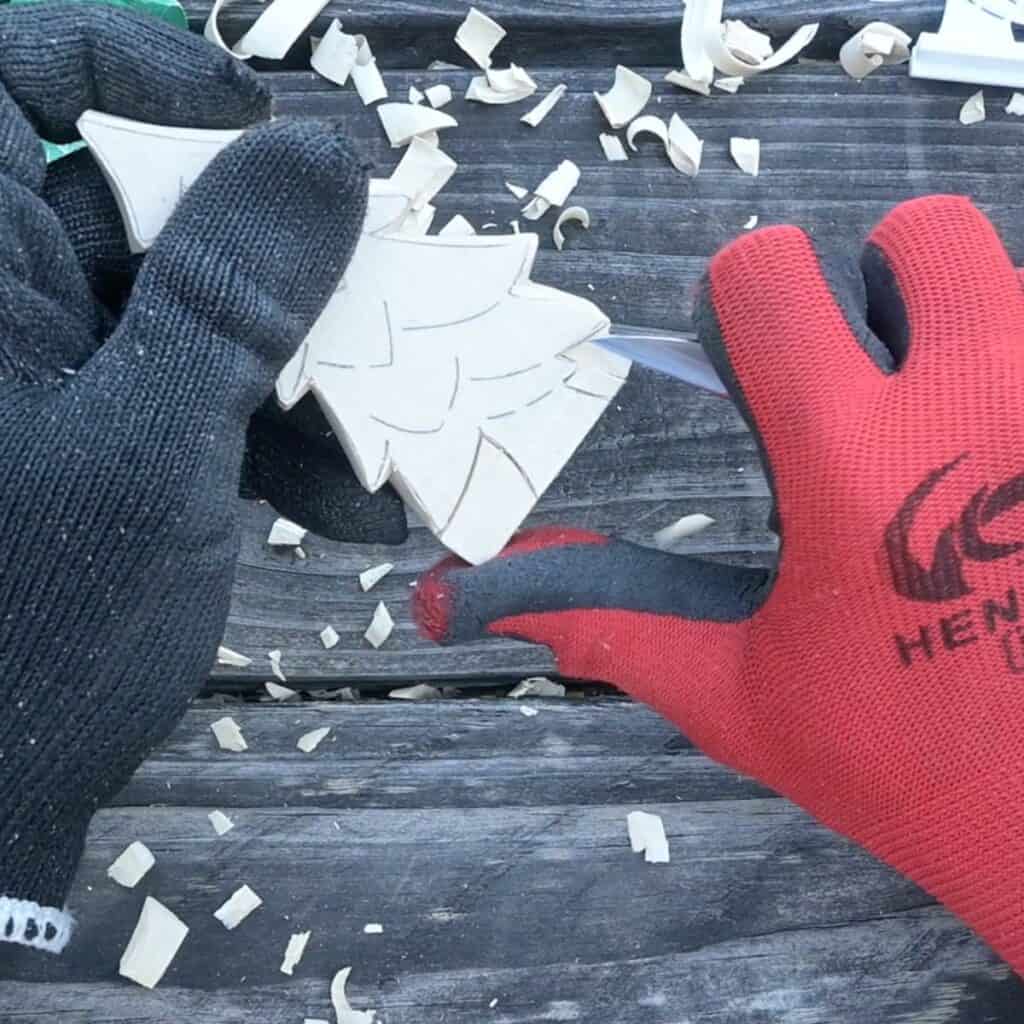
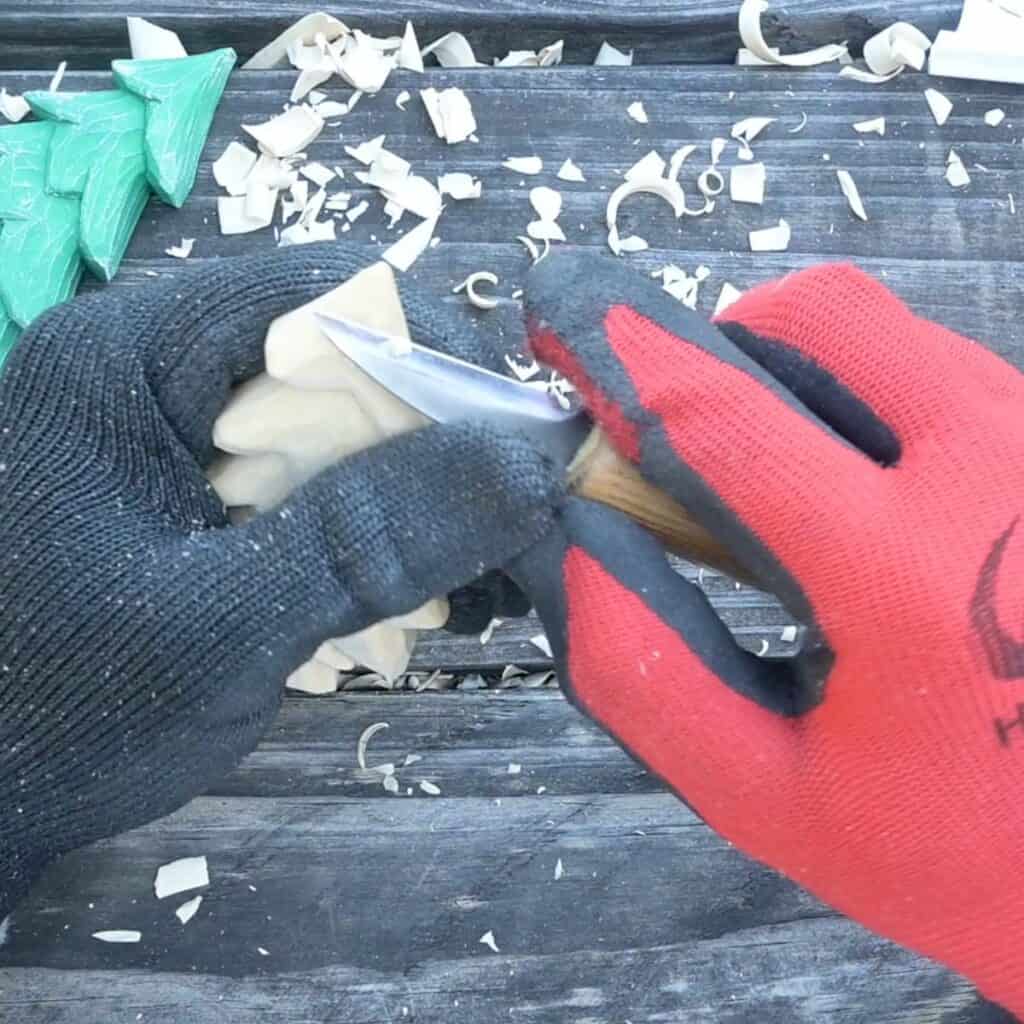
Use your knife and gouge to make a series of cuts bringing depth to the branches. Angle the cuts to “tuck” each layer under the layer above it.
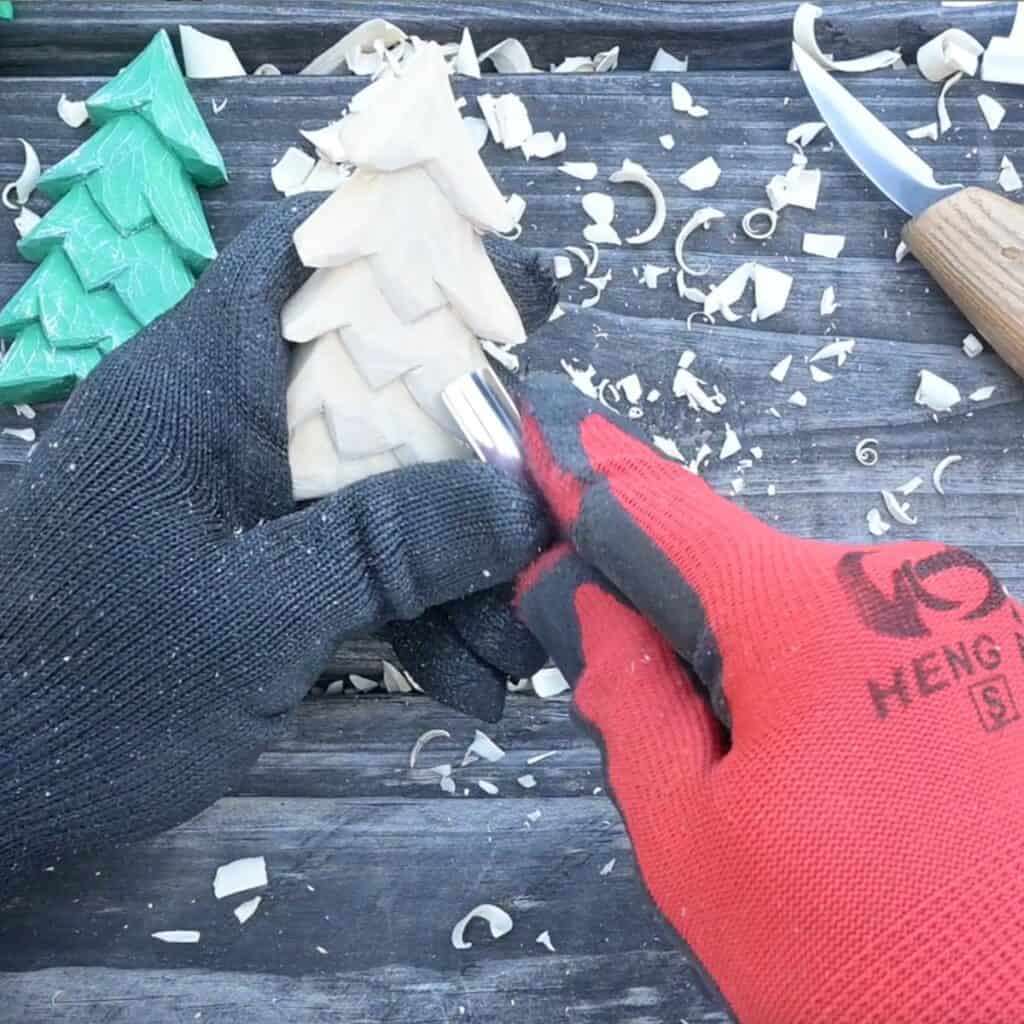
Gouging as shown in the image below helps visually tuck the branches:
Leave the trunk smooth by making sweeping upward cuts with the knife. Make sure it is recessed behind the plane created by the bottom layer of branches.
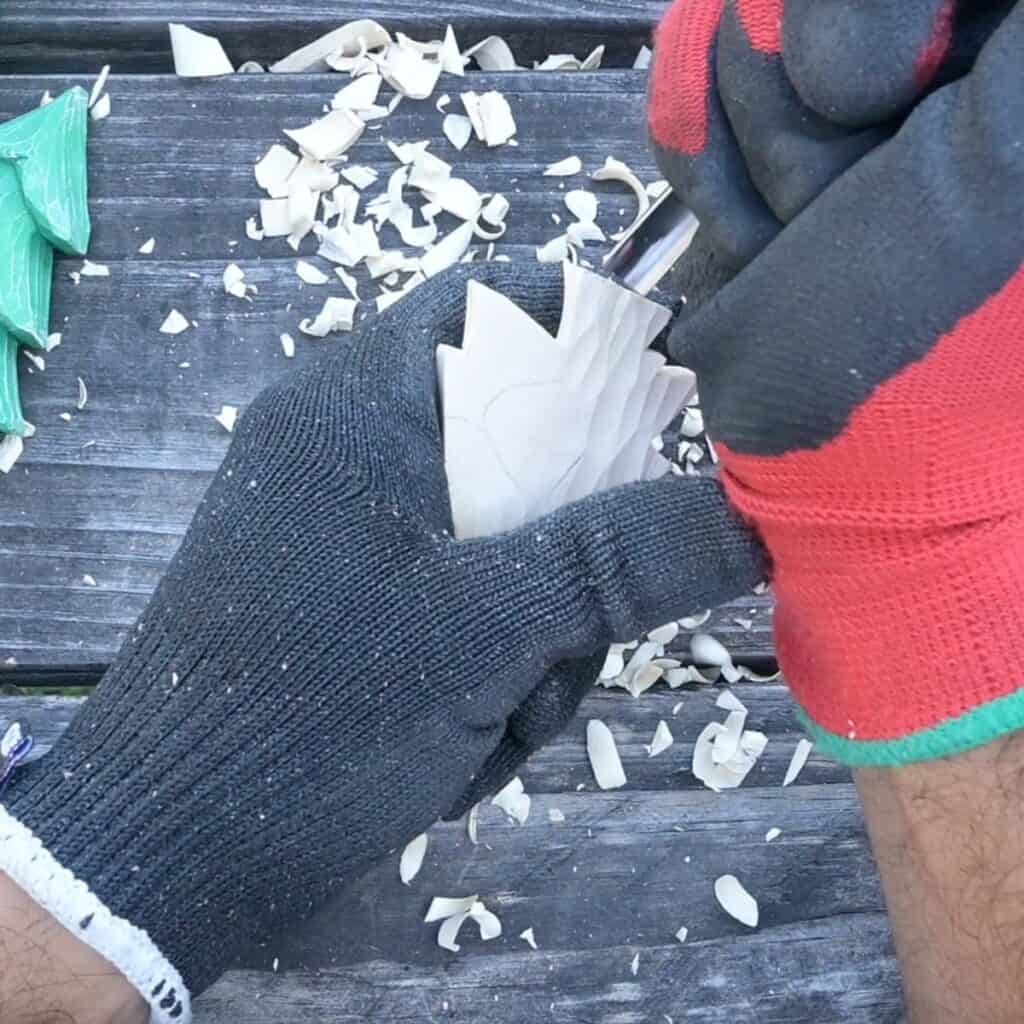
Use your knife to slope the top of the tree slightly back.
Add texture to the branches with your gouge.
Gouge the back for a more finished appearance.
Do any final fiddling and clean up, like cleaning up fuzzies with a sanding pad or a stiff brush.
Finish off your carving by oiling it with your preferred oil. We use boiled linseed oil.
This carving isn’t very technical. It’s a great piece for practicing your knife work basics and controlling your V tool and gouge.
If you’d like to watch the video tutorial, you can watch it in browser or click over to watch it on YouTube.
Christmas tree wood carving painting tips
You can paint your carving, but it looks great natural, too. This is a surprisingly easy piece to customize. You can add round dots for ornaments or lights, paint stars on the branches, or get creative with your colors!
It’s also a fanatic piece for practicing your dry brushing. This tree looks lovely with a heavy dry brush that looks like a dusting of snow.
I like to let the oil soak in and polymerize at least over night before painting.
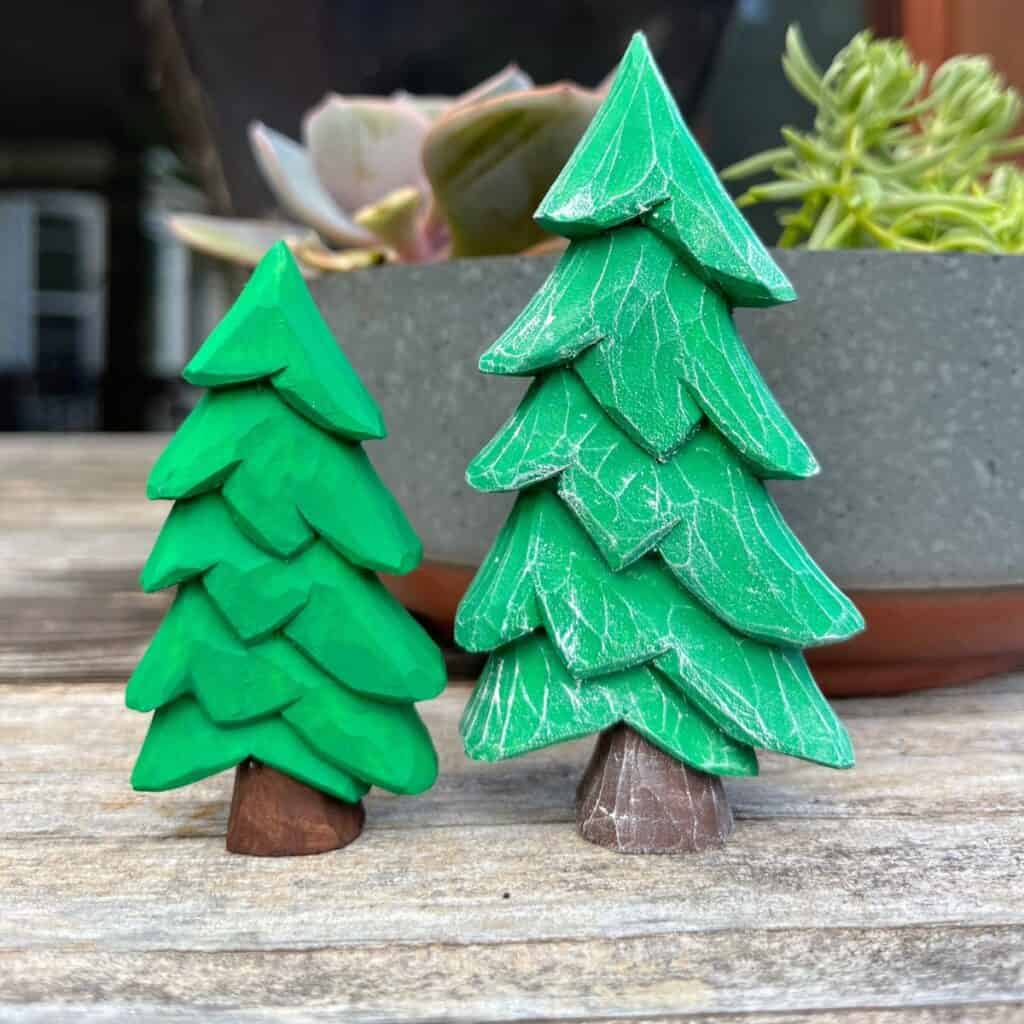
I painted the entire tree Folk Art Kelly Green green. If you don’t feel comfortable with dry brushing and lashes, you can stop at this point.
If you’re not dry brushing, I recommend leaving the trunk bare wood for contrast. If you are dry brushing, you can paint the trunk brown. I used burnt umber.
If you want to do a wash, now is the time. Using a watered down dark blue, gray, or black to emphasize shadows under each branch.
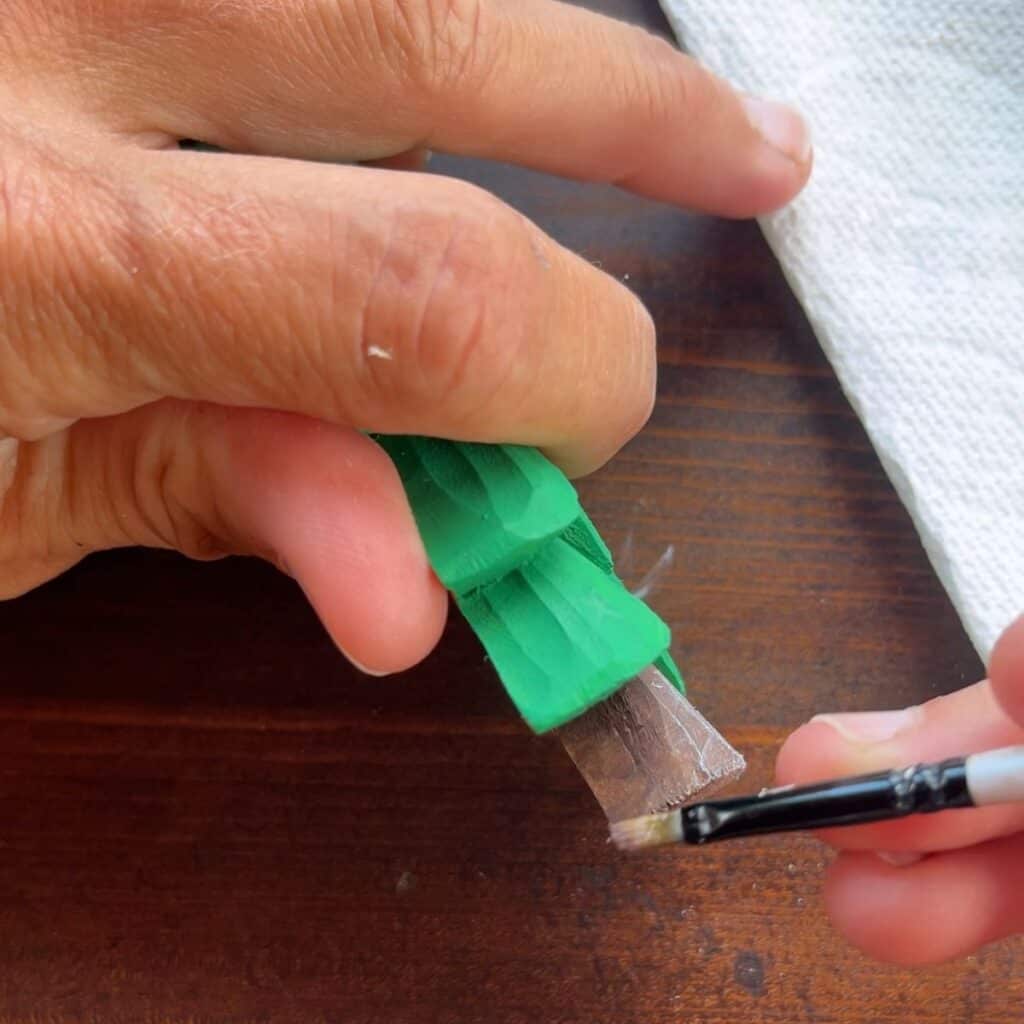
Use a larger flat brush to dry brush the branches, concentrating on the lower edges of each set. Pick the brush according to the tree size. The photo shows using a 1/4″ brush on the medium sized tree.
Use a smaller dry brush to dry brush the trunk.
Add any additional embellishments you want, like round dots for ornaments. You can finish it off with a protective clear coat of spray paint, clean poly, or your favorite sealer.
We hope you enjoy carving your own Christmas tree!

Great simple project. Just in time for Xmas… for slow carvers like me ?
It’s never too early to start carving for Christmas. =)