Simple Scandinavian Inspired Wood Santa Carving Tutorial
This simple Scandinavian inspired Santa carving is a quick and easy carve that’s perfect as a gift or for a holiday craft fair! This post contains basic written directions as well as a full length video tutorial.
This post includes affiliate links, which means I may earn a commission on purchases made at no additional cost to you.
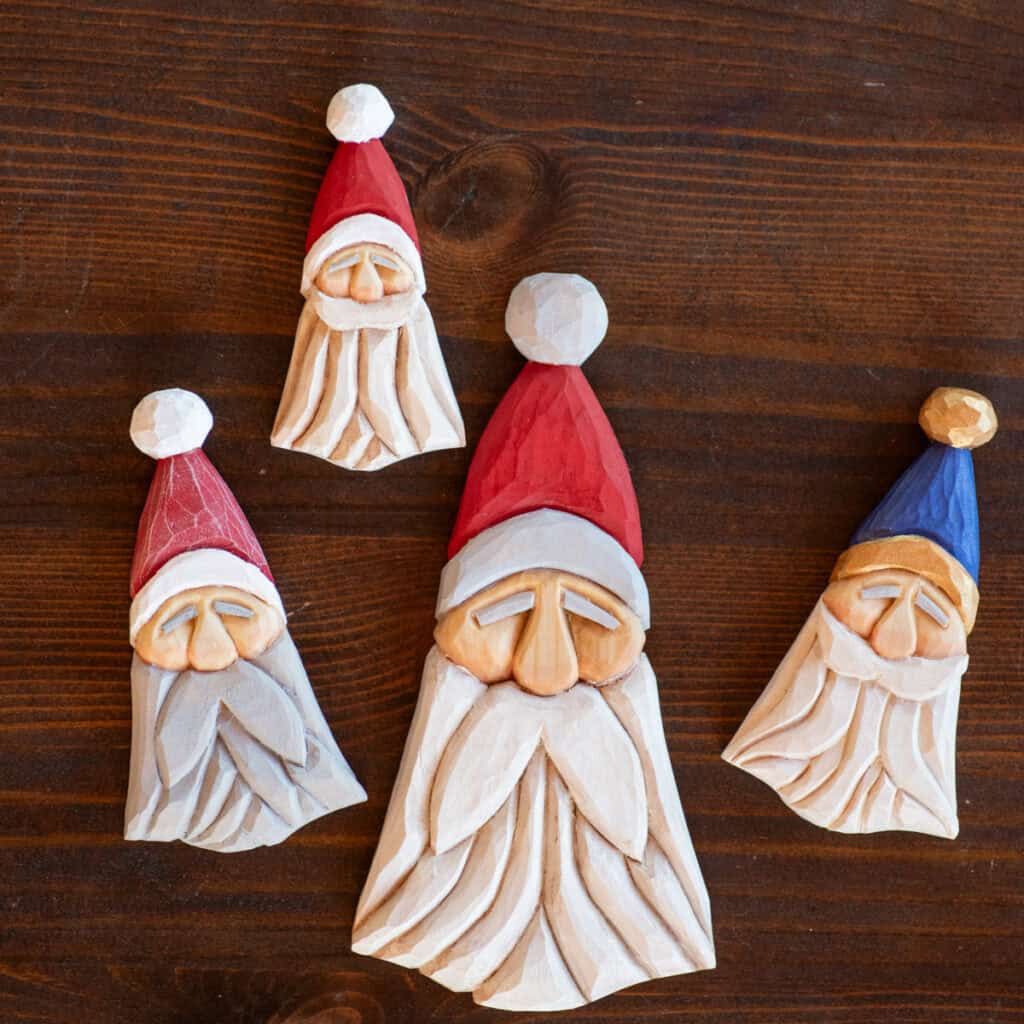
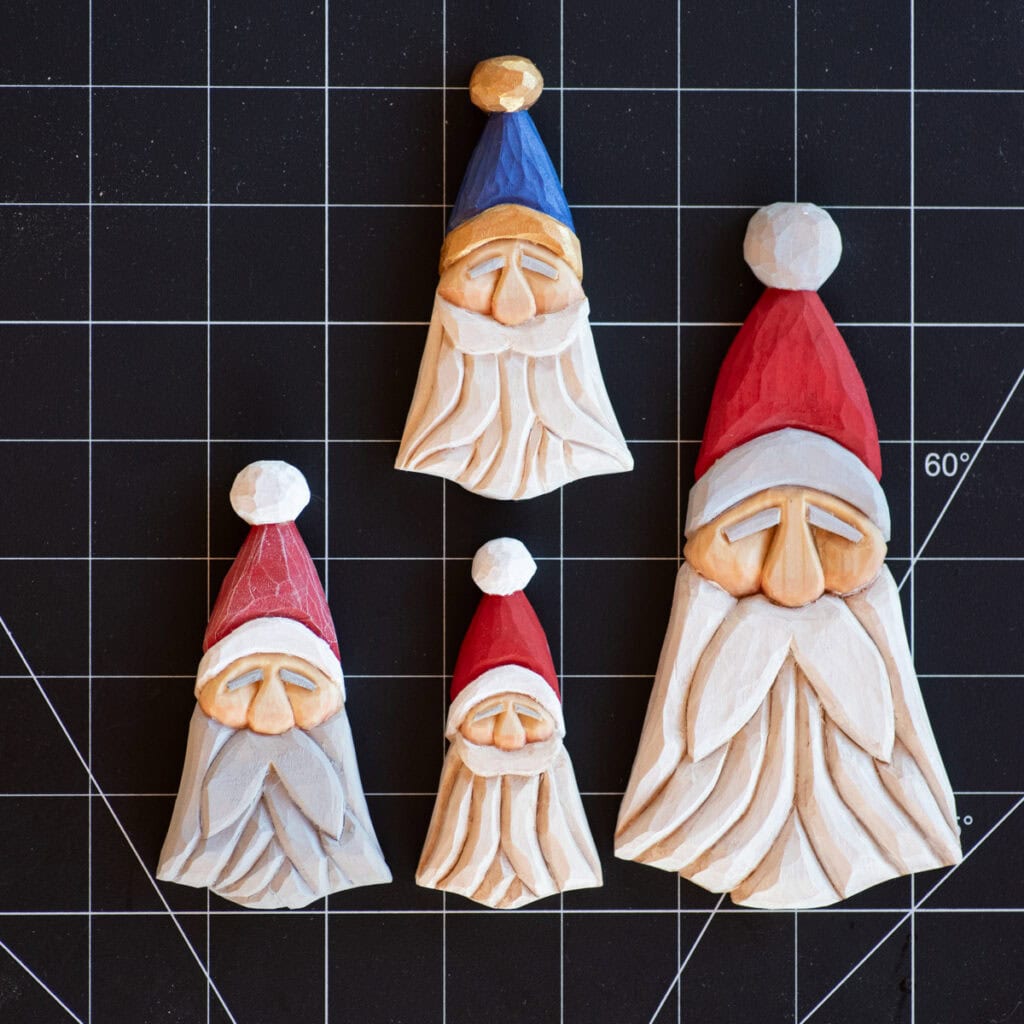
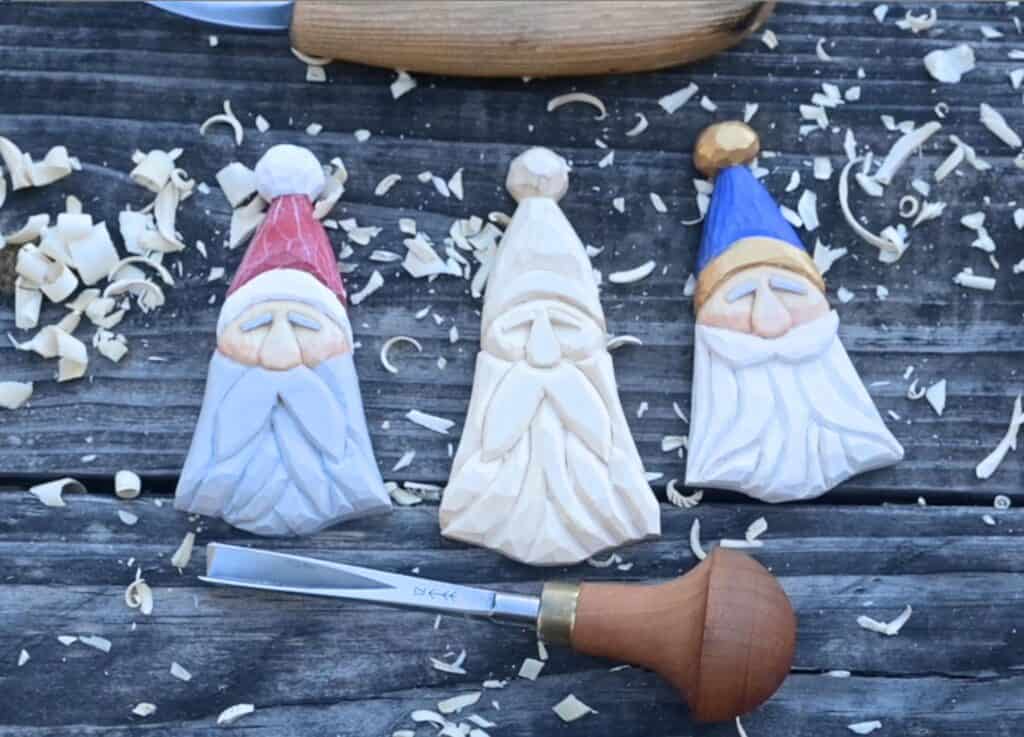
These simple Santas are carved on flat pieces of wood that are 1.5”, 2”, or 3” across. Each piece is only about 1/4” thick so you can make a lot of ornaments out of a single stick of basswood!
Each stencil has two different mustache options – a smaller, upturned stache and a longer, dropping mustache.
A bandsaw or coping saw will save you some time on this piece, but you can carve a Santa without power tools.
Materials needed to carve a simple Scandi Santa
Your stencils. Get them here!
Basswood blank

- Advanced rotating lead engine ensures 0.5mm nano diamond lead pencil is always sharp and your writing is on point
- A fine 0.5mm #2 lead produces intricate lines for clear text and vivid graphics
- Extra durable diamond-infused lead is stronger than standard lead, delivering strikingly dark marks
Your favorite carving knife. I use a Flexcut carving knife.

- Swiss Made
- Square tang in handle
- Durable octagonal shape hardwood handle
Bandsaw or coping saw, optional
How to carve a simple Scandinavian Santa face
These written instructions are a very simplified look at how to carve this Santa. Please watch the video for a step by step tutorial. This is a very quick carve that only took me about half an hour. It’s worth a watch!
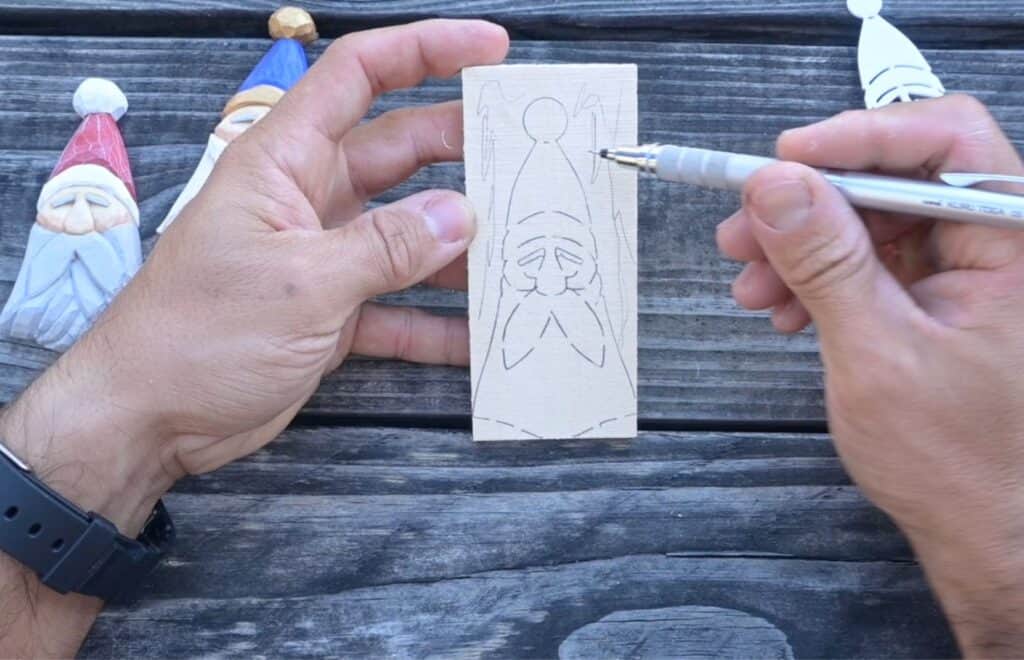
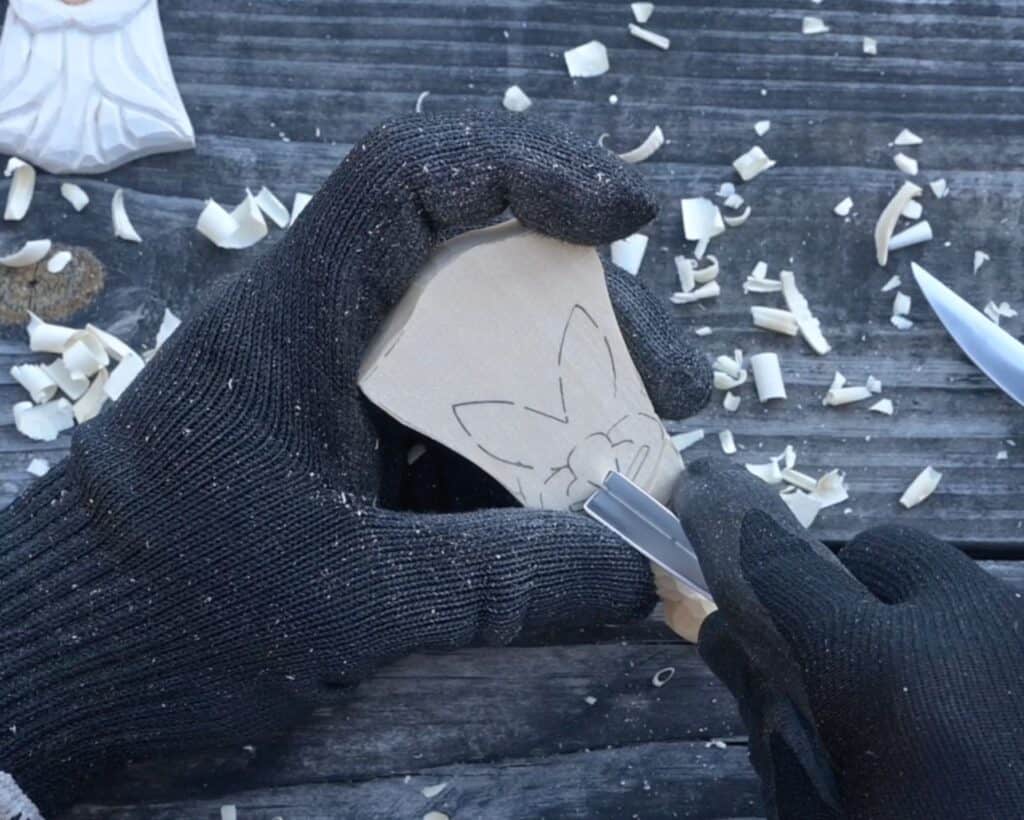
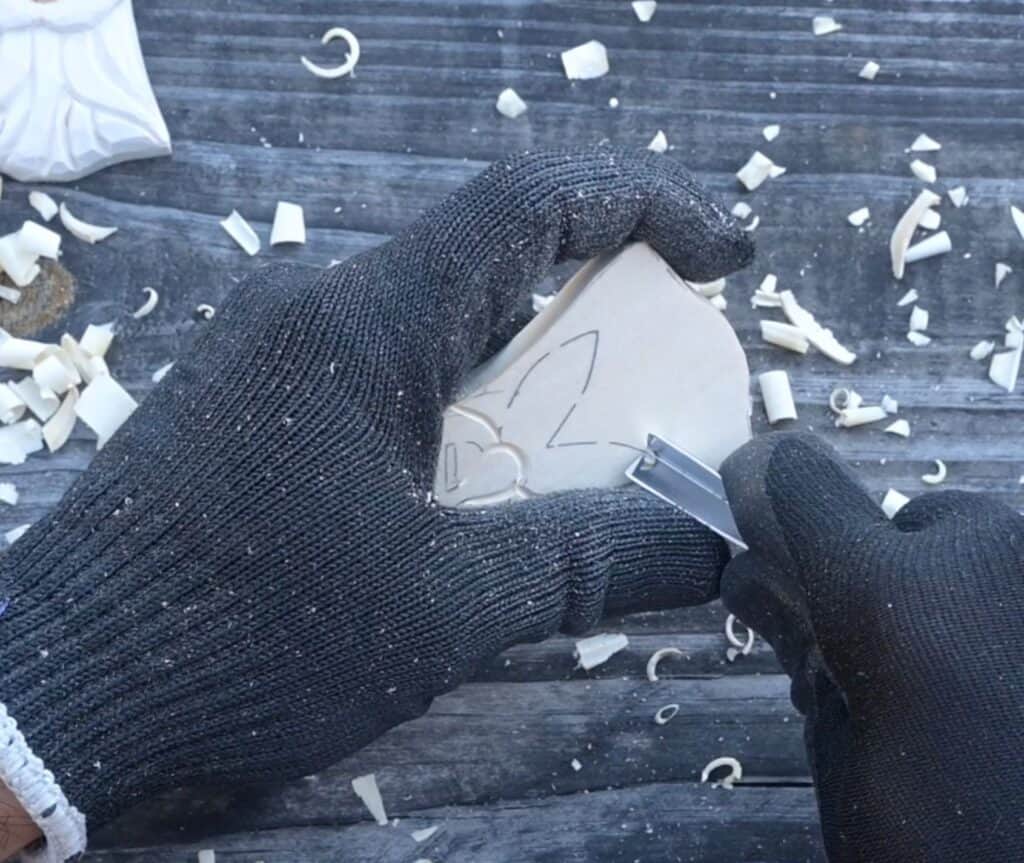
First, decide what size Santa you want to carve and cut an appropriate size wood blank. Use your stencil as a guide to cut the correct height.
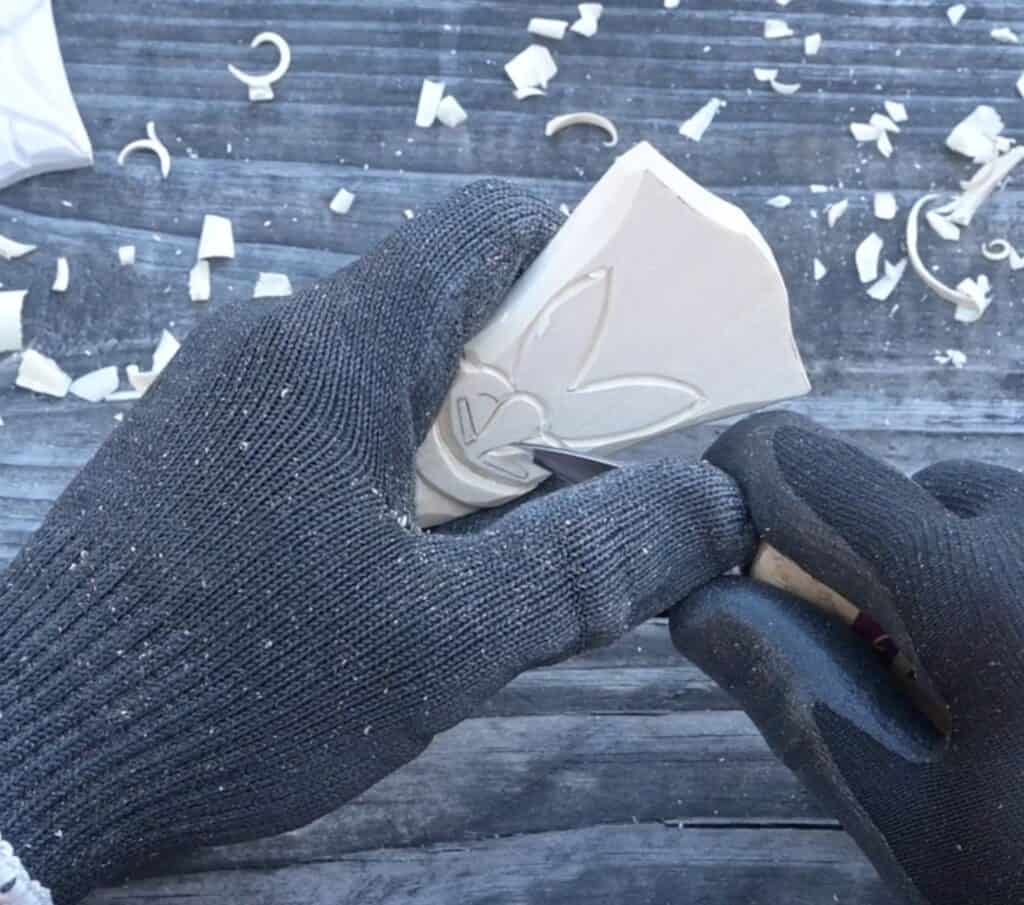
Use the bottom lip of the stencil to hold it firmly in place and trace the design. Make sure you only trace one style of mustache!
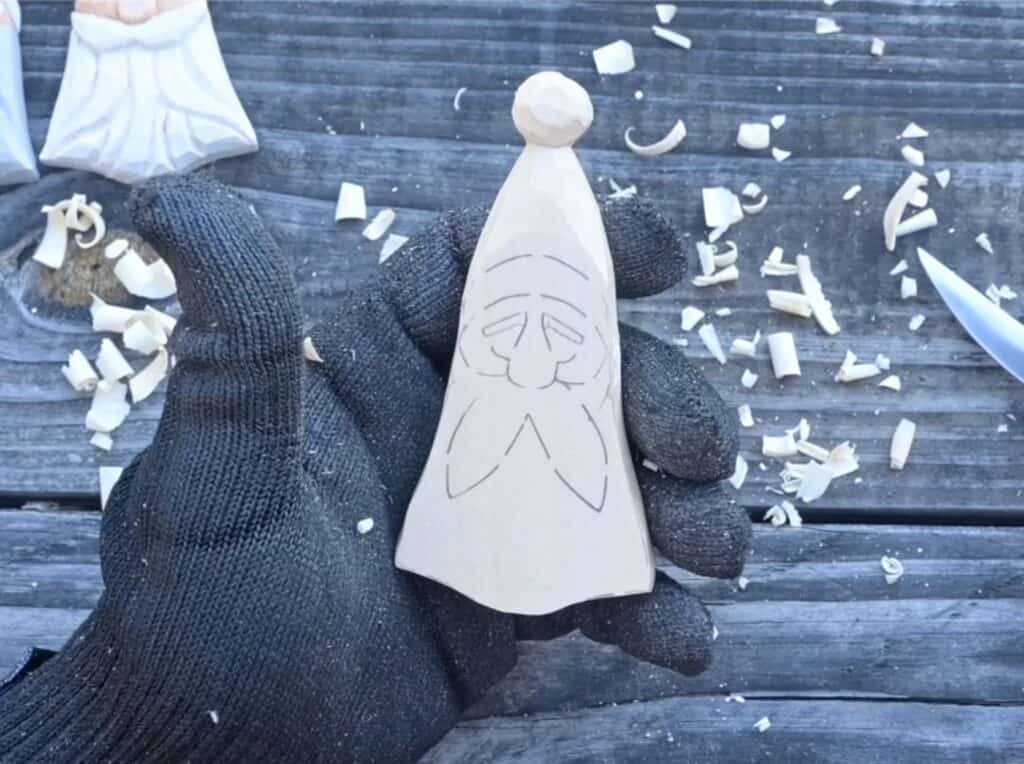
Waste away the material to cut down close to the perimeter line. This is quick and easy with a bandsaw or coping saw, but can be done with a roughing knife.
Use your knife to bring the carving down to the line along the perimeter of the face and hat.
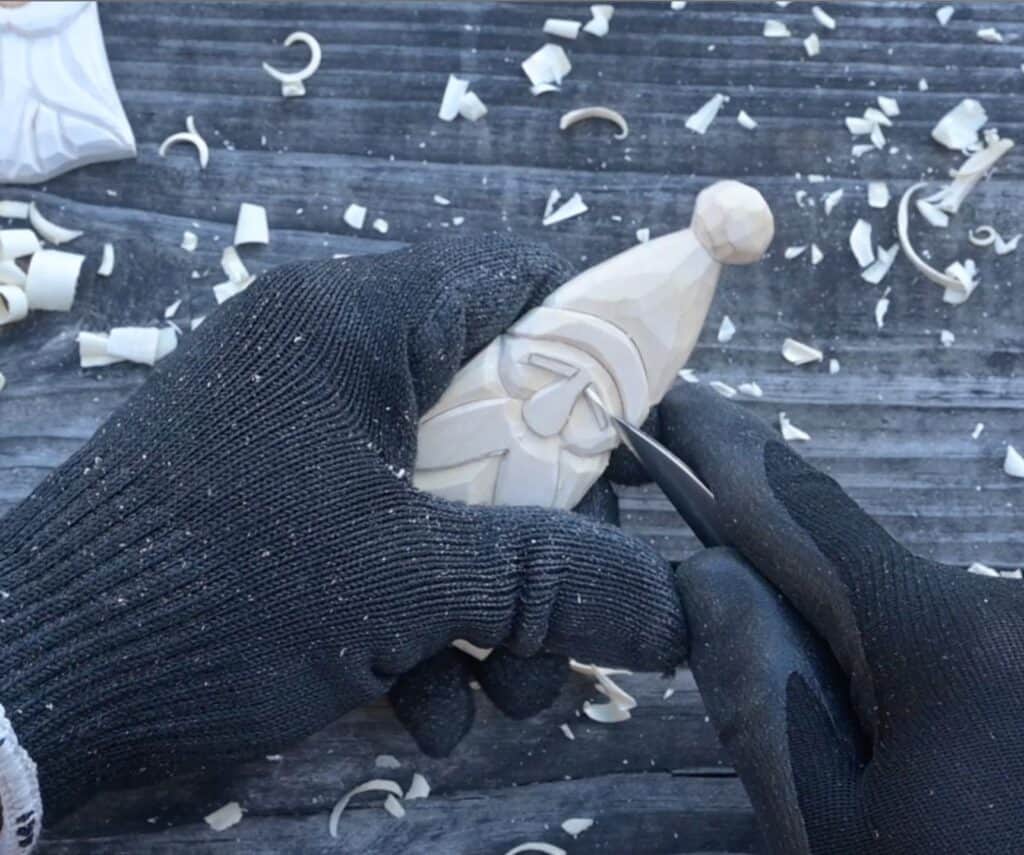
Now, work from the top down starting with the ball of the hat.
Separate out the bottom of the ball from the top of the hat with your knife. Slope the hat material down a bit, slanting it backwards as it nears the top.

Carve away to form the ball.
Use a v tool to carve out the lines at the top and bottom of the hat’s brim.
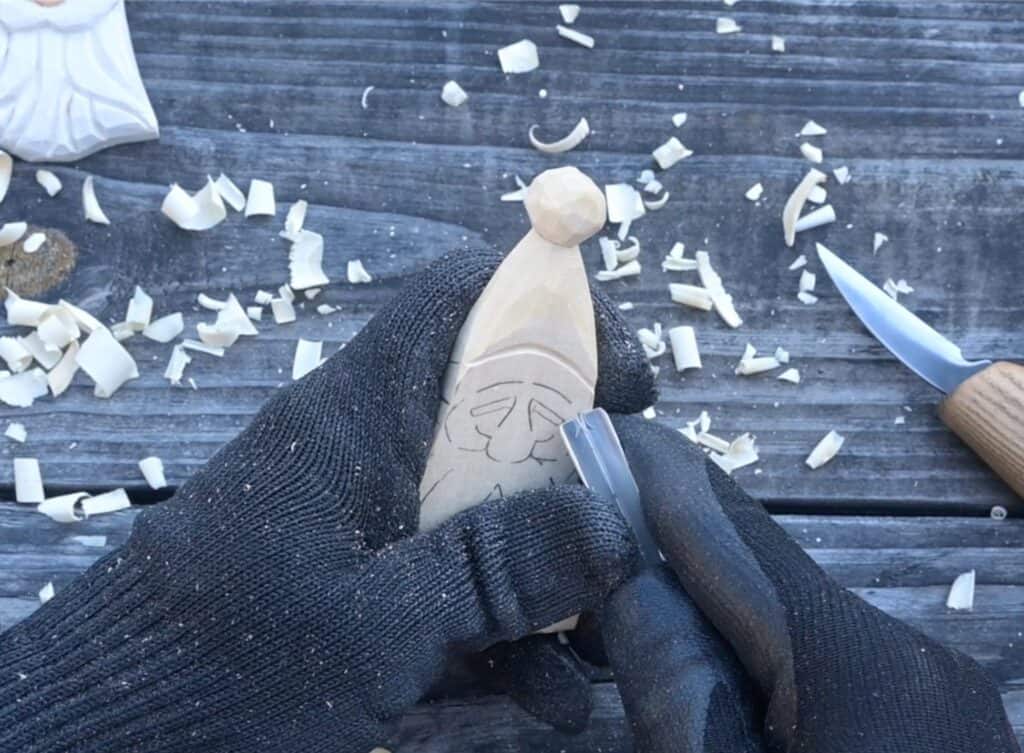
Carve out the nose edge lines using your v tool.
Then do the same for the edges of the cheeks:
And the mustache:
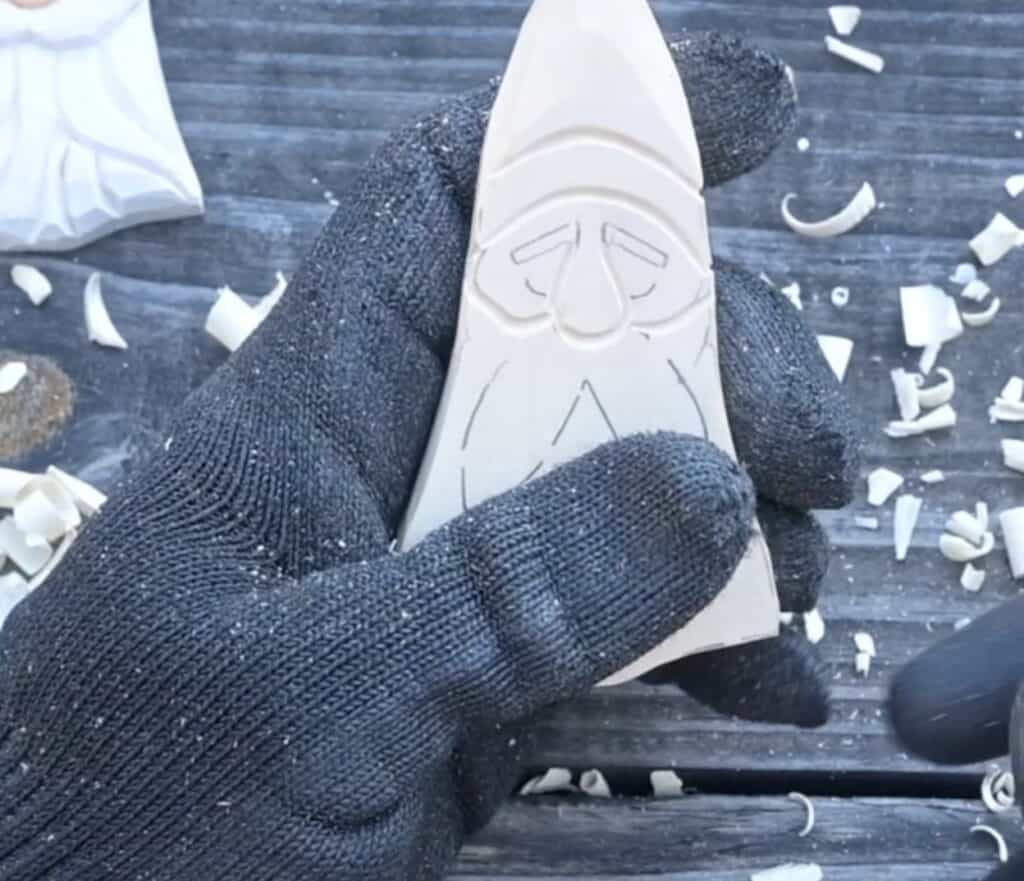
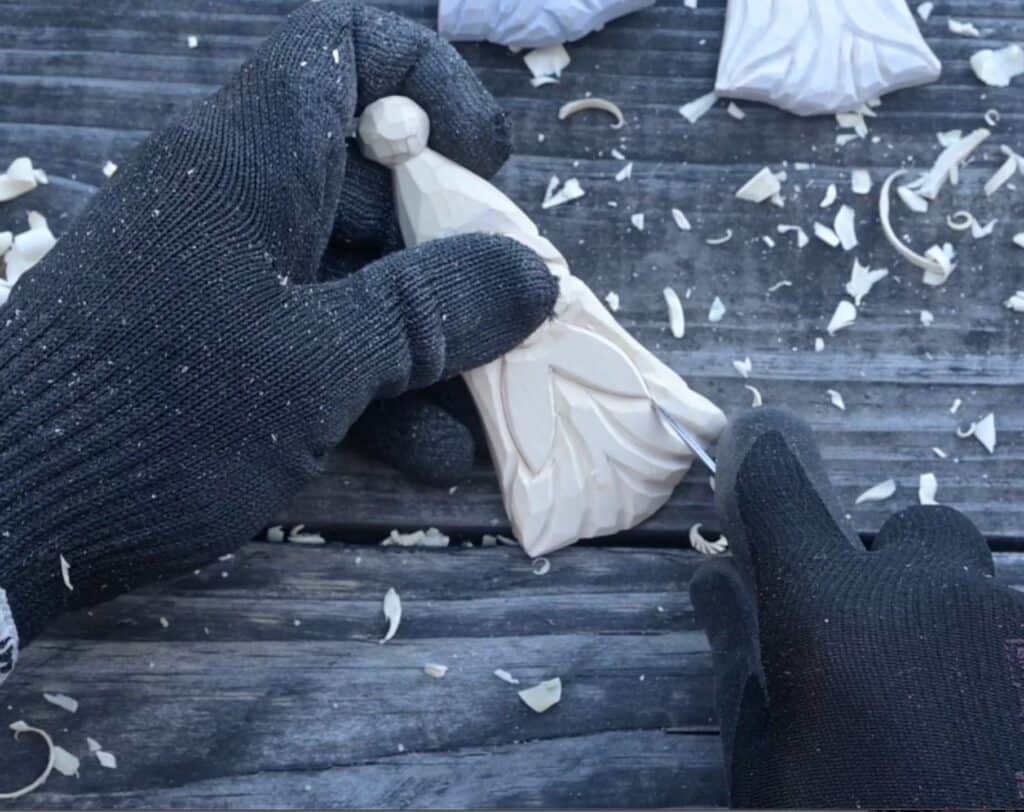
Tuck the hat under the brim and round over corners to avoid making the carving look blocky.
Tuck the face in and round it out a bit.
Trace the edges of your eyebrows with your knife, score around the nose, and lightly recess the area under the eyebrows to create an eye area.
Recess the beard under the face, nose, and mustache.
Score the top of the eyebrows and cut away a tiny amount material above the eyebrows to make them stand out.
Use your knife and/or v tool to add details to the beard, as wanted.
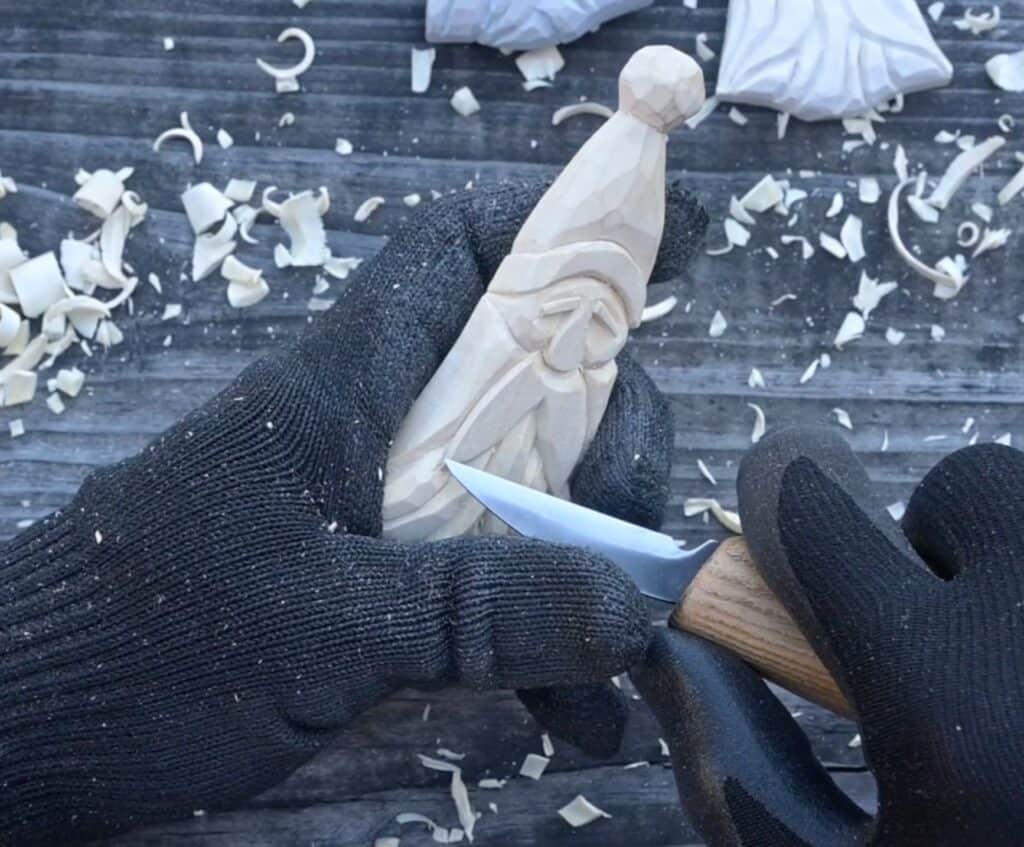
Do any additional fiddling and clean up to your desire.
That’s it! Your carving is ready to be oiled and painted.
Watch the step by step carving tutorial below:
Simple Santa wood carving painting tips
This is a very easy carving to paint. The simple design lends itself to simple painting.
We like to use Antique White for the beard, unless we go with a light grey, and red or blue for the hat. We use light grey, gold, or titanium white for the brims.
We applied a very light brown wash to the largest Santa’s beard and did light dry brushing on one medium Santa.