How to Carve a Wood Jack O’Lantern Pumpkin
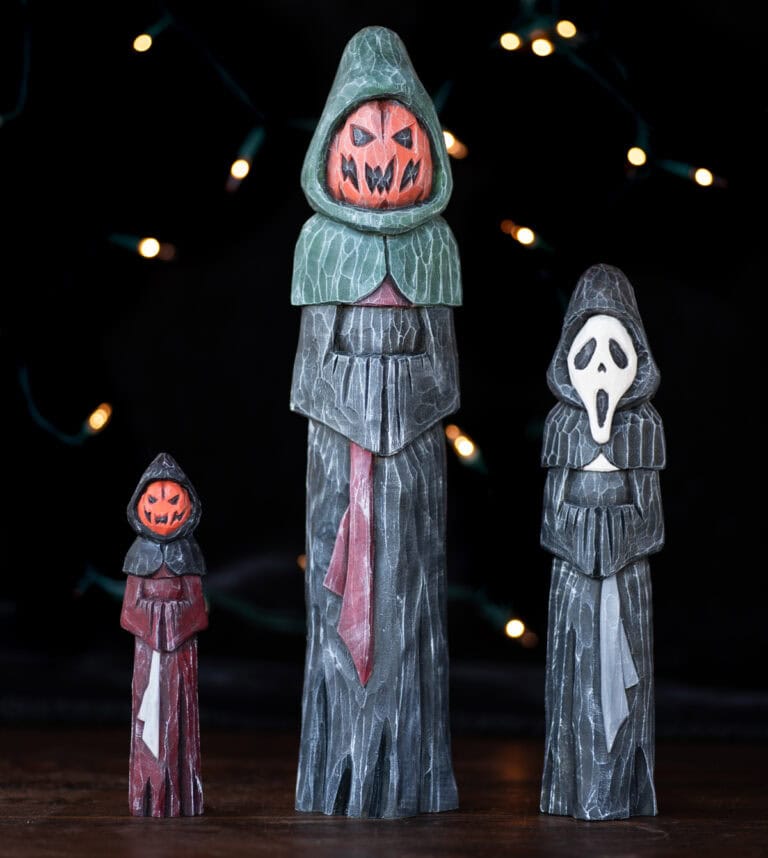
These Jack o’lantern pumpkin carvings are fun to make and almost endlessly customizable. We’ve had a blast carving and painting them and hope that you do, too!
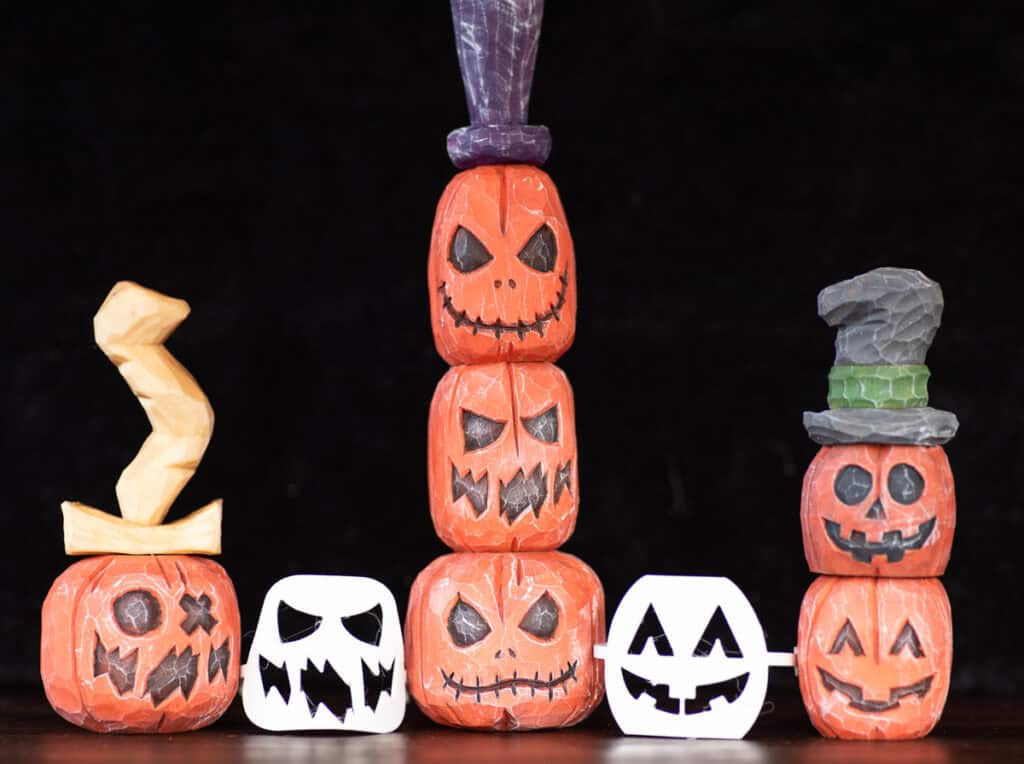
These stackable pumpkin carvings are fun to carve and stack. Thanks to small inset magnets, they don’t topple over every time you bump the table.
This post includes affiliate links, which means I may earn a commission on purchases made at no additional cost to you.
In this post, we’re showing you how to make Jack o’lantern wood carvings, how to install the magnets, and giving tips for painting your pumpkin wood carvings.
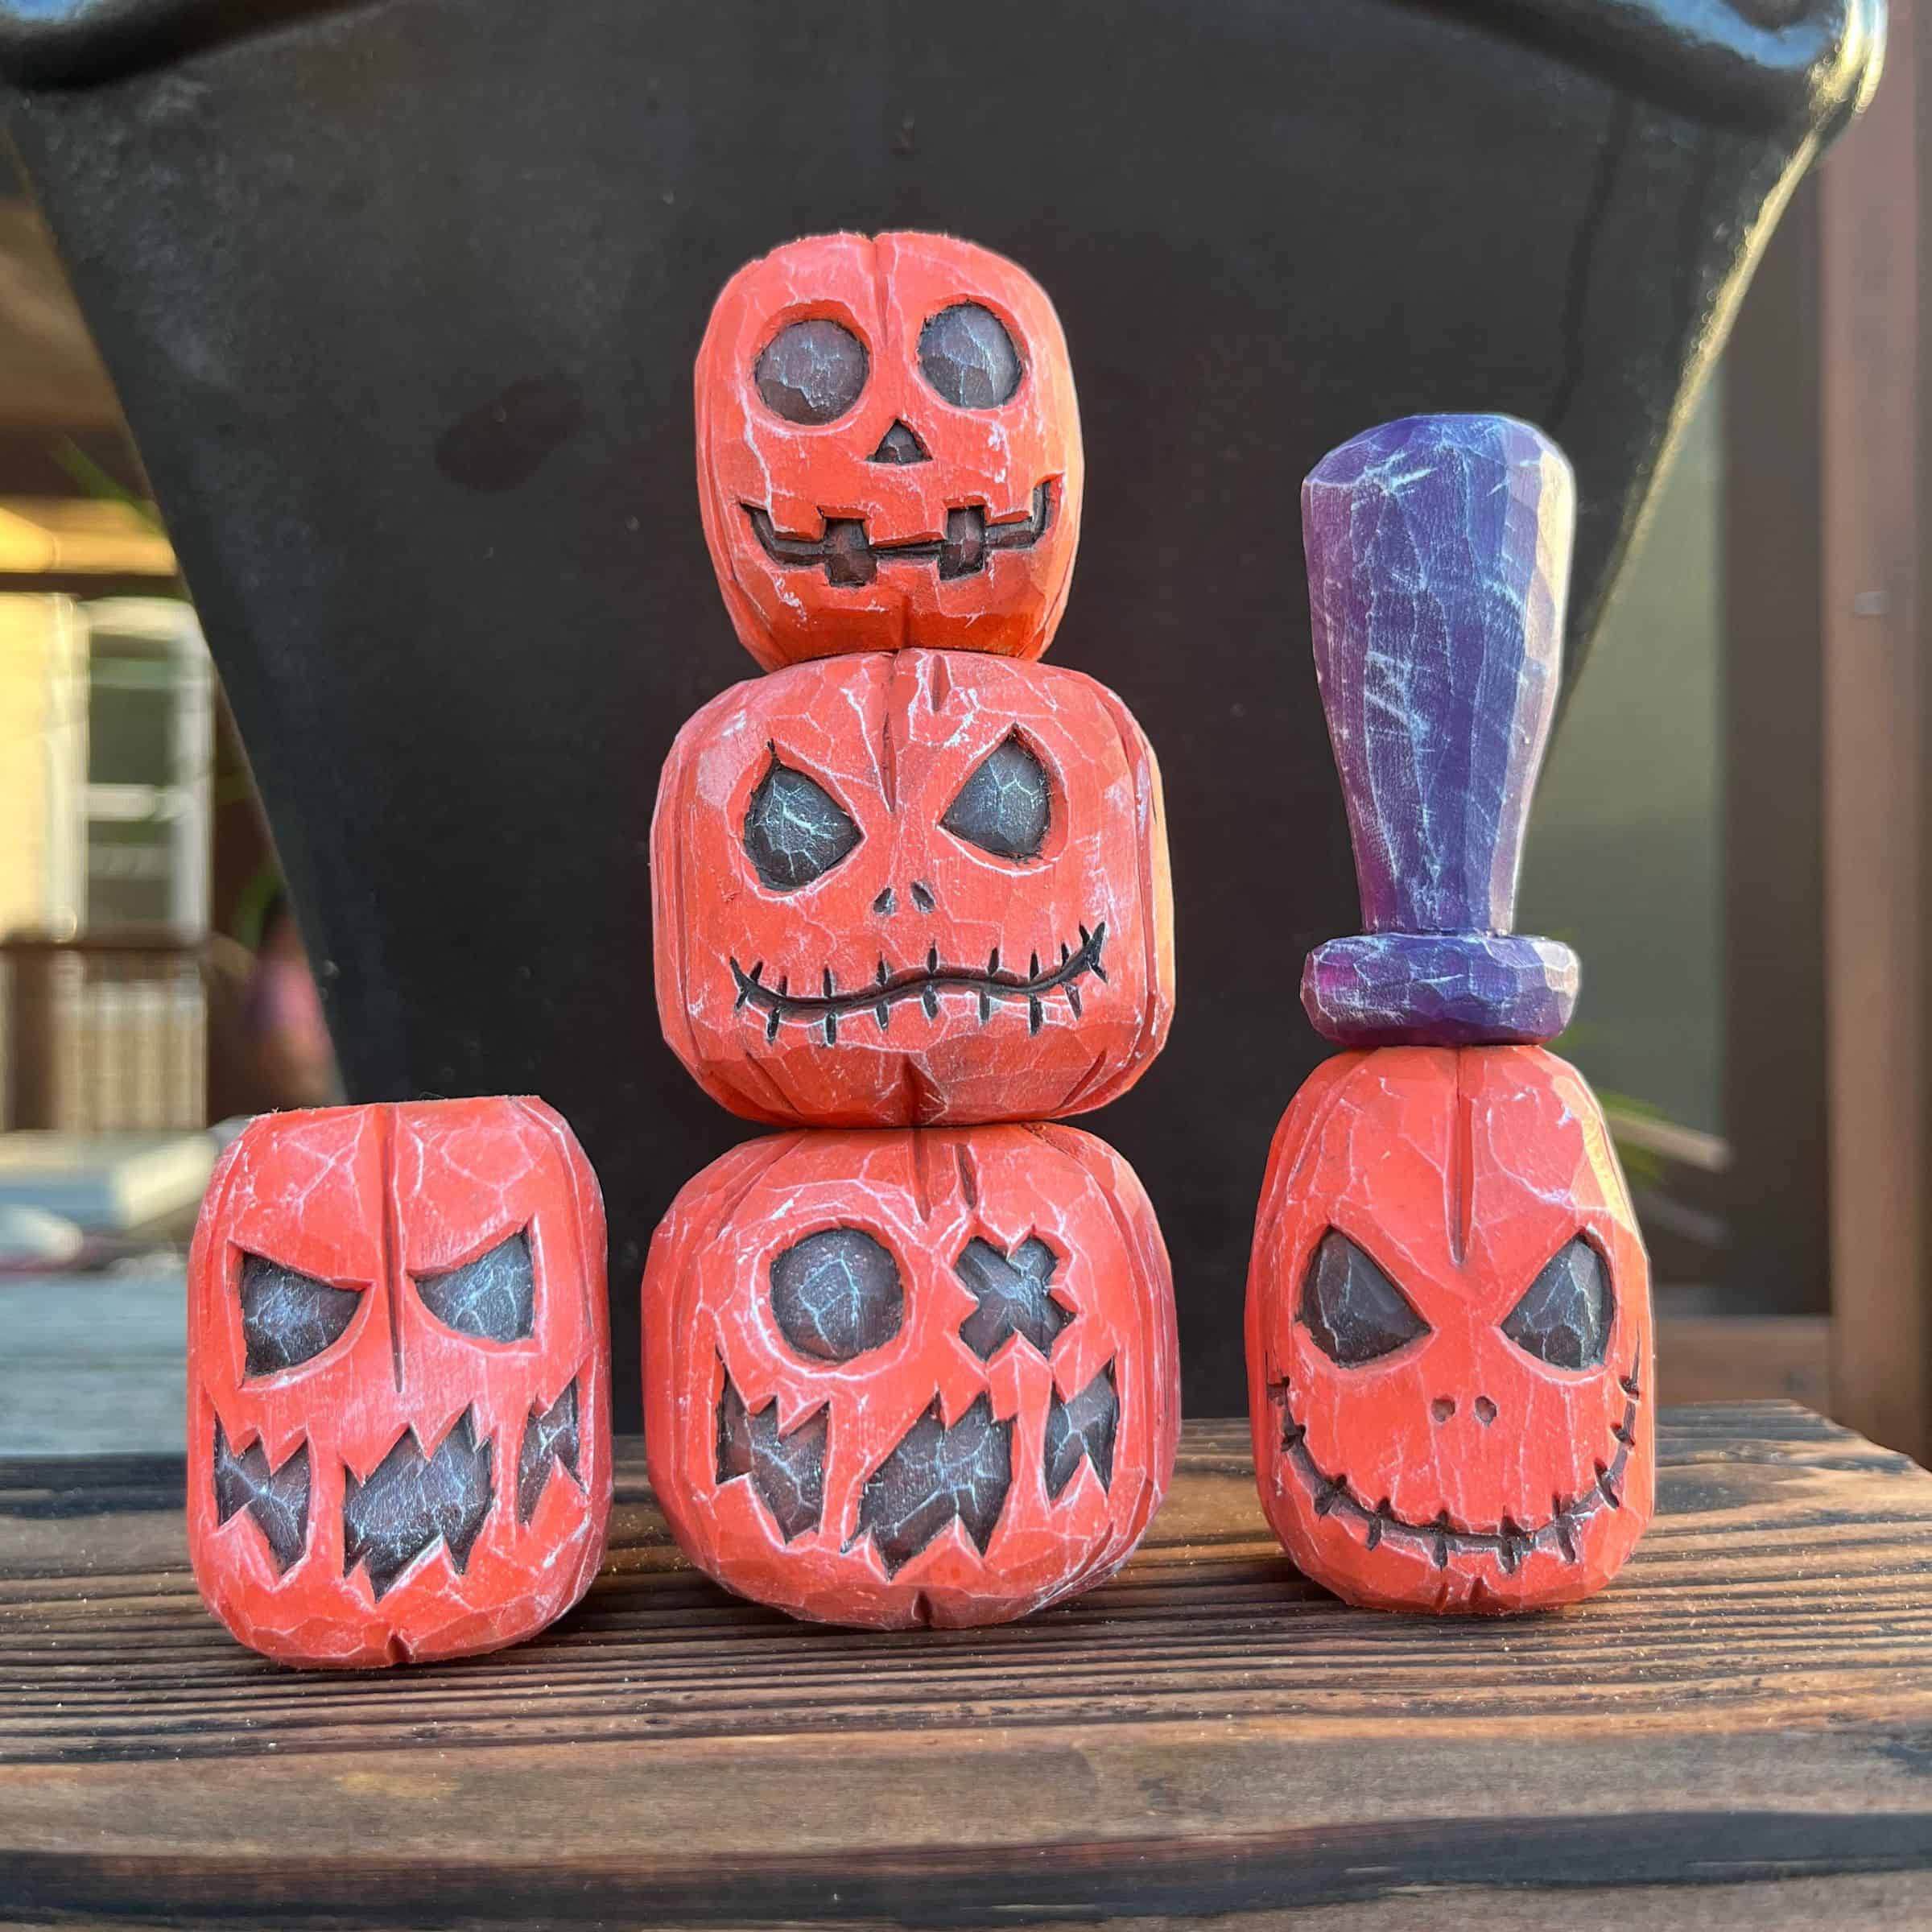
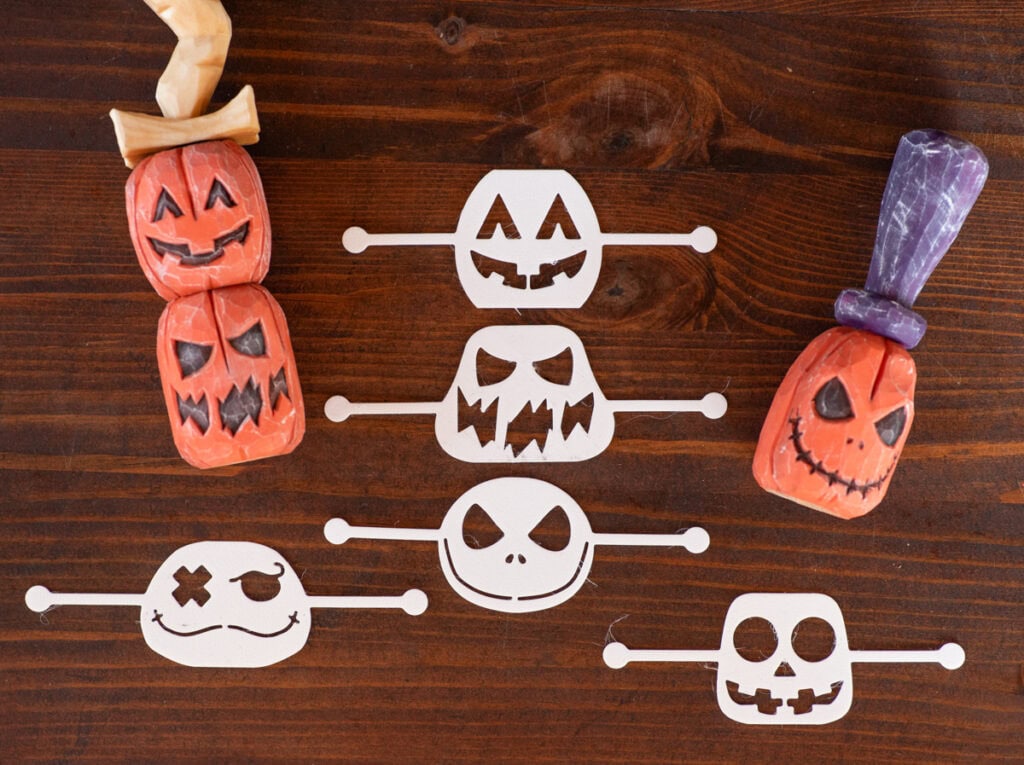
These stackable pumpkins use this set of flexible Jack o’lantern face carving stencils. The stencils make drawing a symmetrical face design quick and easy so you can get back to carving!
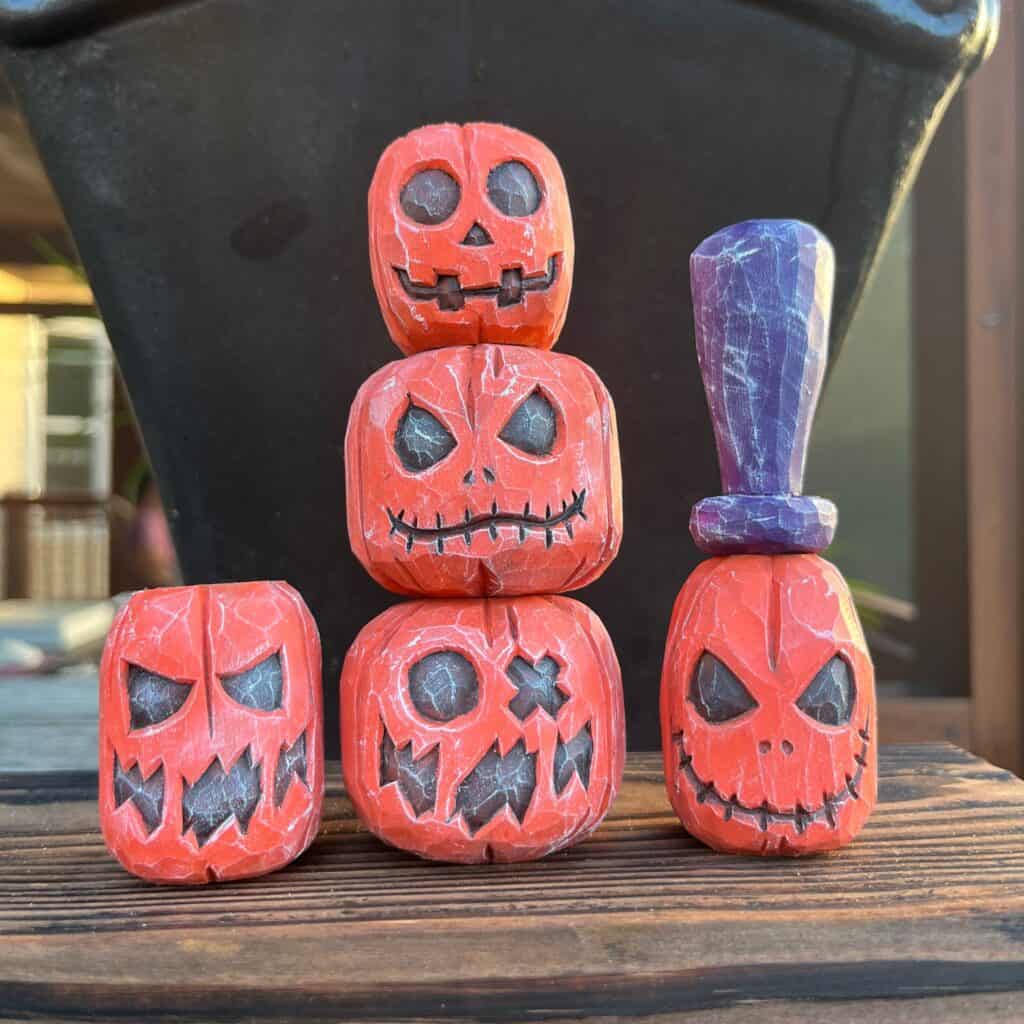
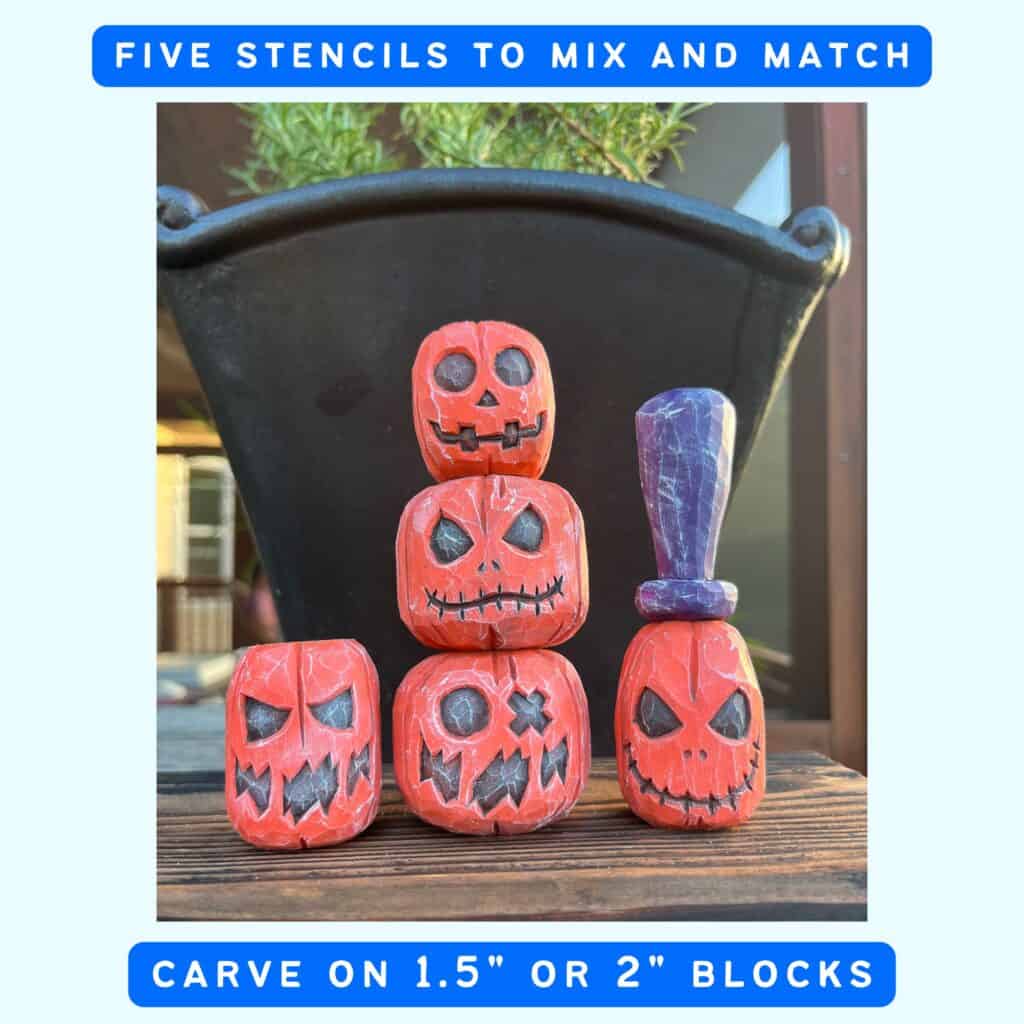
There are five different stencil designs, but you can mix and match eyes and mouths for almost endless combinations.
This blog post includes carving tips and a carving tutorial video by Angel and painting tips by Natasha. We hope you enjoy!
Materials needed to Carve a Wood Jack O’Lantern
Wood. See notes below for sizing tips.
Carving knife and a v tool, optional. I used a roughing knife, a detail knife, and 60º v tool
Mechanical pencil
A drawing compass
Flexible pumpkin face stencils
Rare earth magnets. We used 3/8″ magnets from this set.

- 【6 Different Size 】- Total of 255 Pcs can meet a variety of needs(3mm X 2mm X 88Pcs, 8mm X 2mm 70Pcs, 10mm X 2mm X 50Pcs, 12mm X 2mmX 25Pcs, 15mm...
- 【Scratch-free Technology】- Each of our super strong neodymium magnets has a smooth surface, which can be easily removed without leaving scratches...
- 【High Quality Epoxy Coated Magnets】- The heavy duty disc magnets are made of brushed nickel silver finishing material, High Quality materials,...
Drill bit (match to your magnet size)
Epoxy or an adhesive like E6000
Notes for sizing your wood blank:
If you’re carving a 1.5” block, I recommend using a block between 1.5-2”
If you’re carving a 2” block, I recommend a block between 2-2.5”
How to carve wood Jack o’lanterns
First, connect the diagonals on each end of your wood block to find the center.
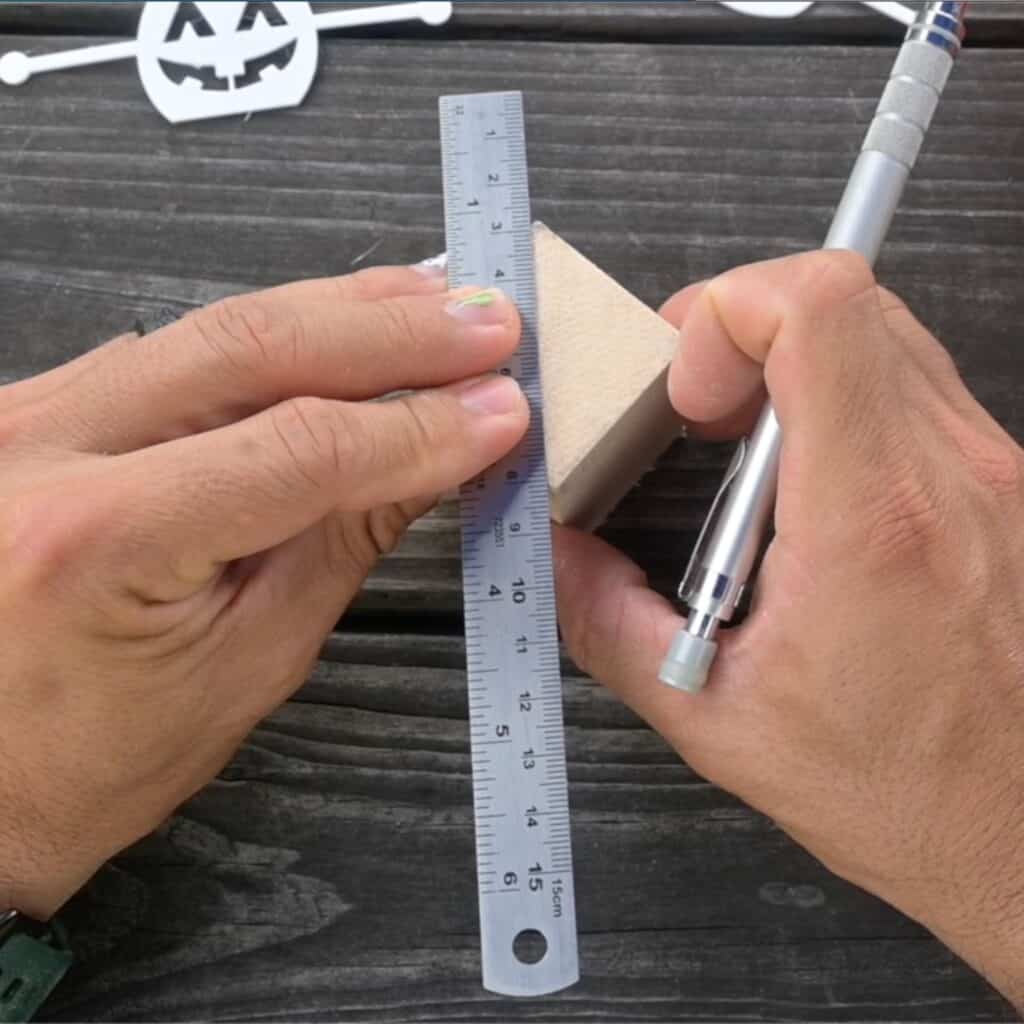
Using your compass, trace two circles on to each end. Center this circle on the marks you just made. The exterior circle is the diameter of the block you’re using.
For the inner circle, make a 1″ circle if the pumpkin will be in the middle of the stack. If you want to put a hat on the pumpkin, I recommend a .75″ diameter for your inner circle.

Next, round over the corners of your chosen block of wood to make a cylinder based on your marked outer circle.
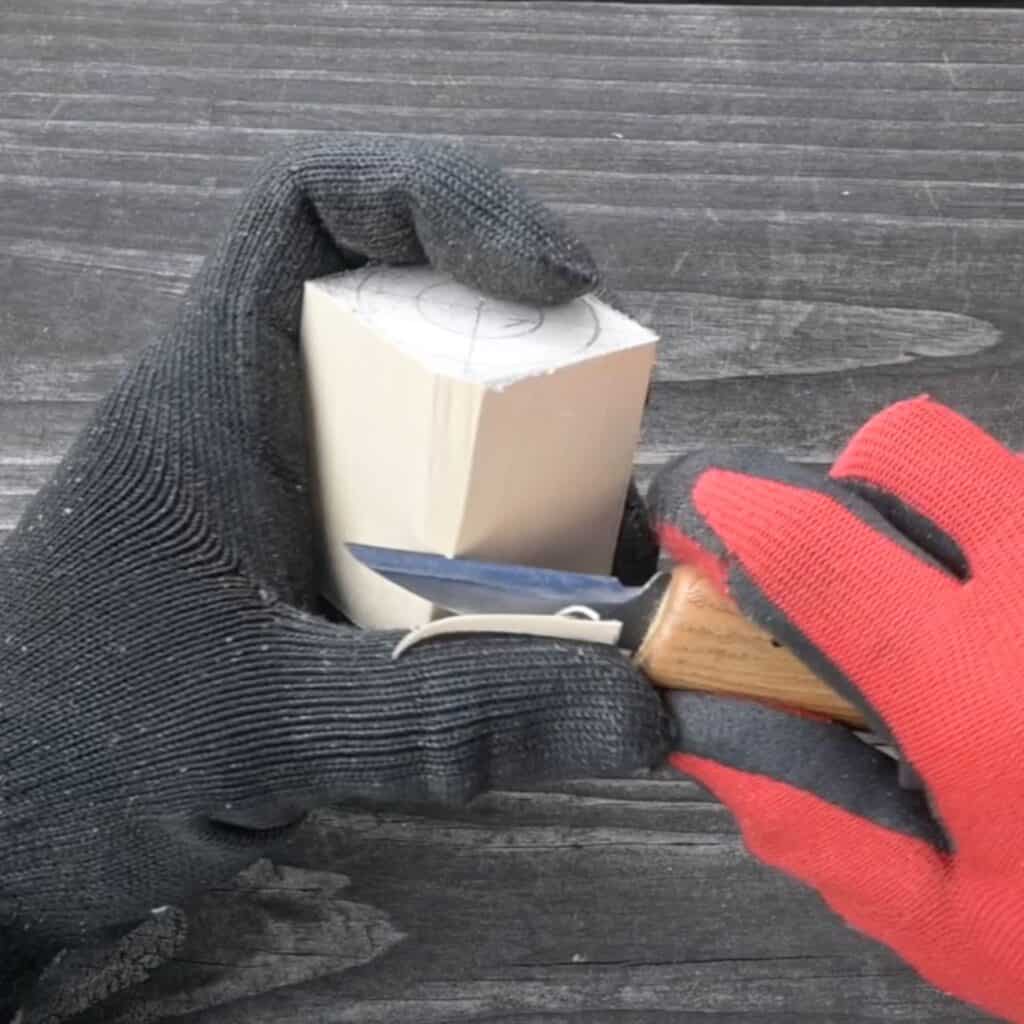
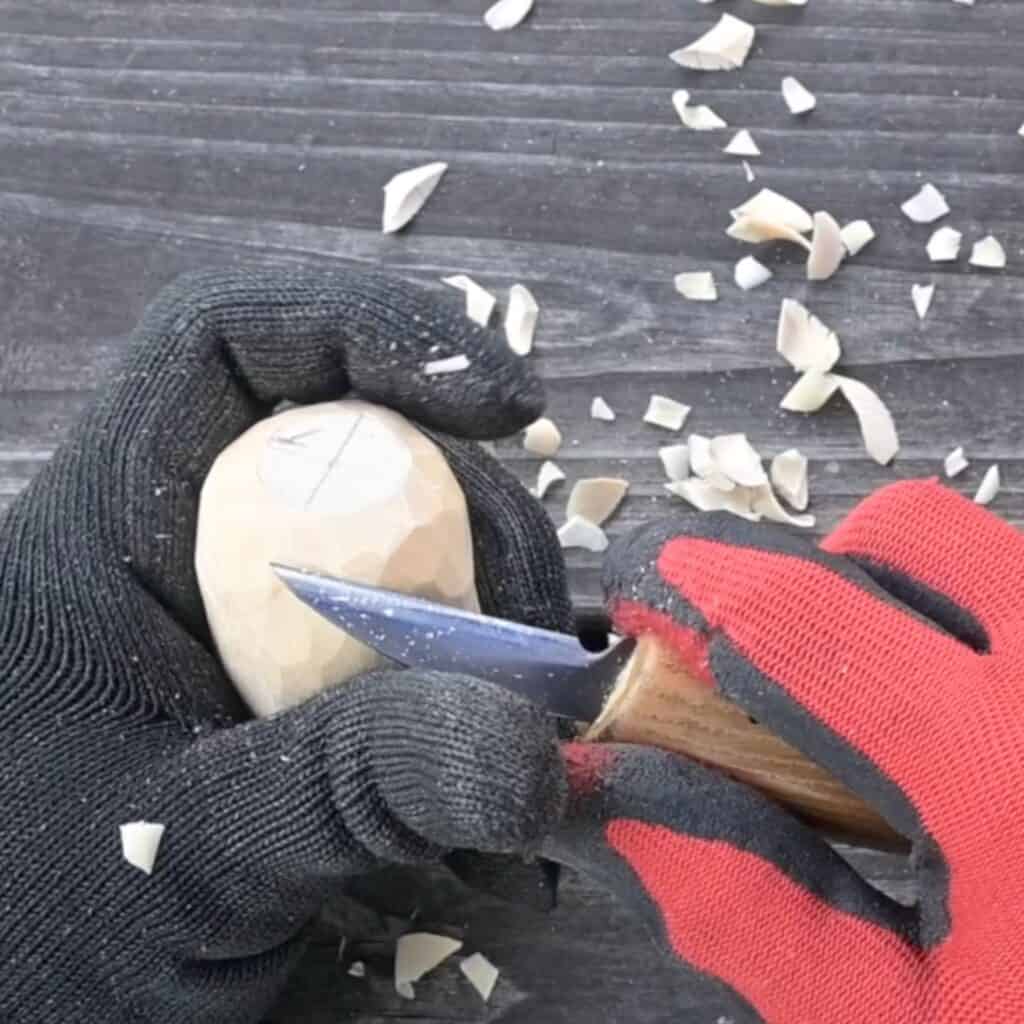
Round over the top and bottom to bring the top and bottom into the inner circle diameter. Make the slope gradual, like a real pumpkin. Just keep working away at it taking small pieces at a time to shape your pumpkin.
Once you’re satisfied with the basic shape, select and place your flexible face stencil. It has tabs to easily hold it in place while you trace. You can mix and match eyes, noses, and mouths for a custom look.
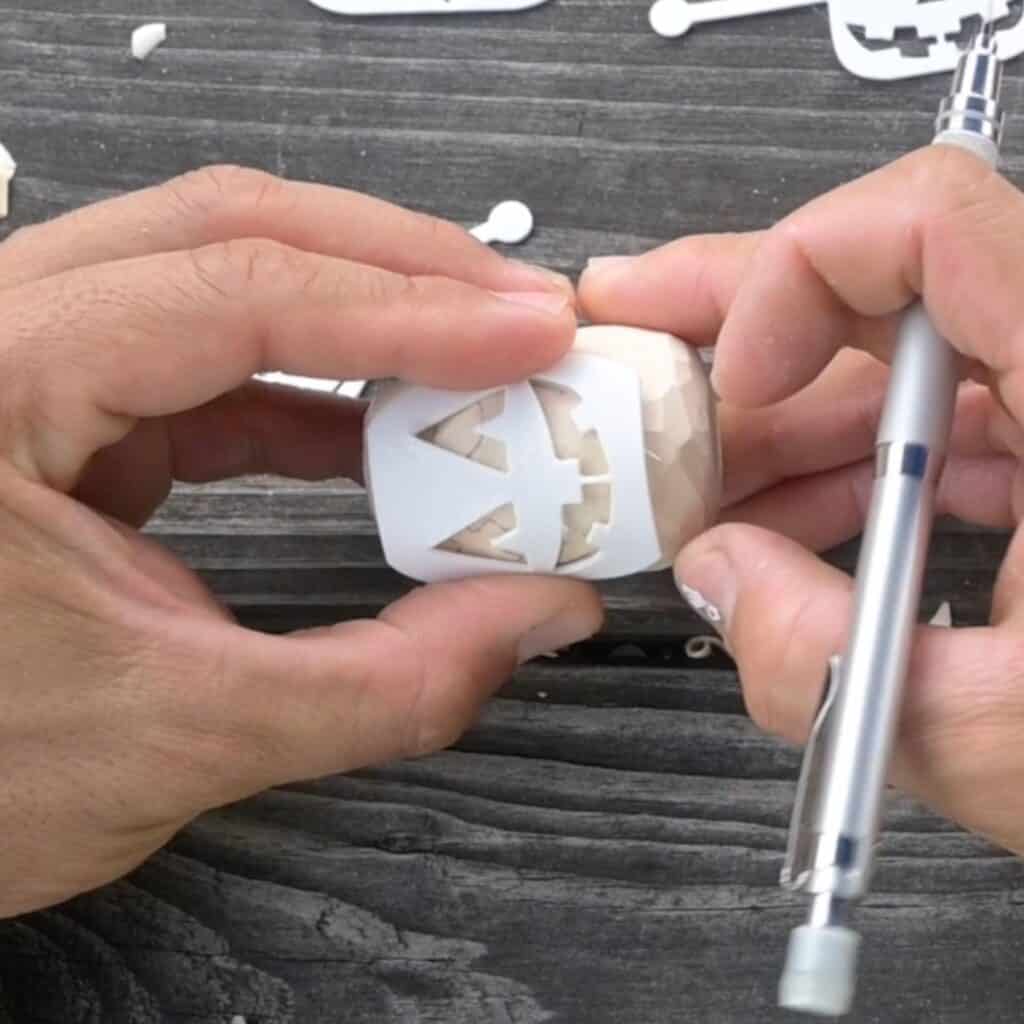
You may want to add a second face on the opposite side of the pumpkin!
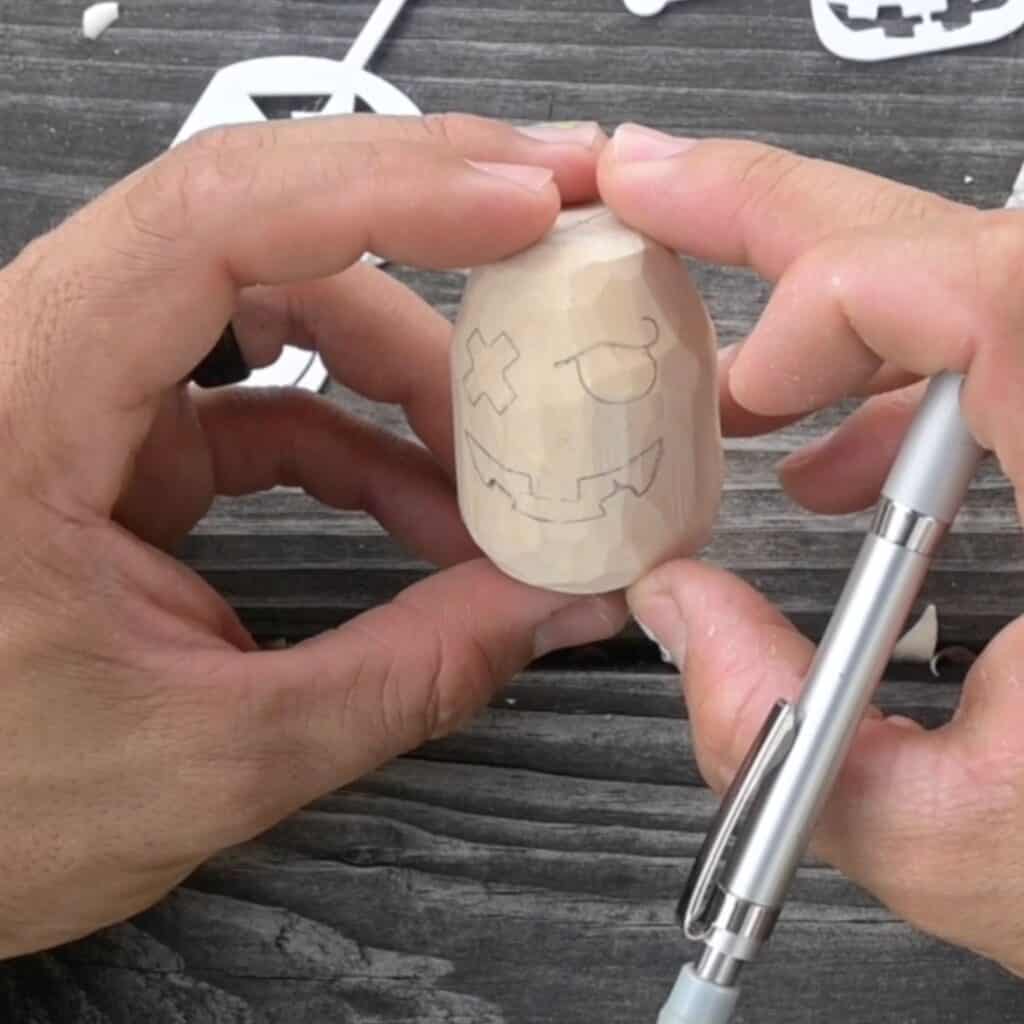
Use your knife to score the face marking lines. Once the lines are scored, use a detail knife to clear the material out from the middle of the design by making repeated small cuts into your scored stop cuts.
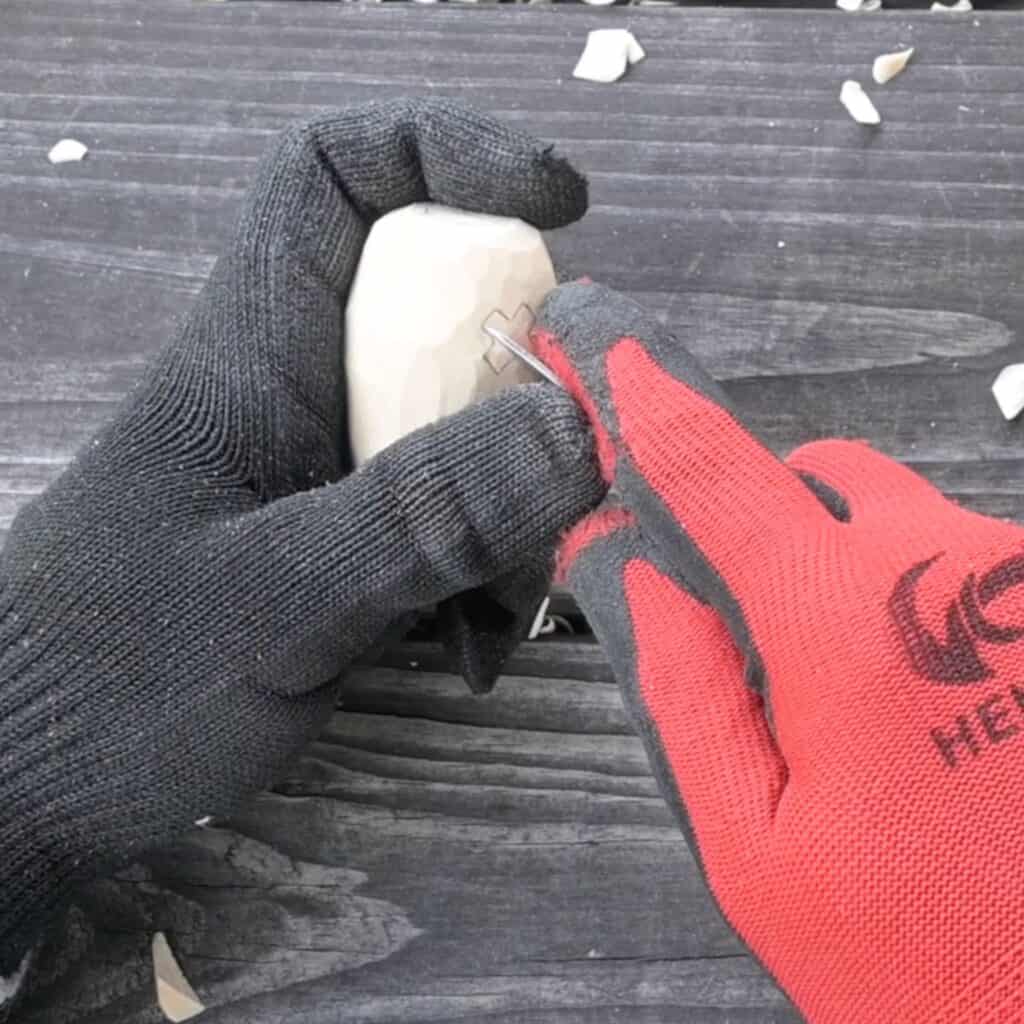
In the video, you’ll see that I work one feature at a time. I score one eye, carve it out, and then move on to the second eye, etc.
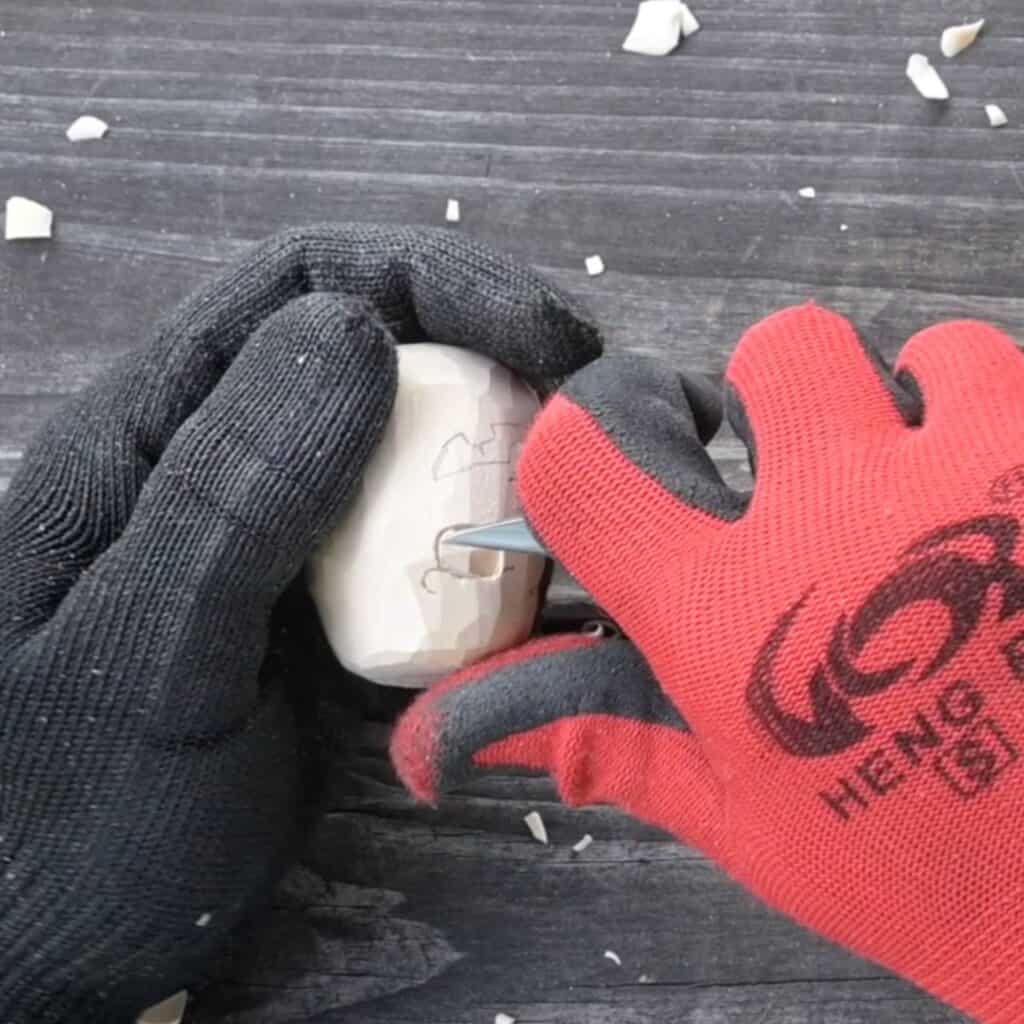
After both eyes and mouth are done, give the cuts a slight chamfer.
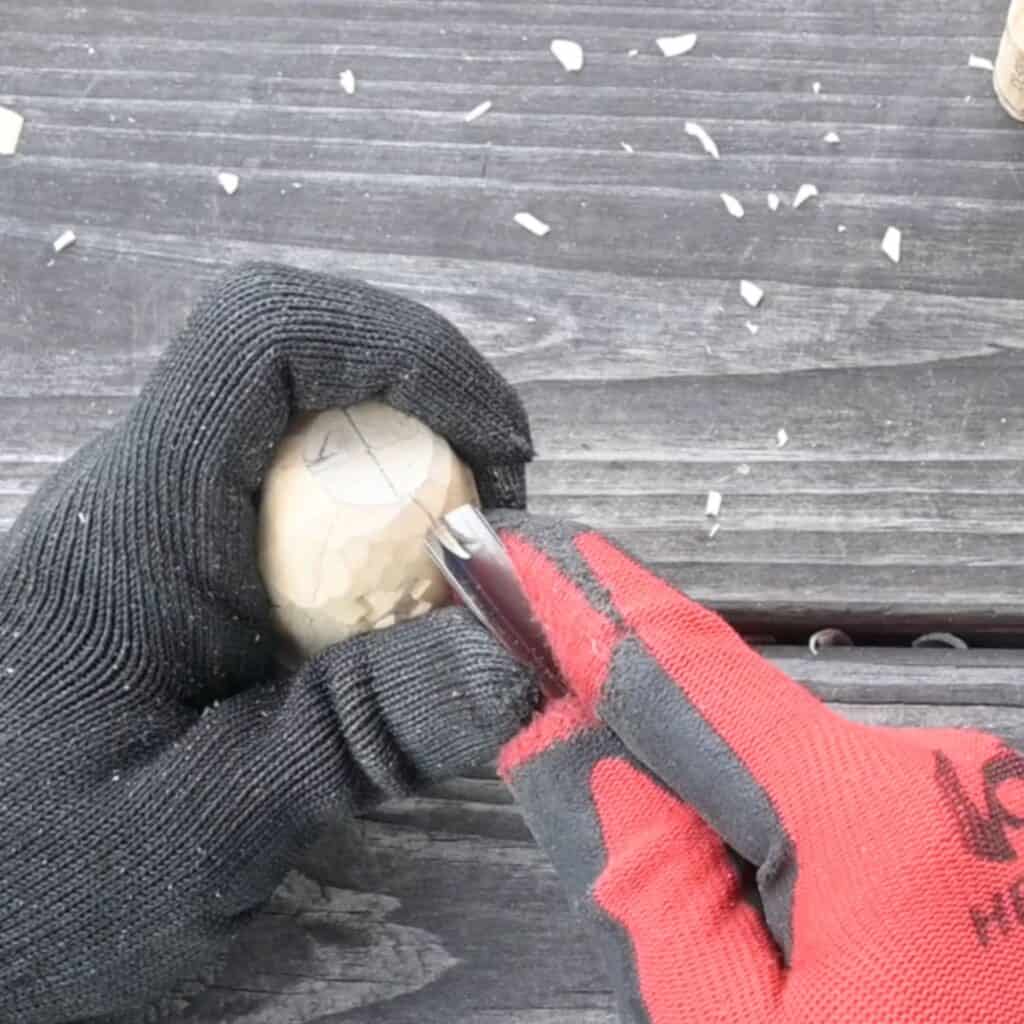
Next, mark where you want to make little “valleys” to give the pumpkin a more realistic appearance.
Use a v tool to carve out these pumpkin crevices. Using your knife can help broaden and slope the crevices.
Do any necessary clean up or sanding. That’s it for the basic carving!
If you’d like to watch the process on video, you can click over to YouTube or watch it in browser:
If you want to add magnets, use a drill bit that matches your magnet size. Carefully drill a centered shallow hole in the top and bottom of your pumpkin. Match the hole depth to your magnets.
Pay attention to your magnet directions. Make sure that the poles on the magnets on the bottom of each pumpkin are all the same as one another.
The magnets on the top of each pumpkin should be opposite from the bottom, but the same as all other pumpkin tops. This ensures that you can stack the pumpkins in any order.
Use E6000 or a similar adhesive to secure the magnets in place.
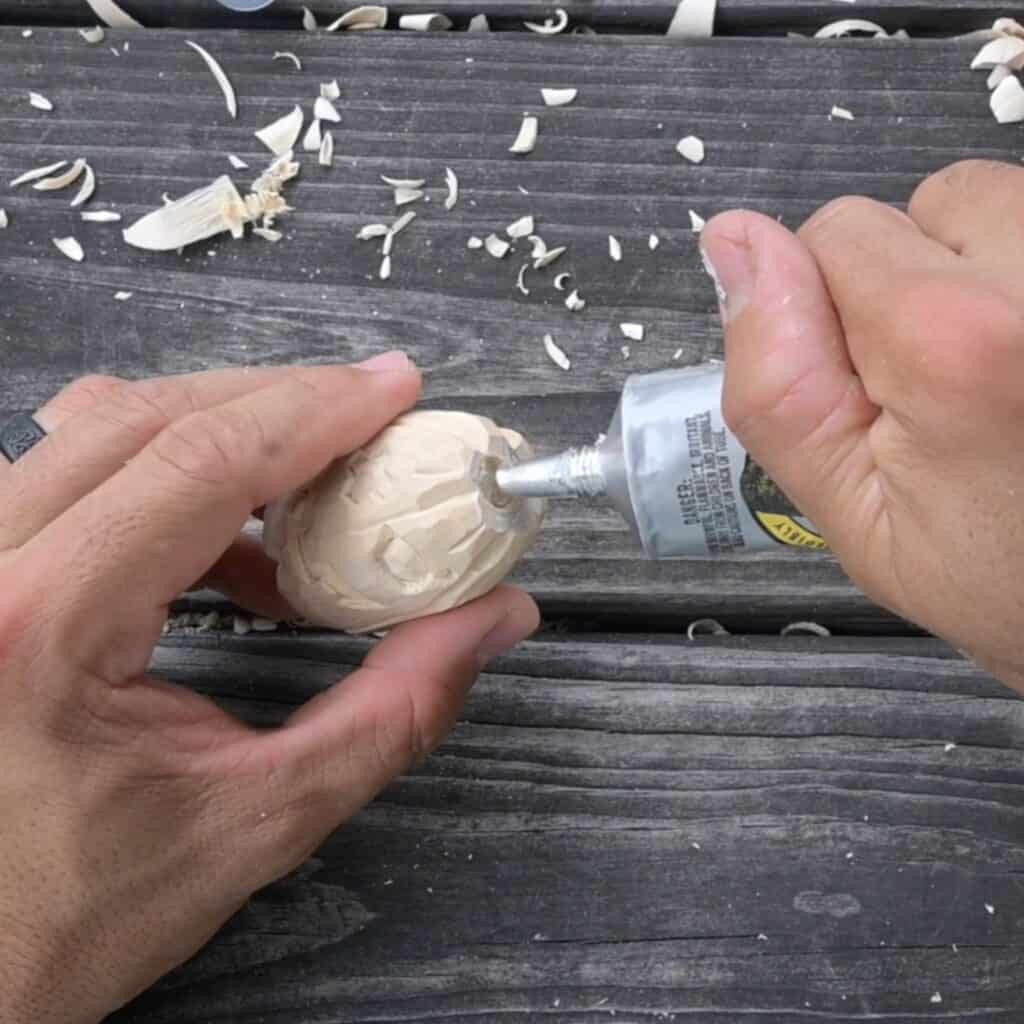
Make sure to watch the video for tips on how to get the magnet seated!
After the adhesive is cured, the pumpkins are ready to oil. We use boiled linseed oil.
How to paint a wood Jack o’lantern
Painting your wood pumpkins is pretty easy!
For best results, allow the oiled carvings to sit overnight before painting.
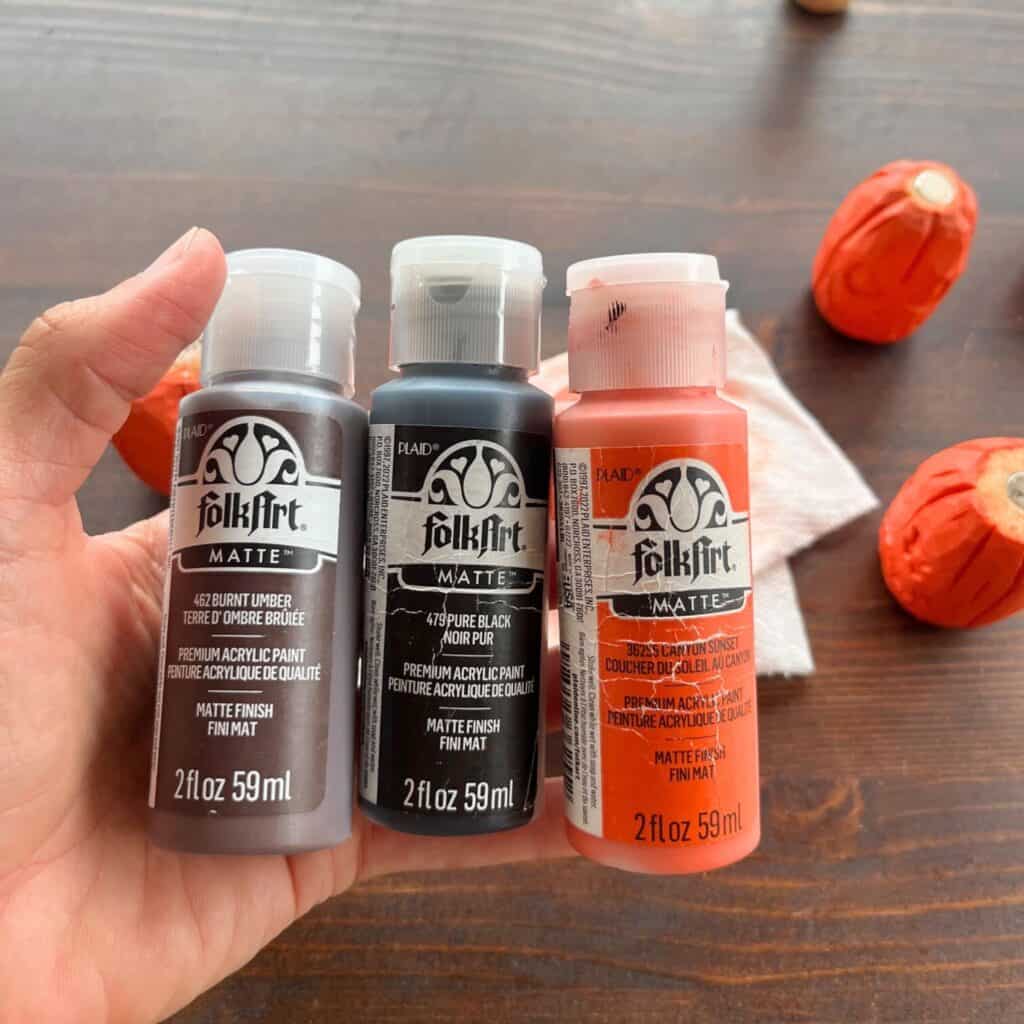
I like to use the color “Canyon Sunset” by Folkart for the pumpkin’s main color. Other colors used include black, brown, and white.
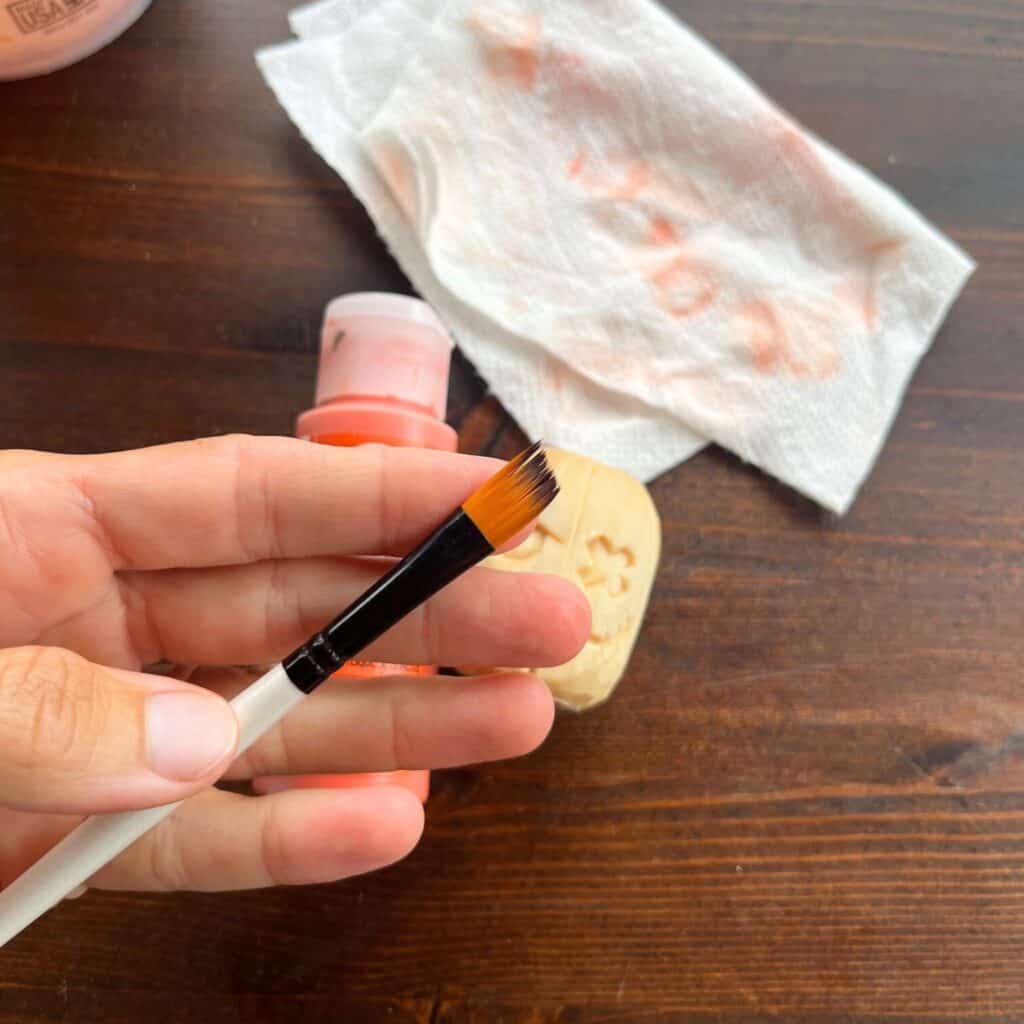
Use a medium to large flat or angled brush to paint the pumpkin. Make sure to paint the eyes and the eye sidewalls, too.
You may need to use 2-3 coats if you want to fully cover the grain.

After the orange is dry, it’s time to wash and paint the face. I like to use a dark brown color (such as Burnt Umber) with a tiny dab of black for the wash on pumpkins. The brown is a bit more realistic looking over the orange.
Water the paint down significantly and use a floppy round tipped brush to paint it into the crevices and natural shadow areas. I like to give a light coat of wash on the curved surfaces on the top and bottom of each pumpkin.
Build up wash coverage, as desired, making sure that the deepest cracks are the darkest. I usually paint one coat of wash everywhere shadowed, then a second coat only in the deepest cracks.
To make painting the face features easier, water down your black paint. Don’t make it as watery as a wash, but do make it a bit wetter than normal for painting. This makes it easier to spread paint into the corners.
Use this watered down black to paint the facial features. You may need a second coat.
After everything is dry, it’s time to dry brush. Use a large flat brush and bright white paint. Remove almost all of the paint onto a paper towel before painting the figure.
Make strokes in one direction only across the grain. This ensures you pick up highlights without accidentally getting paint into the recessed areas.
You may want to do a second dry brush coat, depending on your personal preferences
That’s it! Your word carved Jack o’lanterns are ready to stack and display.