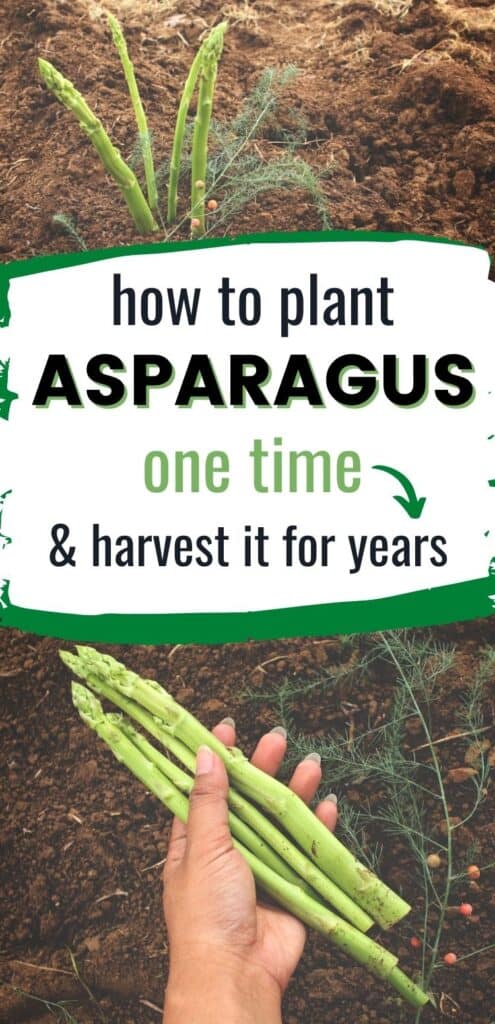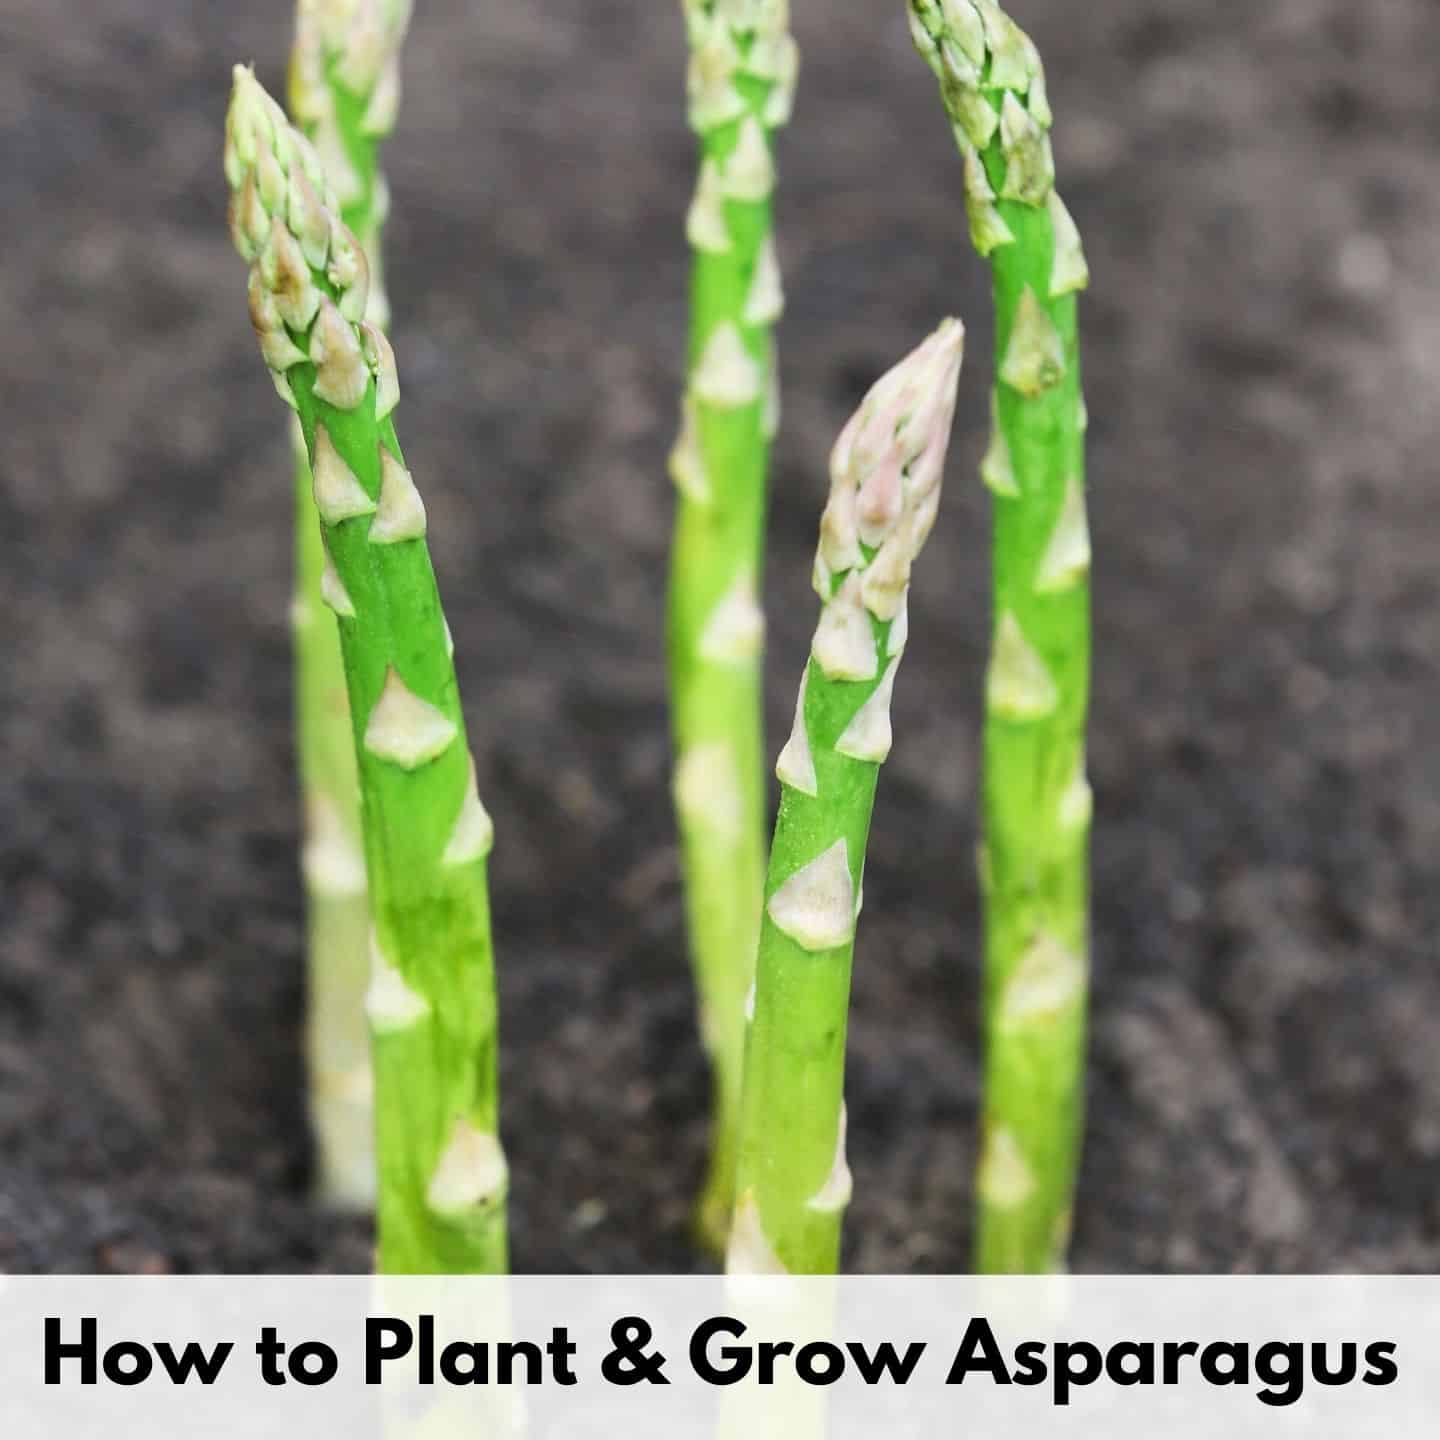
How to Plant and Grow Asparagus so you can Harvest it for Years
If you’re working towards a permaculture garden, or simply want to enjoy harvesting for years after planting once, asparagus is a garden must-have.
Asparagus is one of the first cultivated plants to brighten up the spring. It’s also a unique crop because it’s one of only a handful of perennial vegetables.
Because asparagus is a perennial, it takes more work than most other vegetables to get started. However, once you do get it growing, you’ll be enjoying it for many years to come, so it’s well worth the effort!
Here’s how to grow and harvest asparagus successfully at home, plus some tips on caring for your plants.
This post includes affiliate links. If you make a purchase using one of these links, Together Time Family will receive a commission at no additional cost to you.
All About Asparagus: A Plant of Patience
Asparagus (Asparagus officinalis) is a very familiar springtime vegetable. The bright green spears can be harvested throughout spring and early summer and are actually the young shoots of the plant.
Though asparagus tends to do better in areas with longer winters, it can be successfully grown in zones 4-9. Choosing a variety that’s suited to your region is one of the keys to success. My mom has a lively asparagus bed in 8a and a friend has an equally delicious asparagus bed in 5b. It’s a versatile plant!
Perhaps the hardest part of growing asparagus is having patience.
It takes plants a solid 3-5 years to fully mature and reach their peak of production. For the best harvests later, you need to mostly refrain from harvesting it for the first couple seasons. Then, you can gradually pick more and more each year.
The good news is that once asparagus gets established, the beds remain productive for 15-20 years and sometimes longer!
Like basically everything else you can grow at home, homegrown asparagus tastes nothing like what you find at the store. Fresh, small asparagus spears are so sweet and tender you can eat them straight from the garden without even cooking them.
If you’re interested in a more sustainable, less work garden, make sure to read up on perennial gardening. Some of the best books to read include:
- How to Grow Perennial Vegetables by Martin Crawford
- Perennial Vegetables: From Artichoke to Zuiki Taro by Eric Toensmeier
- Gaia’s Garden: A Guide to Home-Scale Permaculture by Toby Hemenway


Choosing the Best Asparagus Plants
Although asparagus can be grown from seed, the best method is to plant 1- or 2-year old crowns that you can buy locally or order from an online nursery. This eliminates a whole year or two of waiting for your plants to mature.
It depends somewhat on how much asparagus you like to eat, but usually 25-30 plants produce enough for a family of four.
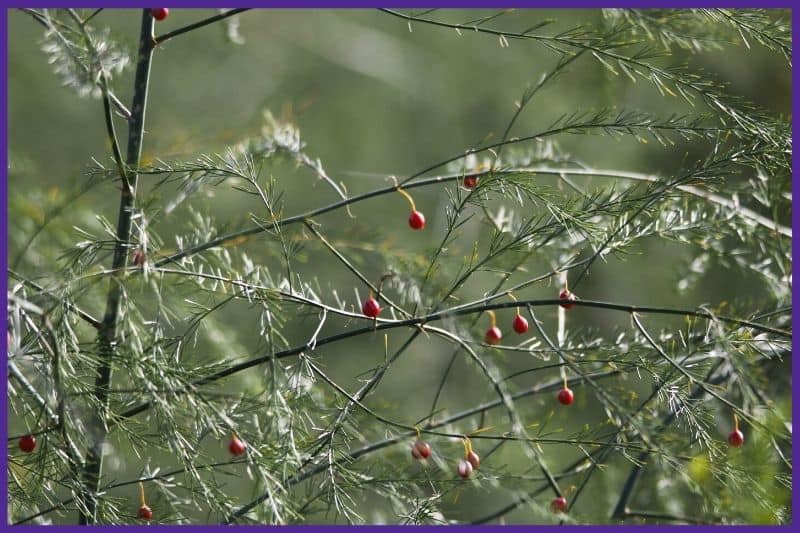
When choosing your plants, it’s important to realize that there are two different kinds: male and female. Female plants produce berries and typically produce fewer spears. Male plants don’t put any energy into berries and can be twice as productive as female ones.
Traditional gardening advice says you should only plant males, if possible, or cull your female plants. One blogger took a look at various studies and concluded that the overall mass of harvested spears from female plants may or may not be less than what you can harvest from males.
Whether or not females produce fewer spears, allowing berries to become fertilized and drop to the ground can lead to a lot of weeding and thinning out baby asparagus plants. Culling females when they’re young can save you time and work in the long run.
There are all male F1 asparagus hybrids. These hybrids tend to cost a little more, but save you a lot of time. Hybrids are NOT the same thing as GMO. Creating hybrid plants is an old practice that involves crossing two different varieties, just like a Cockapoo dog is a Cocker Spaniel and Poodle cross.
It’s very easy to tell female asparagus from male because they produce berries that ripen to red:
Top Asparagus Cultivars
One “secret” of how to grow and harvest asparagus with ease is to pick the right plants. You should look for three main things in a cultivar: all-male plants, one suited to your region, and good disease resistance.
Here are some of the top choices:
- ‘Jersey Knight’– Vigorous hybrid with good disease resistance. Best in zones 3-8.
- ‘Jersey Giant’– All-male, high yielding plants. Best in zones 4-6.
- ‘Millennium’– Emerges later, which makes it best for colder regions. Also an all-male F1 hybrid.
- ‘Apollo’ or ‘Princeville’– Both do well in warmer regions.
- ‘UC-157’– Good for mild regions like California and hot regions.
- ‘Purple Passion’– Sweeter, purple asparagus. Turns green when cooked.
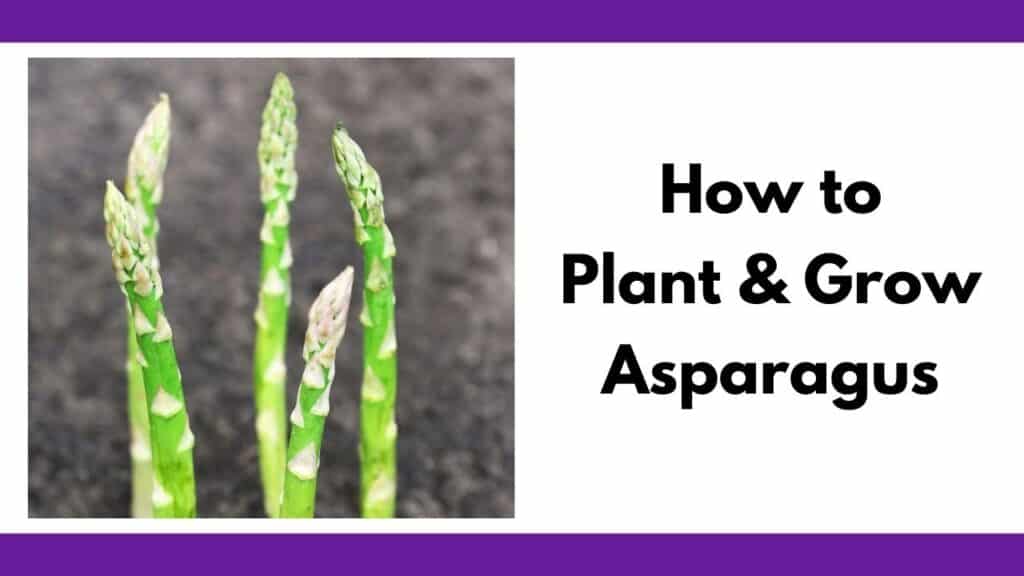
How to Plant and Grow Asparagus
When to Plant Asparagus
Asparagus should be planted in early spring, as soon as the soil is workable. In fact, you’ll most likely find that asparagus crowns are only available at this time of year. If you order online, your plants will be shipped to you at the proper planting time.
Where to Plant Asparagus + Preparing Your Soil
Choosing your planting spot and getting your soil prepared correctly are essential for a healthy asparagus bed. Your asparagus will be in the same spot for the next decade or two, so give it the best start you can.
Select a planting site that will remain relatively undisturbed during the years to come. You may want to choose somewhere at the edge of your garden or create a new, separate bed.
Asparagus can be planted in partial shade, but it really needs full sun to thrive. You risk getting thin spears or weak plants by putting them in too much shade.
It’s also important to make sure your asparagus bed drains well. Asparagus likes consistent moisture, but won’t tolerate “wet feet.” If your soil drainage is really poor, consider constructing a raised bed to plant in.
Weeding is always important before planting a bed, but it’s especially so in the case of asparagus. Your young asparagus plants will not compete well with weeds or grass, so make sure your planting area is completely clear.
Perennial weeds are especially problematic for asparagus. Organic gardening expert Charles Dowding recommends covering your future asparagus bed with light-excluding mulch for an entire year before planting to ensure there are no weeds. (Organic Gardening, p 186).
Dowding has great YouTube videos. In this video, he explains how to clear weeds without digging and tilling:
Finally, now is the time to add some soil amendments to make sure your plant roots will have a good amount of nutrients to get established.
Compost or well-rotted manure are great amendments to add. Work a 2-4” layer of either one deep into your soil. Rock phosphate is another good addition. The phosphorus in it promotes strong root growth, which is exactly what you want.

- ORGANIC PLANT POWER - This high phosphorus fertilizer is a natural and organic source of phosphorus that helps correct phosphorus deficient soils
- ALL NATURAL - This phosphate fertilizer is derived from phosphorus-rich natural deposits, ensuring a premium and authentic source of this essential...
- APPLICATION – Pelletized for easy application with less dust, apply to the soil according to the instructions for best results
Make sure you work everything into the soil a good 12” deep so that it will be available to the roots of your asparagus.
How to Plant Asparagus Crowns
Asparagus crowns are basically the dormant bare roots of the plant. They may look brown and dead when you get them but will come alive once planted.
The best way to plant your crowns is to dig a trench that’s about a foot wide and 8-12” deep. If you need more than one trench, space them 3’ or more apart.
Crowns should be planted about 18” apart. Some people squeeze them in and plant asparagus only 12″ apart. Space them out ahead of time to make sure you have enough room. Then, either make a ridge a few inches high down the center of the trench, or make individual mounds where each plant will go.
The idea as you plant your crowns is to set the center of each one on the mound or ridge and spread the roots out down into the trench. Although many people recommend spreading the roots out like an octopus as you plant, The University of Minnesota Extension says this is an outdated practice and unnecessary. If this is how you were taught or raised, there’s no harm in it, but it does take extra time. It’s personally how I plant asparagus, even if it’s allegedly outdated.
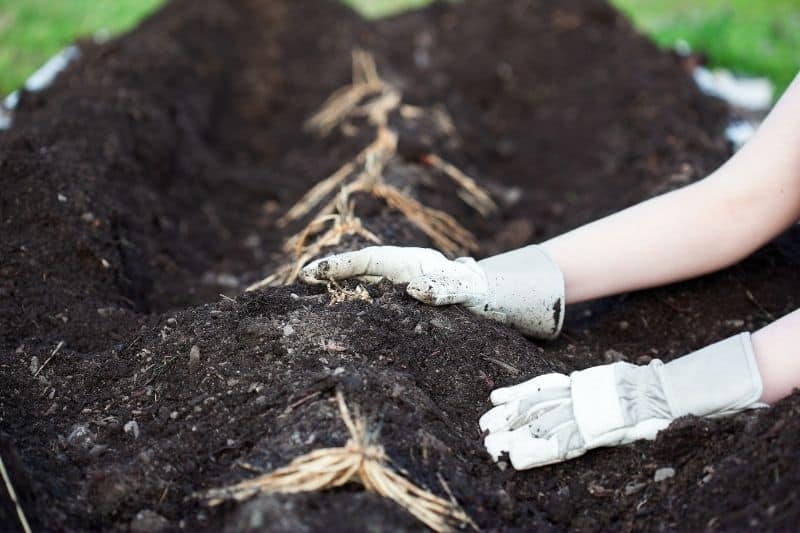
You can then go through and fill in your trench with soil. The crowns should be buried about 6” underneath the soil. Keep your soil loose instead of firming it down so that the asparagus spears will be able to poke through in a few weeks.
Water your newly planted asparagus well, and you’re all finished!
Asparagus Care
Weeding is probably the most essential maintenance task you can do, especially during the first two years. Asparagus can easily get outcompeted by weeds and does not like to have its roots disturbed. Hand weeding is the best option, since tools may damage the roots.
Watering is another important task during the first two to three years of growth. Plants need 1-2” of water each week, and you should supplement when rainfall isn’t enough.
Installing drip irrigation can be very helpful for asparagus, but installation should be done before you plant. Drip irrigation systems can be expensive, though. Instead, you can get a soaker hose (discover the best soaker hoses in this post) or water by hand gently with a watering wand.
To aid with moisture retention and weed suppression, you can mulch around your plants with a thick layer of compost, shredded leaves, pine needles, or straw.
If you keep your asparagus well-weeded for the first 2-3 years, you’ll have virtually no weeds after that. Mature asparagus grows about 6 feet high and will shade out most weeds.
Asparagus is a fairly heavy feeder, so your plants will benefit from a slow release fertilizer or a liquid fertilizer applied consistently throughout the growing season.
I’m personally a big fan of worm castings. They are naturally slow-release and won’t burn your plants. I also use Neptune’s Harvest products and Fox Farms nutrients. You can also improve the health of your garden by learning how to attract earthworms and producing your own compost.

- 100% Pure Castings: Each bag of WIGGLE WORM Worm Castings is OMRI listed organic, nutrient-rich, and mineral-dense pure castings, not vermicompost or...
- Improves Soil Structure: WIGGLE WORM Pure Worm Castings are tiny, football-shaped particles which help improve soil aeration, while also creating...
- High Quality Fertilizer: Pure Worm Castings add nutrients and boost microorganisms in the soil around your plant to grow better, healthier roots for...
For the best growth, add 1-2″ of compost to your asparagus each year.
Waiting for Asparagus
Perhaps the most challenging part of learning how to grow and harvest asparagus is waiting.
You’ll eventually see small asparagus spears start to come up, but you should not harvest any during the first growing season. Let your plants develop good root systems instead.
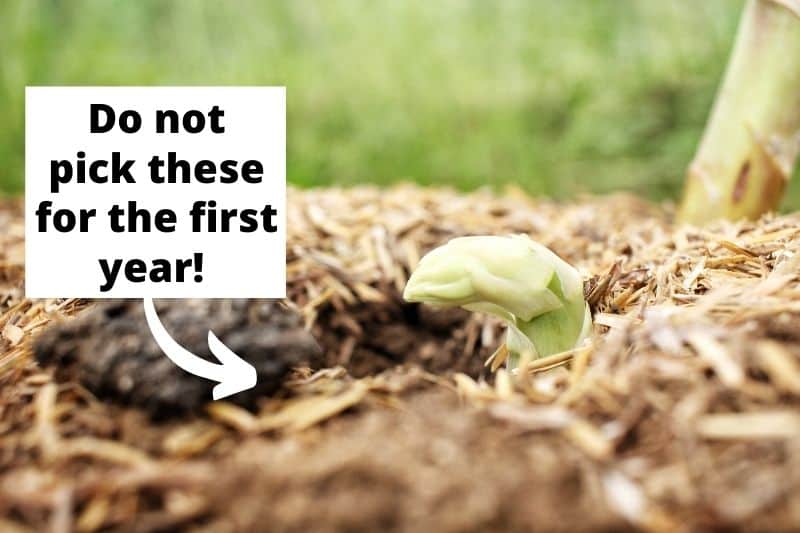
During the second year of growth, you can harvest very sparingly. The more restraint you have, the better your plants will get established. You’ll be rewarded later on! If you planted from seed, don’t harvest the second year, either.
It’s also important to leave the fern-like foliage on all season. Once it turns brown and looks dead, you can cut it back to the ground in late fall or early winter.
Pests and Problems to Be Aware Of
If you buy a disease resistant cultivar, it’s unlikely you’ll have many problems with diseases affecting your asparagus. You can further prevent them by spacing your plants properly and ensuring that they have good drainage.
Asparagus beetles are the biggest insect pest and will chew through leaves and spears. You can handpick beetles off your plants or use an organic control method like neem oil. For more severe infestations, you can use a naturally-derived pesticide like spinosad, if that aligns with your gardening philosophy.
Make sure you dispose of all affected plant matter in the fall (don’t compost) to get rid of any eggs.
Deer don’t usually go after asparagus unless they are extremely hungry.
How to Harvest Asparagus
When to Harvest Asparagus
Asparagus spears will be ready for harvest in the spring and will continue to appear for up to eight weeks. Follow these guidelines for harvesting in the years after planting:
- First year– Do not harvest!
- Second year– Refrain from harvesting if you can, or pick sparingly for only 2-3 weeks.
- Third year– Harvest sparingly for 3-4 weeks.
- Fourth year– Harvest moderately for 4-6 weeks.
- Fifth year and beyond– Harvest moderately for the full period (up to 8 weeks).
As a reminder, do not harvest every single spear from a plant. Always leave the foliage intact until it dies back naturally.
Picking Asparagus
Harvest asparagus spears when they are in a range of 6-10” tall. General wisdom says that the smaller ones will be the most tender, and that they will get more woody as they grow. They should have a thickness of ½-¾” when ready.
I’ve learned that this isn’t always the case. Sometimes small spears are confusingly tough. If you do encounter tough spears, or let them grow a little too long, try using a sharp peeler to remove the thick skin before cooking. This usually helps.
To harvest, the easiest method is to use clean clippers or a sharp knife to cut spears off close to ground level. I recommend a pair of bypass pruners like these Fiskars. You can also snap off longer spears with your fingers.

- GARDENING ESSENTIAL: Steel blade plant shears ideal for a variety of pruning tasks like cutting flower stems, maintaining your herb garden, and more...
- MAXIMUM POWER AND PRECISION: Low-friction blade coating makes smooth cuts, reduces gumming, and enhances rust resistance; Self-cleaning sap groove...
- LONG-LASTING AND RELIABLE: Steel blades stay sharp through heavy use and provide excellent durability for lasting value; Fiskars pruning shears and...
Check on your asparagus frequently during peak growing season. In some areas, spears can grow 2+ inches in a single day.
Make sure you harvest while the tips of the spears are still tight. Once they begin to loosen and unfurl, the stems become very woody and too tough to eat. Stop harvesting when the diameter of the spears gets thinner than ½”.
Remember to allow the foliage of your plants to grow until it naturally turns brown in late fall, and never harvest all the spears from one plant.
Enjoying Homegrown Asparagus
Now that you know how to grow and harvest asparagus correctly, you could be enjoying freshly picked asparagus for the next 10-15 years! The freshly picked spears won’t store for very long, so enjoy them as quickly as you can after harvesting.
Asparagus is really a very unique vegetable and very rewarding to grow. With a little patience, you’ll get a great yield with minimal effort for many years to come.
Keeping your young asparagus watered is crucial to success. Make watering easier and and faster with the right hose and hose accessories:

The Best Garden Hose Reels & Retractable Hoses for a Tidy Lawn
A garden hose reel or a retractable hose can keep your lawn tidy and protect your hose from the elements.
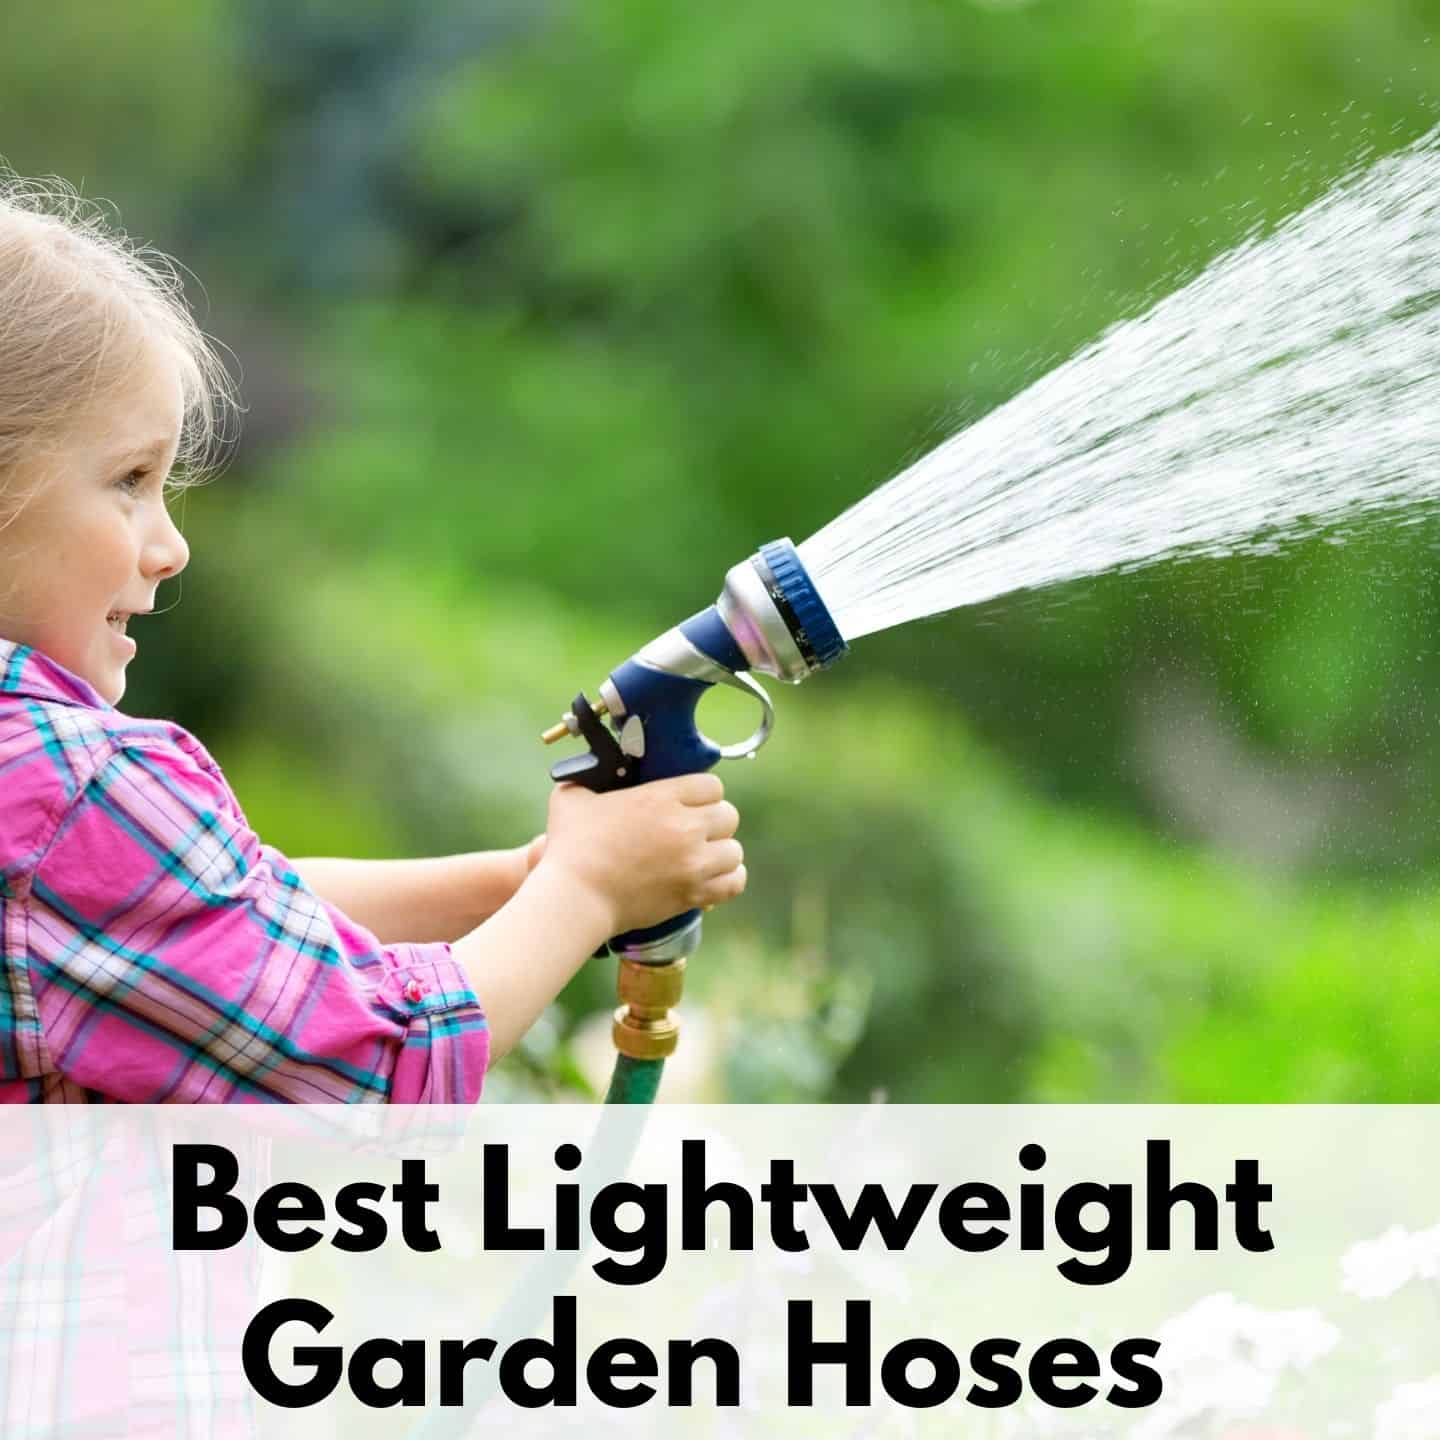
Best Expandable Hoses (lightweight and kink-free hoses!)
Expandable hoses are kink-free, lightweight, and easy to use. Discover the best expandable garden hoses for your yard or garden.
5 Best Garden Hose Splitters (and one to avoid)
Tired of swapping hoses or unscrewing your hose just to use the tap to fill a bucket? Discover the best garden hose splitters and one to avoid.
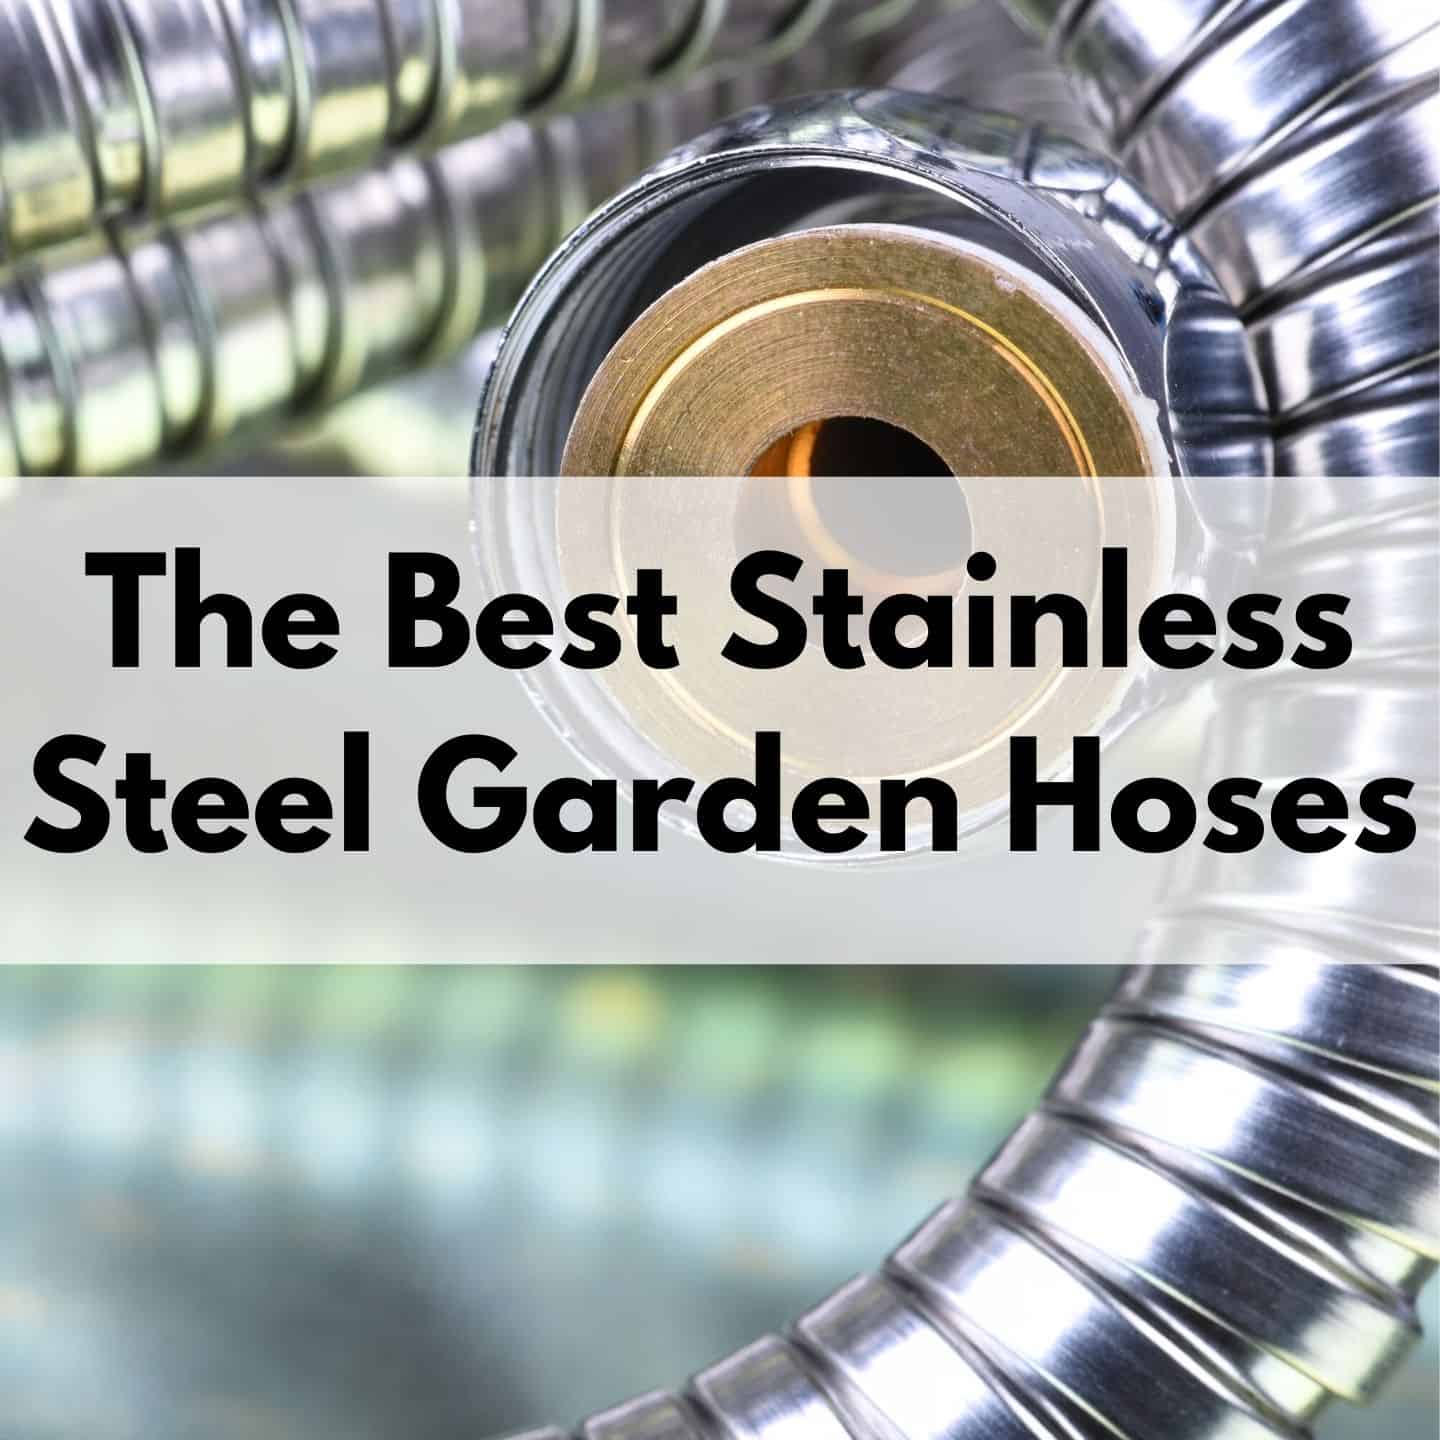
Best Stainless Steel Garden Hoses: must-know lightweight, kink-free hoses
Stainless steel hoses are kink free and lightweight. Discover the best stainless steel garden hoses to keep your mouthy puppy from destroying yet another hose!
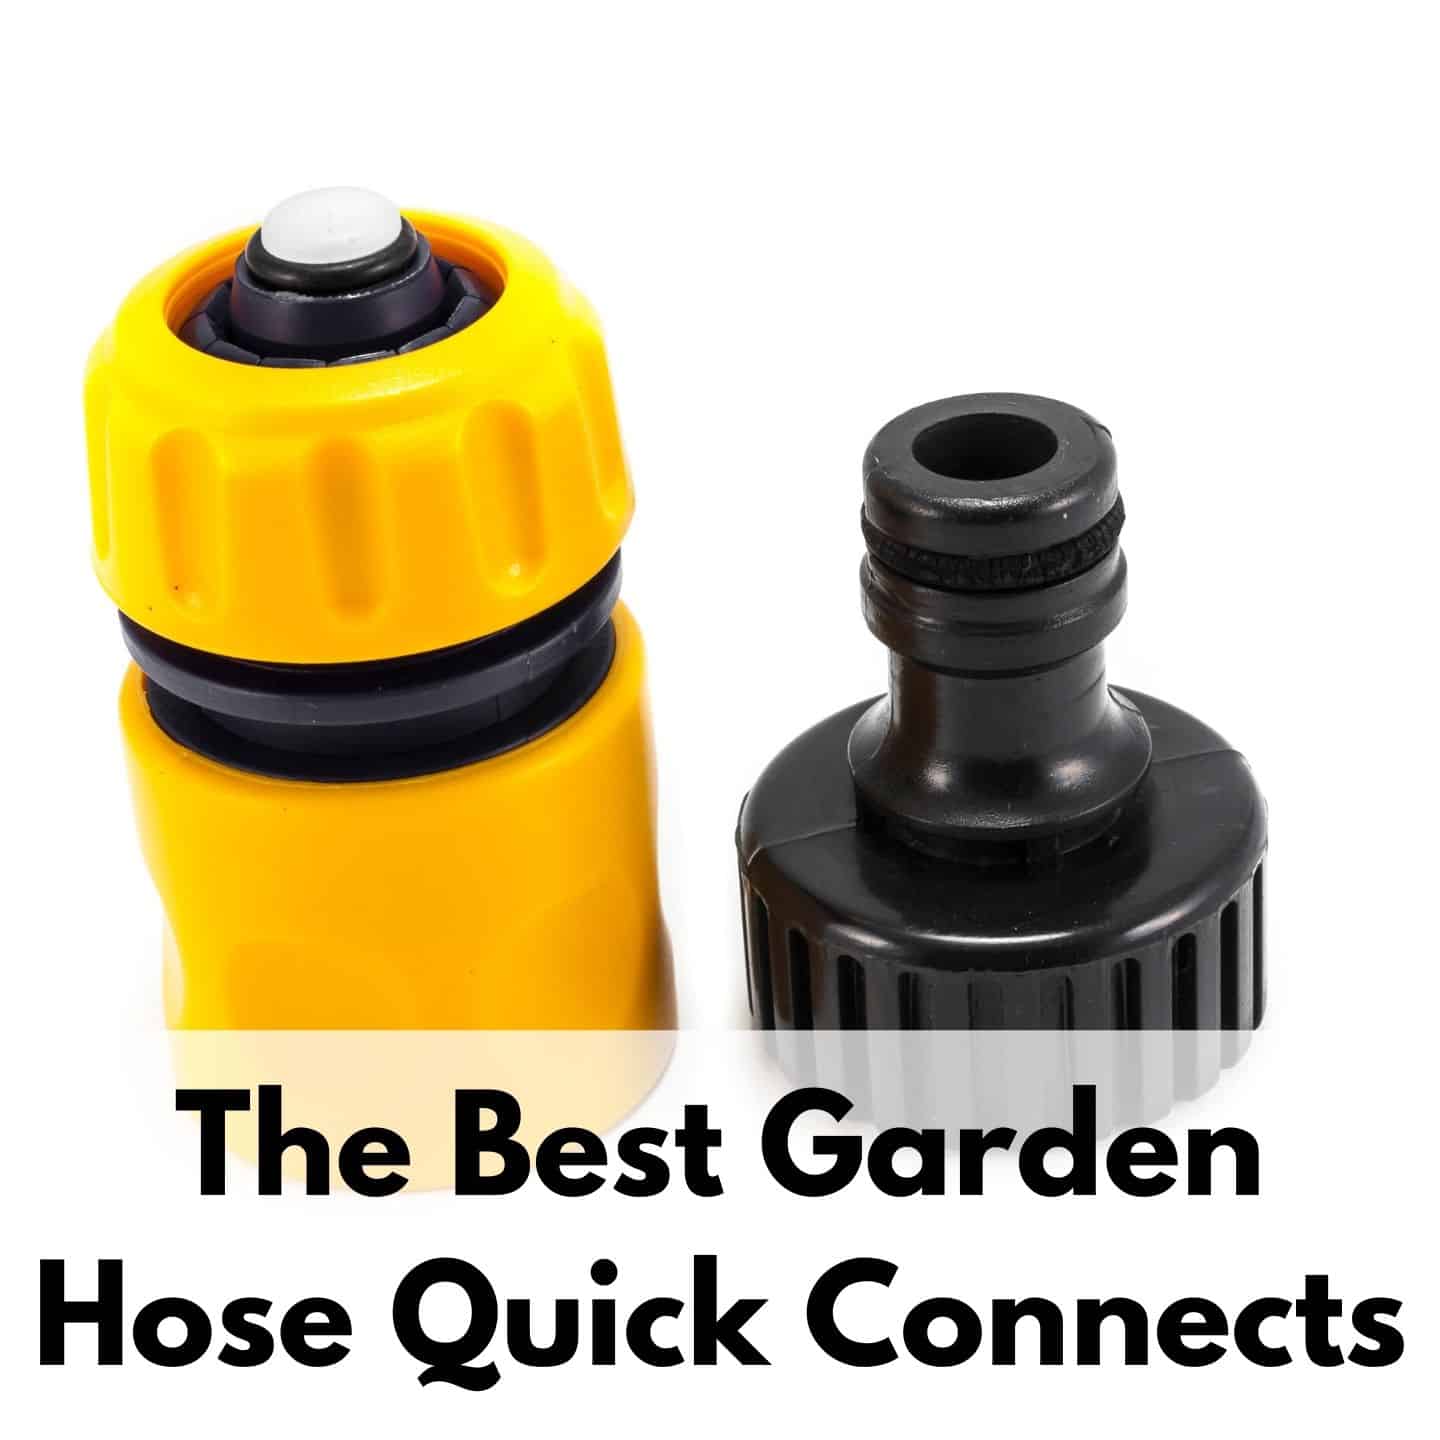
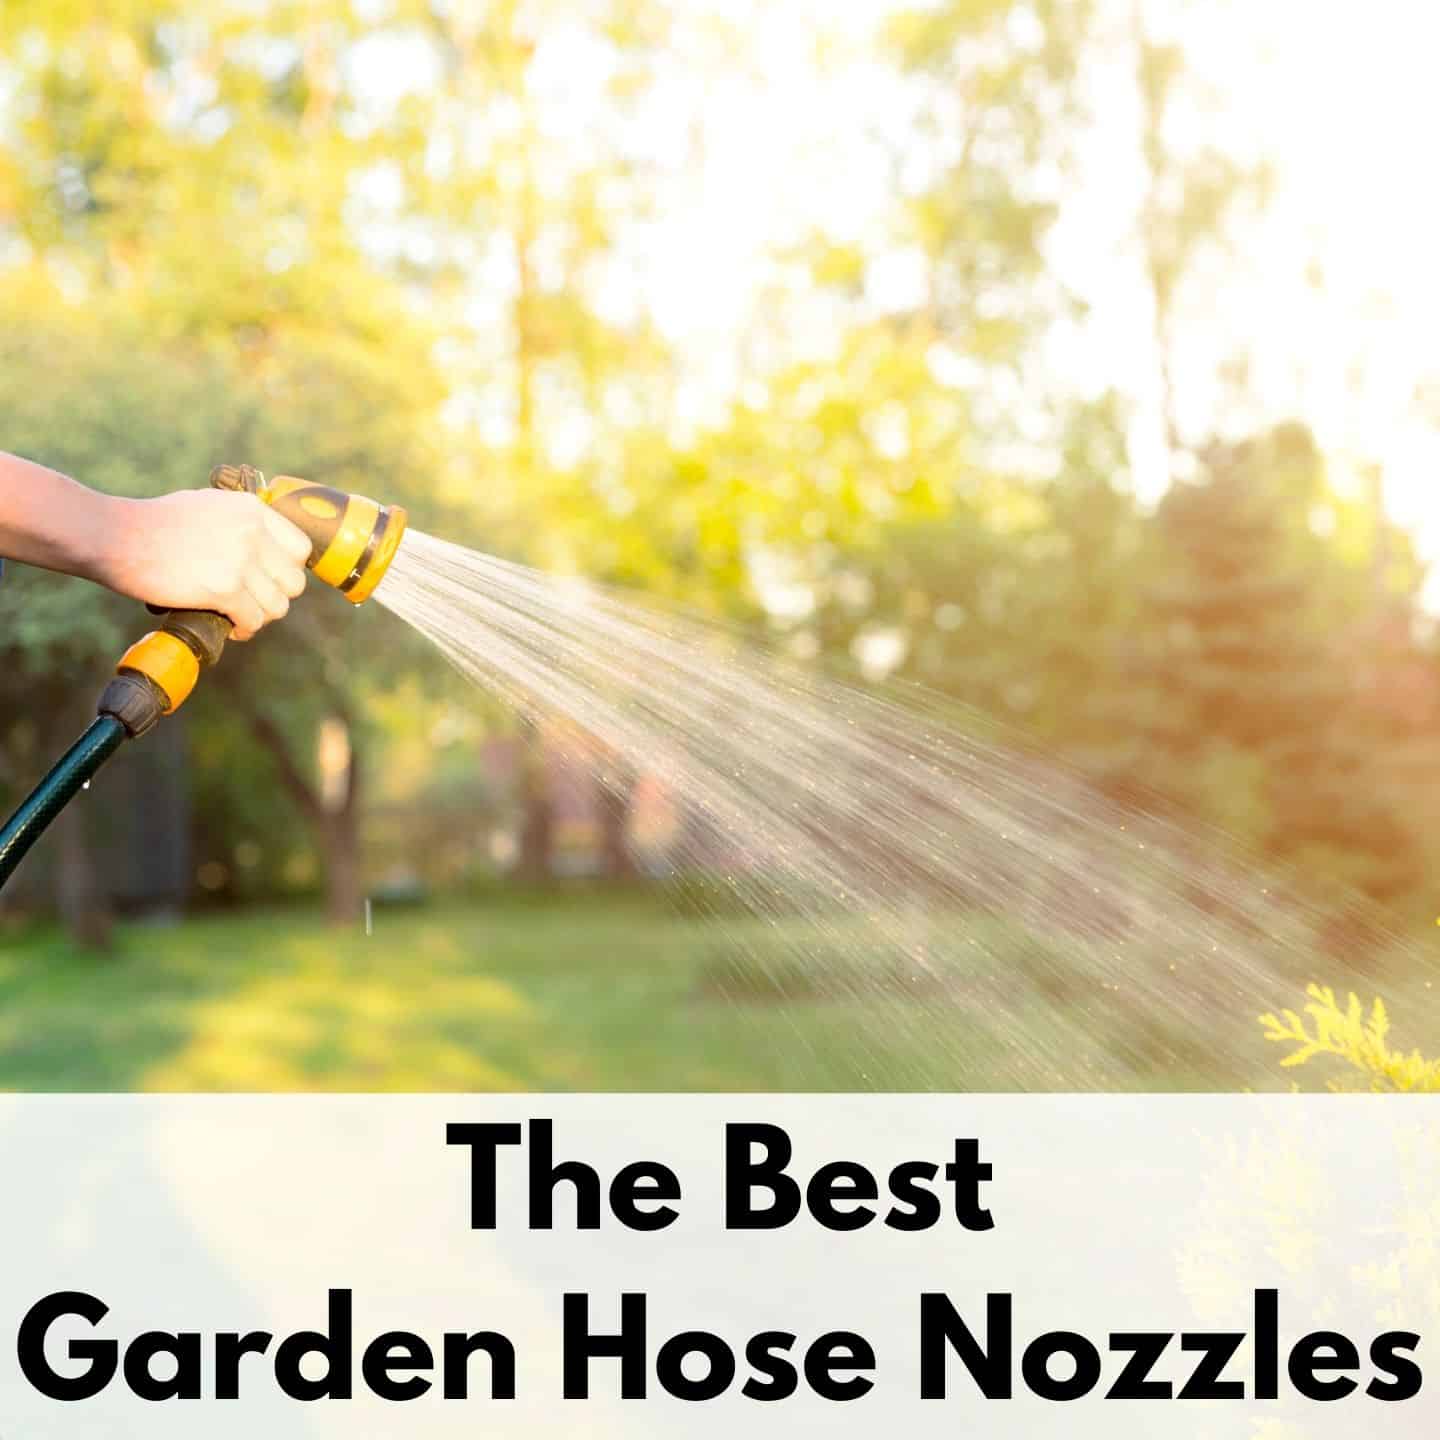
Best Garden Hose Quick Connects
Using a garden hose quick connect can help you save time, money on your water bill, and keep your clothes dry. Check out the best garden quick connects, including durable brass connectors that won't rot in the sun.
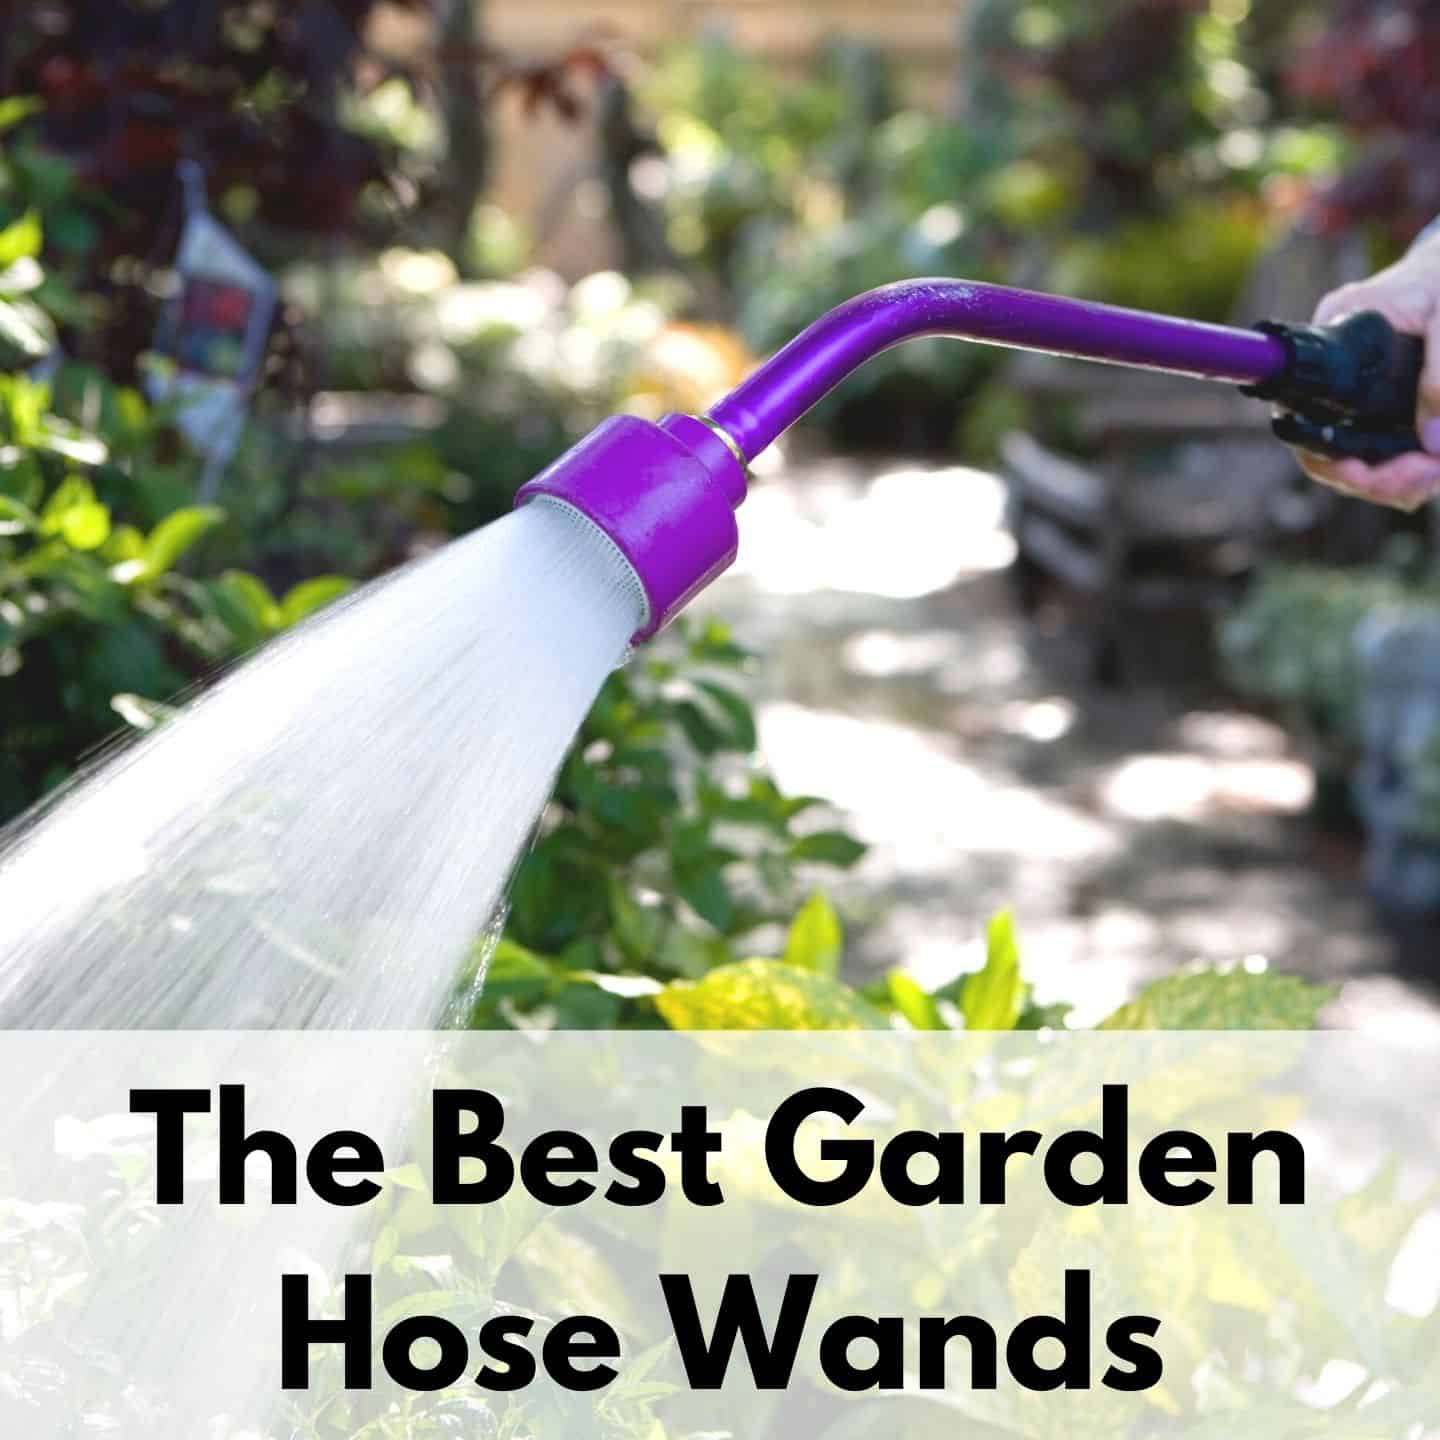
The Best Garden Hose Wands For a Healthy Garden & Increased Yields
A garden hose wand is a must if you're growing flowers, herbs, or vegetables. Discover how a hose wand can help you water more easily and have healthier plants.

Best Hose Shut Off Valves
Hose shut off valves can reduce water pressure and make turning water off and on eaiser.
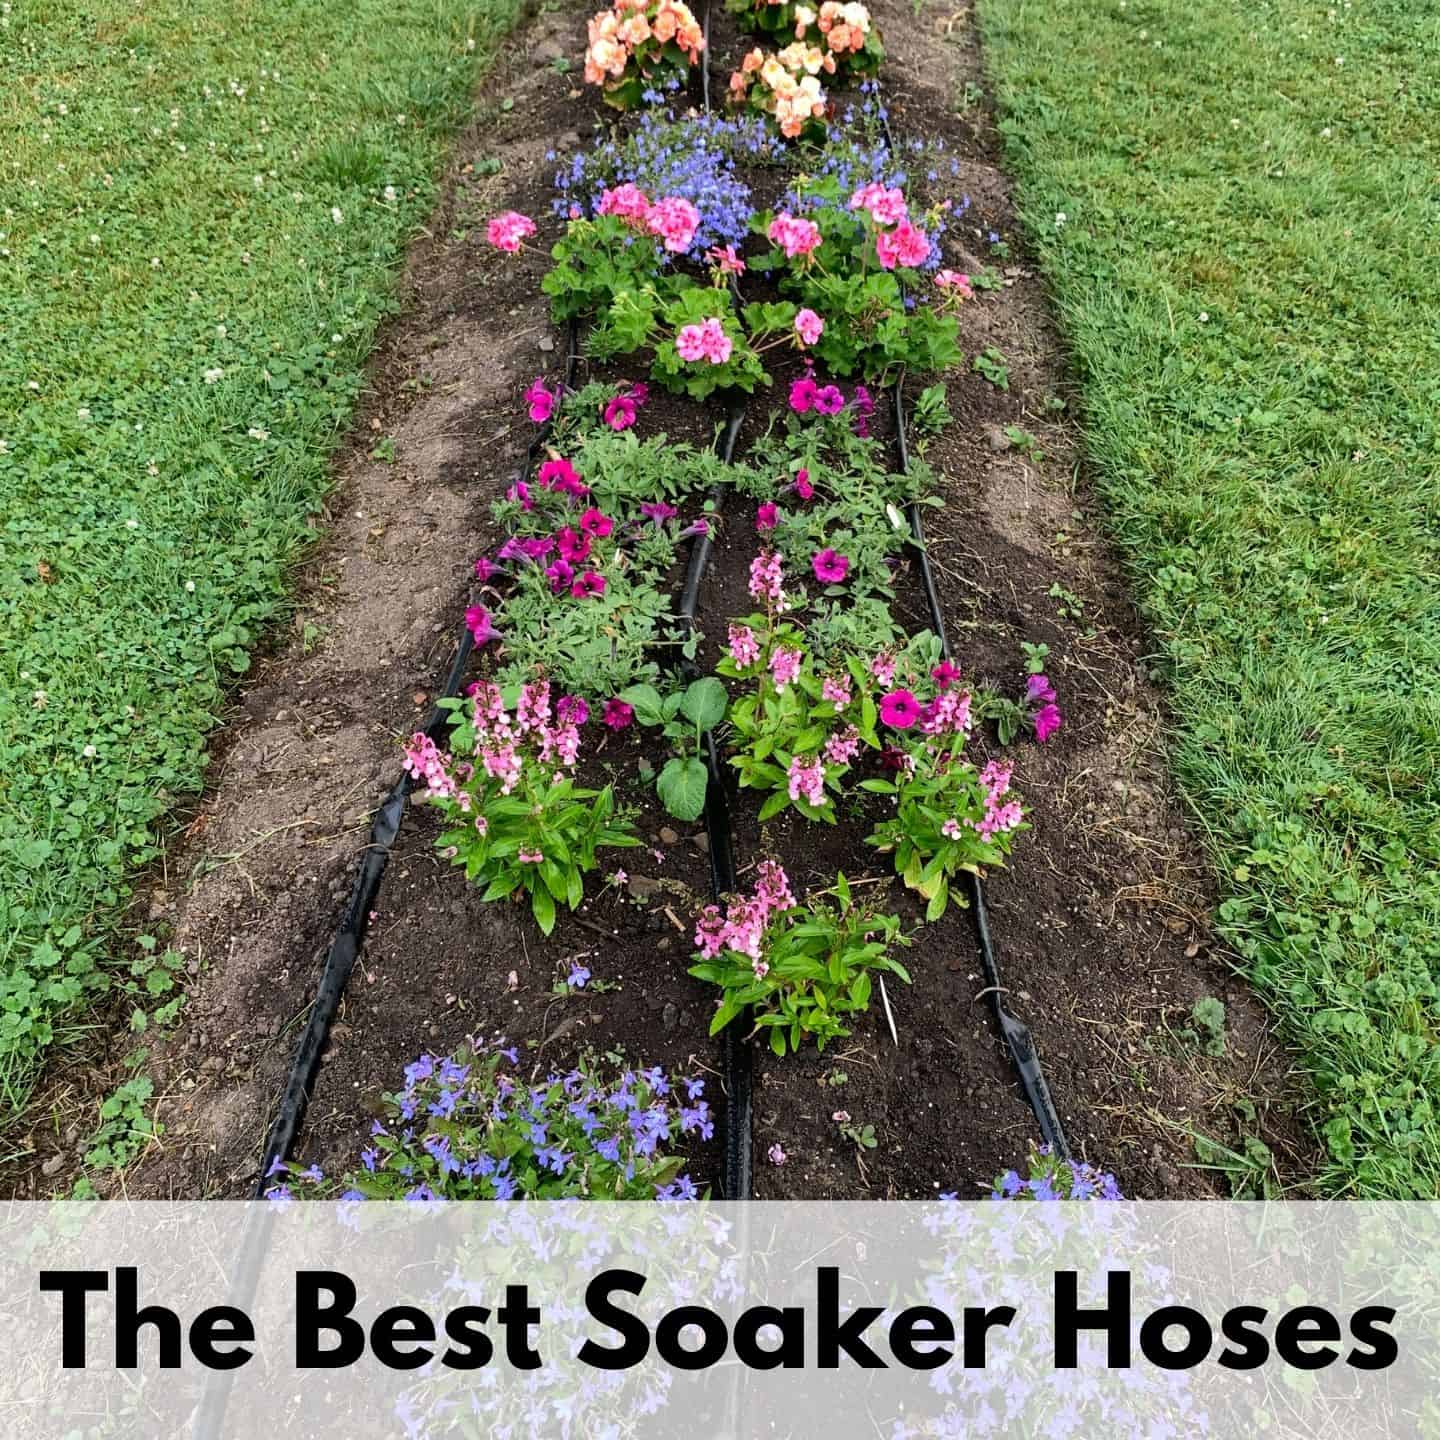
Best Soaker Hoses For a Beautiful, Low-Maintenance Lawn & Garden
Soaker hoses are a simple way to save time and water.
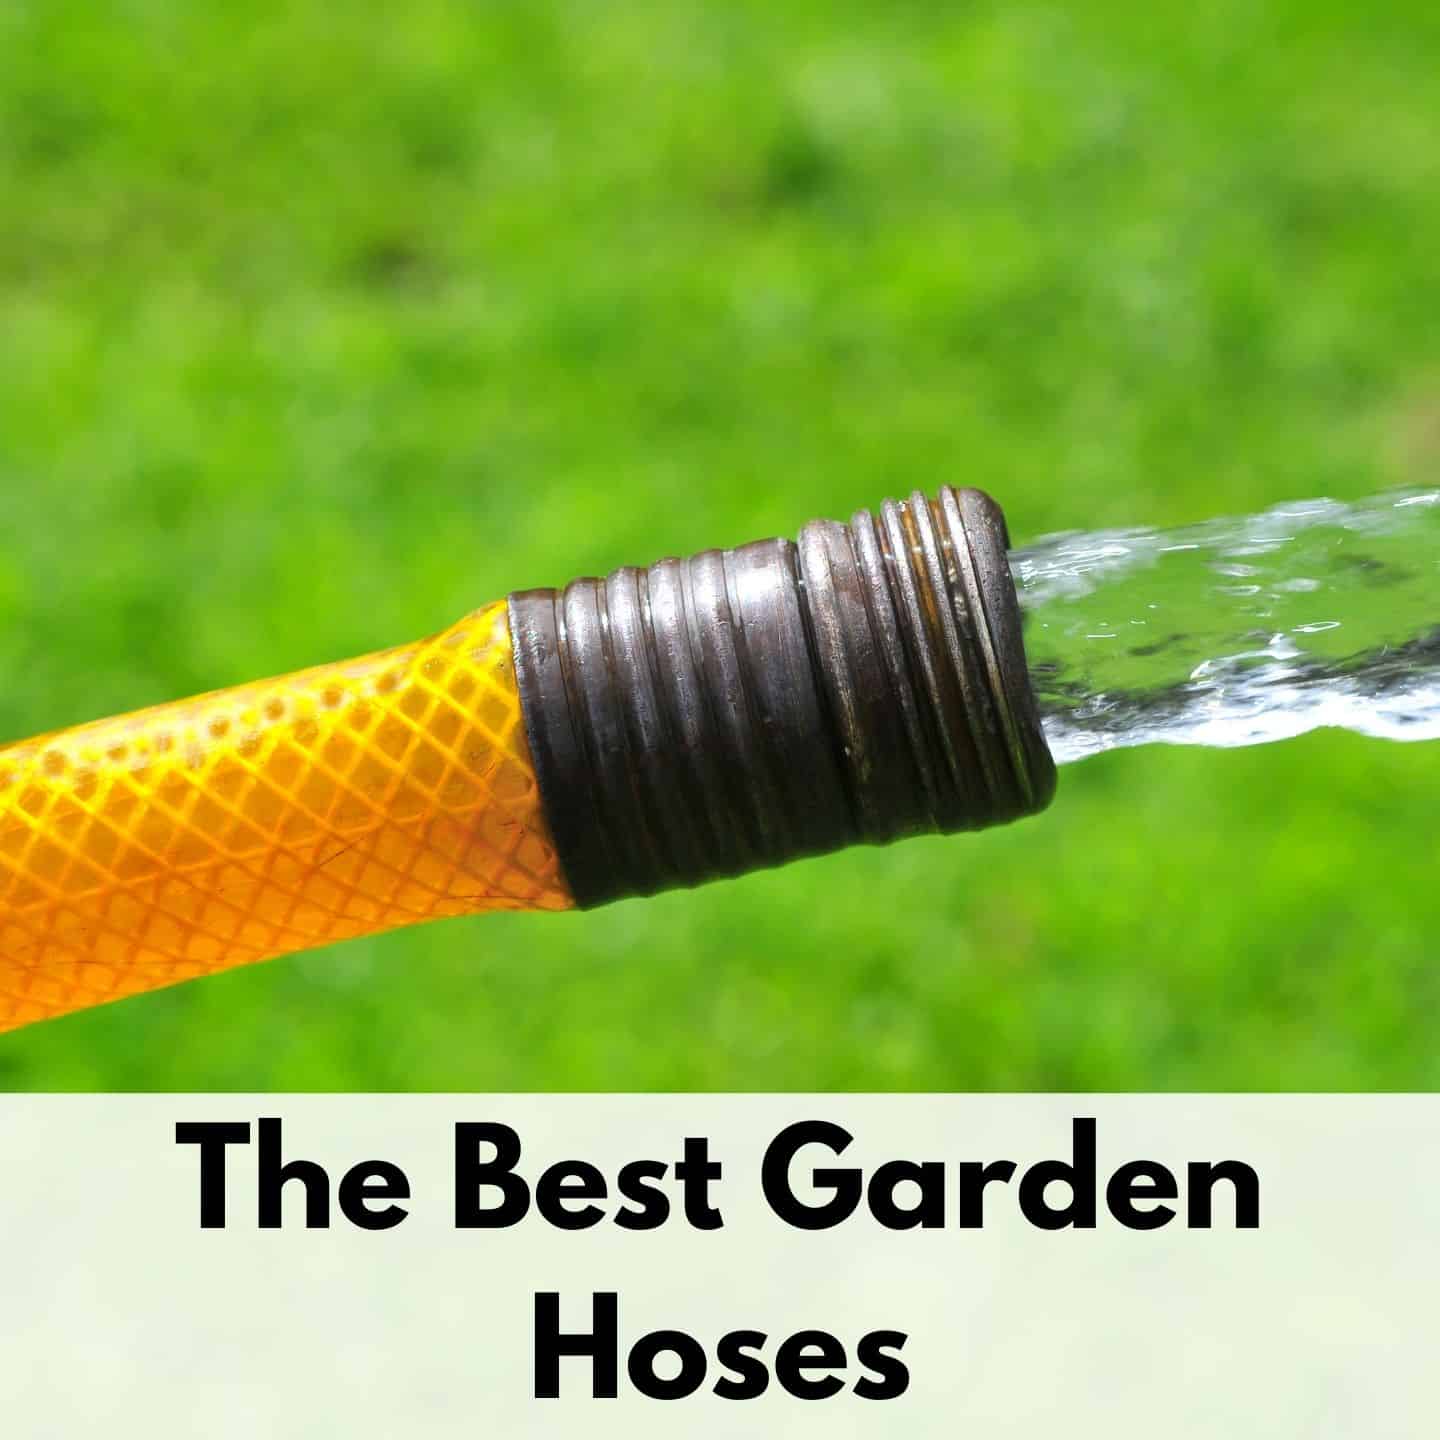
The Best Garden Hoses to Last a Lifetime
Tired of your heavy, kinked-up hose? You need to discover this guide to the best garden hoses!
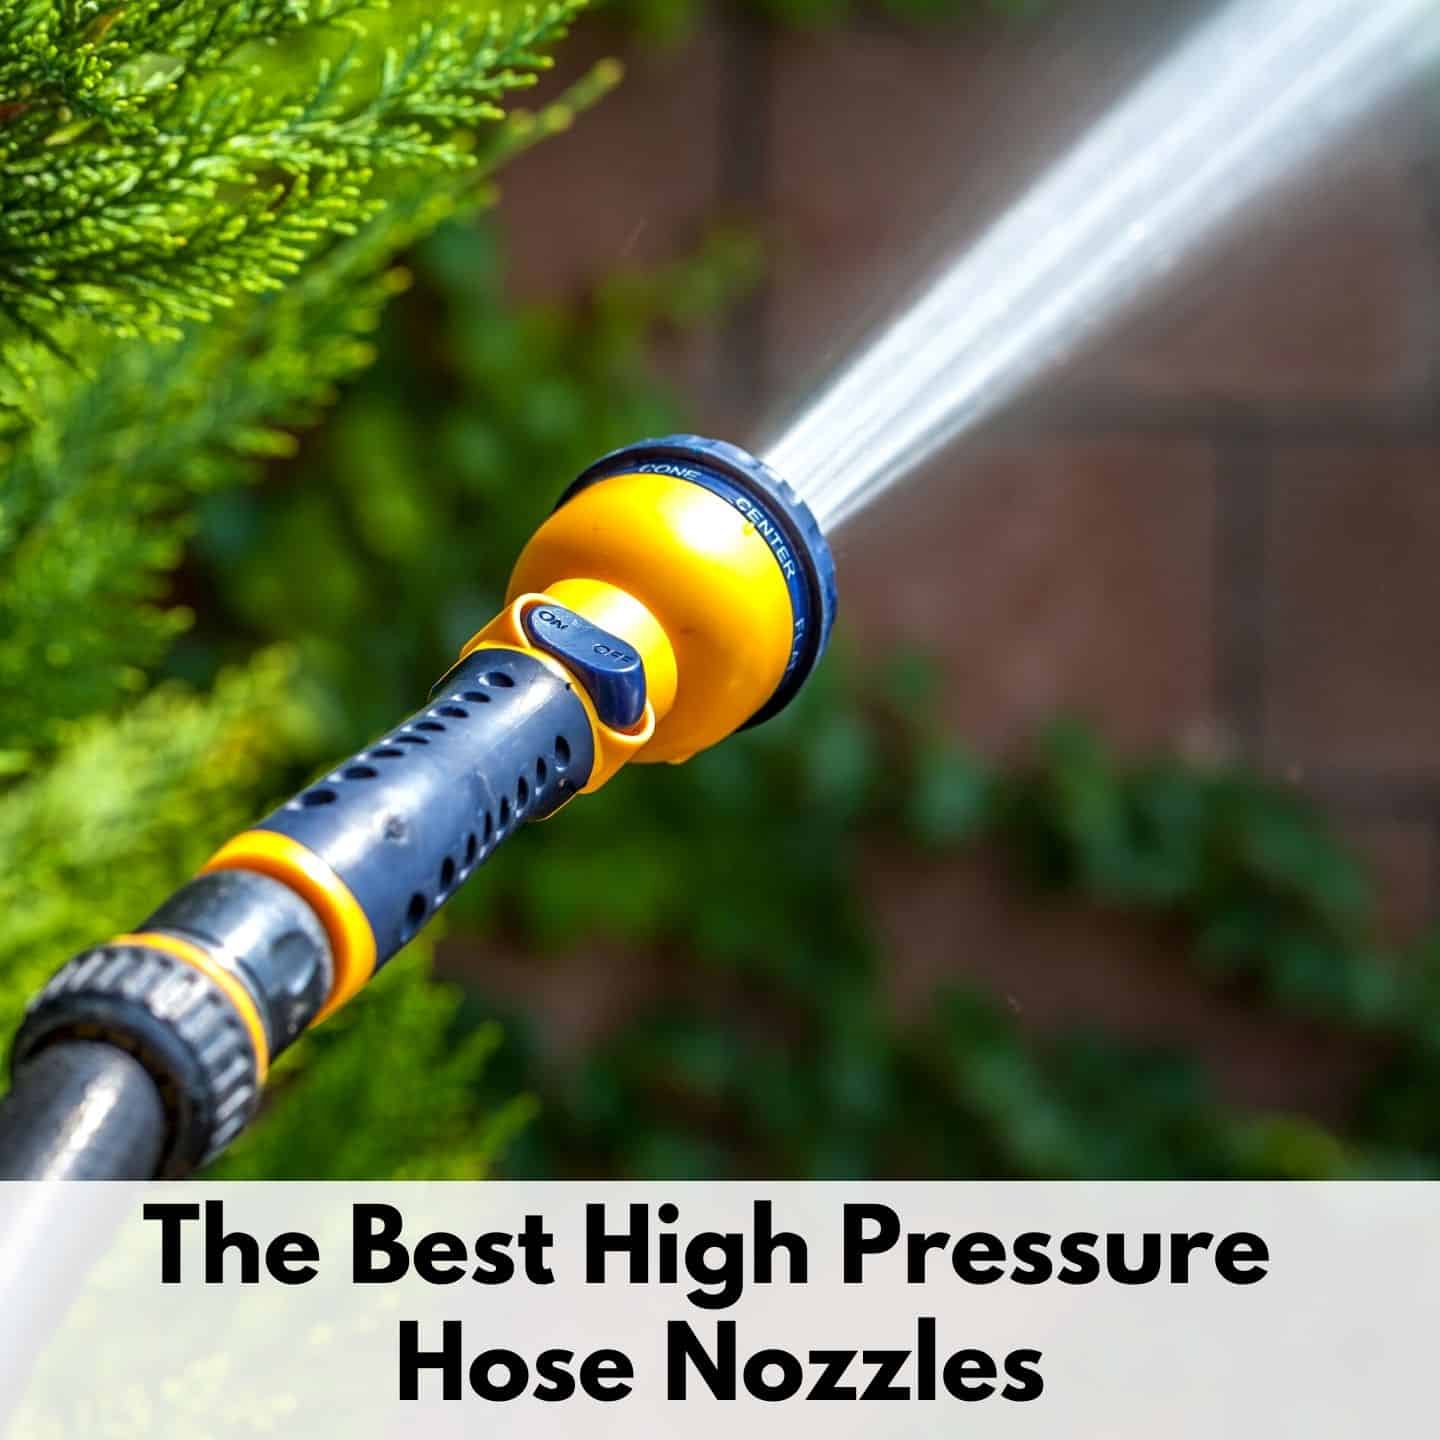
The Best High Pressure Hose Nozzles
Ready to try blasting your gutters clean with a high pressure hose nozzle? Discover the best high pressure hose nozzles!